Originally posted by Hawkeye
View Post
regards,
Jonathan
|
| |
| a p l a c e RC&E HOBBYISTS m e e t | |
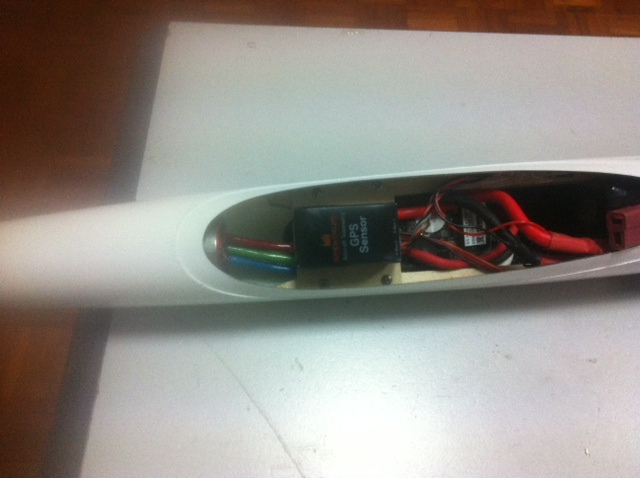
 ! Regarding your config, I also contemplate using a smaller battery (1800) to save some weight, but am not yet sure whether I need the larger battery to create some weight in the nose.


Comment