Announcement

Collapse
No announcement yet.

Real Scratchbuilding a Mimi DLG

Collapse

Zenm Tech Pte Ltd

Collapse

Visit Zenmtech at rc.zenmtech.com

X
 
  • Filter
  • Time
  • Show
Clear All
new posts

    #16
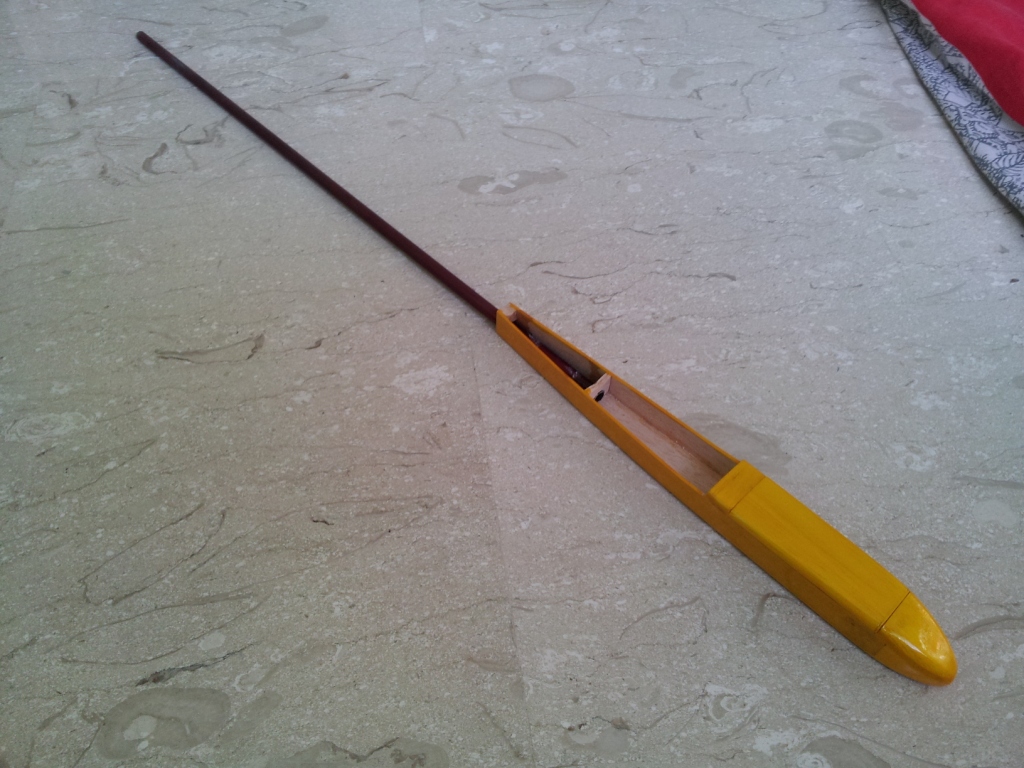
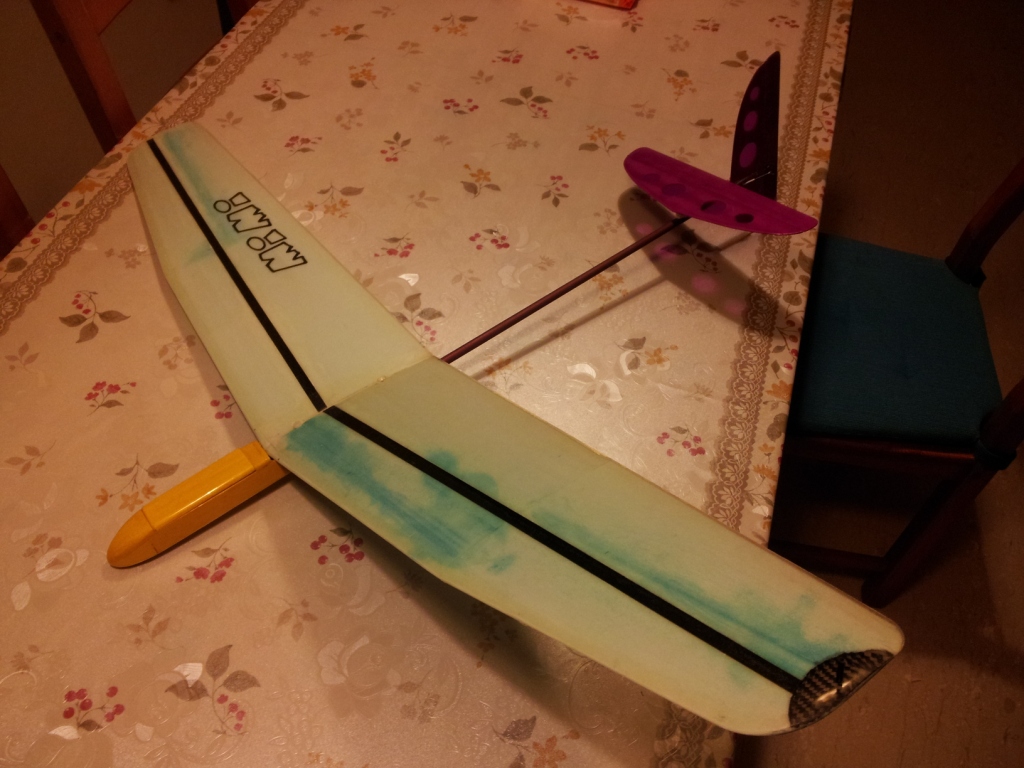
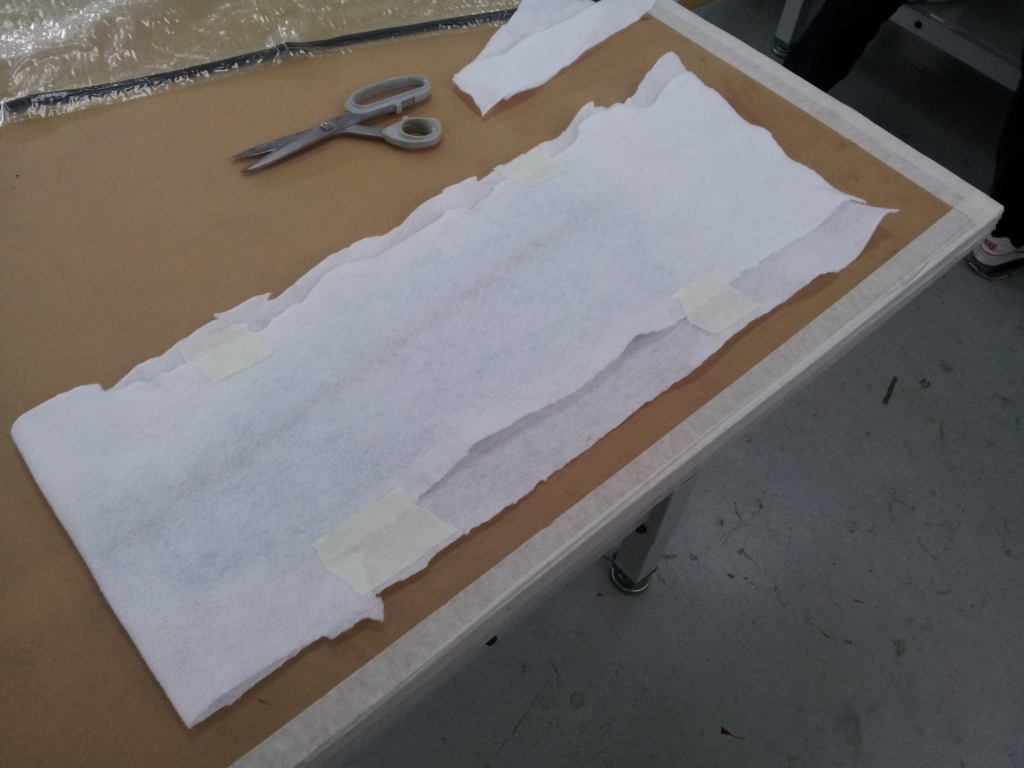
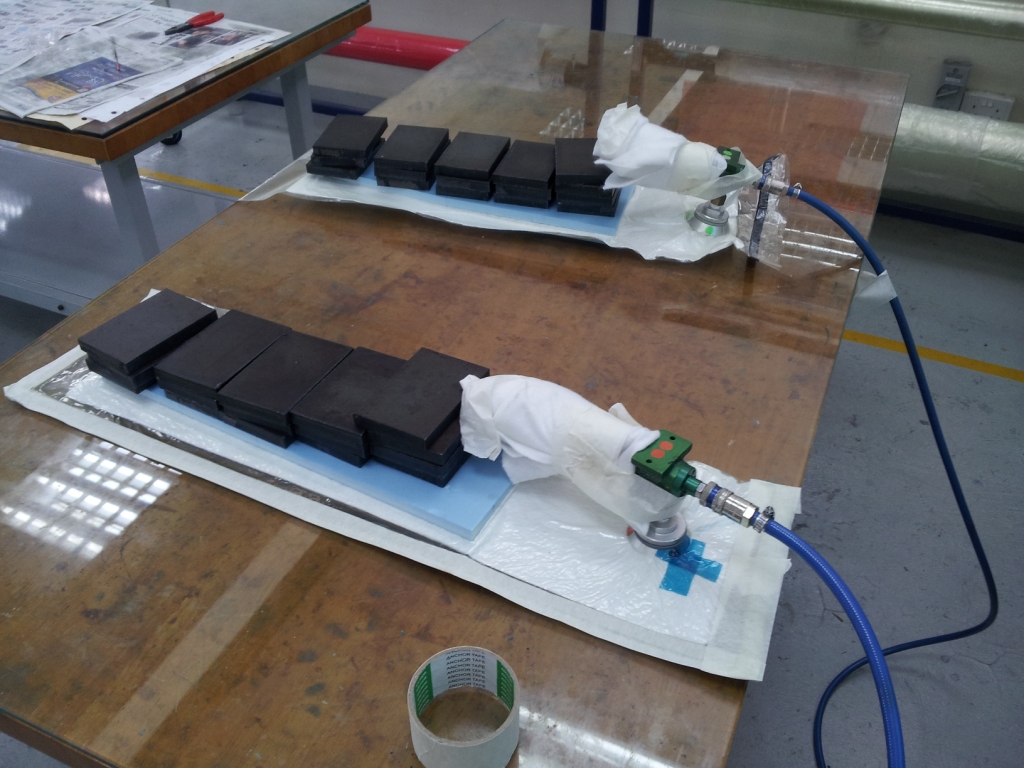
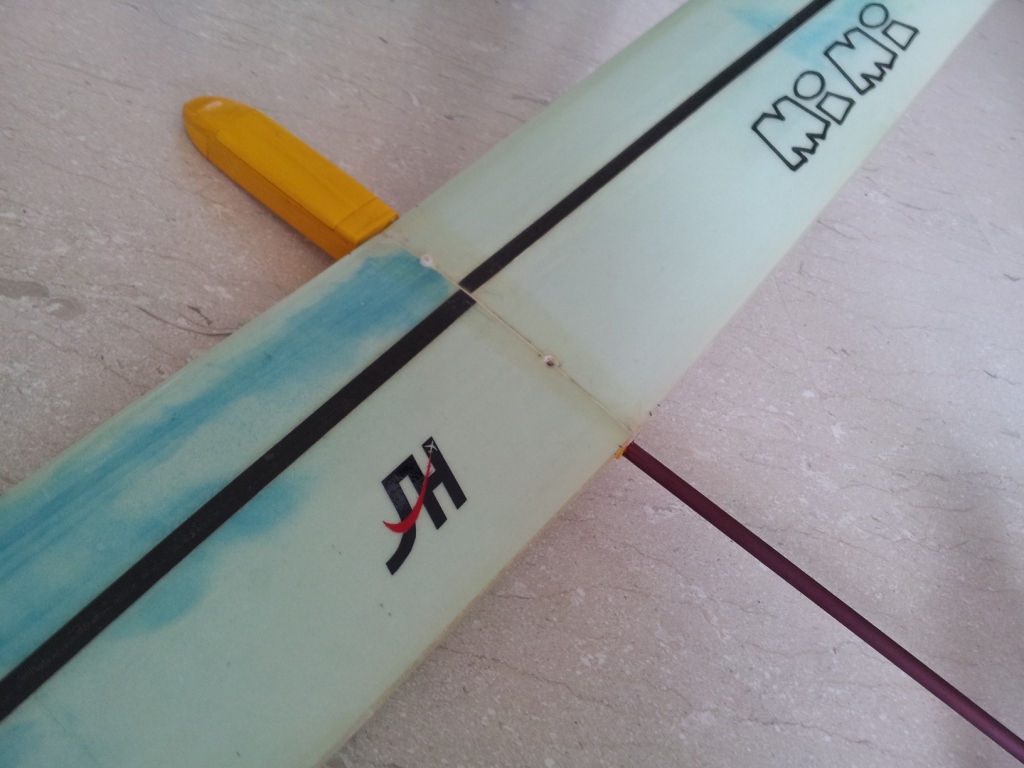
    The fuselage is built from balsa as per the plans, together with the tailboom, which was a section of my own prawn fishing rod.

    Attached Files

    Comment


      #17
      A bit fast forward. I epoxied 2 plywood wing mounted in the fuselage, drilled and tap M4 holes for the wing mount. The flight controls utilise pull-spring system, which I simply run a kevlar string from the pair of cheap TowerPro 5g servos to the control horns. A small receiver abd a 2x CR2 battery pack stuffed into the nose, together with a small fishing weight comletes the equipment installations.

      The all up weight tips at 188 grams! I was pretty worried about the weight but when I checked with the original post in RCGroup, the model can be ballasted to 200 grams if necessary.

      This evening, I test flew the model and found that the weight posts no problem at all. In fact, the model can be launched hard and cruise very well despite the weight. After a good launch, I could achieve some 1 minute flights in dead air. The model is even more docile than my Mini Topsky and can penetrate wind better.

      I am very tempted to build another one.......

      Attached Files

      Comment


        #18
        Nice build, Joe.

        How thick is the airfoil? 9 mm? Quite surprised it's still possible to hotwire out an airfoil with such a thin profile and size.

        Comment


          #19
          Originally posted by MicroHeli-Nut View Post
          Nice build, Joe.

          How thick is the airfoil? 9 mm? Quite surprised it's still possible to hotwire out an airfoil with such a thin profile and size.
          The AG03 airfoil at the root is about 10mm, but the tip tapers all the way down to 5mm with AG11 airfoil.

          Comment


            #20
            Hi Joe, could you show how the wing are joined together and do you need to reinforce the wing bottom?
            Plane:
            - UM Sparrowhawk
            - UM J-3 V.3
            - UM PT-19
            - UM Spacewalker
            - UM Porter
            - UM Extra-300

            Comment


              #21
              Originally posted by buratino View Post
              Hi Joe, could you show how the wing are joined together and do you need to reinforce the wing bottom?
              I will post the wing construction later as I did not take any pictures when I built the first 2 pairs of wings. I'll be building a third pair of wings and will get someone to take pictures of it.

              But anyway, the process is similar to the Topsky's. The wing panels' root are sanded to the dihedral angle and the foam around the wing mounting bolts will be removed and filled with microballoons. The wings are propped to thier dihedral angle and while being epoxied together. The joint are then wrapped with a layer of fibreglasscloth with bias orientation, both top and bottom.

              Comment


                #22
                Thanks Joe, will follow your build
                Plane:
                - UM Sparrowhawk
                - UM J-3 V.3
                - UM PT-19
                - UM Spacewalker
                - UM Porter
                - UM Extra-300

                Comment


                  #23
                  Today, I started bagging the 3rd set of wings.

                  Firstly, the 10mm wide carbon spar caps are cut from 0.3mm carbon batter. The logo is obtained from the website and printed onto a thin sheet of paper. I manually cut it out and applied onto the foam core surface with a light coat of 3M77.

                  Attached Files

                  Comment


                    #24
                    Next, I coated the PVC carrier sheets with automotive turtle wax, before laying out the glasscloth. The cloth is set at bias with respect to the wingspan. The glasscloth is then saturated with Z-poxy laminating resin with a paint roller. On the left wingtip, 1K carbon cloths are added at bias for the throwing peg.


                    Click image for larger version

Name:	20130823_134108.jpg
Views:	1
Size:	335.1 KB
ID:	975988

                    Comment


                      #25
                      The excess cloths are trimmed with a pair of scissors. I mixed a small batch of Aerosil with epoxy to make a paste for the carbon spar caps. It is first applied into the grooves sanded onto the foam core earlier before adding the spar caps. The excess are squeegee off and the whole thing is placed between the PVC carriers.

                      Click image for larger version

Name:	20130823_135320.jpg
Views:	1
Size:	285.7 KB
ID:	975989

                      Comment


                        #26
                        The whole stack-up is secured with masking tape before being blanketted with a layer of breather cloth on both sided.

                        Click image for larger version

Name:	20130823_140338.jpg
Views:	1
Size:	283.2 KB
ID:	975990

                        Comment


                          #27
                          The sandwich is then placed into a vacuum bag, which I made earlier, before turning on the vacuum pump. Once the vacuum pressure is established, the wing panels are supported and weigh down with the foam wing beds and plenty of scrap metal blocks. I kept the vacuum pressure for about 4 hours to allow the epoxy to set. After shutting down the vacuum, I left the wing panels weigh down overnight to allow the epoxy to reach its full strength. My first pair of wings have some warps due to mishandling before the epoxy resin has reached its full strength. The result of this pair of wing will be revealed over the next few days.

                          Click image for larger version

Name:	20130823_142230.jpg
Views:	1
Size:	349.2 KB
ID:	975991

                          Comment


                            #28
                            Wow! you can really start your own factory! =]

                            Comment


                              #29
                              I'd ordered some glasscloth and CF tissue from HK last week. Today, I'd just placed an order for 12 pieces of tapered carbon wrapped tailbooms. I hope I can build better and lighter versions of the Mimi.

                              Comment


                                #30
                                Yesterday, I brought it down at Compassvale field and tested it out. At 188grams, it is not the best floater but nevertheless, it did flew pretty well with quite a few thermal rides. One thing for sure, it can be launched pretty high. The model feels a tad nose heavy with the CG at the mid point of the recommended range. The model will pitch up during launch if the elevator trim is left on cruise mode. Therefore, I had to mixed some down elevator trim during launching to correct it.
                                Last night, I removed 4 grams of nose weight to bring the CG to the aft most recommended position. The AUW is now at 184grams. I will need to test it out again sometime later. Meanwhile, I have added Jet Hobby's logo as a return of favour, for the generous sponsorship of balsa wood.
                                Click image for larger version

Name:	20130825_134949.jpg
Views:	1
Size:	336.8 KB
ID:	976006Click image for larger version

Name:	20130825_135019.jpg
Views:	1
Size:	296.5 KB
ID:	976007

                                Comment

                                Working...
                                X