Announcement

Collapse
No announcement yet.

Real Scratchbuilding a Mimi DLG

Collapse

Zenm Tech Pte Ltd

Collapse

Visit Zenmtech at rc.zenmtech.com

X
 
  • Filter
  • Time
  • Show
Clear All
new posts

    Real Scratchbuilding a Mimi DLG

    It came to my understanding in seperate occasions that some RC folks have different definition of 'scratchbuilding'. In one occasion, a shop owner told me that buying a Mountain models P-51 balsa plane kit will require 'scratchbuilding' to get it flying. On another occasion, someone claimed that he had scratchbuilt a Topsky 2.0 before it was being sold to a nice gentleman.

    While I didn't really challenge the 2 individuals who made the remarks, most folks who has been in this hobby for quite a while, would understand that 'scratchbuilding' does involve a lot more than just building from a commercially available kit, and usually requires the builder to fabricate most, if not all of the airplane strustural components from raw materials. Don't take me as an elitist, but it's been know around the world that RC plane scratchbuilding is literally building a model plane with raw materials and plans, since the very first day of aeromodelling.

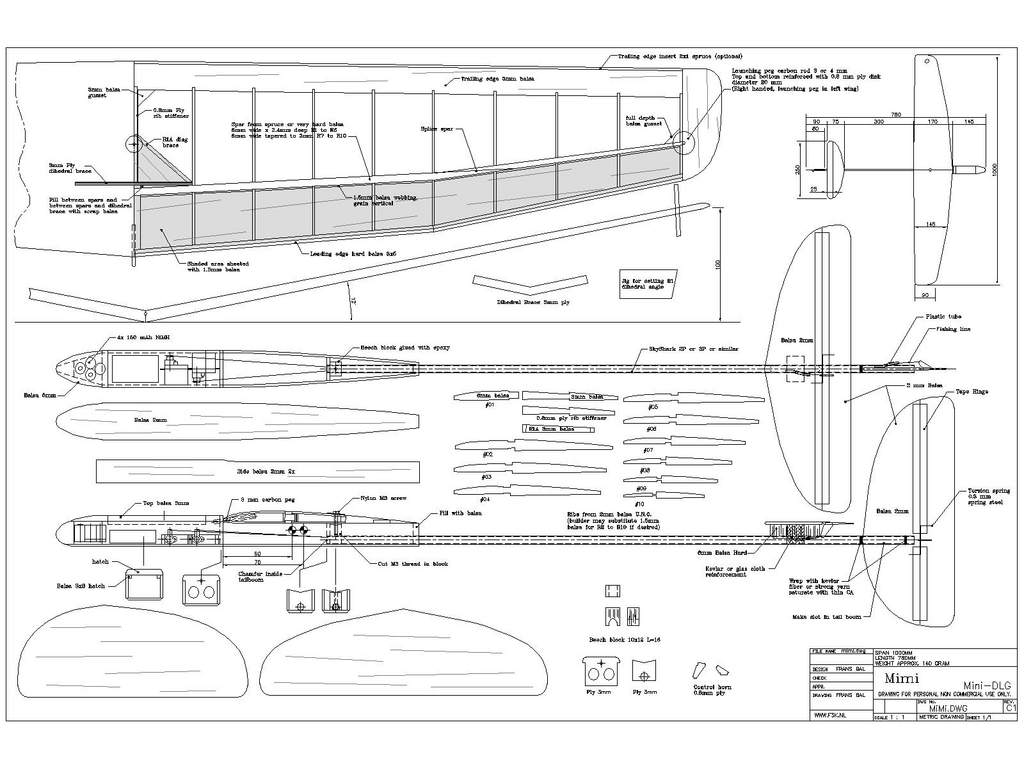
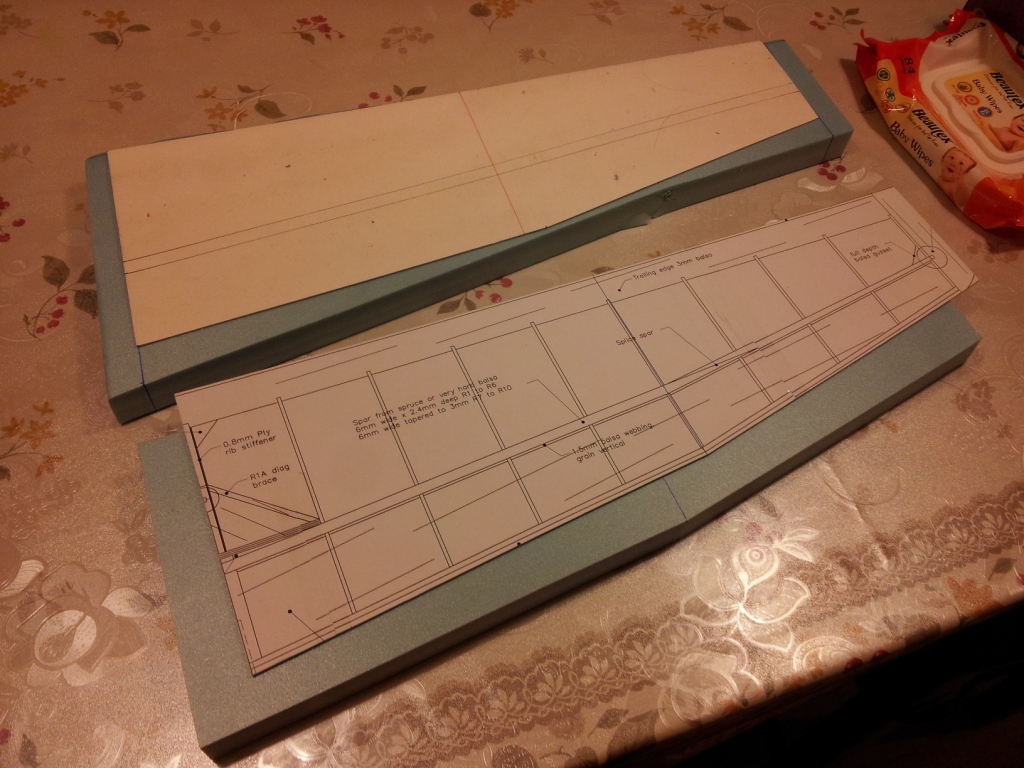
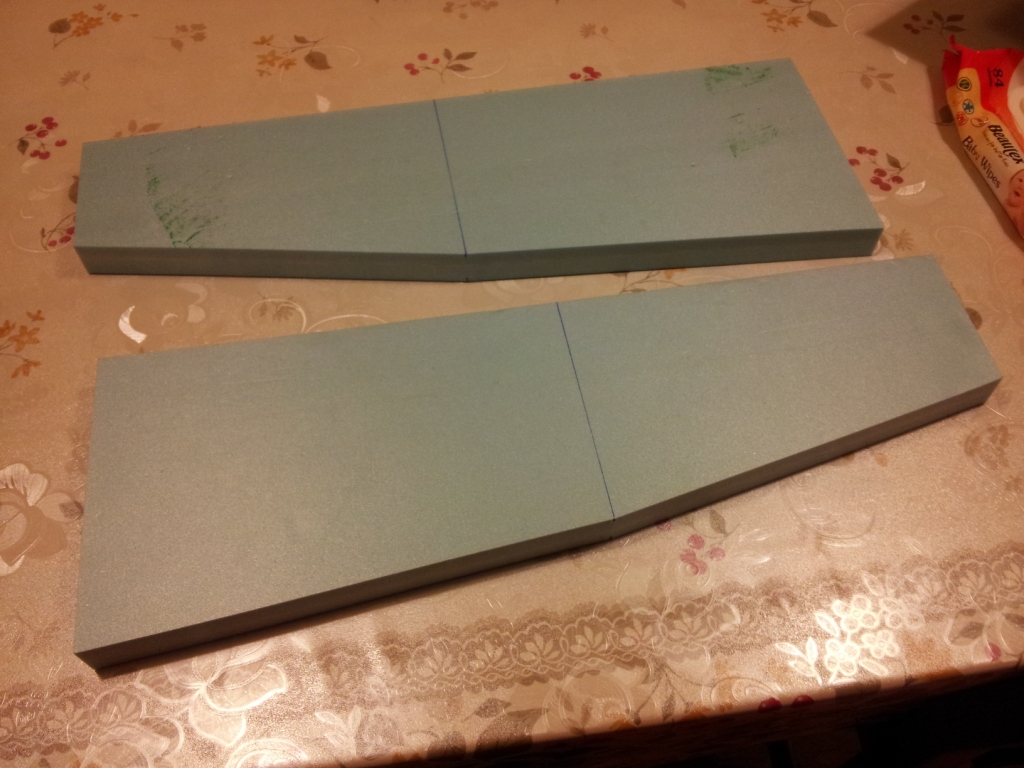
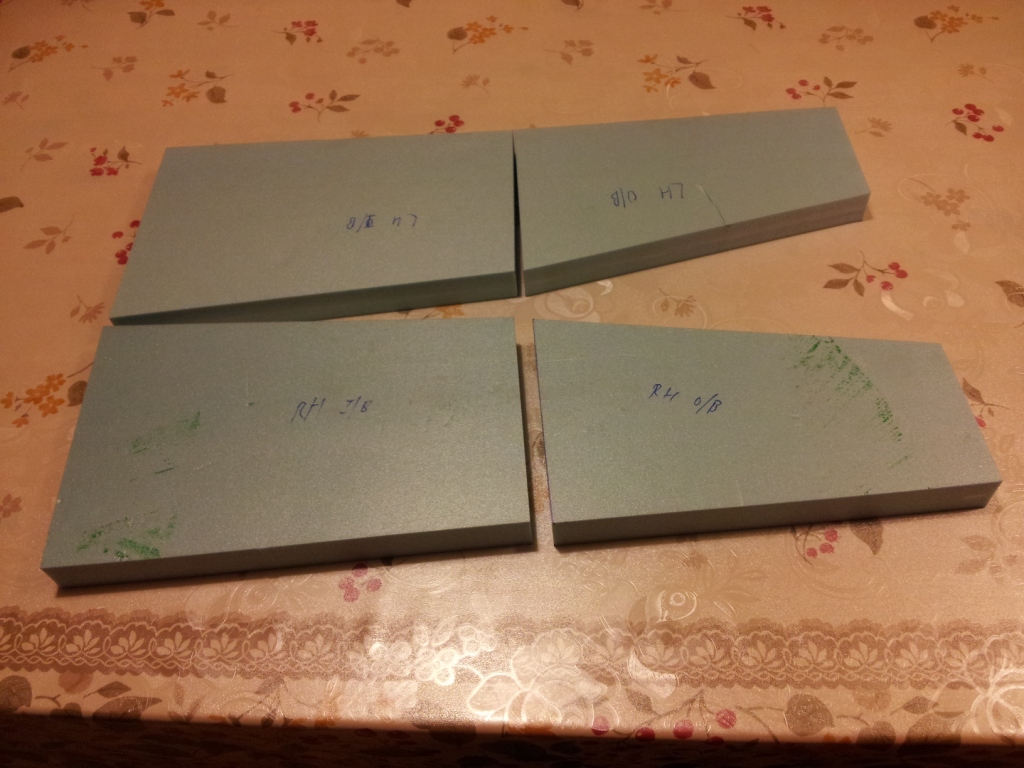
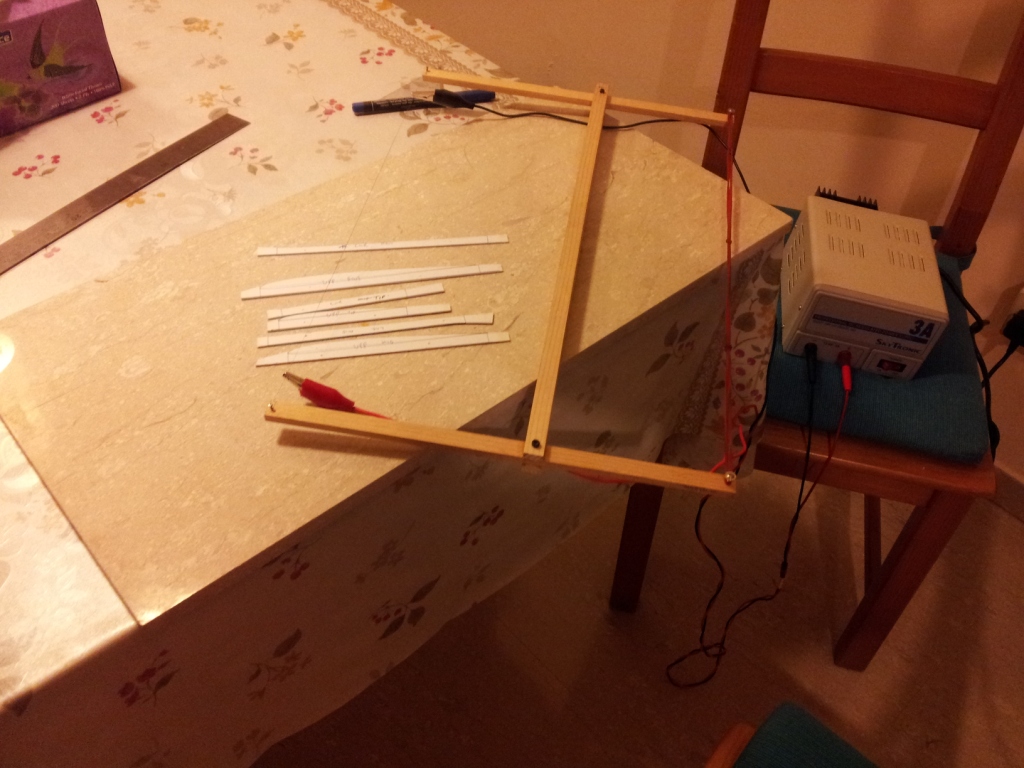
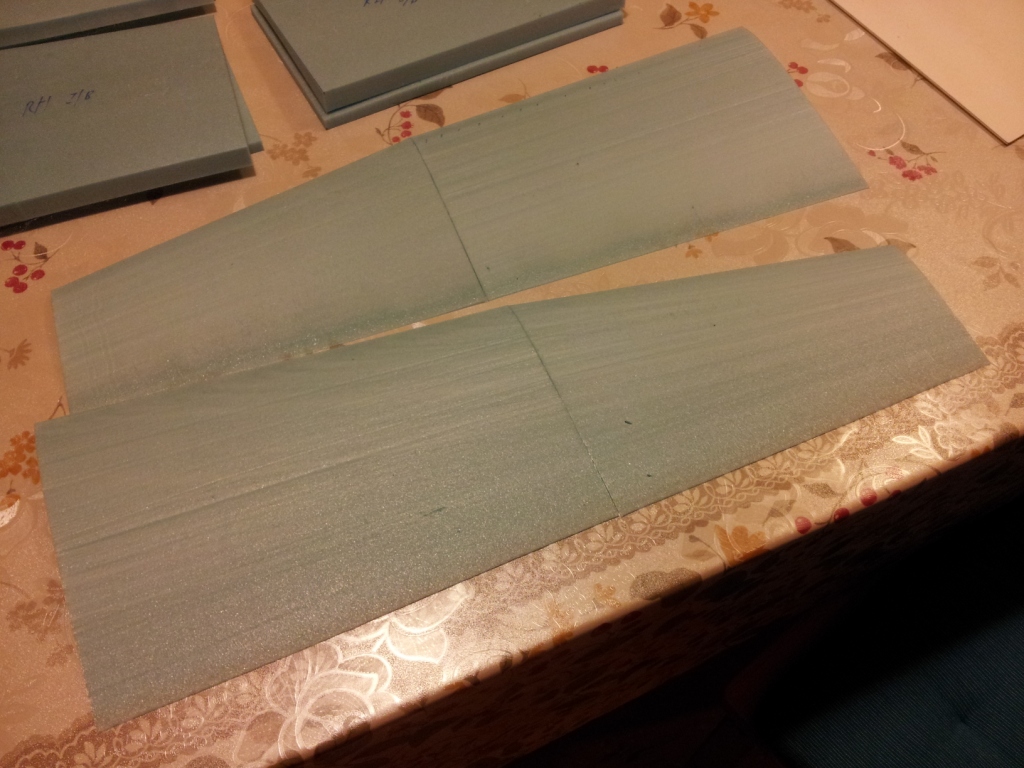
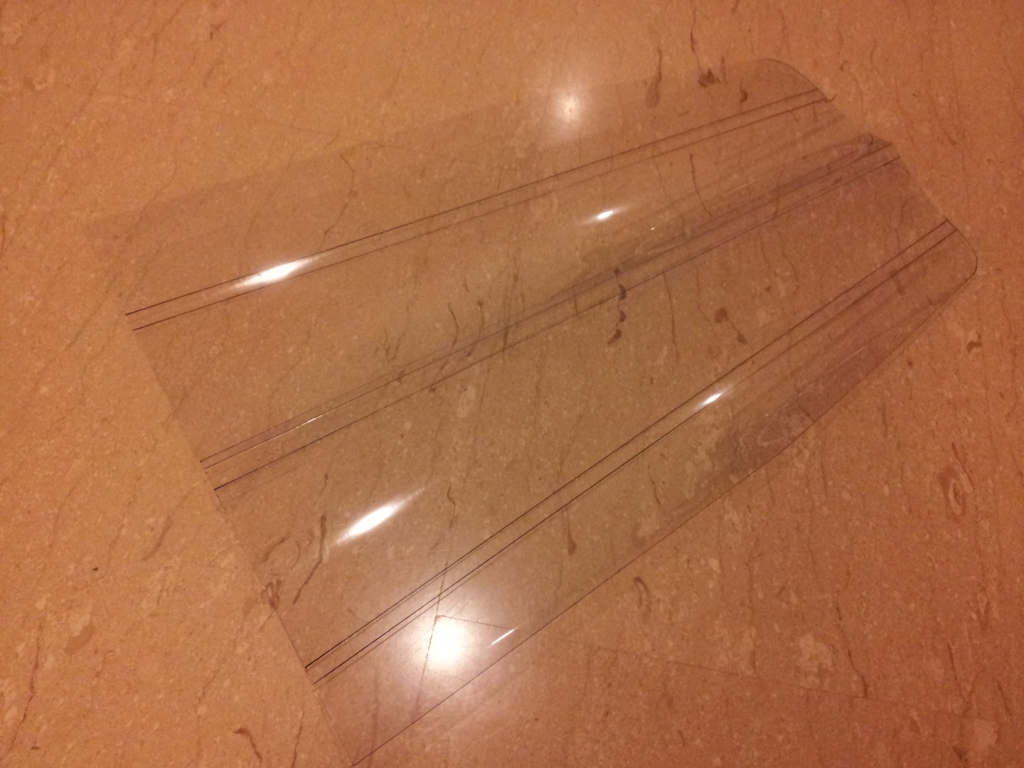
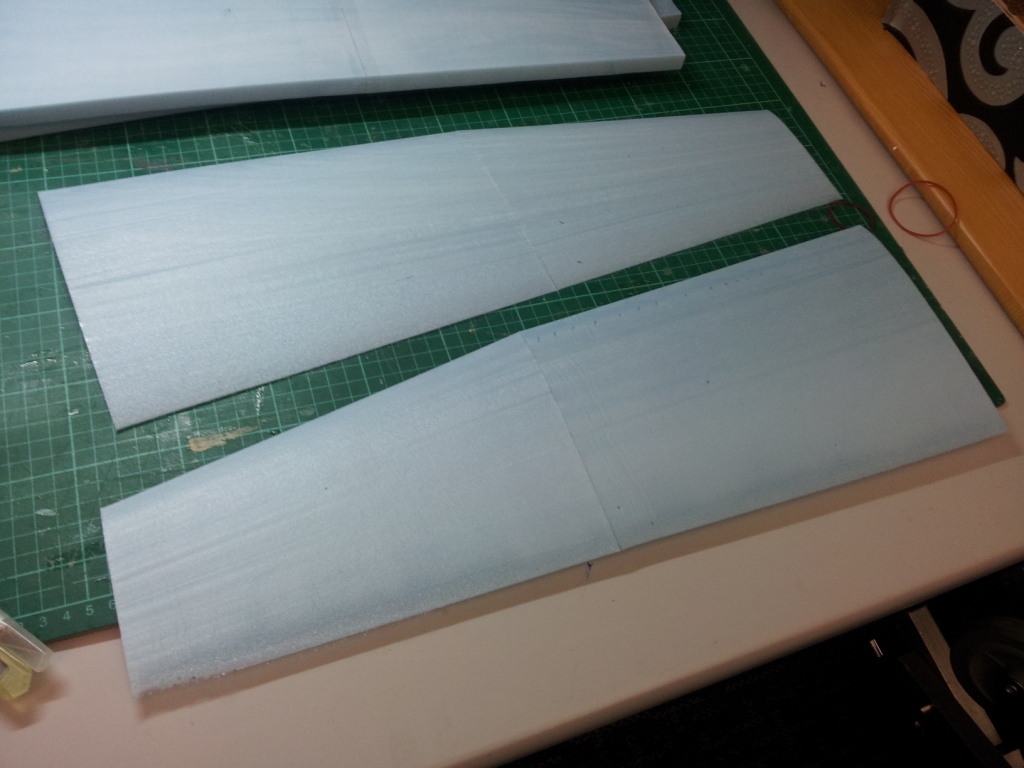
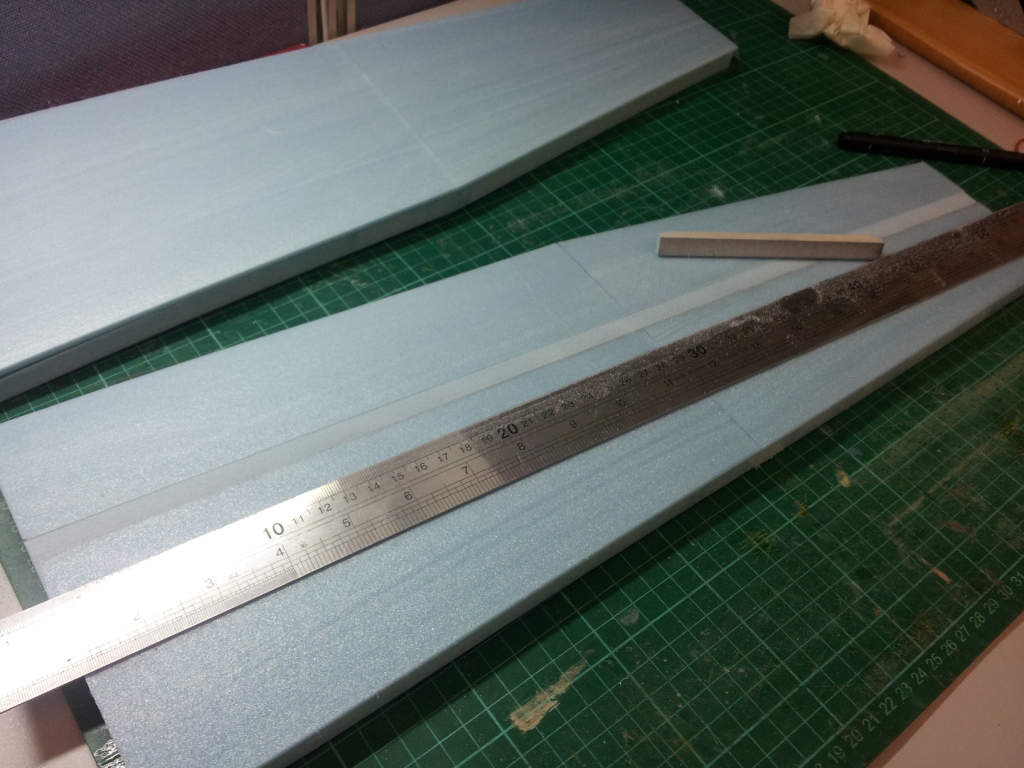
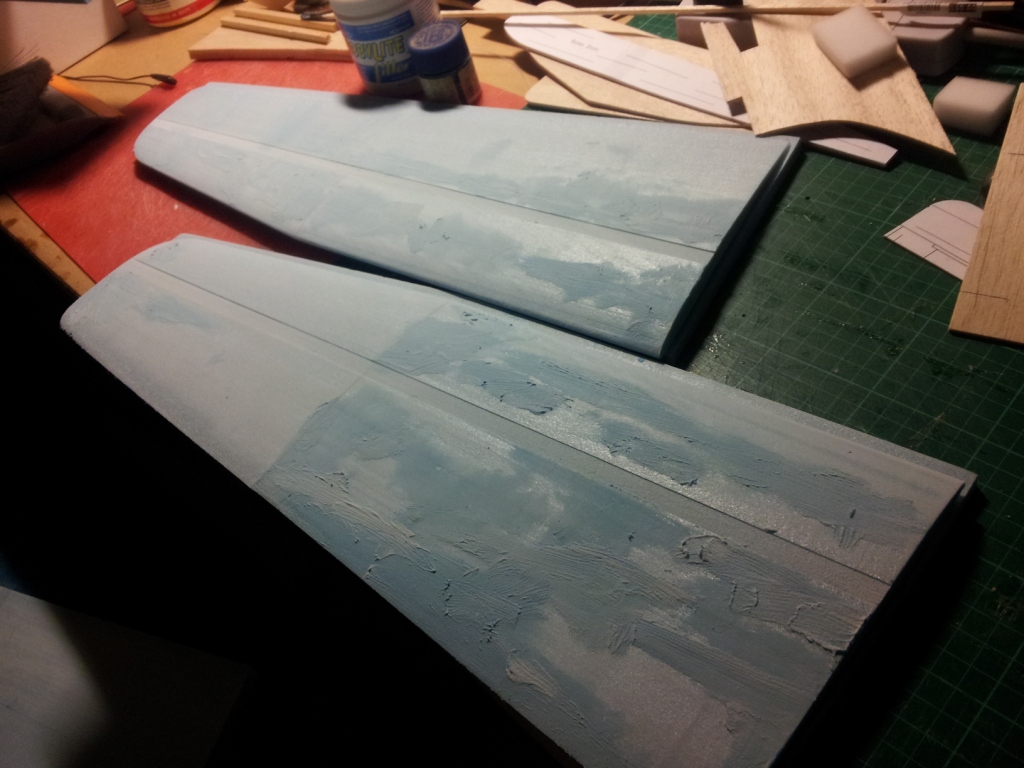
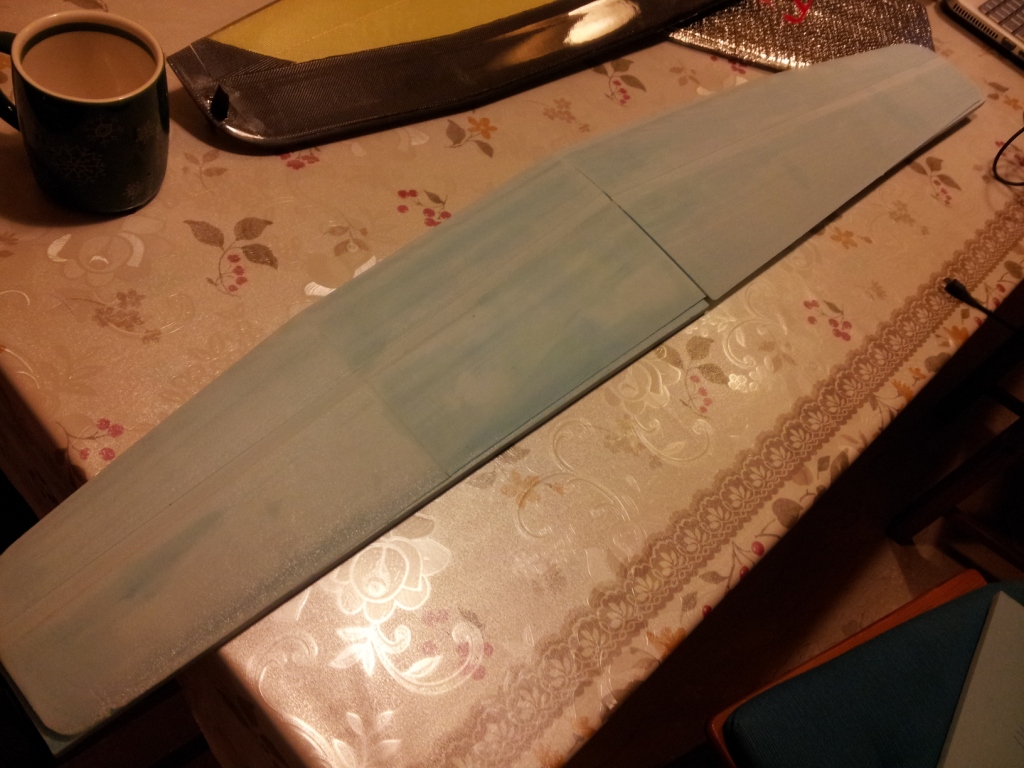
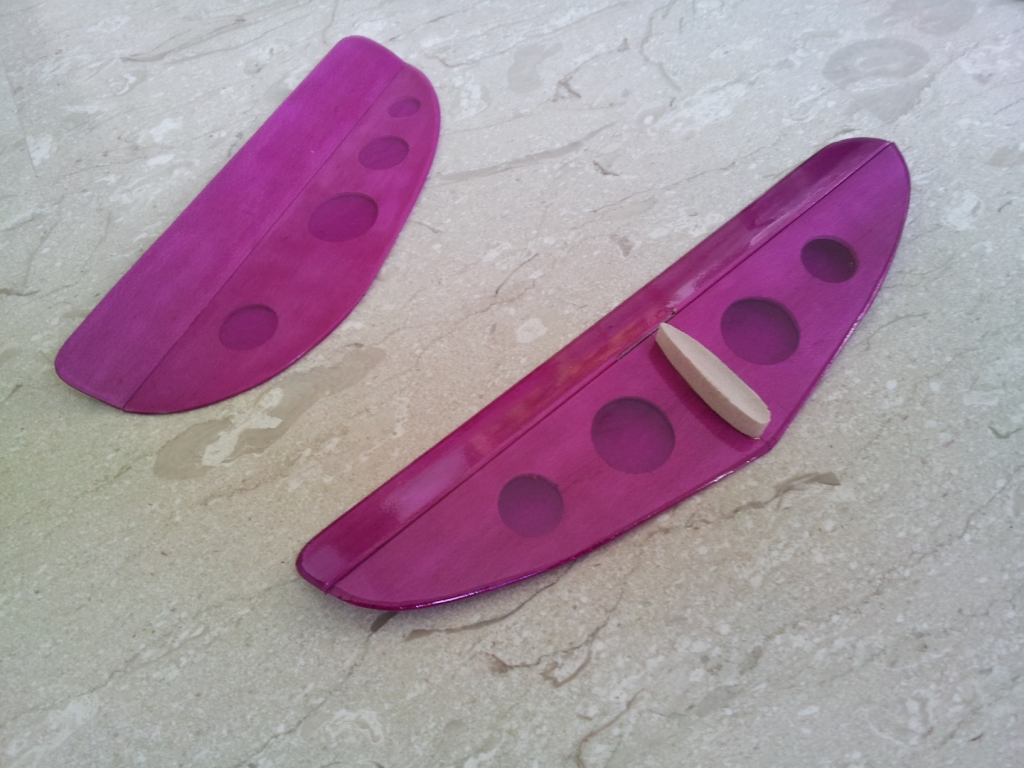
    Since I am currently building a DLG, this thread may come in handy as it serves to provide the readers the real sense of scratchbuilding a Discus Launched Glider.
    Last edited by joe yap; 13-08-2013, 11:18 PM. Reason: grammar

    #2
    I came to know about the Mimi DLG from RC Groups. I quick email has gotten me a set of plans in PDF form. I'll like to take this opportunity to thank the designer for making this design available as free plans.

    The 1 metre span, 2 channels design comes in 3 different versions for the wings, a solid balsa wing, a semi-solid balsa wings and balsa built-it wings. I chose the 4th instead, using my own idea of modern composite DLG wings

    Attached Files

    Comment


      #3
      Originally posted by joe yap View Post

      most folks who has been in this hobby, would understand that 'scratchbuilding' does involve a lot more than just building from a commercially available kit, and usually requires the builder to fabricate most, if not all of the airplane components from raw materials. Don't take me as an elitist, but it's been know around the world that RC plane scratchbuilding usually only has a plan to start with, and that's all.
      +1. So true.

      Comment


        #4
        scratch building is not kit building! Kit building is kit building.

        I'll just have to say kit building is also mighty intimidating, especially when one buys a box of sticks

        those that have experience in piecing together wooden puzzles might do it better

        Go for the wooden japanese kits from SHS, they are better = )
        "Always fly with a responsible attitude. You may think that flying low over other people’s heads is proof of your piloting skill; others know better. The real expert does not need to prove himself in such childish ways..." - the Multiplex Build Manual

        Comment


          #5
          Anyway, I started off by making a set of wing templates out of stiff cardboards, using the wing pattern from the plans. The 1" think blue foam is rough cut out using a penknife, before hotwire cut to size and square.

          Since is wings have double taper, the foam blocks are split into 2 panels each.

          Attached Files

          Comment


            #6
            Using my handheld hotwire cutter and cardboard templates, I cut the wing cores out with Drela's AG03 airfoil, which transits to AG11 towards the tip.

            Attached Files

            Comment


              #7
              I use 0.3mm PVC sheet to make 4 wing skin carriers. The trailing edge of each carrier has 3/8" extension beyond the wing trailing edge. The alignment markings of the wing core and carbon spar caps are clearly marked on the outside of carrier sheets to aid alignment later on.

              Attached Files
              Last edited by joe yap; 14-08-2013, 07:10 AM.

              Comment


                #8
                The core panels are epoxied together before and sanded grooves onto the top and bottom surface, for the carbon spar caps. The wingtips are cut to shape with a template and penknife, before sanding.

                Attached Files

                Comment


                  #9
                  Nice build man. Will this take part in the ntu dlg contest?
                  Take what you've got and fly with it - Jim Henson
                  ... no plane will allow a pilot to recover from stupid. You still have to do those piloty things... - Joe Wurts
                  Electric things run on smoke. Let the smoke out and they won't work.


                  sigpic

                  Comment


                    #10
                    I registered already. Don't know which one to choose between Super Topsky 2.5 or Elf though.

                    Comment


                      #11
                      see you guys in NTU, this event need more sponsor.

                      Will be supporting the community on goodies bags and model display.

                      Comment


                        #12
                        I use speckling compound to fill the imperfections on the foam core surfaces. I tainted a small batch of it with a drop of Tamiya acrylic blue paint to match the colour of the foam.

                        Attached Files

                        Comment


                          #13
                          After the compound has dried up, I gave the foam core another light sanding to smoothem the surfaces.

                          Attached Files

                          Comment


                            #14
                            At this point, I didn't take any pictures of the vacuum bagging procedure. I'll resume the wing constructions when I build the next pair of wings.

                            I'm moving on the the constructions of other main components.

                            Comment


                              #15
                              The empennage is made from 2mm hard balsa, cut and sanded to shape. I cut some lightening holes to save weight. The tail surfaces are covered in Oracover transparent purple film, and the flight controls are hinged by the covering itself. I made a pair of torsion springs and installed them into the flight control surfaces.

                              Attached Files

                              Comment

                              Working...
                              X