Announcement

Collapse
No announcement yet.

Multiplex Acro Master at OHR on 16th January 2011

Collapse

Zenm Tech Pte Ltd

Collapse

Visit Zenmtech at rc.zenmtech.com

X
 
  • Filter
  • Time
  • Show
Clear All
new posts

    Multiplex Acro Master at OHR on 16th January 2011

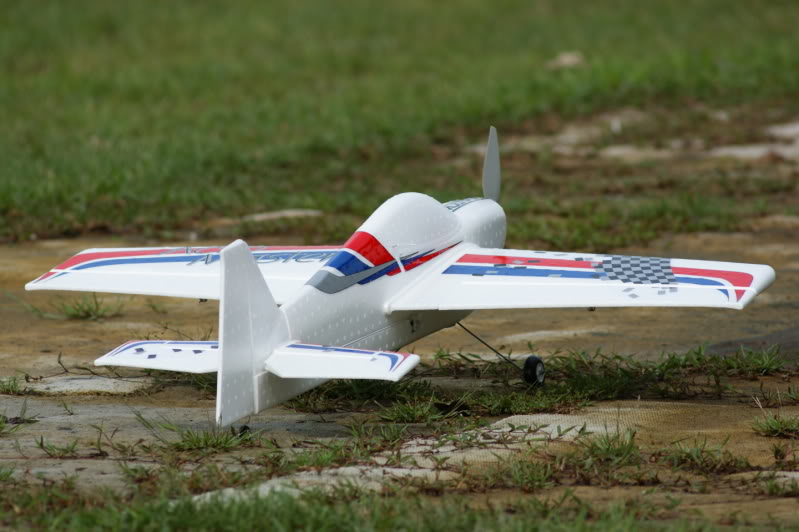
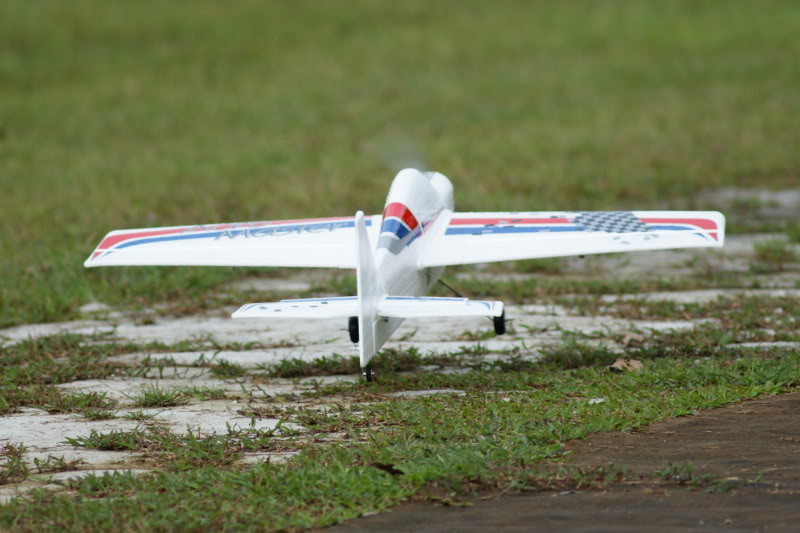
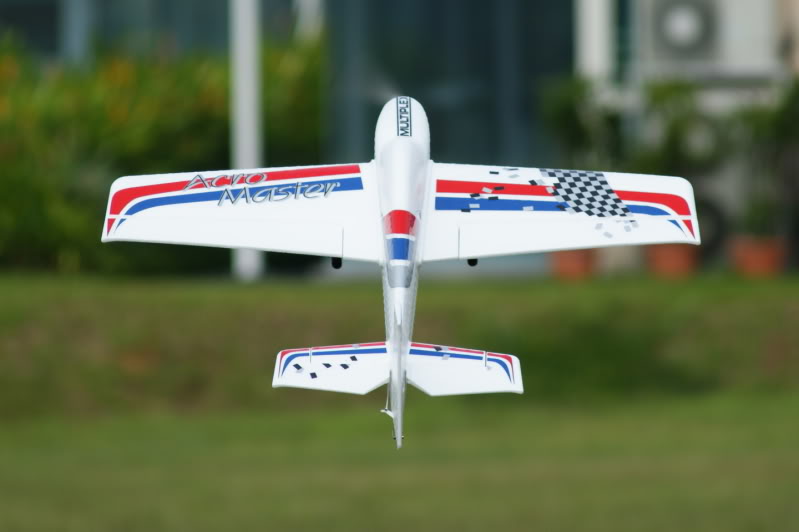
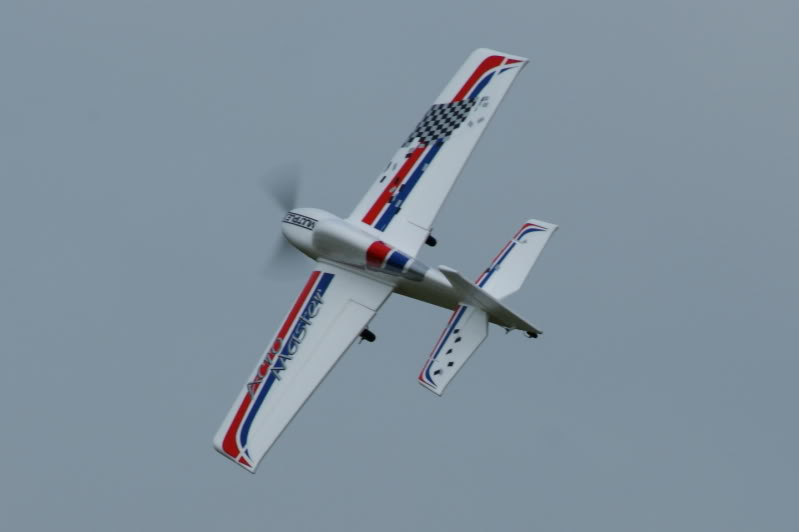
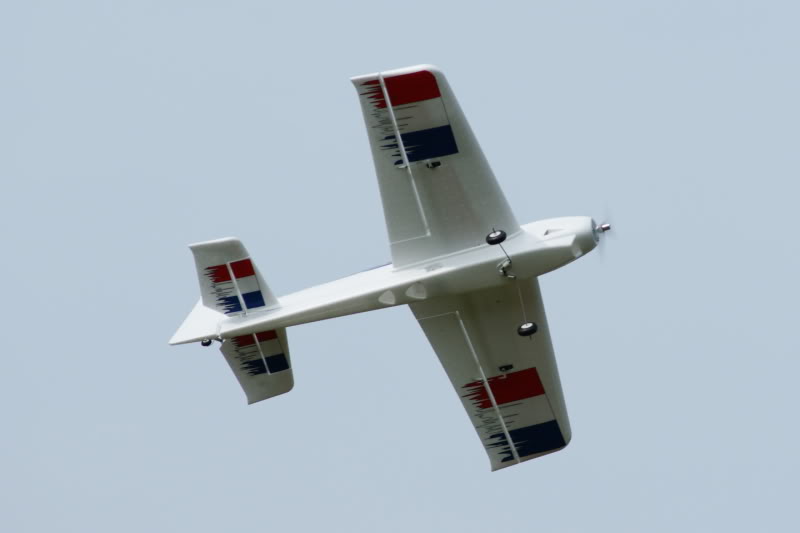
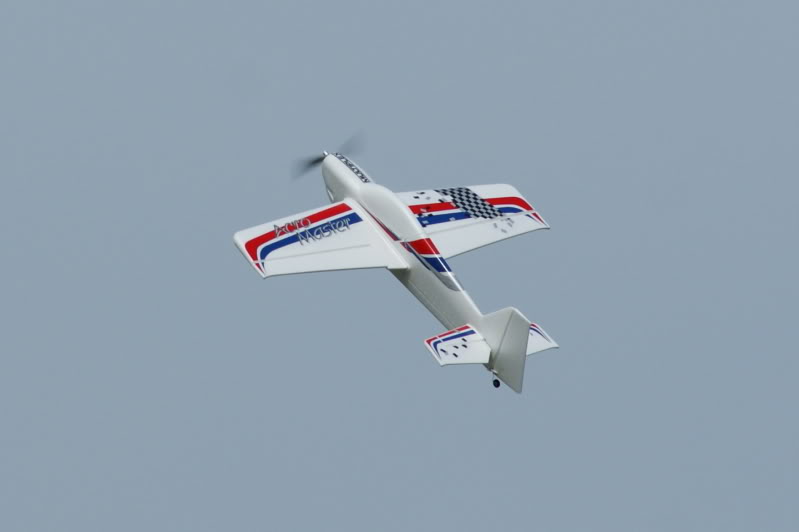
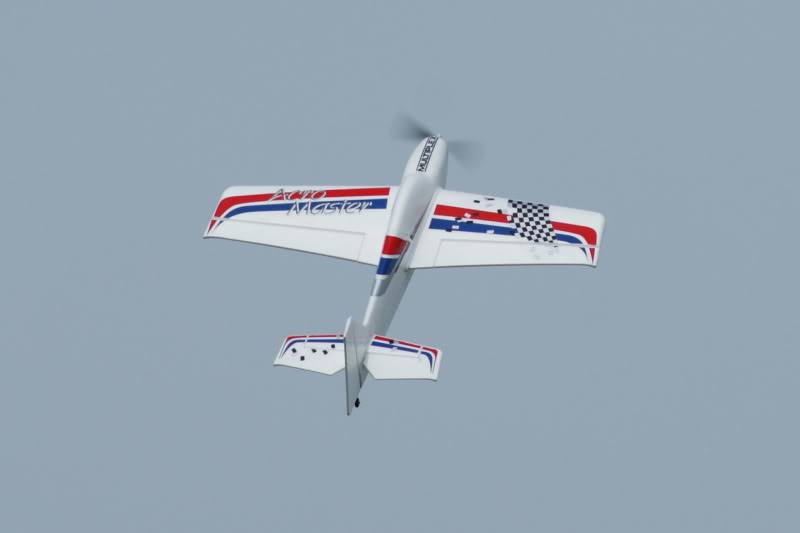
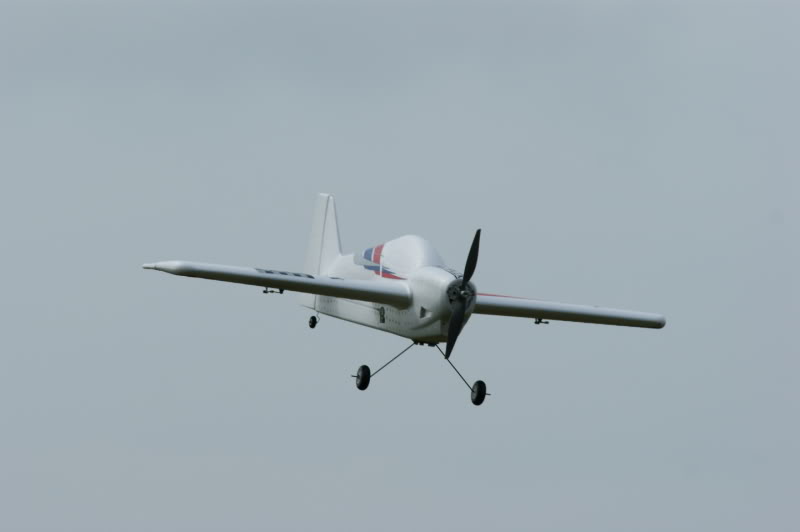
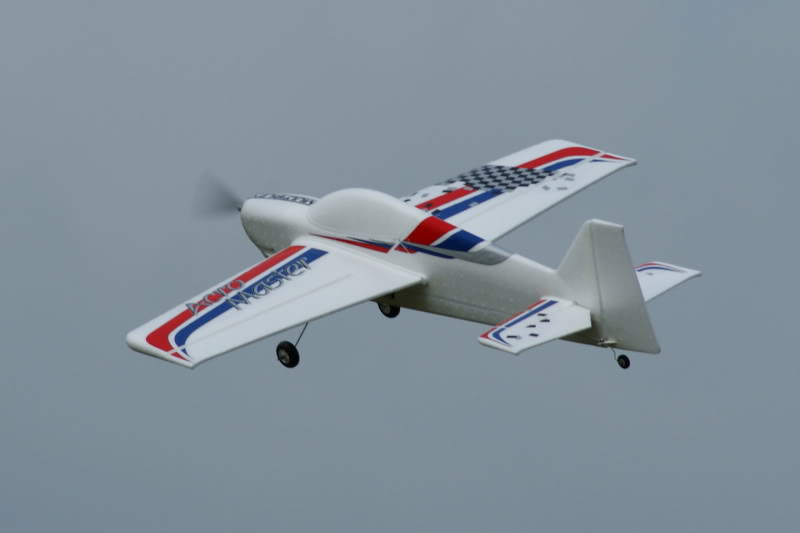
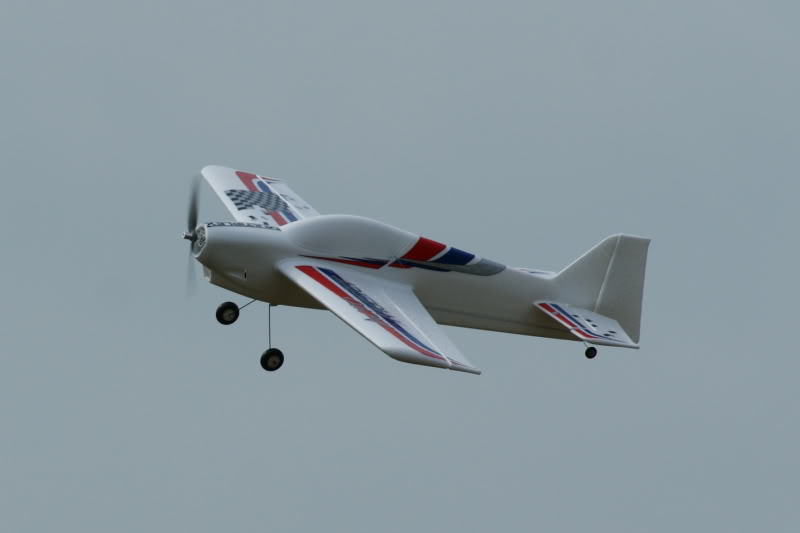
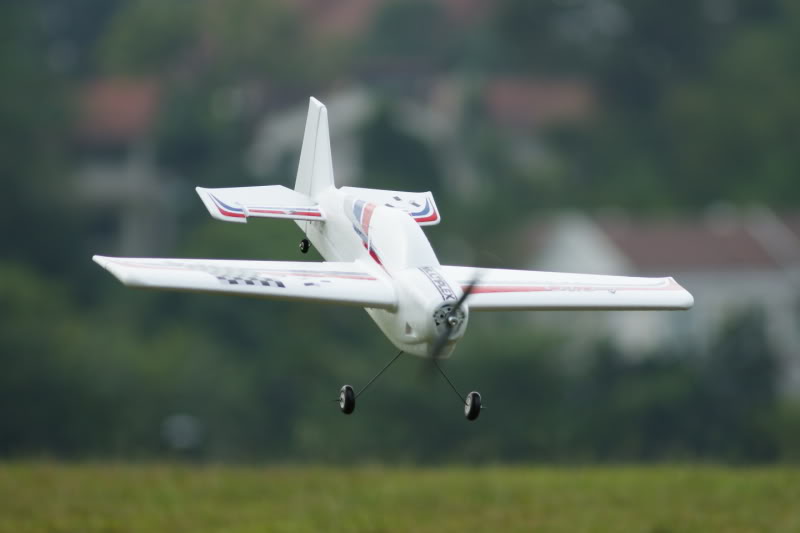
    Flier 'Serpent' was a happy man after his brand new Acro Master completed its successful maiden flight at the site in the morning.


    #2
    Thanks for the pictures.
    This will be my trainer plane for 3d flying.
    Got to get more stick time before I maiden the AJ Extra 330.

    I am trying to solve some severe vibration problem which I encountered during this morning flight.
    will test again tomorrow.
    sigpic

    Comment


      #3
      The AM has been known to have severe vibration problems. Some of which have resulted in a catastrophic failure of the whole nose area.

      Some guys have glassed the inner walls in the nose area during the assembly, but i guess maybe glassing the nose area on the outside may help with the vibration issue. Some have even use carbon rods to strengthen the area. I think the thread in RCG is quite comprehensive.

      Hope this helps.

      Cheers,
      Adnan
      Take what you've got and fly with it - Jim Henson
      ... no plane will allow a pilot to recover from stupid. You still have to do those piloty things... - Joe Wurts
      Electric things run on smoke. Let the smoke out and they won't work.


      sigpic

      Comment


        #4
        the vibration issue can be solved with making a motor mount out of ply or reinforced balsa and placing it between the motor and the motor mount, worked fine for me after much usage of the glue gun and CA cause the thing cracked

        imo, glassing the inner walls didn't help much... i did it, and now its redundant weight!

        maybe you could share your setup? the AM on stock frame has some issues with over powering =) it flies best on a 3s setup i think...

        im not sure if you can see what i mean for the motor mount but refer to the pics, Oh, paint your canopy like mine! black base coat, then fade the silver off the spine of the canopy, its quite a nice effect!

        Comment


          #5
          Thanks Randomtask & Nicholas for the tips.
          After encountering the vibration issue in the morning, I have actually reinforced the fuselage area behind the firewall with FG cloth.
          The flight this morning was much better. The vibration even though is still there, the magnitude has reduced significantly.
          It vibrates when the throttle is 70% and above.
          Well ,the reinforced fuselage did work in some way.

          I am using the Multiplex recommended power setup.
          Himax HC3516-1130 motor , 11 x 5.5 prop , 3S 2200mAh batt.
          I will try to install a plywood in between as what you suggest. Do you have any pictures to guide ?
          Ya, the plane was pretty plain. Did some paint job on the canopy and spinner.
          Nice paint job on your AM.

          Thanks again.
          sigpic

          Comment


            #6
            i'll try my best to answer

            not really, but i can roughly guide via words.

            What i did in step:
            -vibration issue noted,
            -Recommendation to make a ply wood motor mount at the back of the motor between the motor and the plastic mount by a fellow FF friend (peter!)
            -Decided that ply wood was too hard to cut/sand down (haha im just lazy)


            Actual process:
            - Went to Jet hobby and bought 2 pieces of balsa *just incase i screwup*, that long thin one, i think its 0.5mm or something... i think!

            - basically traced out the motor mount shape on the balsa (Do note that its always better to make the motor mount larger initially cause you can sand it down!)

            - Trial and error the first piece, basically try to get the piece of balsa to sit firmly in the housing, not really a damn tight fit, just a little squeeze would do

            - Once you get the first piece right, use the first piece and trace out the second piece. CA them together. then drill out the proper holes for ventilation and also for the motor screws...

            -Put the entire thing together, this would contain the following:
            1.) Motor with motor screws etc
            2.) Balsa CA thingy
            3.) plastic motor mount (stock)
            and secure it nicely

            - Screw in the motor mount, ensuring that the balsa is still tightly pressed onto the foam.

            - The motor should be a little more stable now, but its not enough! CA the motor mount in (the balsa bits) and use a glue gun to go over the points that you CA'ed, especially the balsa points below the plastic motor mount! (the glue gun is more important than the CA imo... why? cause the balsa piece would crack for some reason...)

            and done! you got your motor mount!
            shift your 2200mah back a little to get the CG at where you want it.

            my setup is less interesting..
            - 920KV nameless brushless motor 13x5inch wooden prop
            - 3s 2650mAh 25C~50C
            - 60A hobbywing ESC
            - 9g servos on all control surfaces 
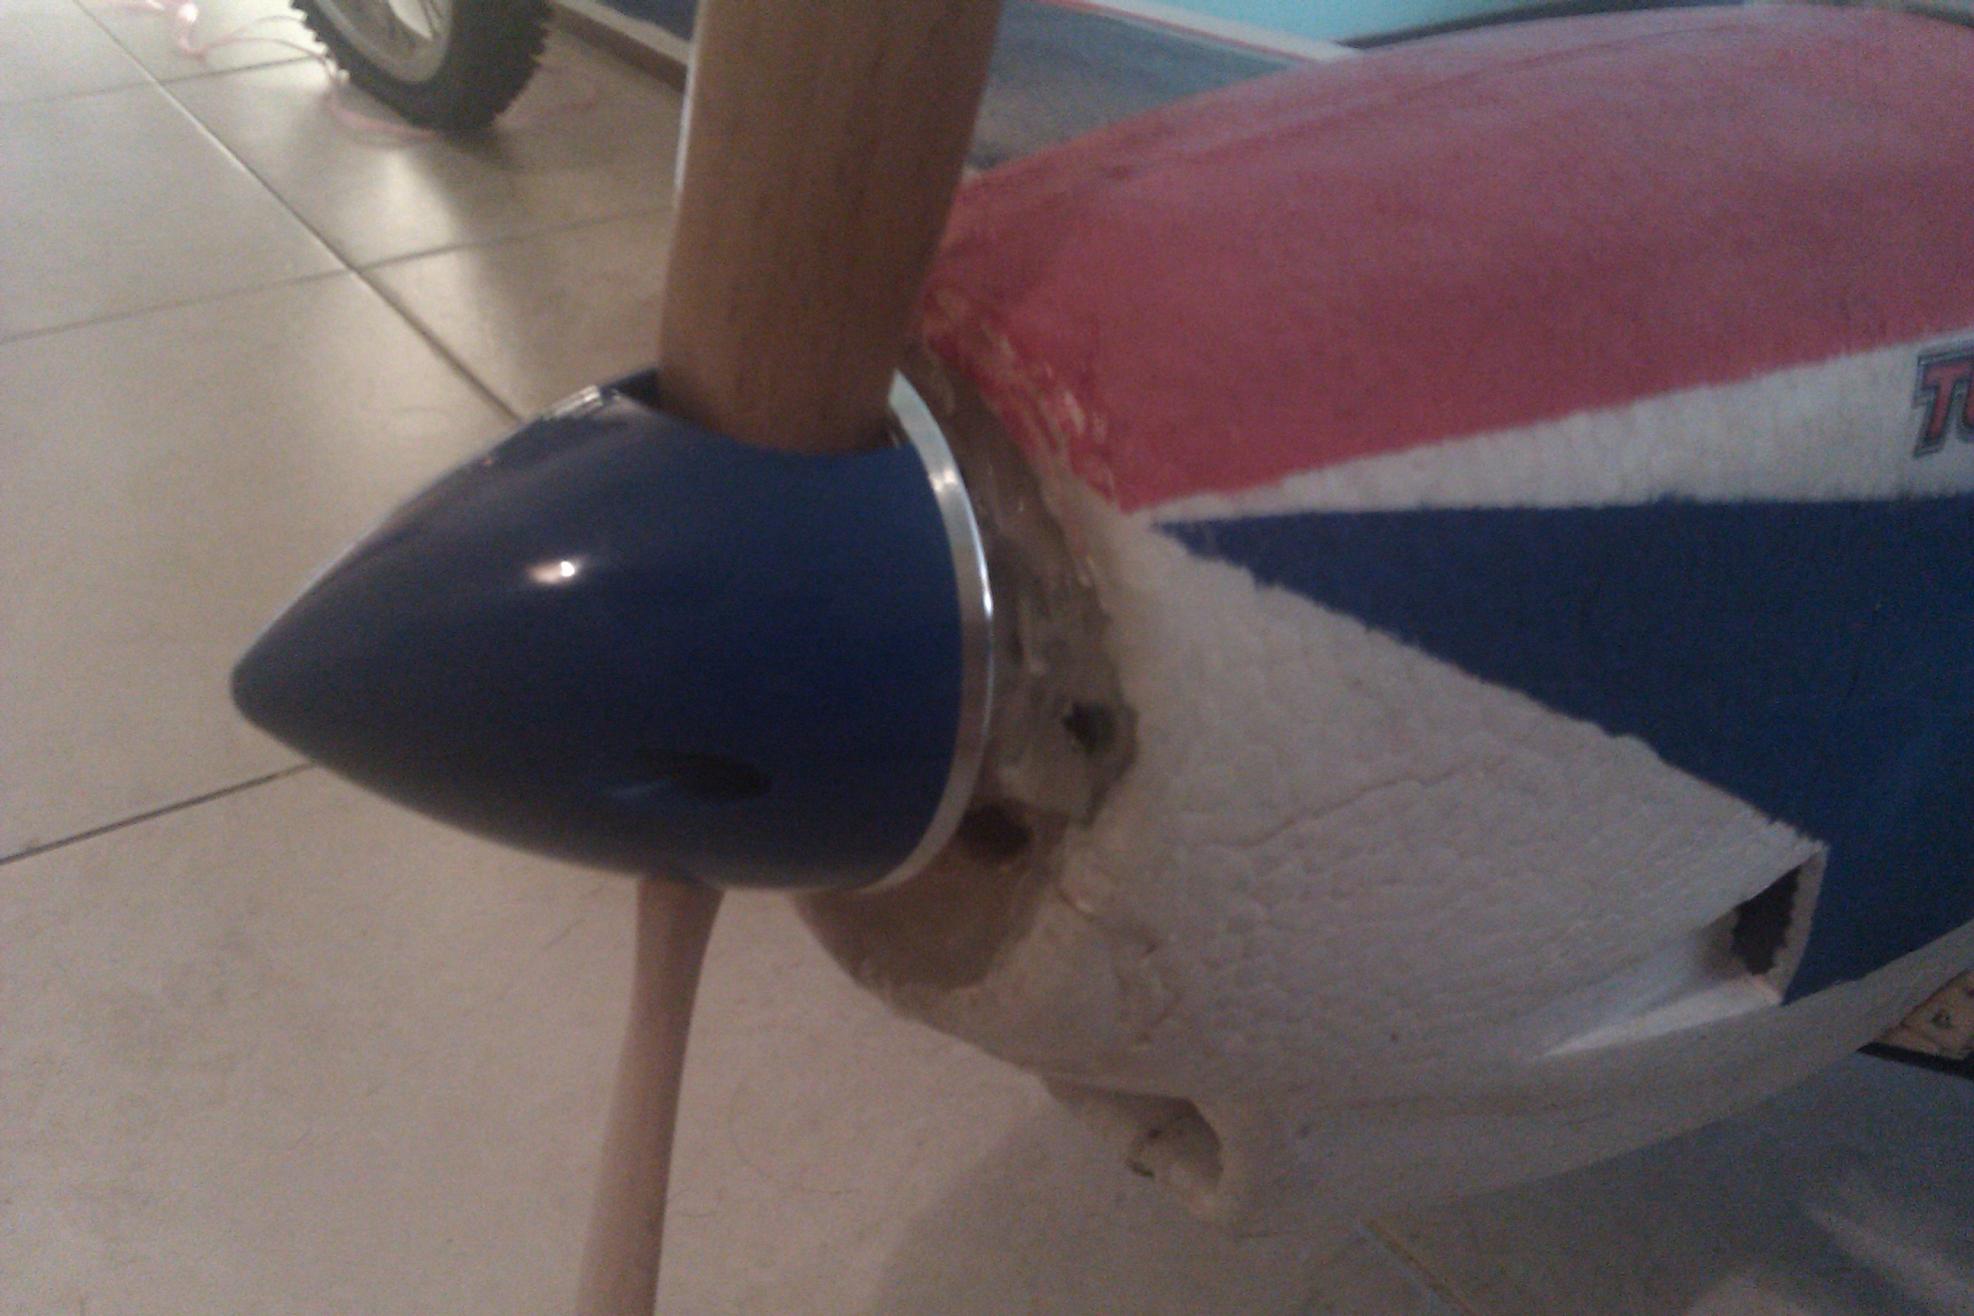
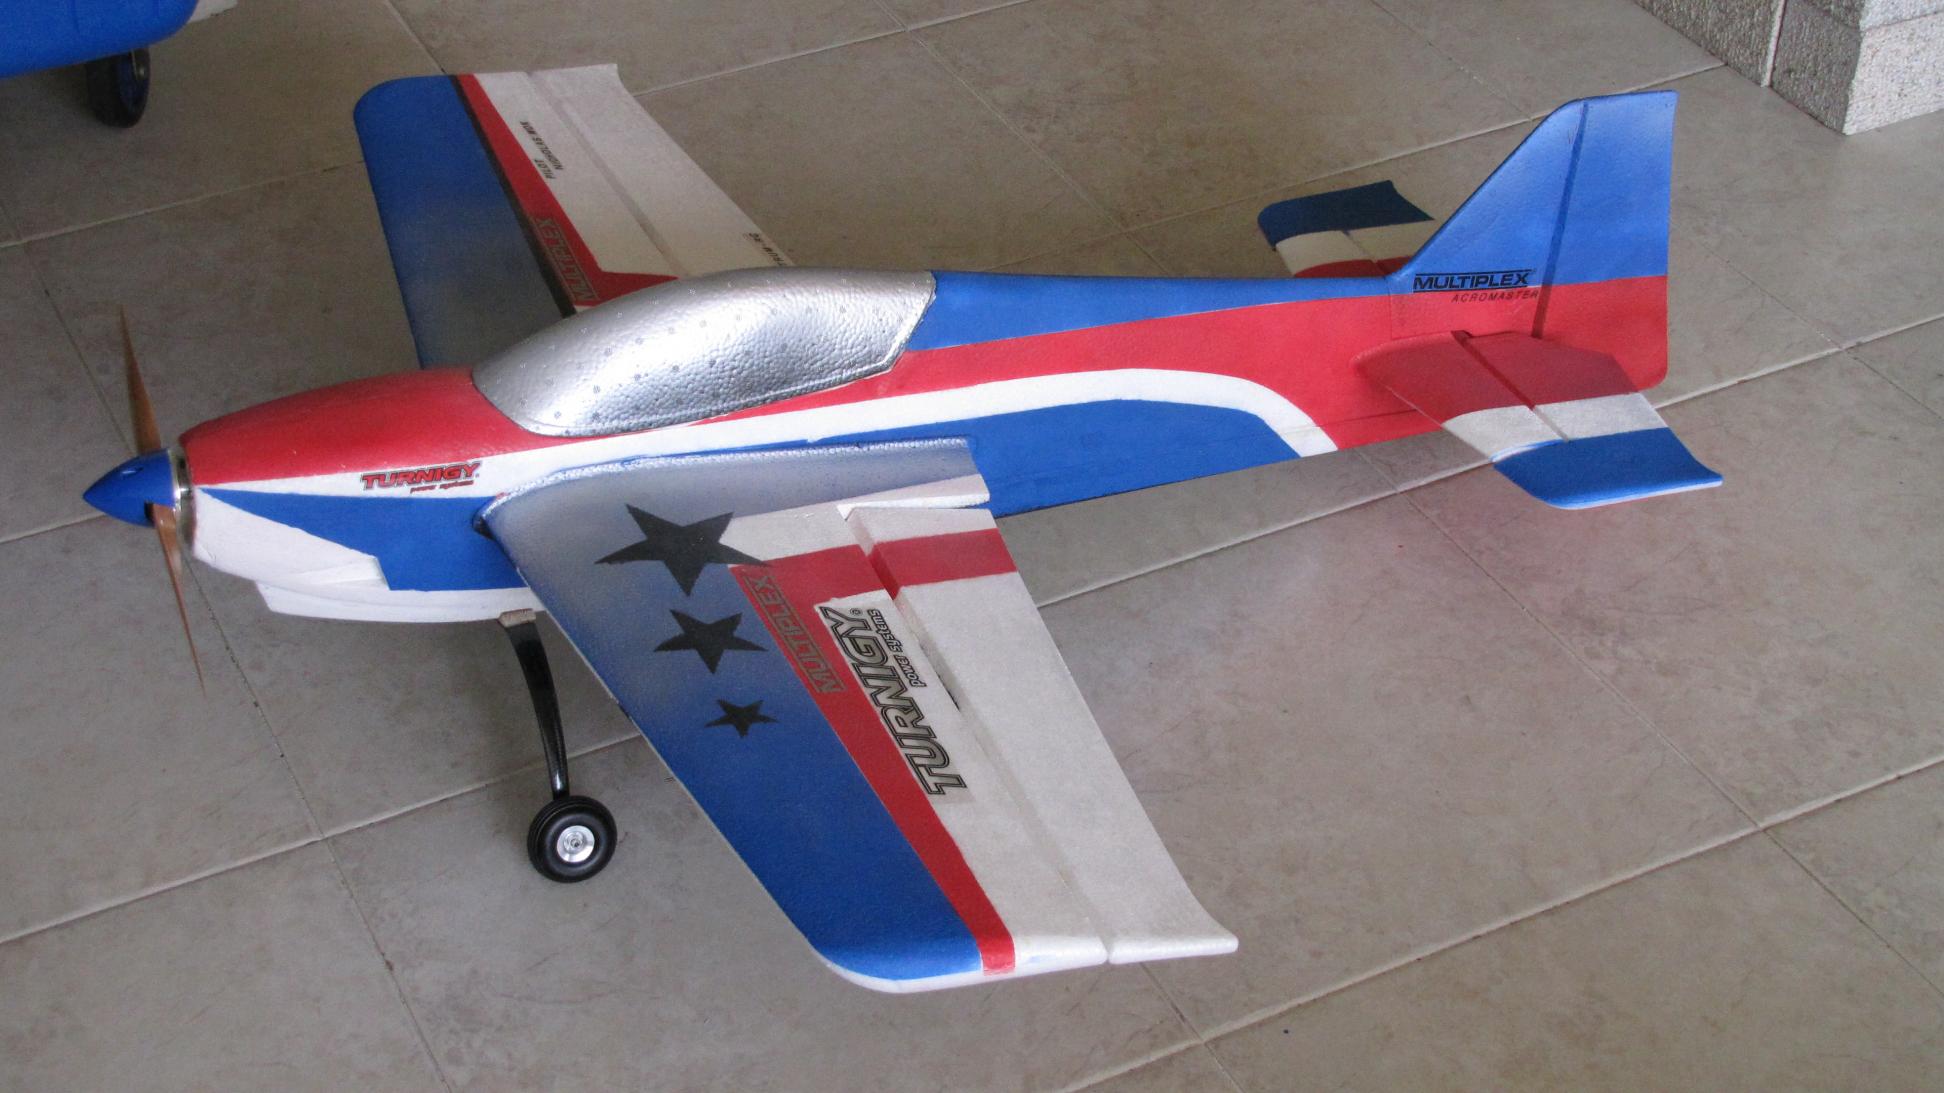
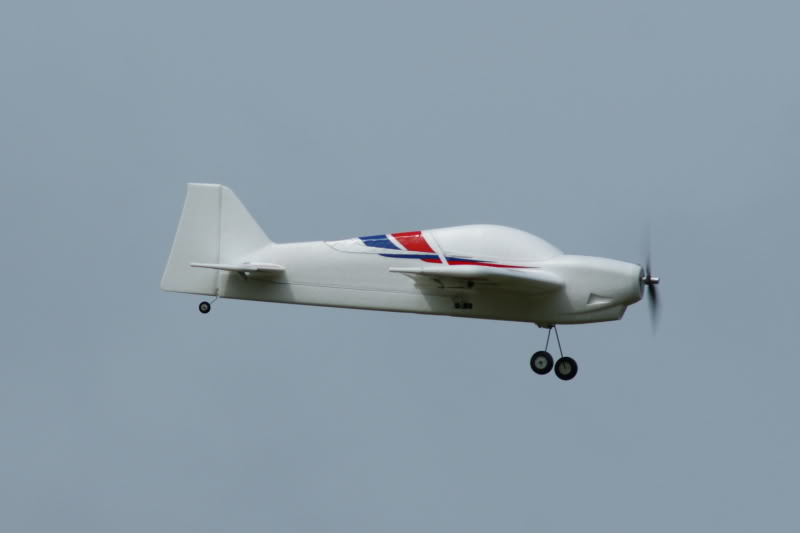
so far, no problem! no control issues either...
            - AR6110E

            Flight time 8mins on full throttle (kinda no choice, the whether sucks at sengkang for AMs)

            Comment


              #7
              Nicholas
              Thanks for taking the time explaining in great detail.
              I am looking forward to test fly the AM after the modification.
              sigpic

              Comment


                #8
                no prob man!

                happy and safe enjoyable flights!

                Comment

                Working...
                X