Hi everyone! Just wanna share my experience in building a Y6 hex-copter and hope to get some helpful tips from you pros out there 
This thread is also good for beginner builders to get a rough idea of how a multi rotor is built. For starters, its better to try building a
quad-copter first then try something bigger.
I wanted to try exploring into a coaxial configuration out of curiosity so i started to do some research
and found out that Y6 hex have a certain efficiency loss (about 8-20%) over a flat hex config.
But some say that the efficiency loss is compensated by having less weight as there are only 3 booms on the Y6 as
compared to a flat hex that needs 6. But the advantage of a Y6 is the camera view (no props in view) at the front
The goal was to experiment (with a low budget) if its possible to use a less power consuming motor on the top to
speed up air and a more power consuming motor at the bottom to make use of the accelerated air from the top
to make it less power consuming.
To keep things simple, all the parts used will be from hobby king.
I will split the post to 4 parts.
1. parts choice
2. building
3. improving the build
4. fine tuning the PID
Part 1: Parts choice
The transmitter is my own Turnigy 9X
link: http://www.hobbyking.com/hobbyking/s...Firmware_.html
The frame i chosen was the Scorpion Y650
link: http://www.hobbyking.com/hobbyking/s...ame_650mm.html
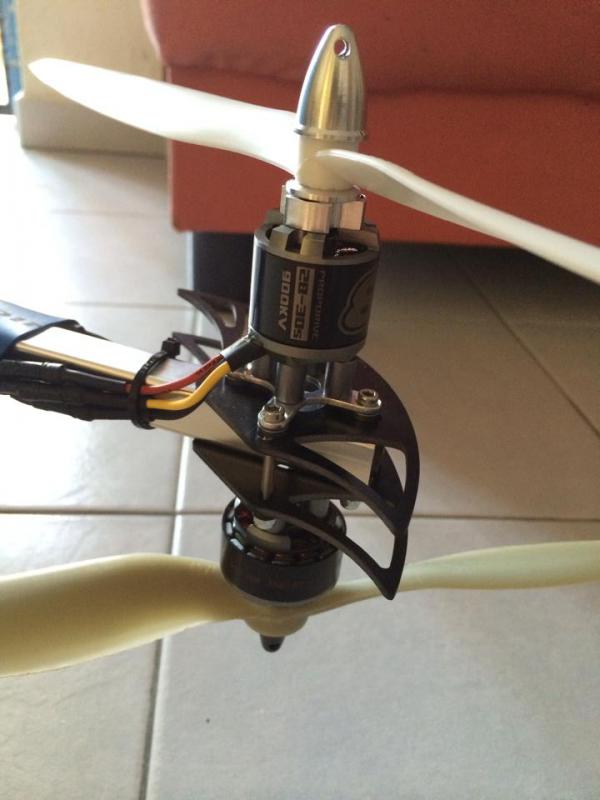
Top motors are 3x NTM 900kv 28-30 short shaft (with the accessories pack)
I chose this motors to go with 12 inch props as the prop data on it shows that it only requires about 18 amps to do so.
link: http://www.hobbyking.com/hobbyking/s..._version_.html
bottom motors are 3x AX-2810Q 750kv
these are more power hungry according to the ratings as they recommend a 30a esc or higher.
link: http://www.hobbyking.com/hobbyking/s...ter_Motor.html
The motors i chose already come with 3.5mm connectors like the ESC does so there's less soldering required.
Top props are low budget 12x45 SF plastic props
link: http://www.hobbyking.com/hobbyking/s...on_White_.html
link: http://www.hobbyking.com/hobbyking/s...on_White_.html
bottom props are Turnigy APC 13x65
The reason i choose a larger prop and pitch below is to make the Y6 more efficient by compensating prop size for the accelerated air.
link: http://www.hobbyking.com/hobbyking/s...er_13x6_5.html
link: http://www.hobbyking.com/hobbyking/s...r_13x6_5R.html
I will be using a multiwii flight controller (these things are awesome when you get the settings right) with a hard case (to cover the barometer)
link: http://www.hobbyking.com/hobbyking/s...2560_V2_0.html
ESCs are 6x Turnigy Multistar 30A opto version
link: http://www.hobbyking.com/hobbyking/s..._4S_OPTO_.html
I chose the opto version to keep the temps lower as the ESC have no voltage to waste for the 5v out so its more efficient.
It also prevents flight controller panics when the voltage drops as you discharge if the voltage spikes.
I used a brushed ESC to power the flight controller and it double as a nice light controller on a knob channel
It's also good for the GPS function as you can power on just the flight controller and GPS first to get some satellites.
link: http://www.hobbyking.com/hobbyking/s...USHED_ESC.html
and lastly the batteries will be Turnigy standard 5000mAh 3S 25c lipo (i already own a few of these)
the discharge from the batteries is about 125amps but for a multicopter, its mostly hovering at around 50-60%
which should be the efficient range of the motors so there shouldn't be any discharge issues.

2nd battery is a Zippy 3s 1000mAh to power lights and flight controller
link: http://www.hobbyking.com/hobbyking/s...Lipo_Pack.html
Other useful stuff that's not important but good to have:
USBASP to flash ESC to SimonK
link: http://www.hobbyking.com/hobbyking/s...occessors.html
ESC flash tool (makes life easier for esc flashing)
link: http://www.hobbyking.com/hobbyking/s...dproduct=27195
power breakout cable (to hxt 4mm to fit my turnigy battery)
link: http://www.hobbyking.com/hobbyking/s...arch=hxt%204mm
GPS module
link: http://www.hobbyking.com/hobbyking/s...PS_Module.html
Simple servo gimbal for GoPro (good for starters). This is just one of many nice choices.
link: http://www.hobbyking.com/hobbyking/s...era_Mount.html
Better landing gear
link: http://www.hobbyking.com/hobbyking/s...et_Black_.html
Voltage alarm. If you're not the type that uses your transmitter timer, use this to prevent your craft from falling the sky when the battery dies.
link: http://www.hobbyking.com/hobbyking/s...age_Alarm.html
LED lights. This is one of many out there so its up to you!
link: http://www.hobbyking.com/hobbyking/s...een_1mtr_.html
link: http://www.hobbyking.com/hobbyking/s...RED_1mtr_.html
link: http://www.hobbyking.com/hobbyking/s...lue_1mtr_.html
Part 2: Building
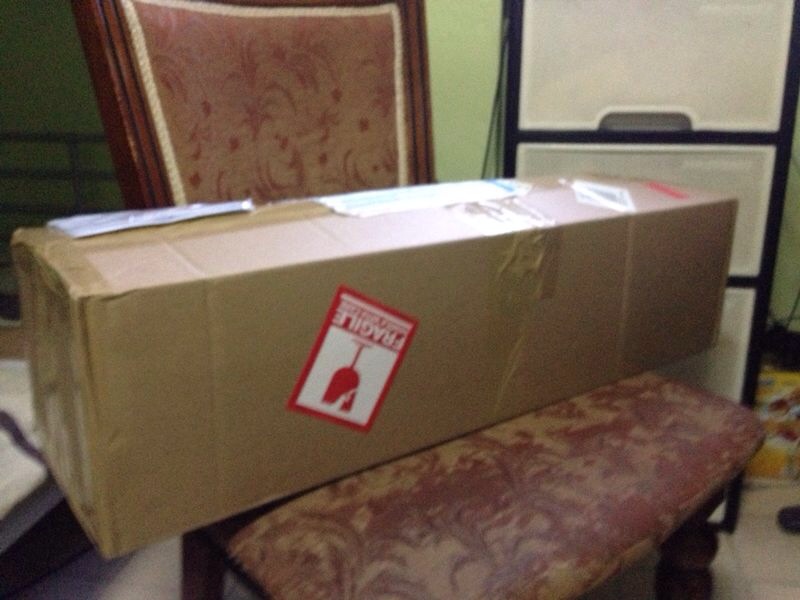
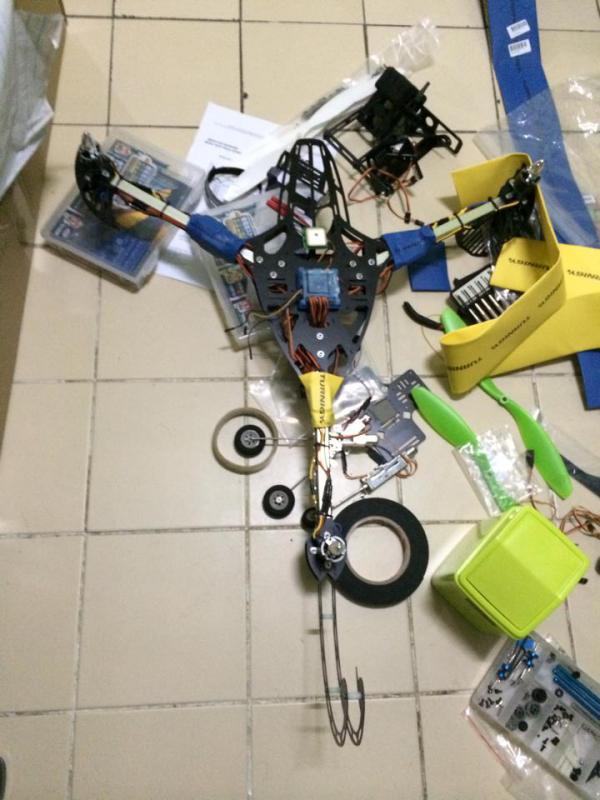
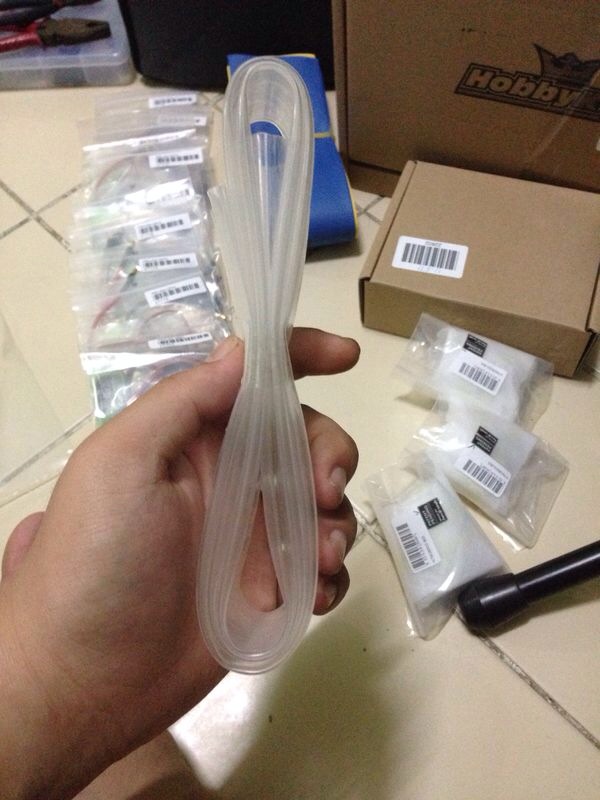
After a long wait, the parts arrived!

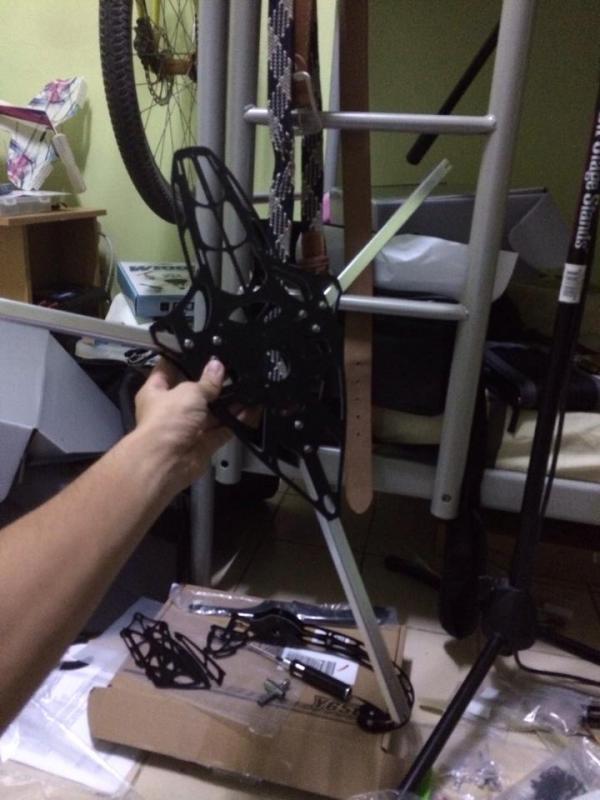
Straight away after i received and unboxed, the building begins!

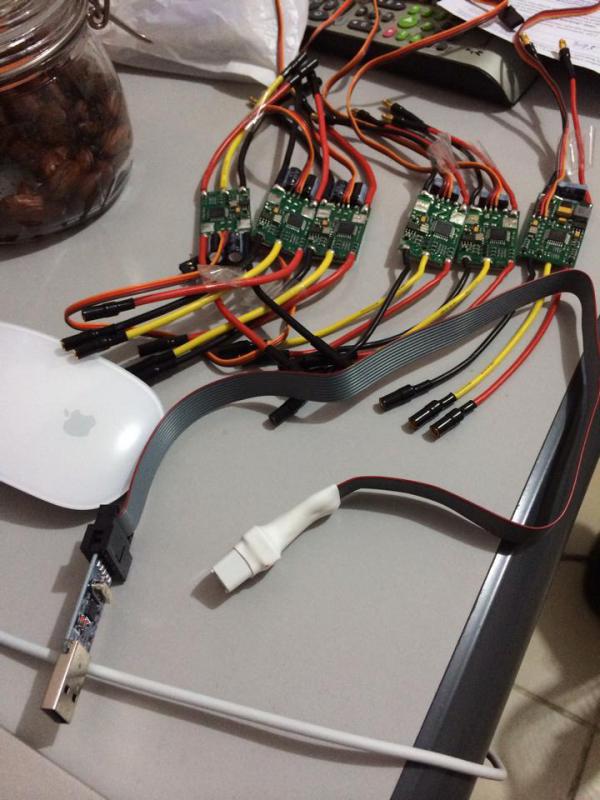
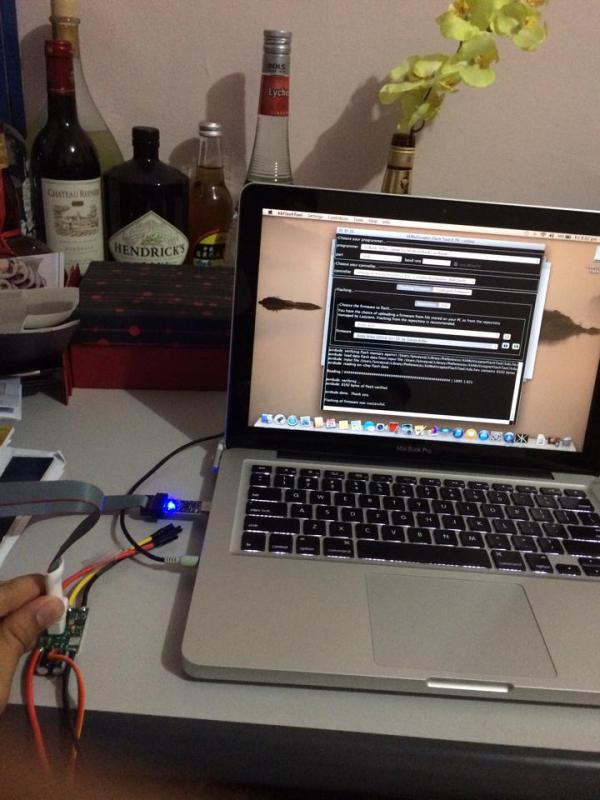
Then i flashed all the ESCs with SimonK


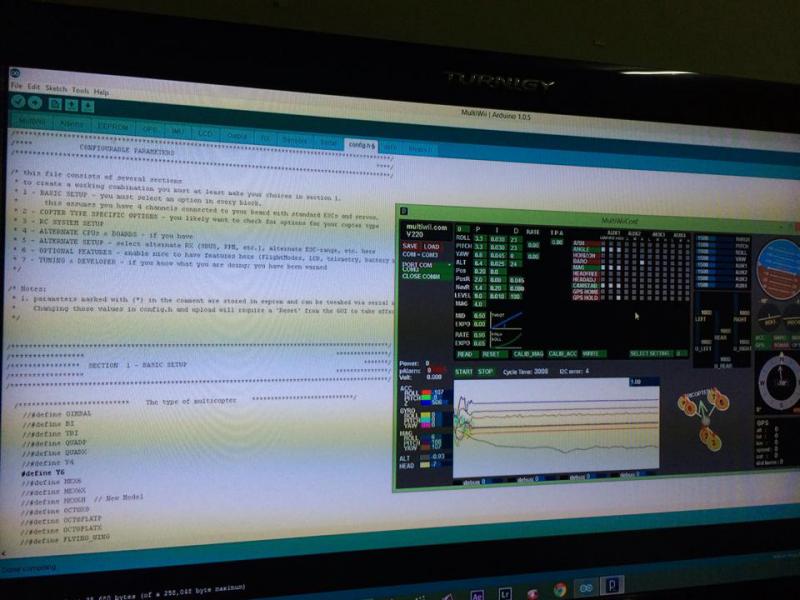
And then i flashed the Multiwii firmware
with the help of this: http://www.hobbyking.com/hobbyking/s...X620007X13.pdf
and this: http://www.hobbyking.com/hobbyking/s...34X7478X34.pdf


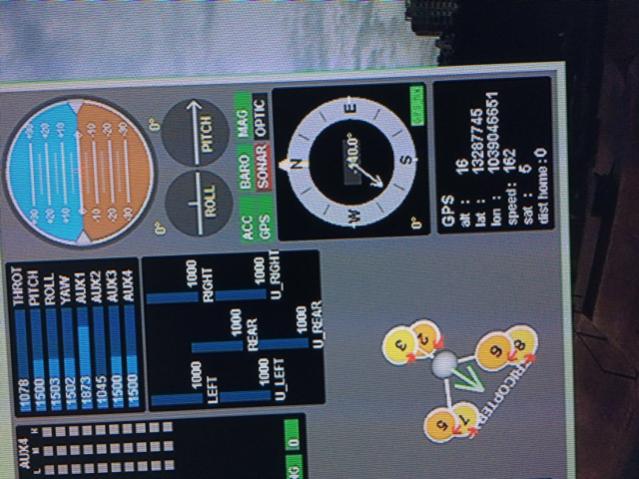
Got the GPS working

And finished up the rest of the stuff

Then set up the knob channel for my lights (brushed ESC)
link: https://www.youtube.com/watch?v=8ms75OMJDMs
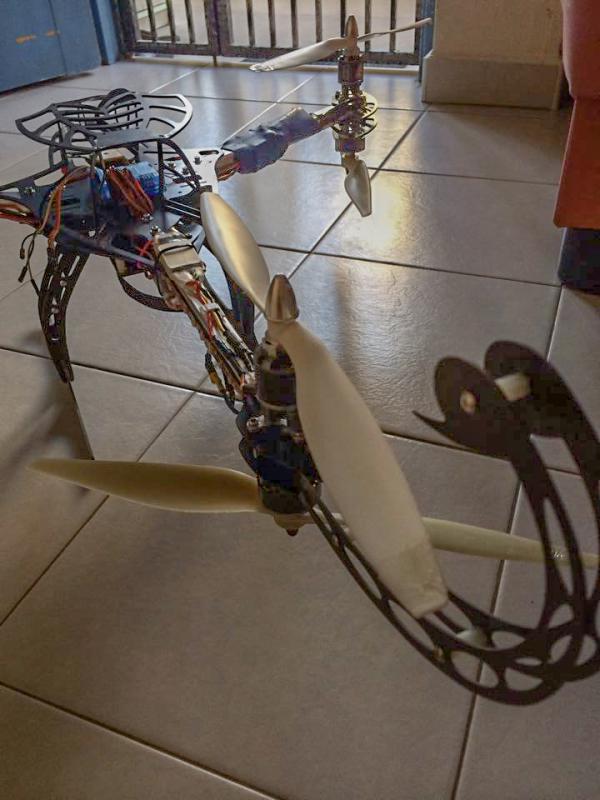
And finally... I finished the build!


Maiden flight: https://www.youtube.com/watch?v=Nptrk7X3SH8
After the maiden flight, i figured that the default gains are too high as the craft is pretty large.
The motors have quite a huge speed difference but it seems to work pretty well and hovers just below 50%
Part 3: Improving the build
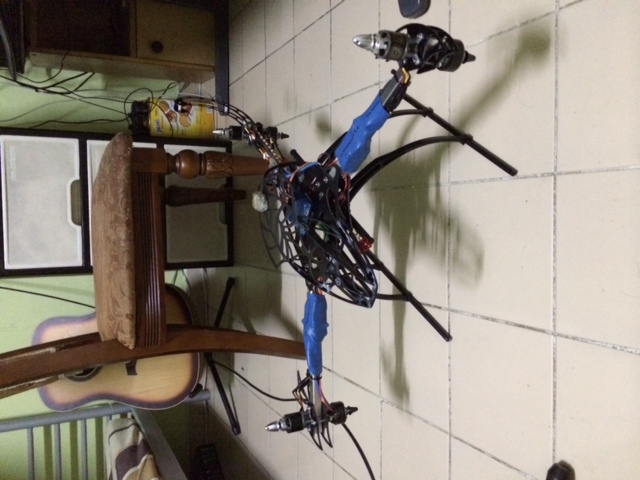
First i changed the skids to better ones (the stock ones are too stiff)

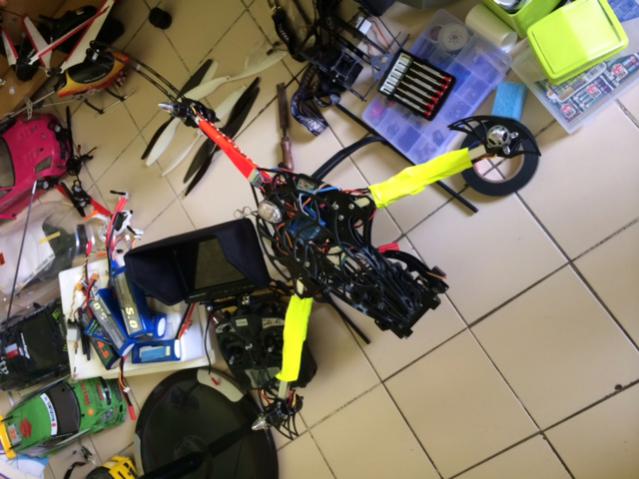
Then i replaced the big heat shrink on the booms to neon tape

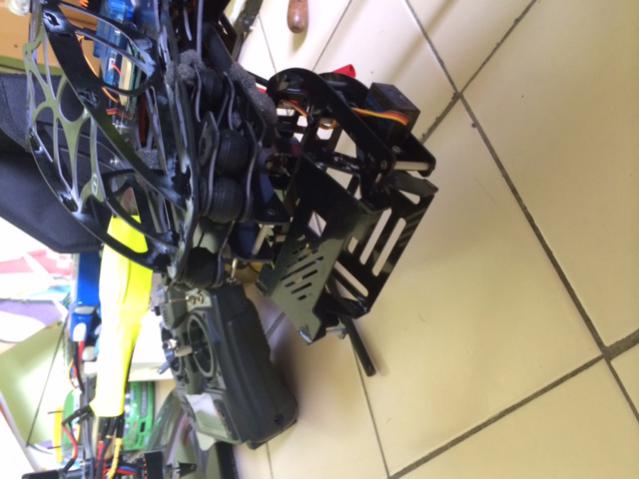
After that i added a servo gimbal

Will get the gimbal working well and start tuning for part 4.
Thanks for reading and hope everyone can learn something from this.
Do let me know what i can improve on and stay tuned for part 4
-Sethy


This thread is also good for beginner builders to get a rough idea of how a multi rotor is built. For starters, its better to try building a
quad-copter first then try something bigger.
I wanted to try exploring into a coaxial configuration out of curiosity so i started to do some research
and found out that Y6 hex have a certain efficiency loss (about 8-20%) over a flat hex config.
But some say that the efficiency loss is compensated by having less weight as there are only 3 booms on the Y6 as
compared to a flat hex that needs 6. But the advantage of a Y6 is the camera view (no props in view) at the front
The goal was to experiment (with a low budget) if its possible to use a less power consuming motor on the top to
speed up air and a more power consuming motor at the bottom to make use of the accelerated air from the top
to make it less power consuming.
To keep things simple, all the parts used will be from hobby king.
I will split the post to 4 parts.
1. parts choice
2. building
3. improving the build
4. fine tuning the PID
Part 1: Parts choice
The transmitter is my own Turnigy 9X
link: http://www.hobbyking.com/hobbyking/s...Firmware_.html
The frame i chosen was the Scorpion Y650
link: http://www.hobbyking.com/hobbyking/s...ame_650mm.html
Top motors are 3x NTM 900kv 28-30 short shaft (with the accessories pack)
I chose this motors to go with 12 inch props as the prop data on it shows that it only requires about 18 amps to do so.
link: http://www.hobbyking.com/hobbyking/s..._version_.html
bottom motors are 3x AX-2810Q 750kv
these are more power hungry according to the ratings as they recommend a 30a esc or higher.
link: http://www.hobbyking.com/hobbyking/s...ter_Motor.html
The motors i chose already come with 3.5mm connectors like the ESC does so there's less soldering required.
Top props are low budget 12x45 SF plastic props
link: http://www.hobbyking.com/hobbyking/s...on_White_.html
link: http://www.hobbyking.com/hobbyking/s...on_White_.html
bottom props are Turnigy APC 13x65
The reason i choose a larger prop and pitch below is to make the Y6 more efficient by compensating prop size for the accelerated air.
link: http://www.hobbyking.com/hobbyking/s...er_13x6_5.html
link: http://www.hobbyking.com/hobbyking/s...r_13x6_5R.html
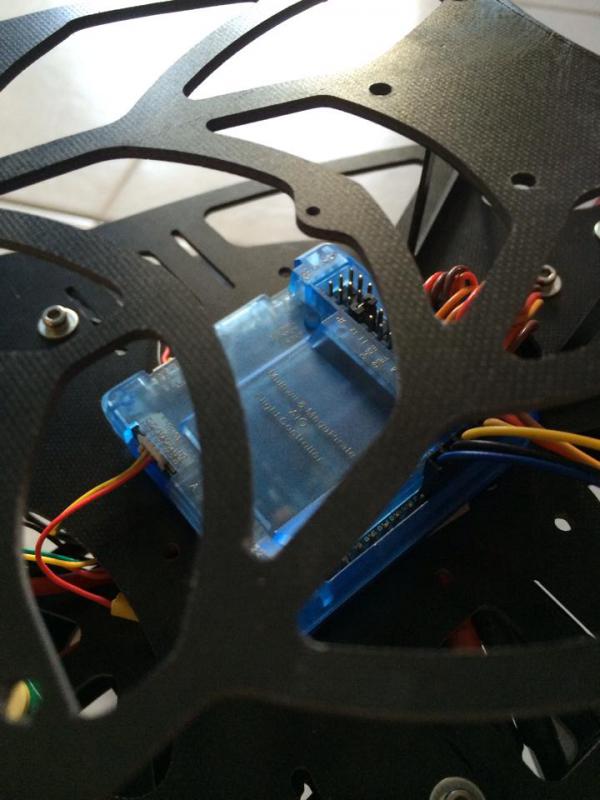
I will be using a multiwii flight controller (these things are awesome when you get the settings right) with a hard case (to cover the barometer)
link: http://www.hobbyking.com/hobbyking/s...2560_V2_0.html
ESCs are 6x Turnigy Multistar 30A opto version
link: http://www.hobbyking.com/hobbyking/s..._4S_OPTO_.html
I chose the opto version to keep the temps lower as the ESC have no voltage to waste for the 5v out so its more efficient.
It also prevents flight controller panics when the voltage drops as you discharge if the voltage spikes.
I used a brushed ESC to power the flight controller and it double as a nice light controller on a knob channel
It's also good for the GPS function as you can power on just the flight controller and GPS first to get some satellites.
link: http://www.hobbyking.com/hobbyking/s...USHED_ESC.html
and lastly the batteries will be Turnigy standard 5000mAh 3S 25c lipo (i already own a few of these)
the discharge from the batteries is about 125amps but for a multicopter, its mostly hovering at around 50-60%
which should be the efficient range of the motors so there shouldn't be any discharge issues.
2nd battery is a Zippy 3s 1000mAh to power lights and flight controller
link: http://www.hobbyking.com/hobbyking/s...Lipo_Pack.html
Other useful stuff that's not important but good to have:
USBASP to flash ESC to SimonK
link: http://www.hobbyking.com/hobbyking/s...occessors.html
ESC flash tool (makes life easier for esc flashing)
link: http://www.hobbyking.com/hobbyking/s...dproduct=27195
power breakout cable (to hxt 4mm to fit my turnigy battery)
link: http://www.hobbyking.com/hobbyking/s...arch=hxt%204mm
GPS module
link: http://www.hobbyking.com/hobbyking/s...PS_Module.html
Simple servo gimbal for GoPro (good for starters). This is just one of many nice choices.
link: http://www.hobbyking.com/hobbyking/s...era_Mount.html
Better landing gear
link: http://www.hobbyking.com/hobbyking/s...et_Black_.html
Voltage alarm. If you're not the type that uses your transmitter timer, use this to prevent your craft from falling the sky when the battery dies.
link: http://www.hobbyking.com/hobbyking/s...age_Alarm.html
LED lights. This is one of many out there so its up to you!
link: http://www.hobbyking.com/hobbyking/s...een_1mtr_.html
link: http://www.hobbyking.com/hobbyking/s...RED_1mtr_.html
link: http://www.hobbyking.com/hobbyking/s...lue_1mtr_.html
Part 2: Building
After a long wait, the parts arrived!
Straight away after i received and unboxed, the building begins!
Then i flashed all the ESCs with SimonK
And then i flashed the Multiwii firmware
with the help of this: http://www.hobbyking.com/hobbyking/s...X620007X13.pdf
and this: http://www.hobbyking.com/hobbyking/s...34X7478X34.pdf
Got the GPS working
And finished up the rest of the stuff
Then set up the knob channel for my lights (brushed ESC)
link: https://www.youtube.com/watch?v=8ms75OMJDMs
And finally... I finished the build!
Maiden flight: https://www.youtube.com/watch?v=Nptrk7X3SH8
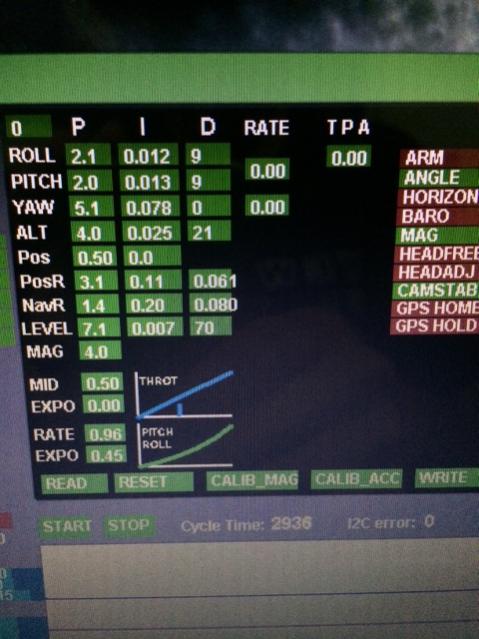
After the maiden flight, i figured that the default gains are too high as the craft is pretty large.
The motors have quite a huge speed difference but it seems to work pretty well and hovers just below 50%
Part 3: Improving the build
First i changed the skids to better ones (the stock ones are too stiff)
Then i replaced the big heat shrink on the booms to neon tape
After that i added a servo gimbal
Will get the gimbal working well and start tuning for part 4.
Thanks for reading and hope everyone can learn something from this.
Do let me know what i can improve on and stay tuned for part 4
-Sethy


Comment