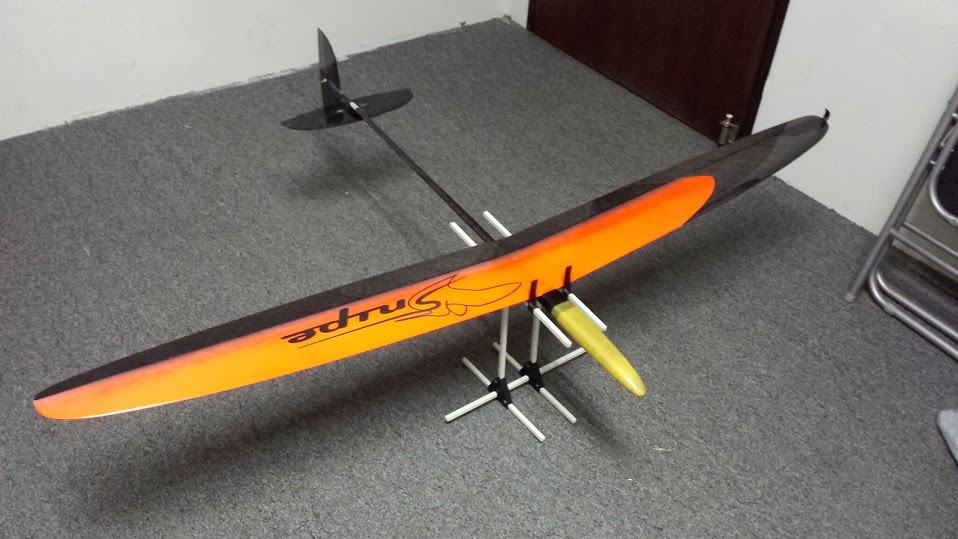
Build log for Snipe.
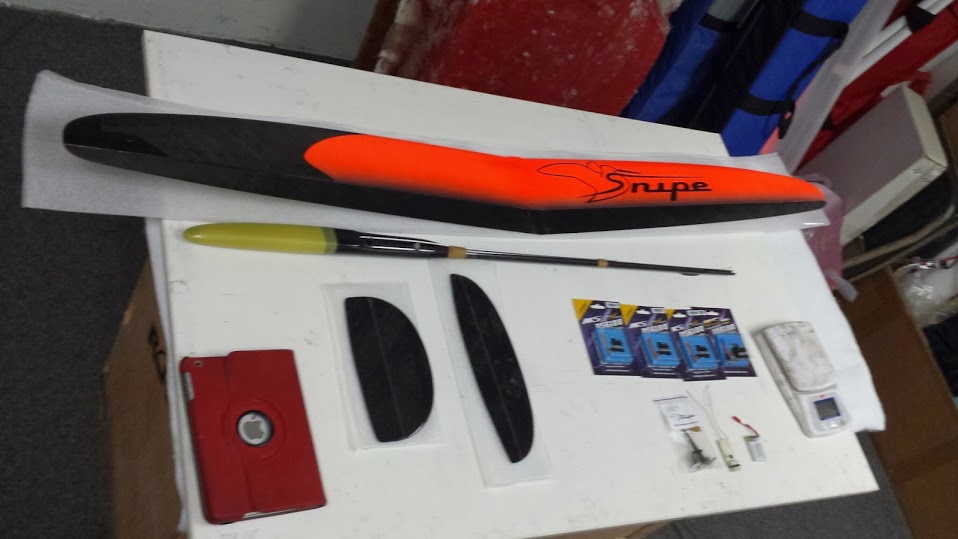
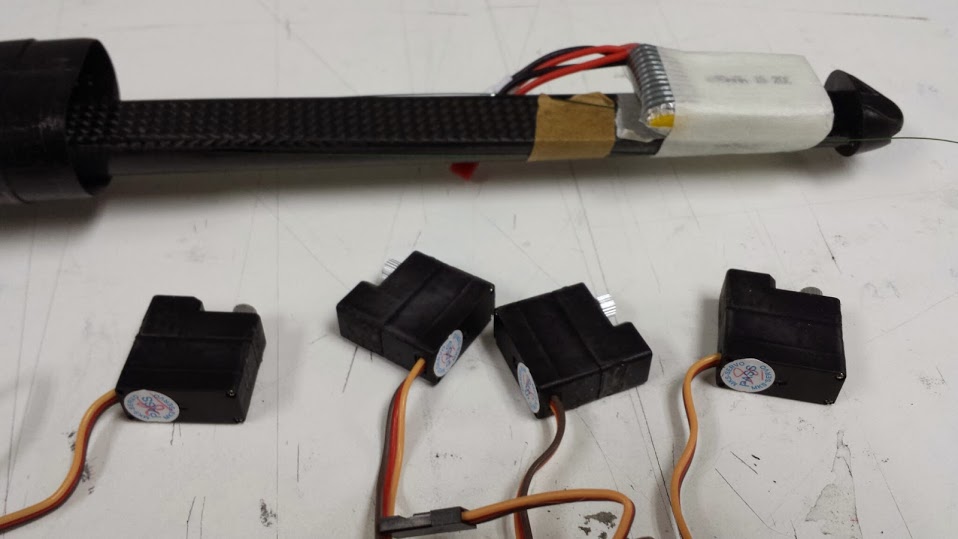
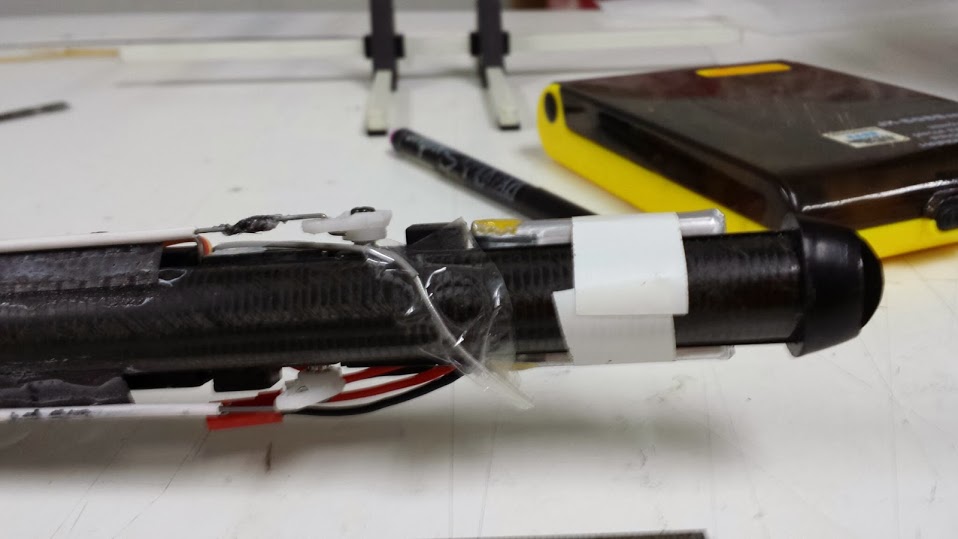
Kits comes very complete with all hardware, lots of details are already done like pull strings threaded, manual was clear , experienced builders should be able to complete the build fairly quickly.

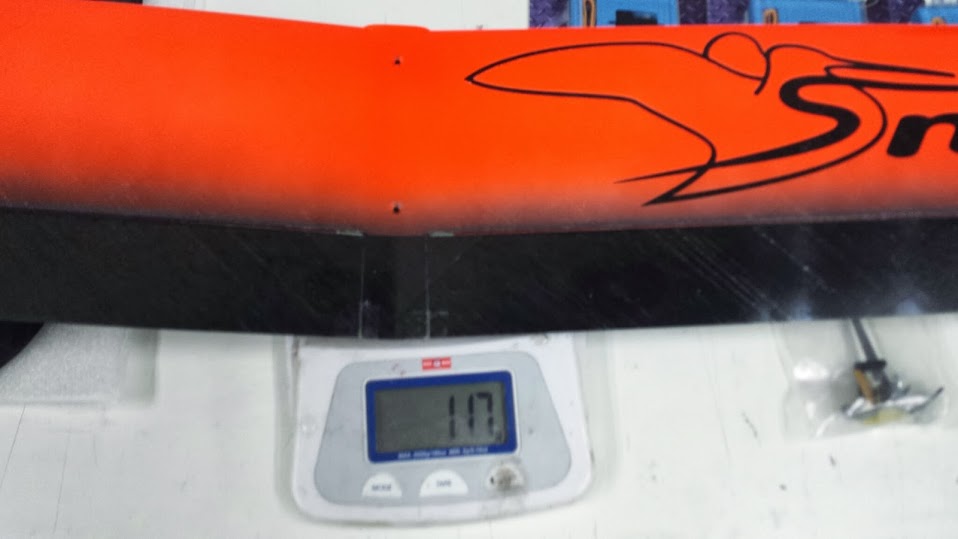
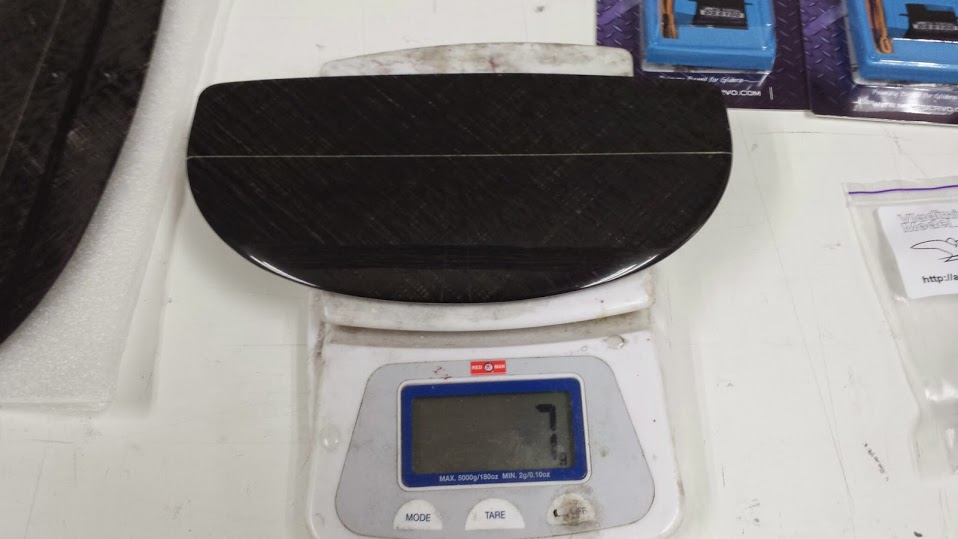
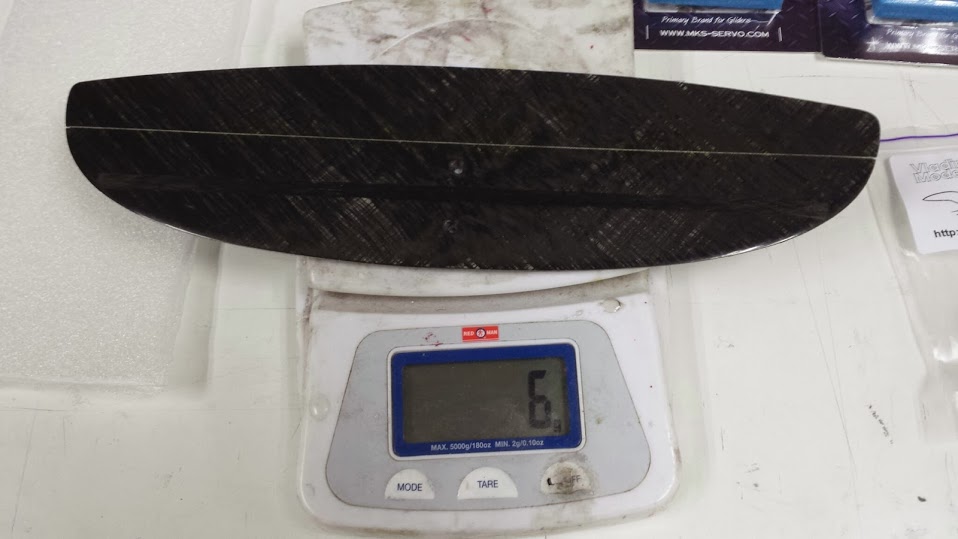
Weights


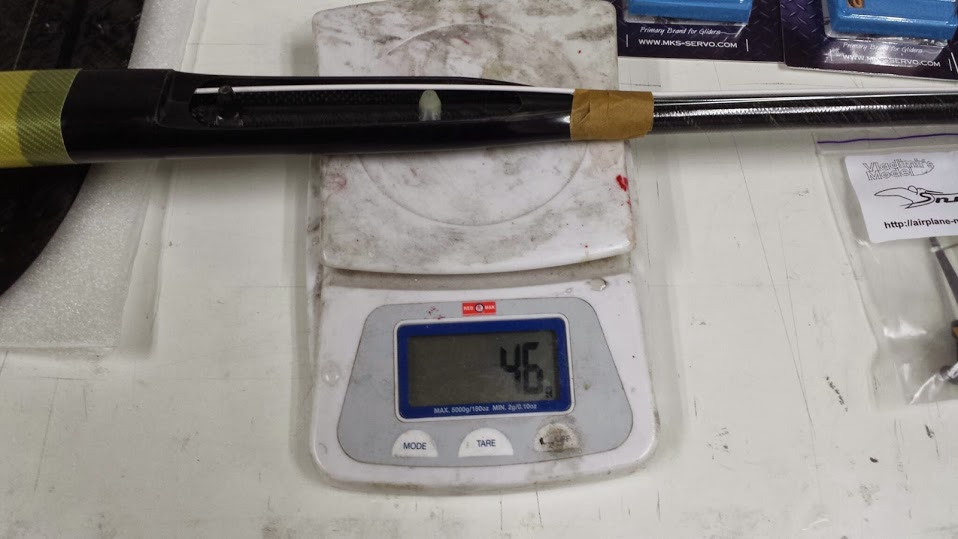

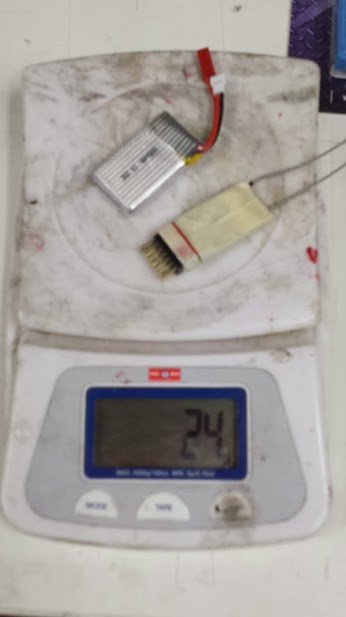
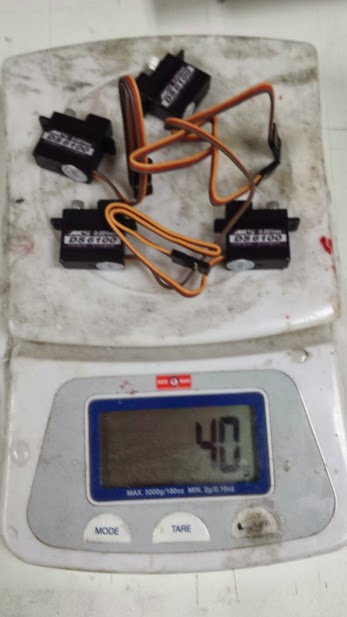
Kits comes very complete with all hardware, lots of details are already done like pull strings threaded, manual was clear , experienced builders should be able to complete the build fairly quickly.
Weights


Comment