Announcement

Collapse
No announcement yet.

2.6m ASK-21

Collapse

Zenm Tech Pte Ltd

Collapse

Visit Zenmtech at rc.zenmtech.com

X
 
  • Filter
  • Time
  • Show
Clear All
new posts

    2.6m ASK-21

    Bought this glider 2 years ago from China while I was on a working trip there. I started to assemble the glider about 2 months ago, this is almost completed. Left with the canopy hold down.
    I made a little modification to the positioning of the elevator servo. I choose to put the servo up front, in order to save the overall weight of the glider. Still need to seal up the elevator cut-out on the stabilizer.
    I have not document the build thread, as my build is consistent. Having the put aside the build for other priorities. I will write up a build review later.
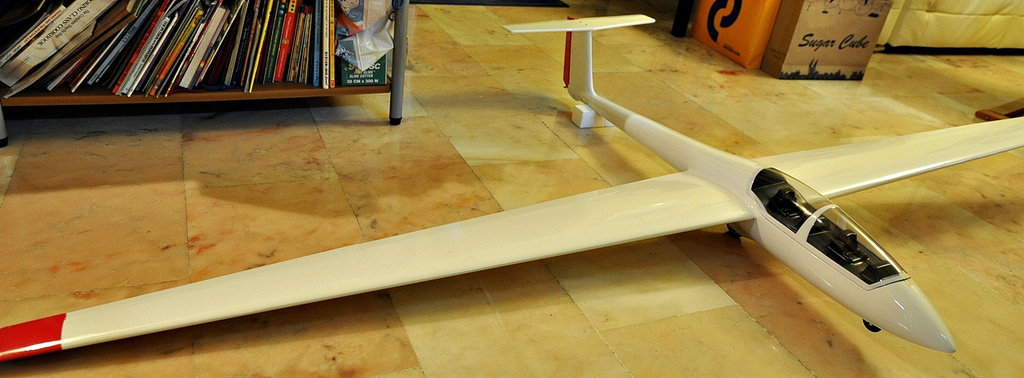
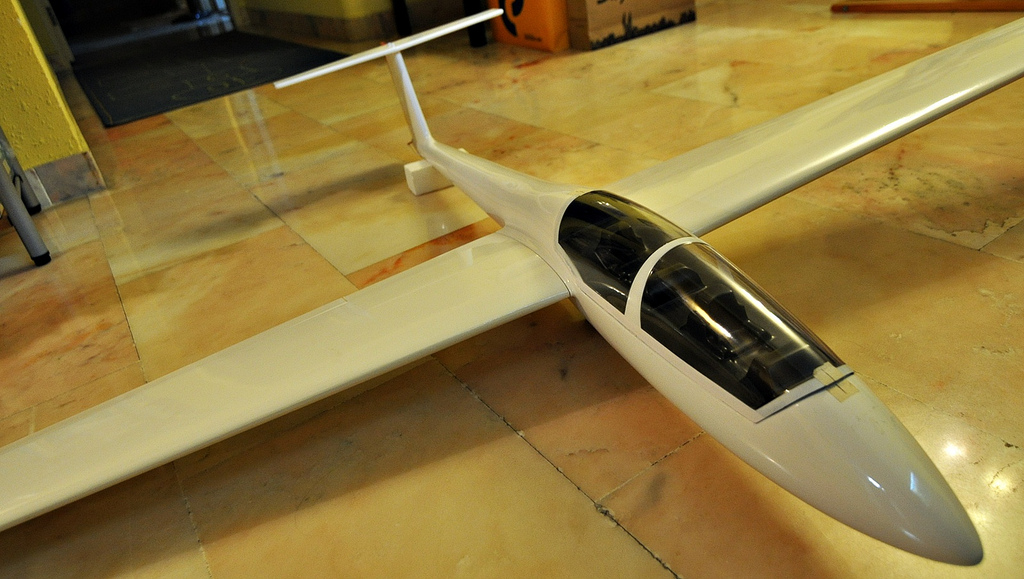
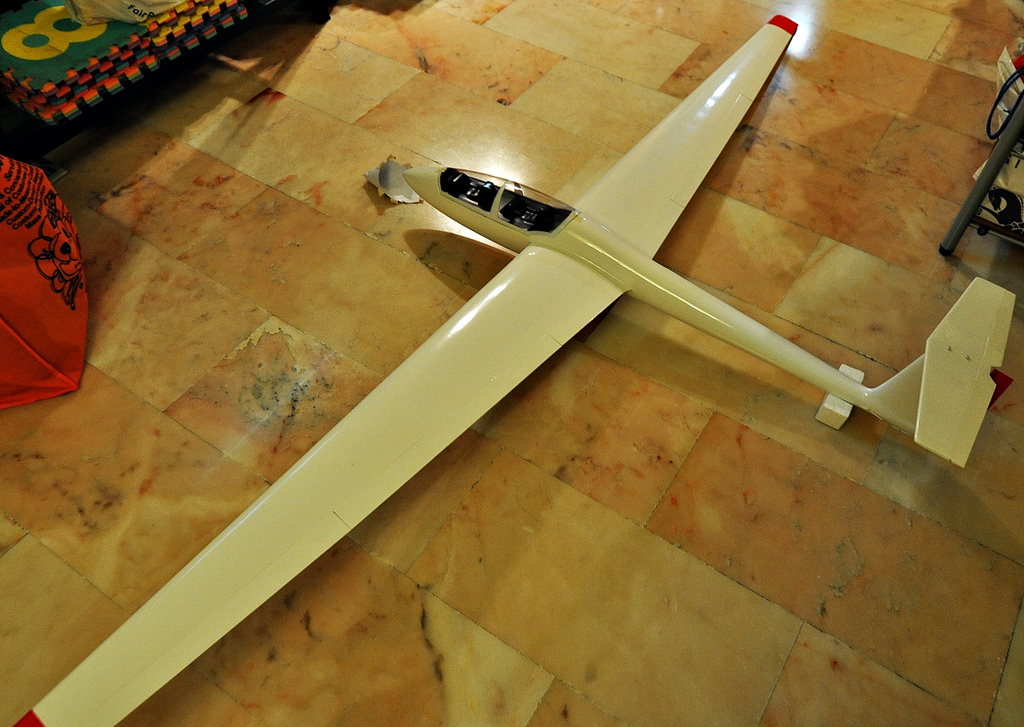
    Here are some pictures of the 90% completed build.


    Attached Files

    #2
    Build review

    I have completed the build, the glider is now ready for maiden, just need to wait for the right day.
    Here is a brief review of the build:
    Workmanship.
    The workmanship is generally good. There covering on the wings and the horizontal stabilizer is well done, no wrinkles or any covering defects.
    The fuselage is fiberglassed and well polish. However, I am not too sure about the durability of the material. I read elsewhere that others experienced micro cracks after a few flights and hard landings.
    Wings were straight, no warps or any dings.

    Hardwares.
    All required hardwares such as horns, pushrods, etc were provided.
    The servo covers were yellowish, I had to spray white paint over the servo covers so that the color matches the underside of the white covering of the wings.
    There were 2pcs of very long pushrods provided for the rudder. I did not use the 2 pushrods, and used my own steel wire for the push-pull control of the rudder.

    Assembling it together.
    The build was relatively easy. All parts fitted together without any problems. There is a servo cut-out on the vertical fin for the placement of the elevator servo. In order to save some weight, I chose not to install the elevator servo on the tail. The elevator servo was mounted at the front of the fuselage. I ran a 0.8mm pushrod all the way to the elevator. The plastic pushrod tube was inside a CF tube to provide stiffness. This is to prevent any buckling when the very long push rod is pushed.
    The cut-out on the fin was covered with some leftover white covering film later.
    A 12mm CF rod was provided for the wing joiner. 2 short 3mm dia steel pins were provided for wing alignment. This is to be glued near the TE of the wing root. I had to use a drill bit to clear the pre-drilled hole on the fuse to get the 3mm pin to fit.
    2 wing screws were provided. I do not plan to use it as the wing is not loose after assembly. I will just use transparent tape to hold the wings to the fuselage as there is no stress here.
    The choose to use the supplied plywood hook and rubber band to hold down the canopy to the fuselage. It's simple and it works!
    The decal supplied is ugly, I did not use any of them. I just use some leftover from my previous builds.
    Servos:
    Elevator - HS225BB
    Rudder - HS325HB
    Ailerons - HS65HB
    Flaps - HS82MG

    I followed the CG in the instructions, and verified from the builds from others. Ready for flight next.


    Comment


      #3
      NIce

      Comment

      Working...
      X