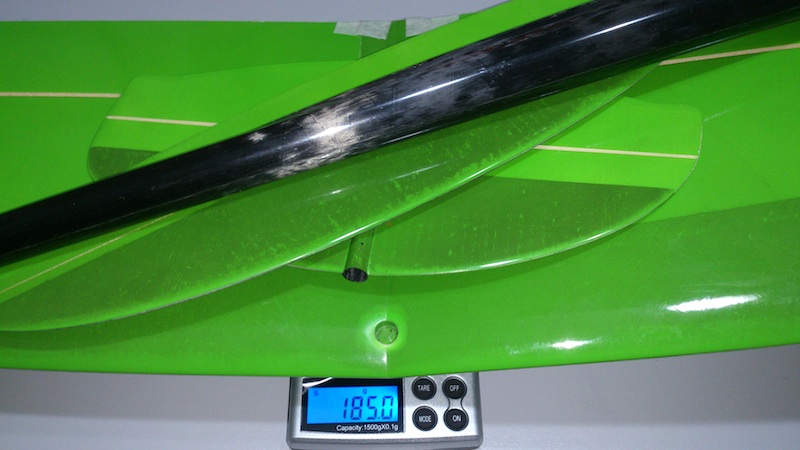
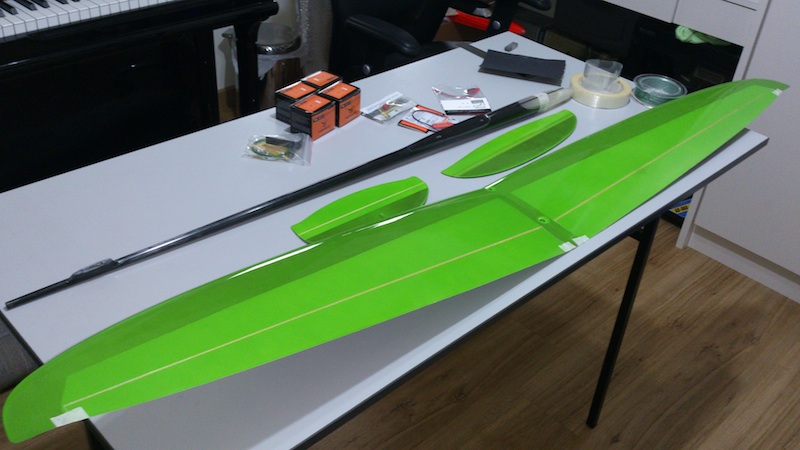
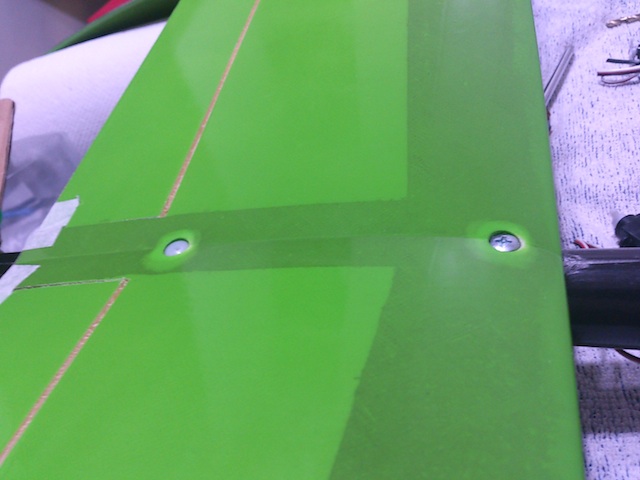
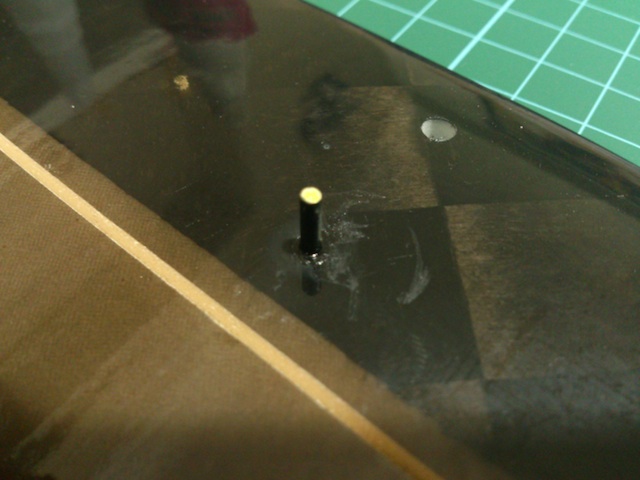
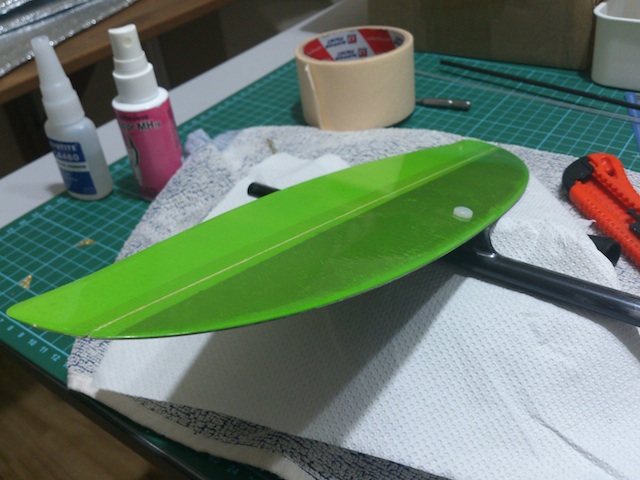
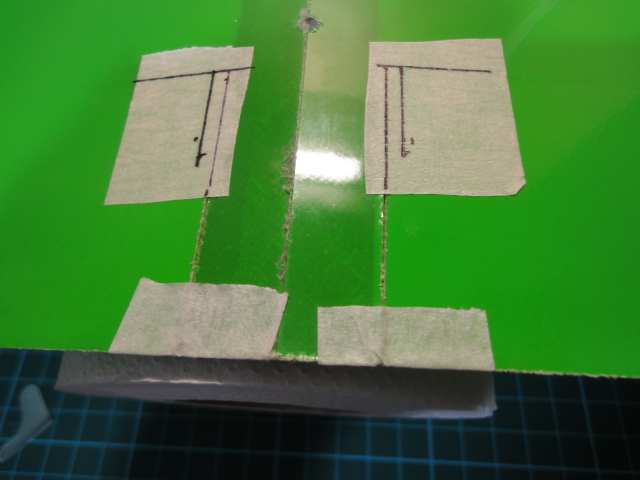
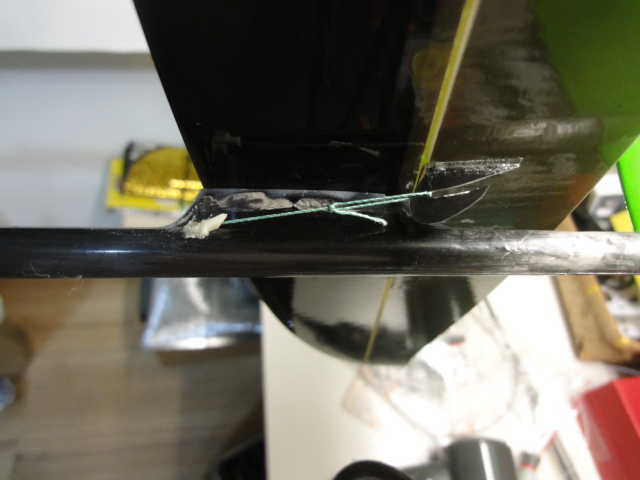
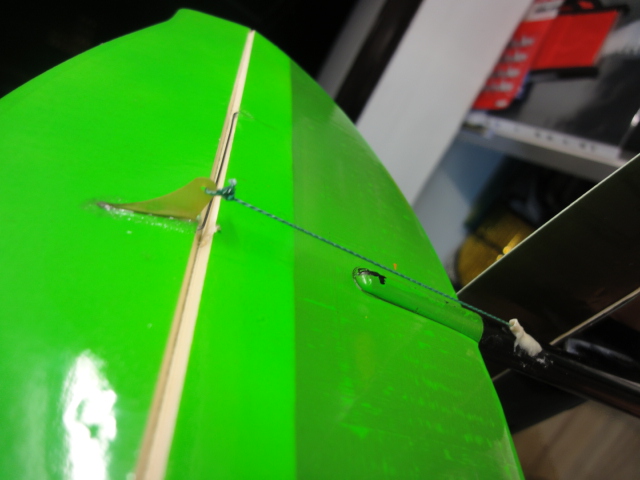
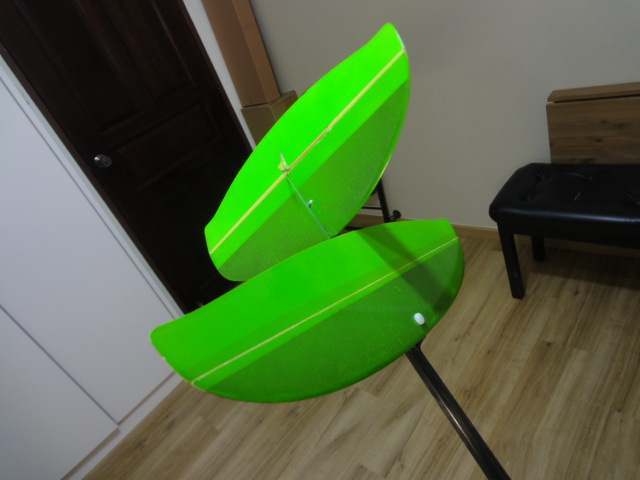
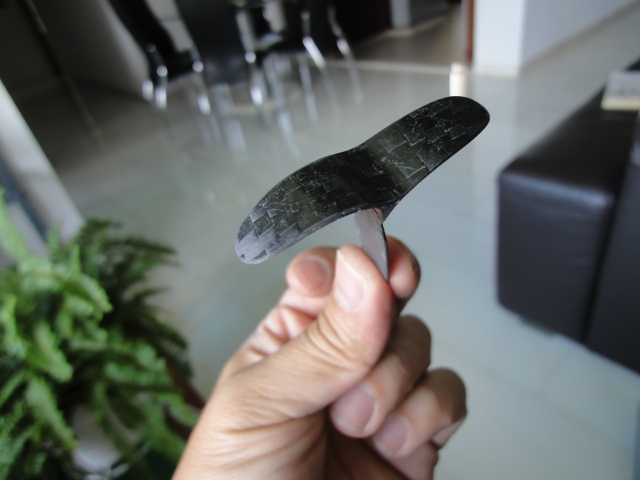
After months of waiting, my version of russian babe arrived from LDModels. The finishing is amazing and the boom stifness is simply wonderful.
Can't wait to start buidling it.


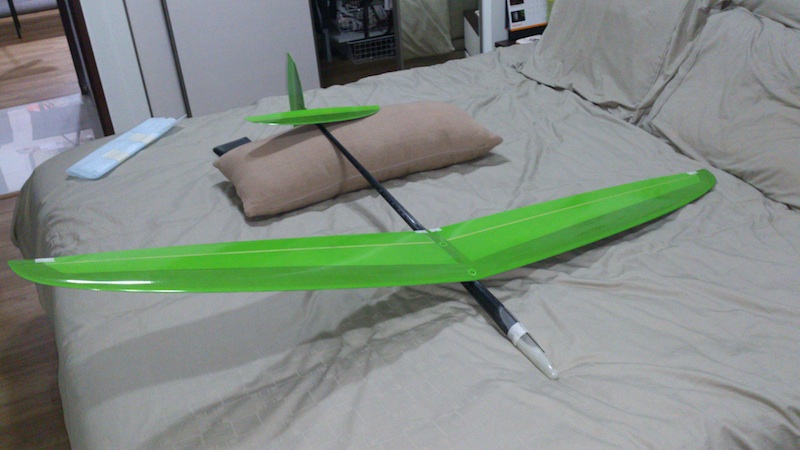
Can't wait to start buidling it.
 Lets us know how she flies


Comment