Announcement

Collapse
No announcement yet.

Akcent2 DLG

Collapse

Zenm Tech Pte Ltd

Collapse

Visit Zenmtech at rc.zenmtech.com

X
 
  • Filter
  • Time
  • Show
Clear All
new posts

    #16
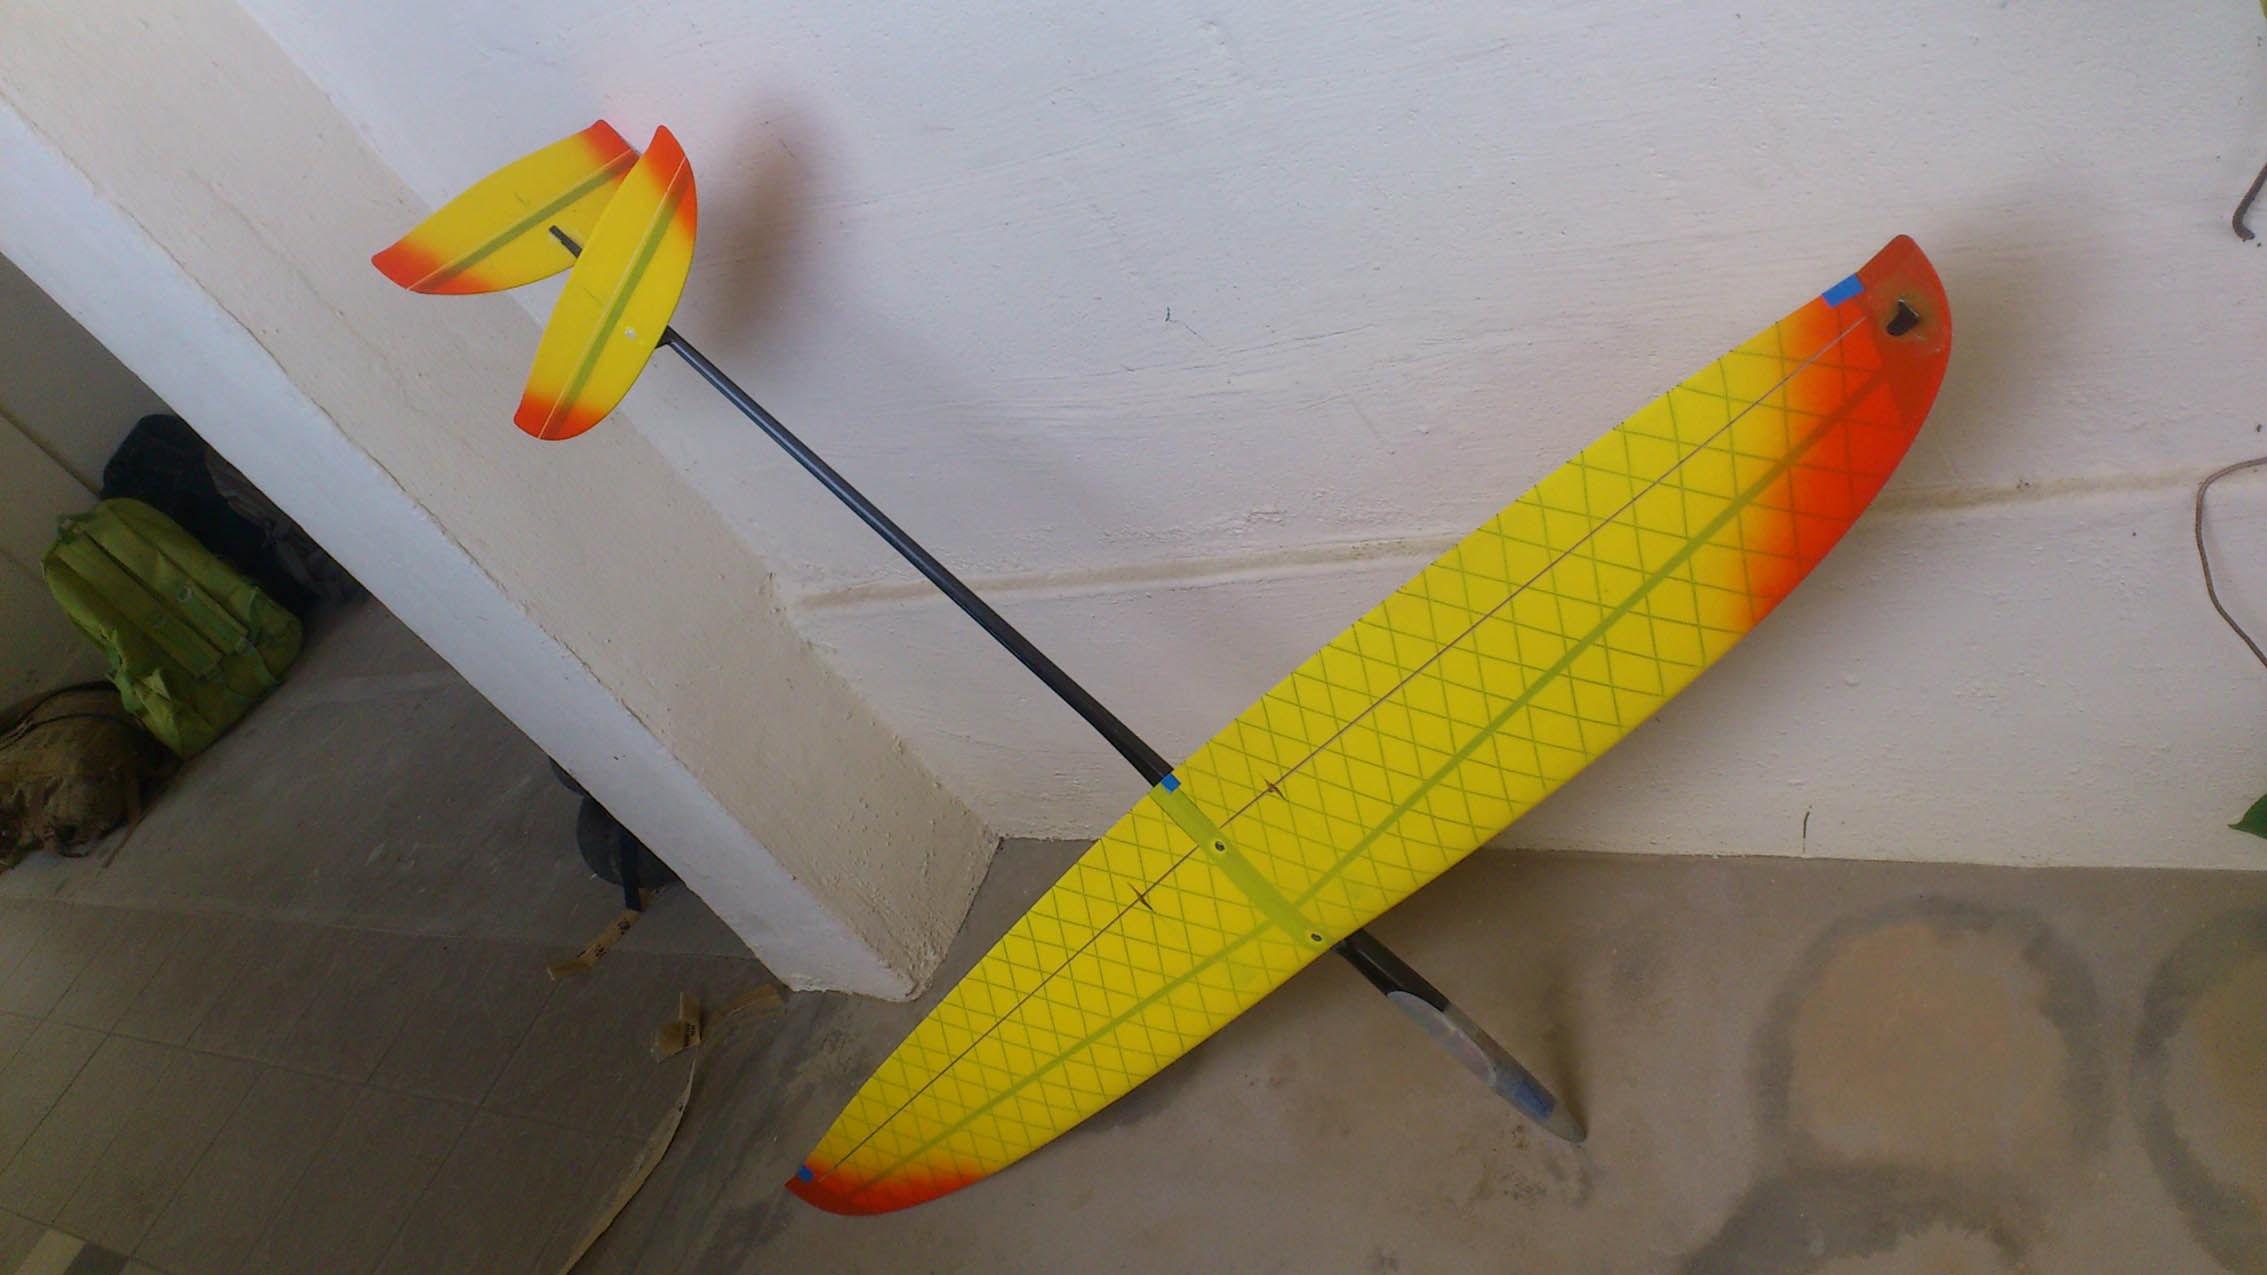
    Here's the view of the completed wing from the top.

    Click image for larger version

Name:	DSC_0504.jpg
Views:	1
Size:	156.7 KB
ID:	972767

    Next, I went on to work on the tails.

    Click image for larger version

Name:	DSC_0466.jpg
Views:	1
Size:	267.8 KB
ID:	972768
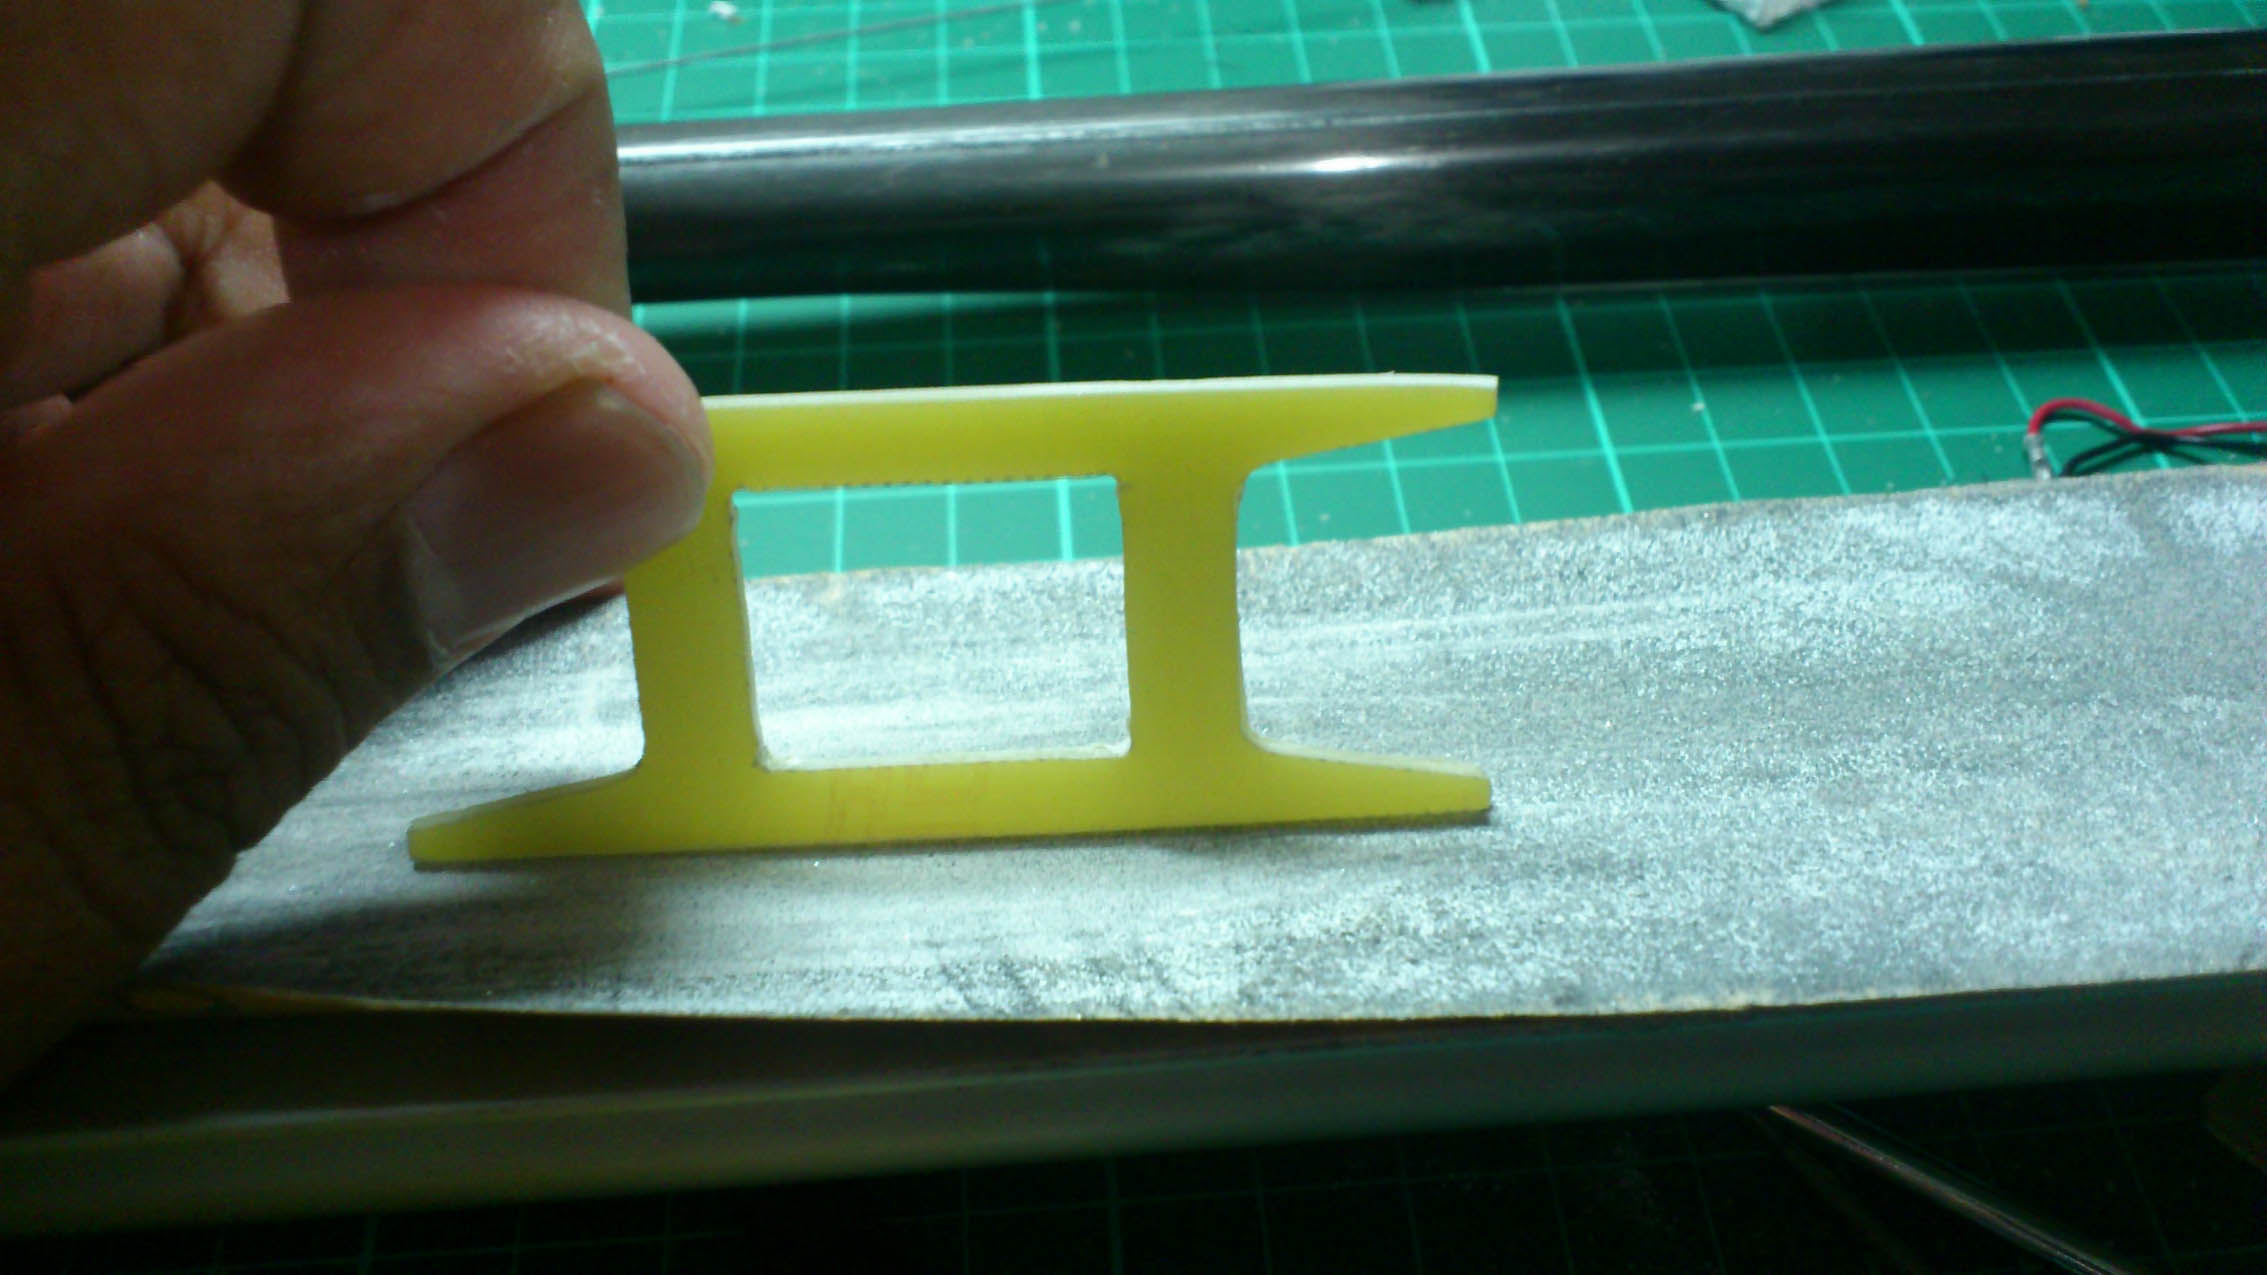
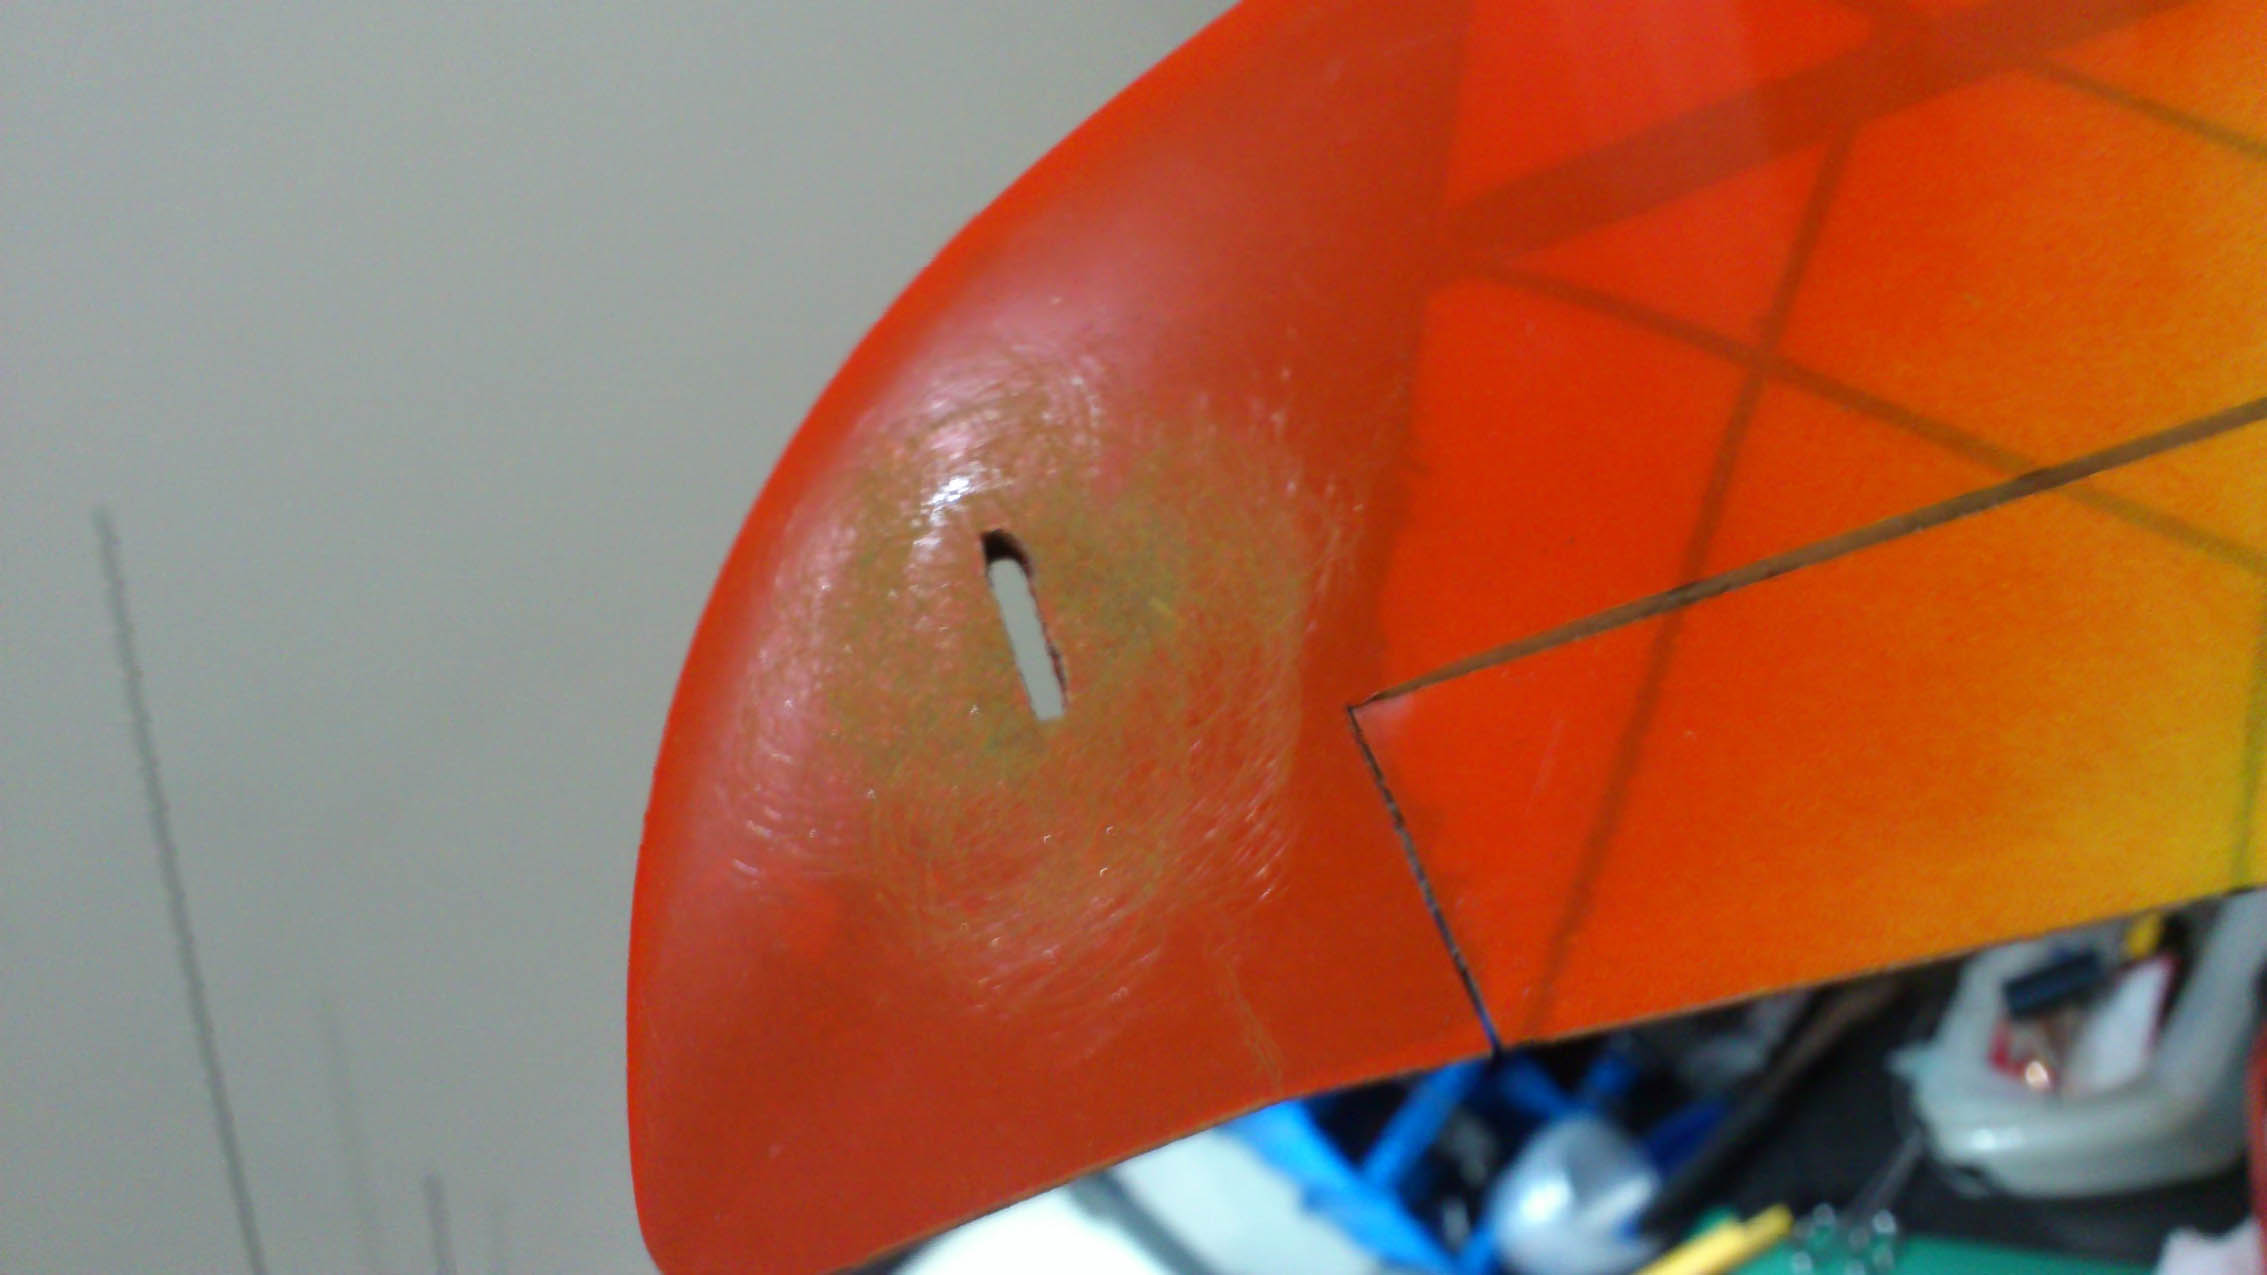
    Measuring out the vert stab

    Click image for larger version

Name:	DSC_0489.jpg
Views:	1
Size:	192.6 KB
ID:	972769
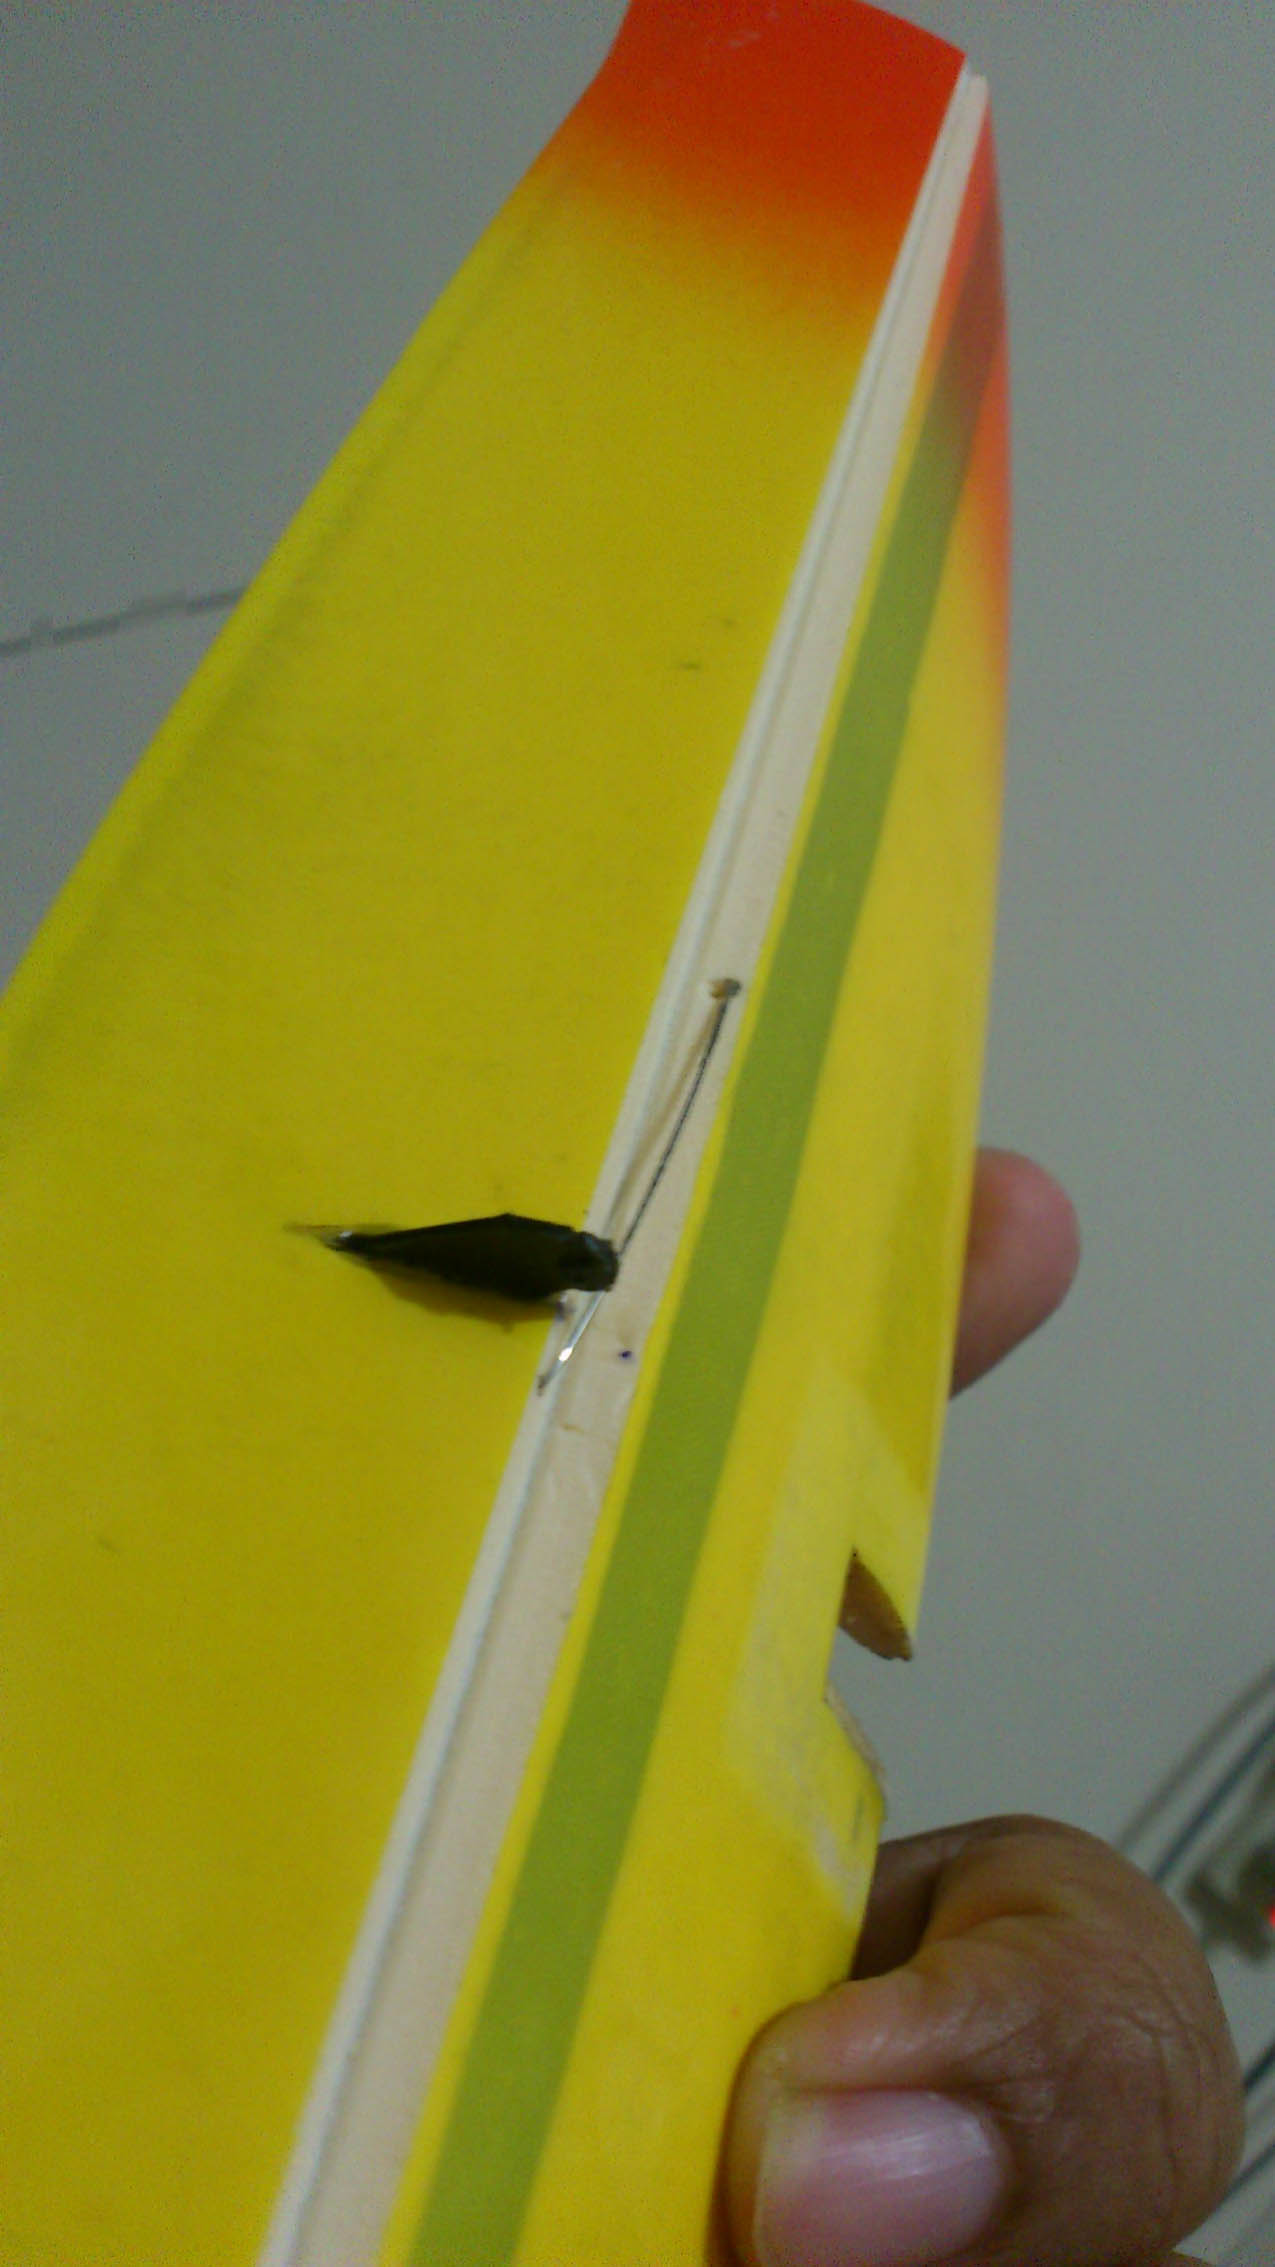
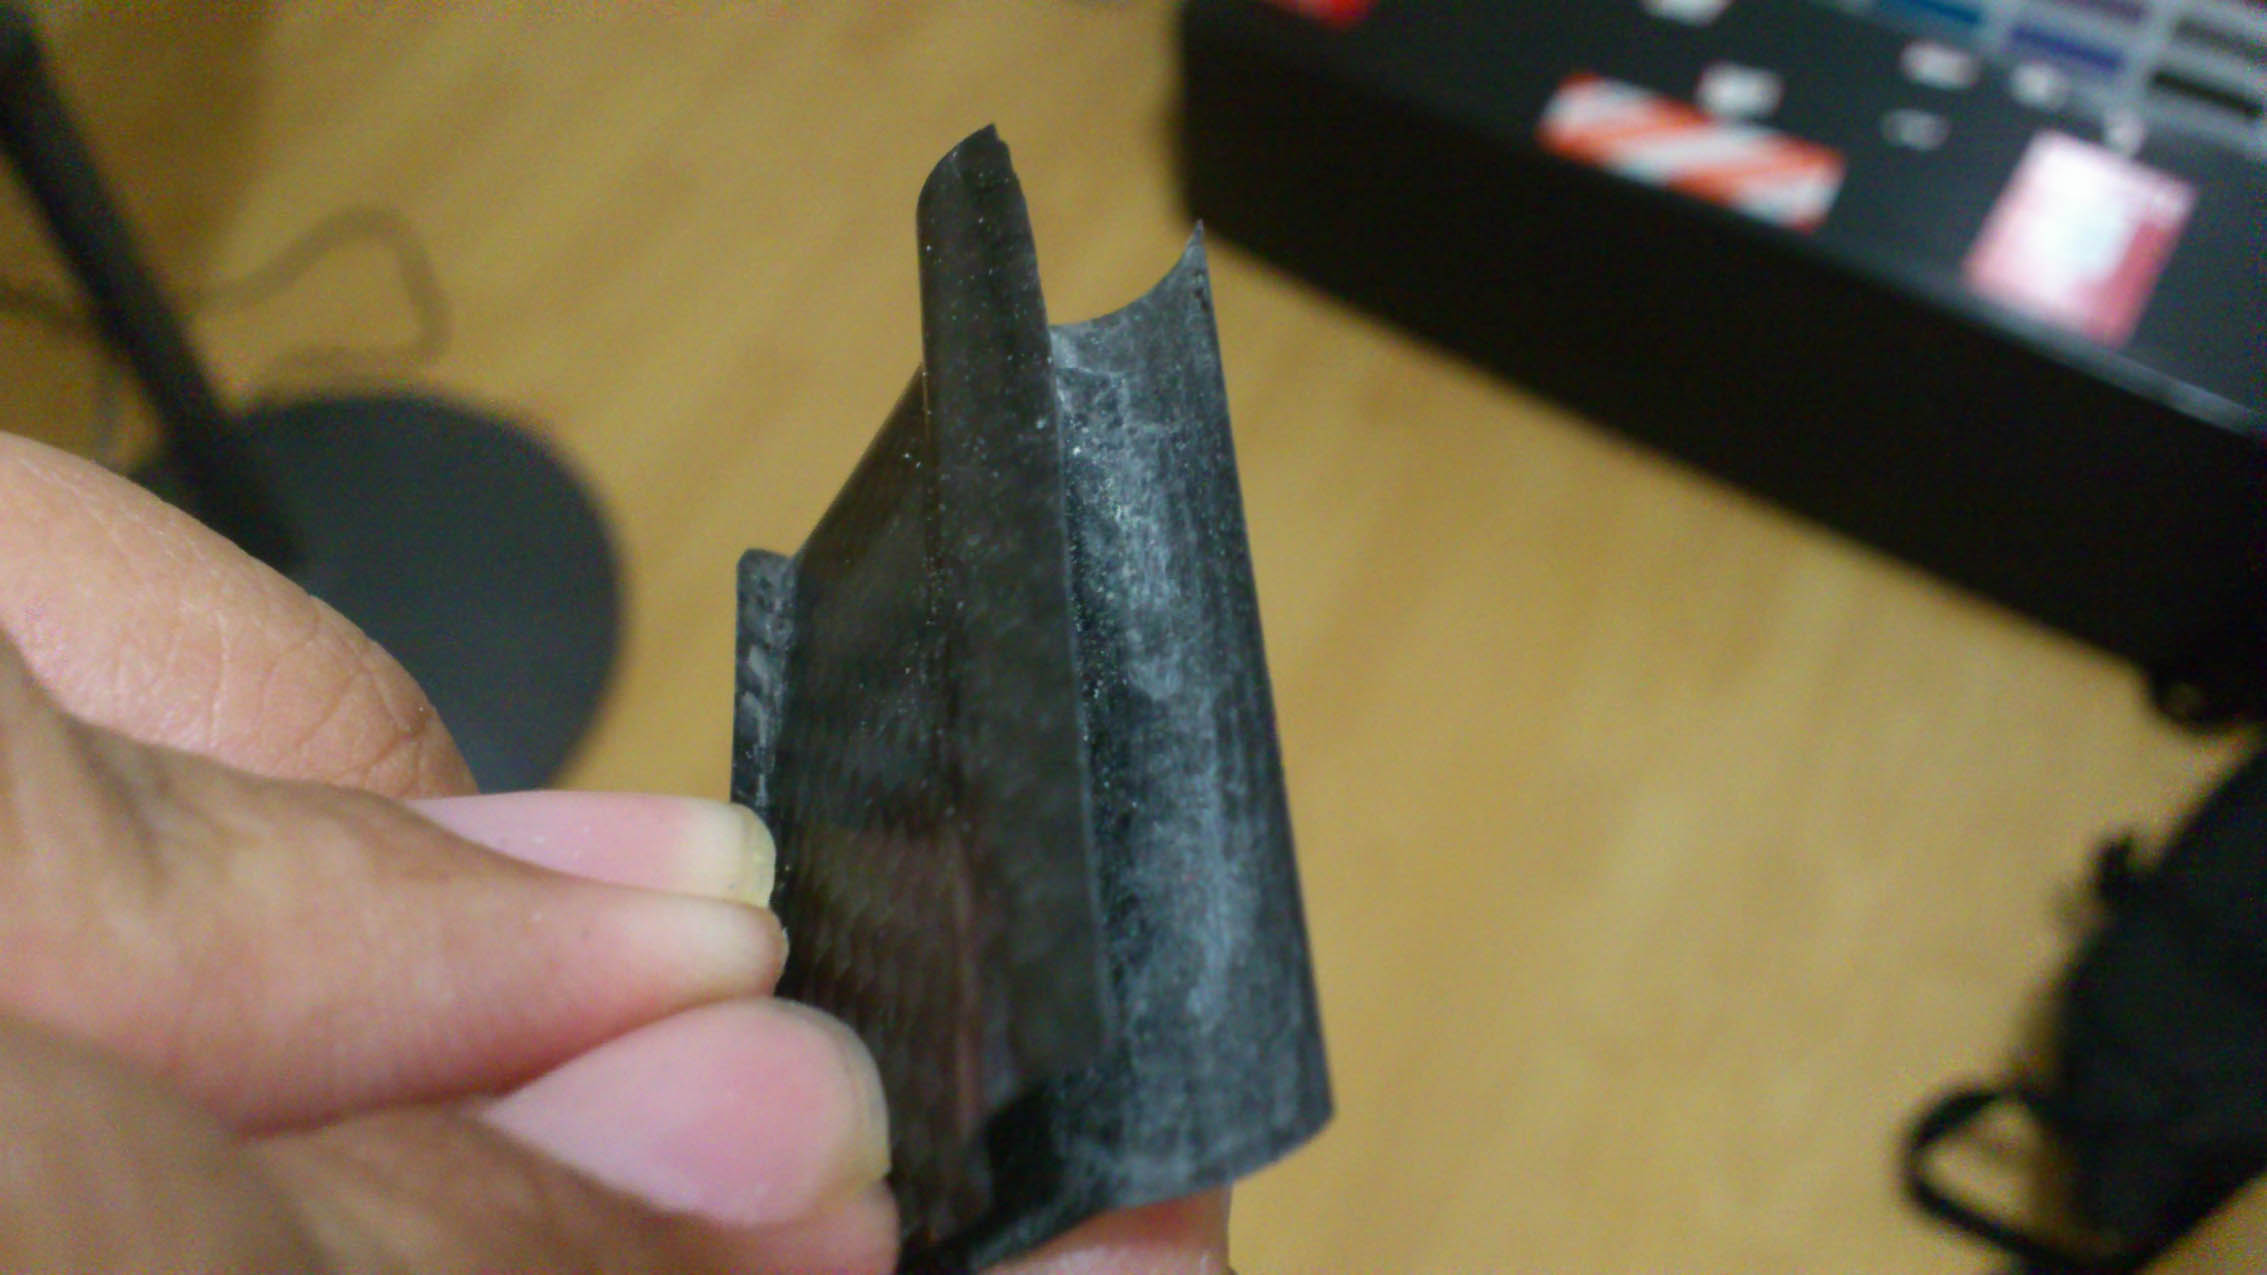
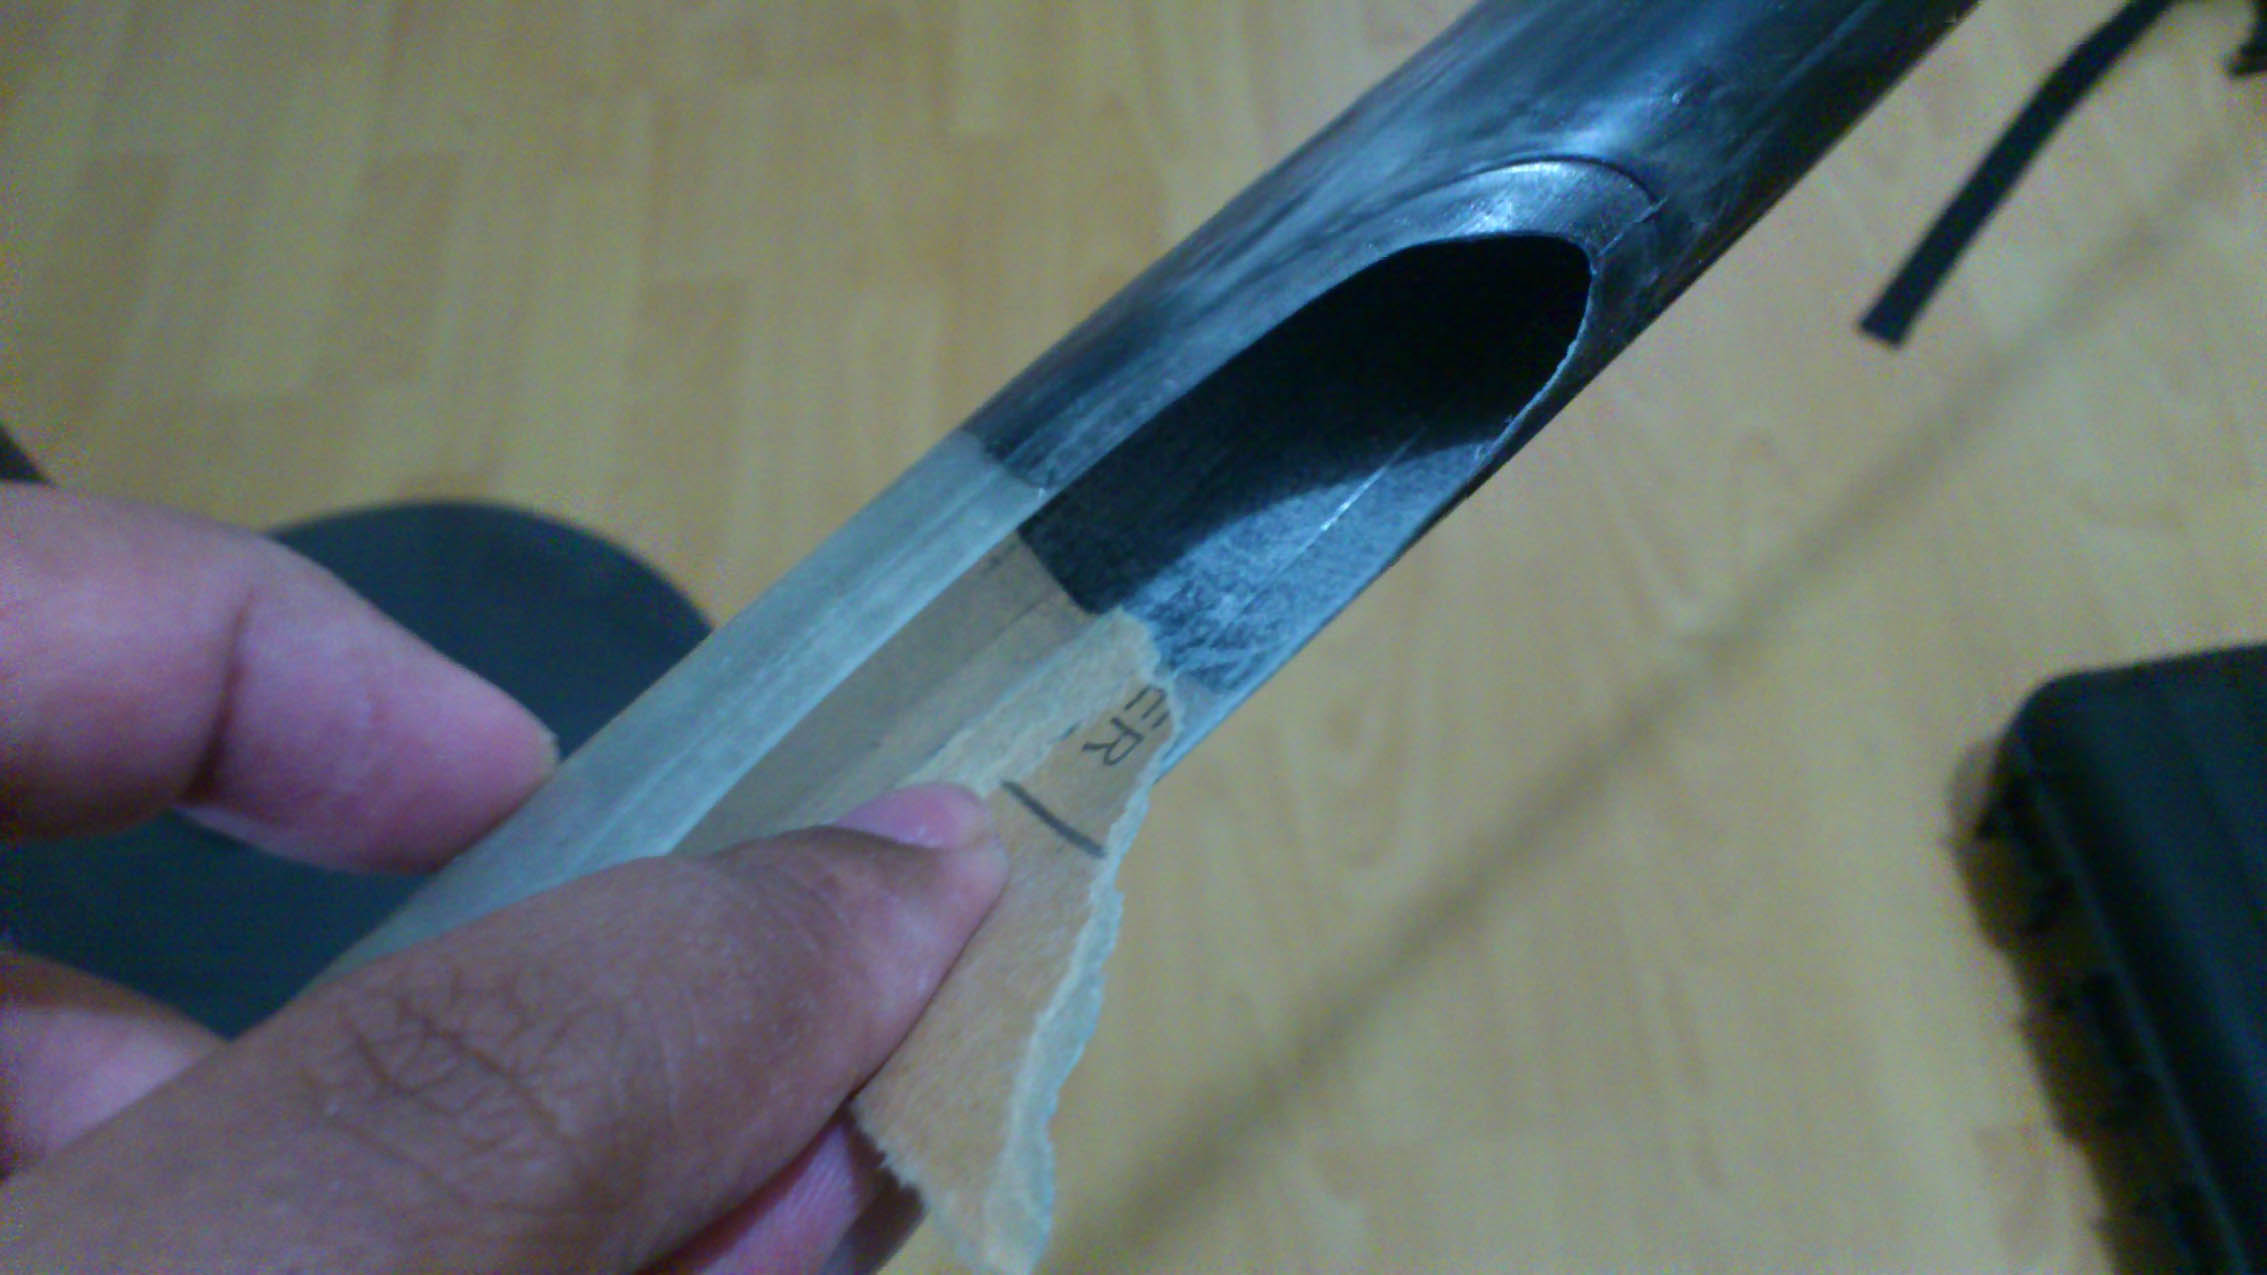
    Cut out slot to attach to boom. Shim accordingly if too loose. I also cut a 1 cm deep slot on the boom side for a snug fit.

    Click image for larger version

Name:	DSC_0490.jpg
Views:	1
Size:	169.1 KB
ID:	972770
    Click image for larger version

Name:	DSC_0491.jpg
Views:	1
Size:	149.8 KB
ID:	972771
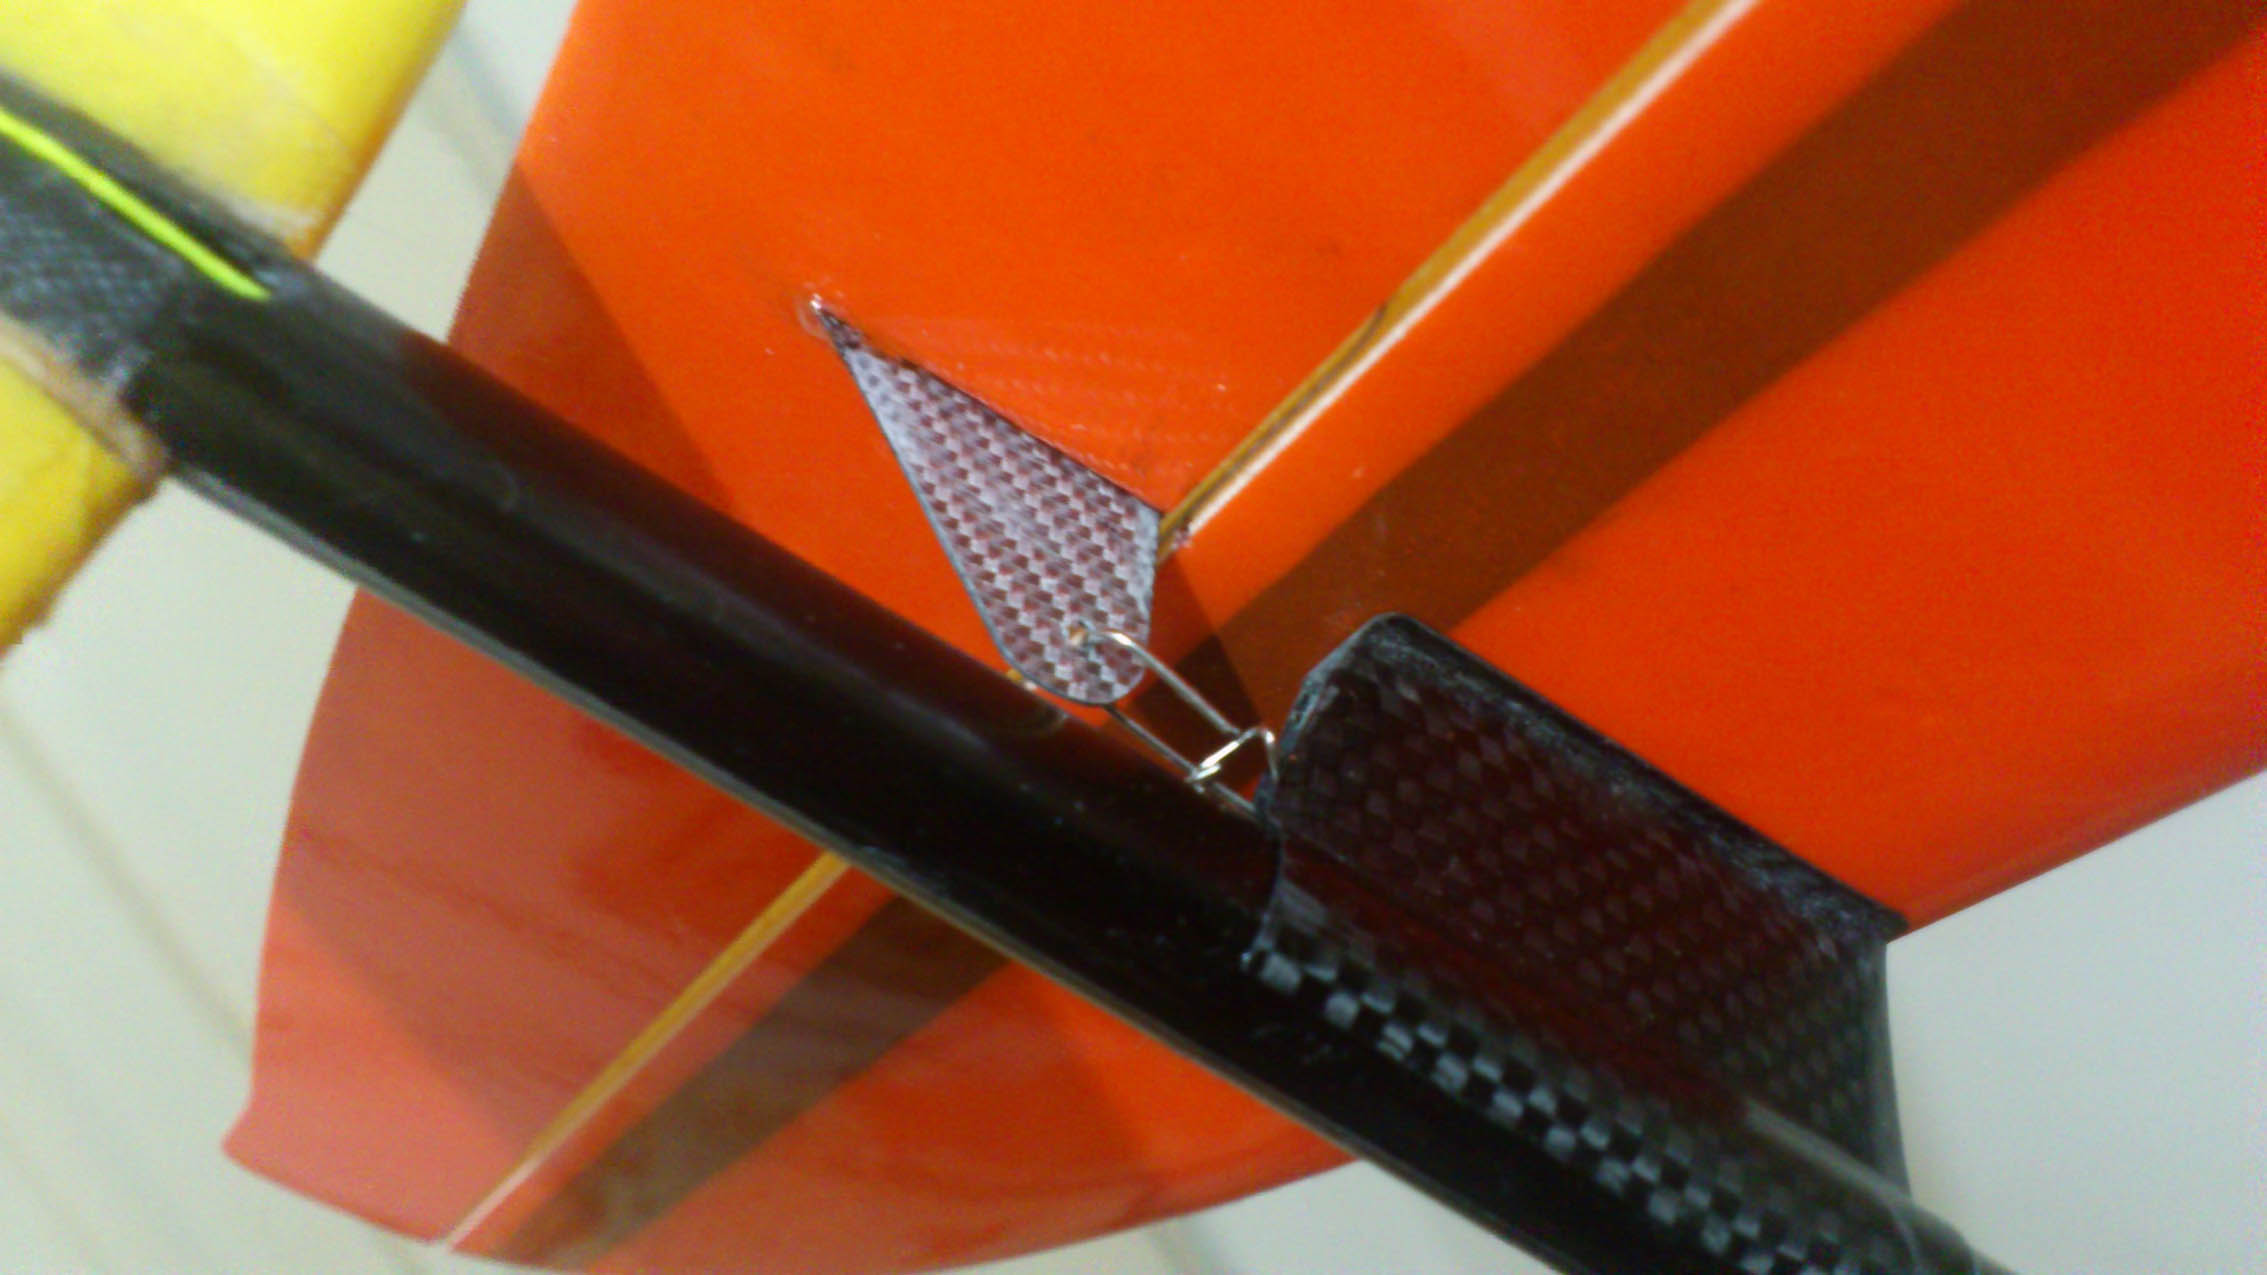
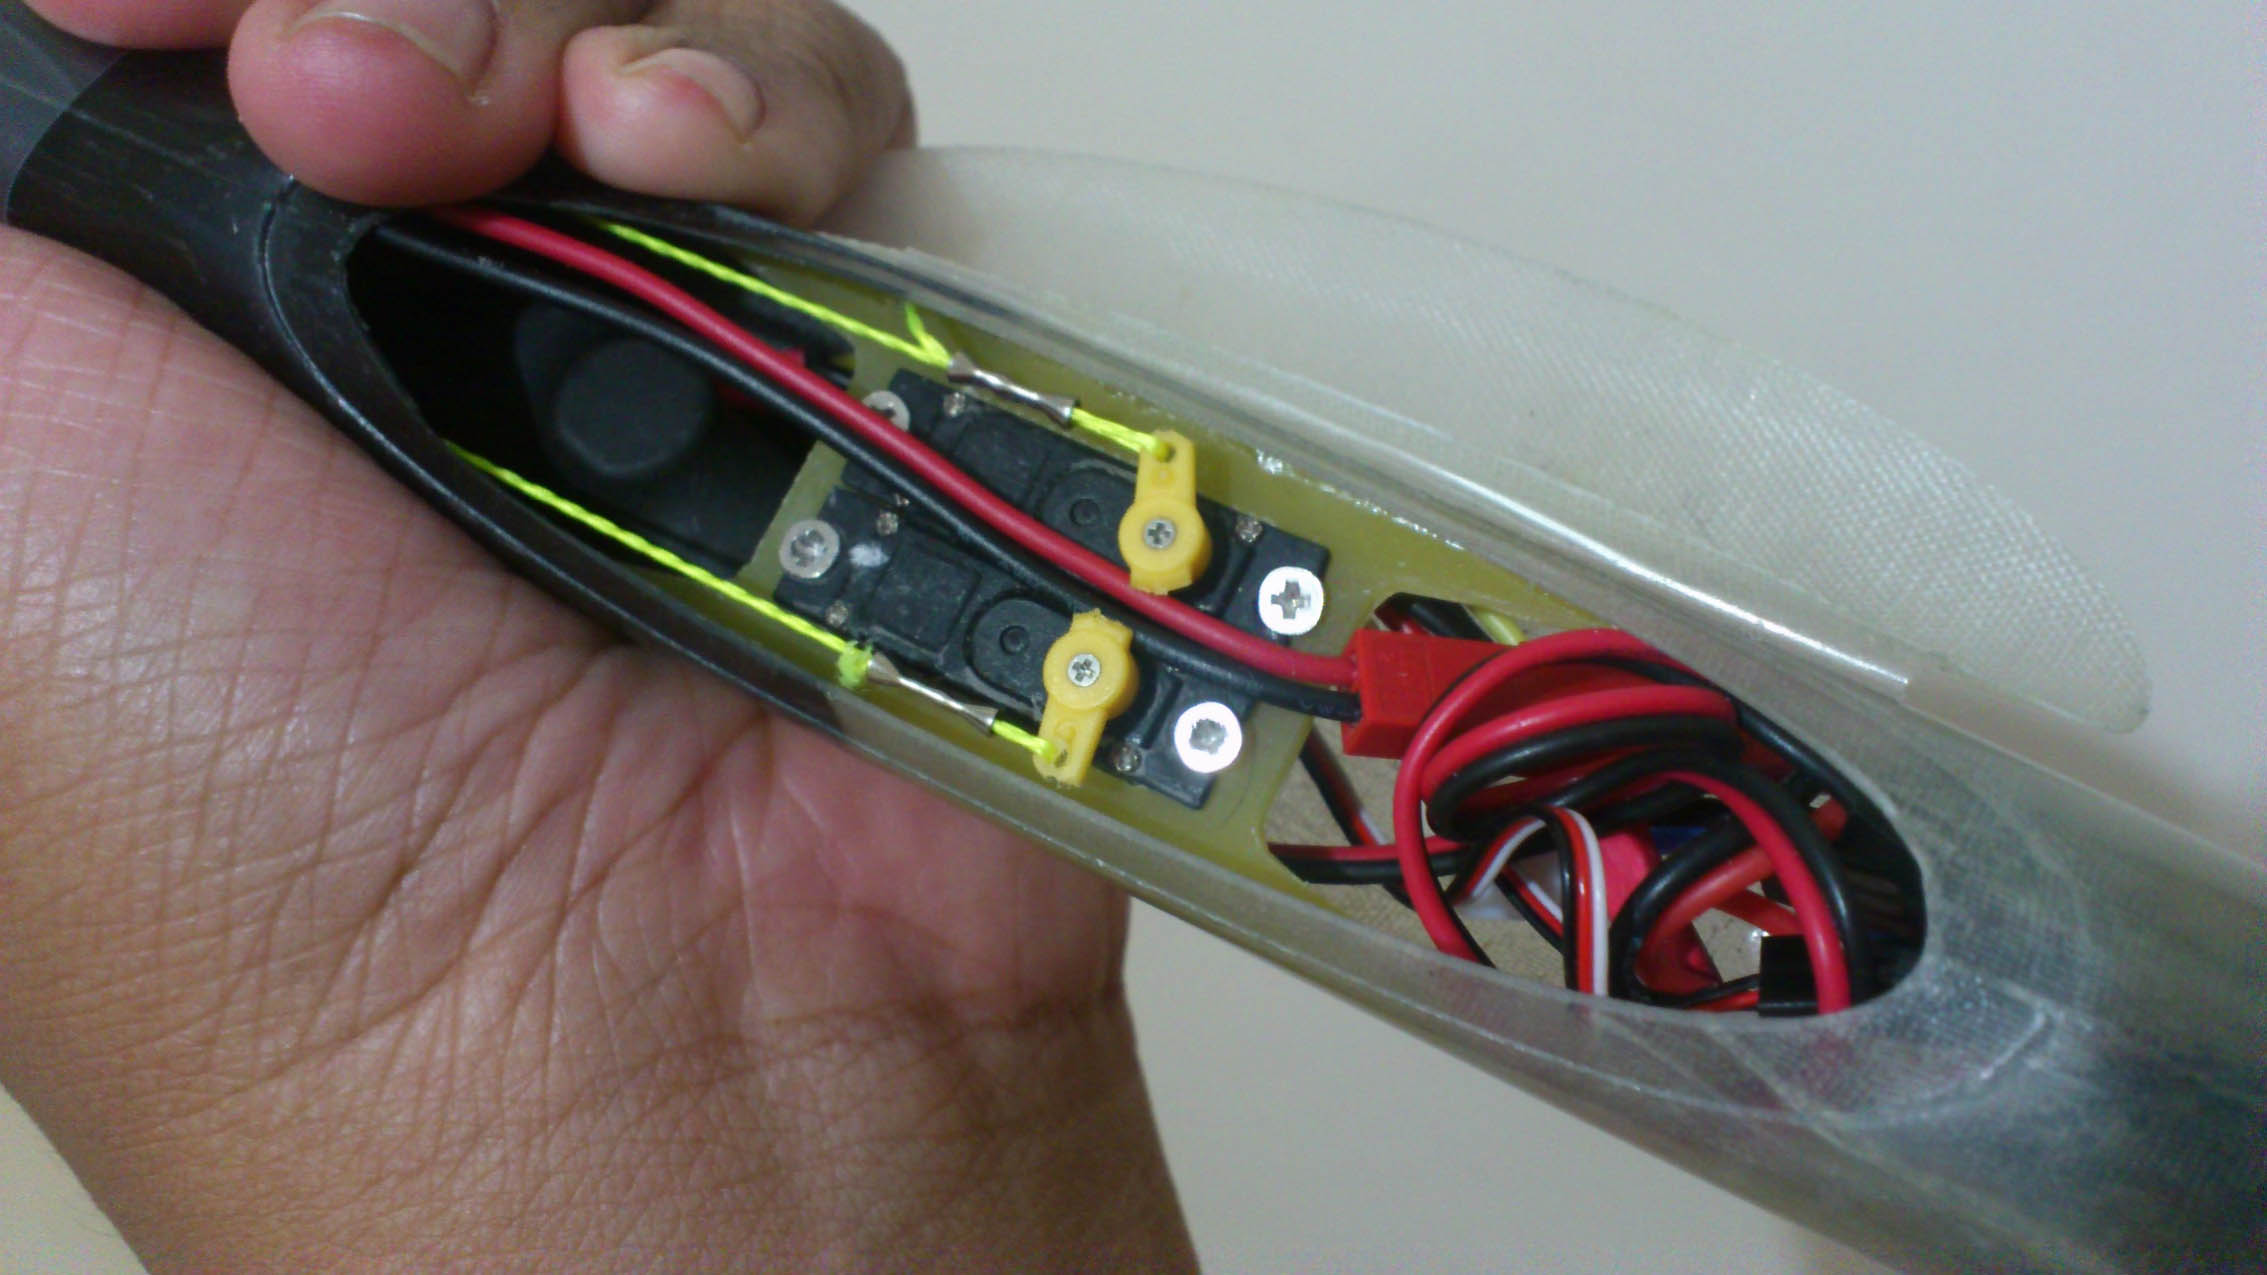
    Insert the spring in to the vert stab. Check out the angle: that's gonna ensure you have a nice taut system. No slop.

    Take what you've got and fly with it - Jim Henson
    ... no plane will allow a pilot to recover from stupid. You still have to do those piloty things... - Joe Wurts
    Electric things run on smoke. Let the smoke out and they won't work.


    sigpic

    Comment


      #17
      The kit comes with a nice cf pylon. Measure everything and make sure the aligning pins align the h-stab square to the vert stab and main wings.

      Click image for larger version

Name:	DSC_0474.jpg
Views:	1
Size:	253.1 KB
ID:	972772

      Click image for larger version

Name:	DSC_0478.jpg
Views:	1
Size:	213.6 KB
ID:	972773

      Click image for larger version

Name:	DSC_0488.jpg
Views:	1
Size:	206.0 KB
ID:	972774
      Click image for larger version

Name:	DSC_0487.jpg
Views:	1
Size:	230.1 KB
ID:	972775
      Sand the pylon and the boom so that there will be good adhesion between them. Don't forget to drill out the exit hole for the elevator pull-spring-string

      Click image for larger version

Name:	DSC_0501.jpg
Views:	1
Size:	206.8 KB
ID:	972776
      The completed elevator installation.

      Click image for larger version

Name:	DSC_0502.jpg
Views:	1
Size:	149.6 KB
ID:	972777
      Completed rudder installation

      Take what you've got and fly with it - Jim Henson
      ... no plane will allow a pilot to recover from stupid. You still have to do those piloty things... - Joe Wurts
      Electric things run on smoke. Let the smoke out and they won't work.


      sigpic

      Comment


        #18
        Now to work on the hardware that's gonna go in the pod.

        Click image for larger version

Name:	DSC_0469.jpg
Views:	1
Size:	216.7 KB
ID:	972778
        Prepare the included tray by removing the excess material. This tray fits in two DY47 - sized servos.

        Click image for larger version

Name:	DSC_0470.jpg
Views:	1
Size:	224.5 KB
ID:	972779
        Click image for larger version

Name:	DSC_0471.jpg
Views:	1
Size:	207.3 KB
ID:	972780
        Sand the tray so it fits into the pod. Also, don't forget to sand the inside of the pod for better adhesion.

        Click image for larger version

Name:	DSC_0498.jpg
Views:	1
Size:	223.8 KB
ID:	972781
        Click image for larger version

Name:	DSC_0499.jpg
Views:	1
Size:	140.0 KB
ID:	972782
        Make sure everything fits before glue-ing in the tray.

        Click image for larger version

Name:	DSC_0503.jpg
Views:	1
Size:	164.4 KB
ID:	972783
        Hole in the wing saddle for the aileron connector. Noticed, I've acually changed the type of connector as the mpx one was a tight squeeze.

        Click image for larger version

Name:	DSC_0468.jpg
Views:	1
Size:	220.4 KB
ID:	972784
        Click image for larger version

Name:	DSC_0493.jpg
Views:	1
Size:	165.2 KB
ID:	972785
        Finish off with the launch blade.

        Click image for larger version

Name:	DSC_0492.jpg
Views:	1
Size:	201.6 KB
ID:	972786
        Done! (Actually bedek. This picture was taken before the launch blade installation)

        Click image for larger version

Name:	DSC_0509.jpg
Views:	1
Size:	187.4 KB
ID:	972787
        Ah, this one shows the completed glider.

        Take what you've got and fly with it - Jim Henson
        ... no plane will allow a pilot to recover from stupid. You still have to do those piloty things... - Joe Wurts
        Electric things run on smoke. Let the smoke out and they won't work.


        sigpic

        Comment


          #19
          The finishing on the wing is amazing. A real good looking plane. Wish I could see one flying in the Singapore skies soon.


          SG Fr3ak League : www.facebook.com/#!/groups/SG.Fr3aK.League
          BR Slopers : www.facebook.com/groups/BRslopers

          Comment

          Working...
          X