Announcement

Collapse
No announcement yet.

Building the Jarts

Collapse

Zenm Tech Pte Ltd

Collapse

Visit Zenmtech at rc.zenmtech.com

X
 
  • Filter
  • Time
  • Show
Clear All
new posts

    Building the Jarts

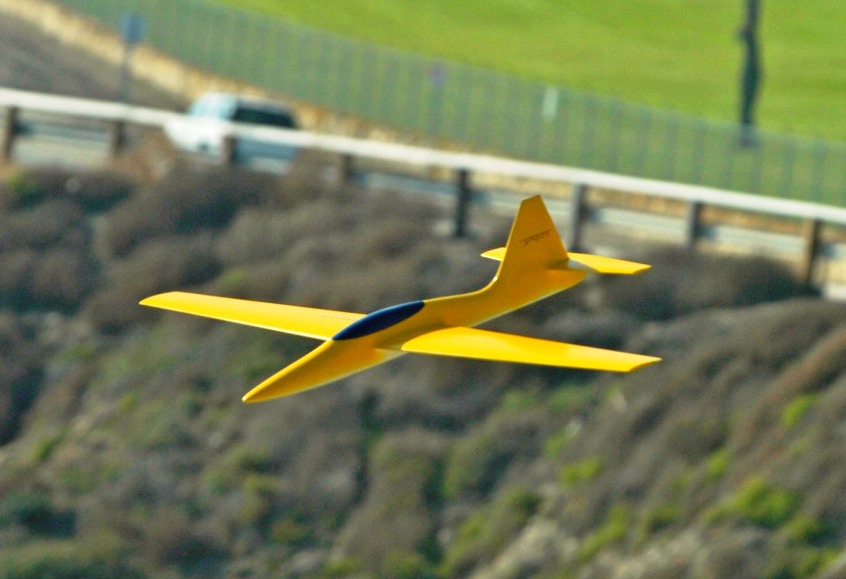
    During the last glider season, my construction method for the Mini Duo Discus has proven that it is sufficiently strong for the harsh flying at Sedili's environment. Our usual gang was asking; "So what shall we build for the next season?". There were many possibilities, but it only a few months ago, one of us came across the JART from the RCGroup.

    I was still hesistating between building it or a scale Swift S-1. Since I had promised them to build one for each, which means I have 3 to do, and the Jart only requires 3 servos instead of 4 for the Swift, I decided to go for the Jart.

    The design is meant purely for aerobatic soaring which uses a semi-symmetrical airfoil, and the airframe is one piece. I never quite like aerobatic airfoil for gliders I opt for the RG-15 instead. It can be loaded with ballast to achieve more ballistic flying and aerobatics will follow anyway. Next, piling up 3 airframes of one-piece plane of 60" span in the car back seat can be a big problem, and I redesigned the wings to be 2 piece, just like my scale gliders.

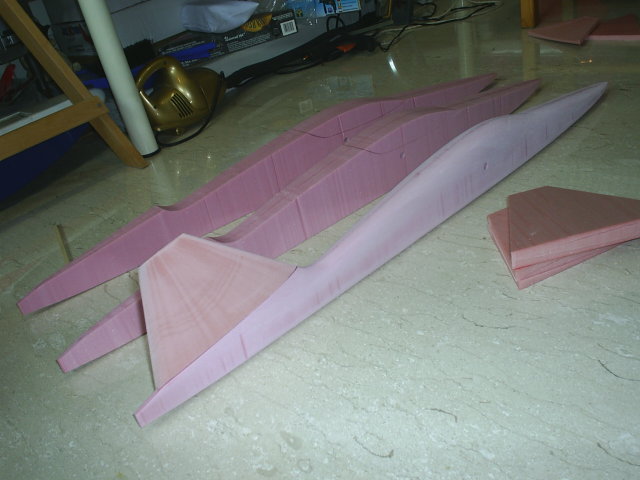
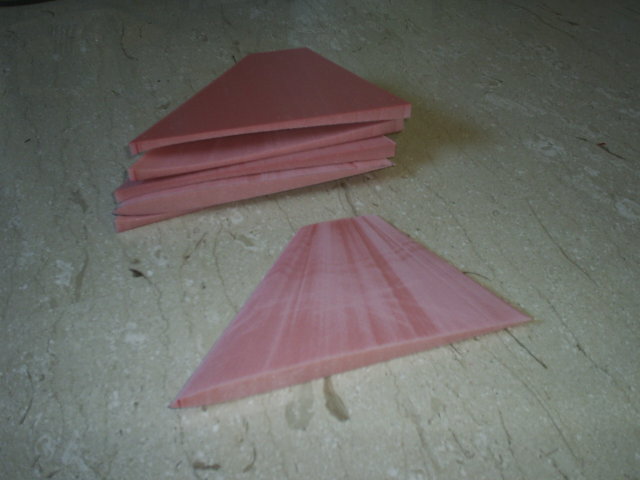
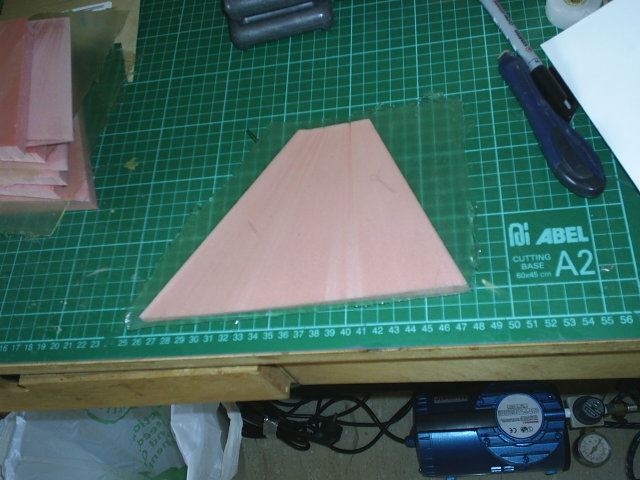
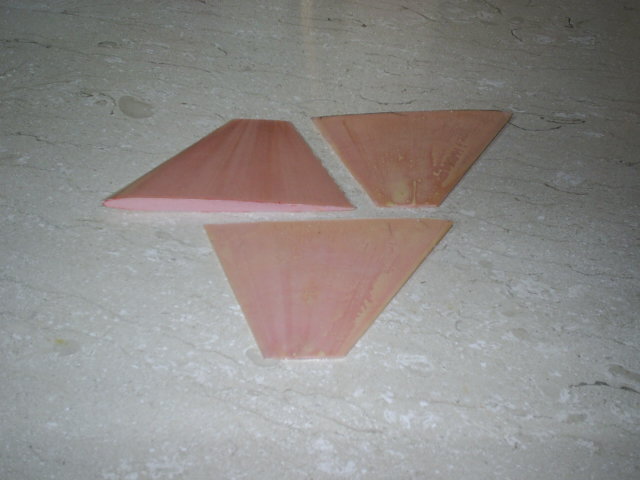
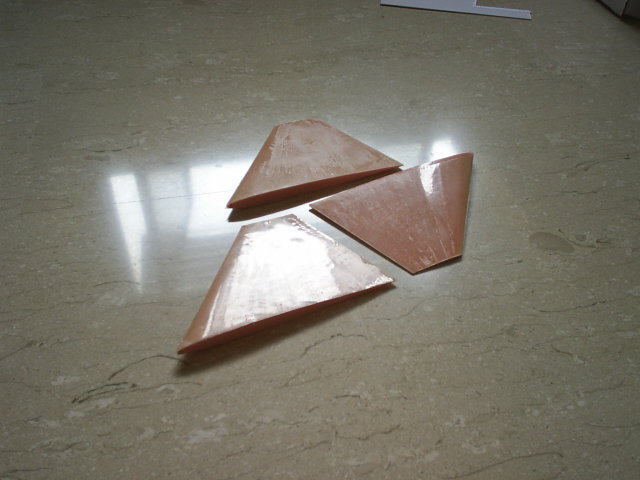
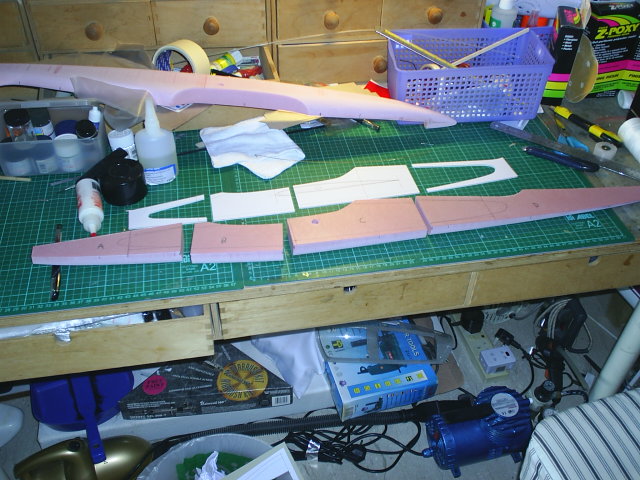
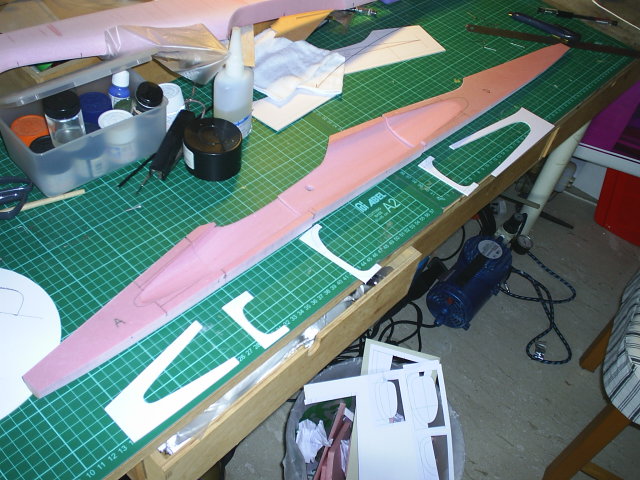
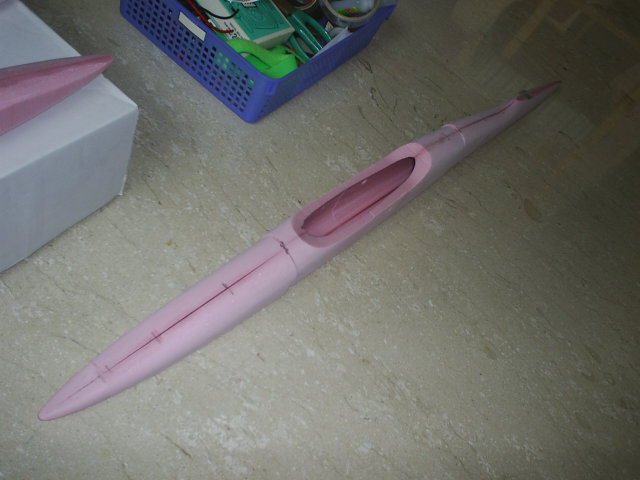
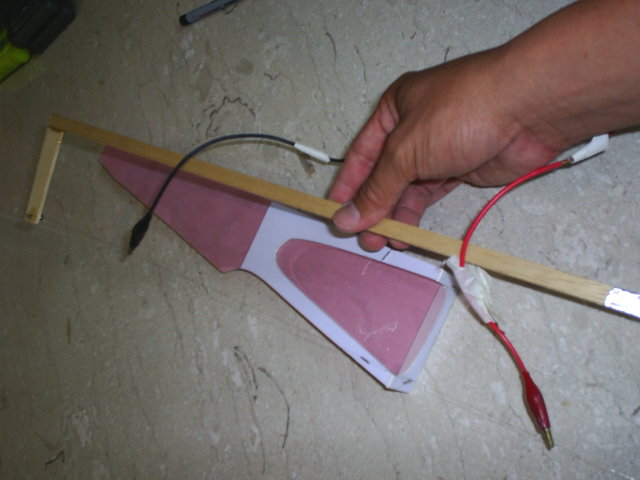
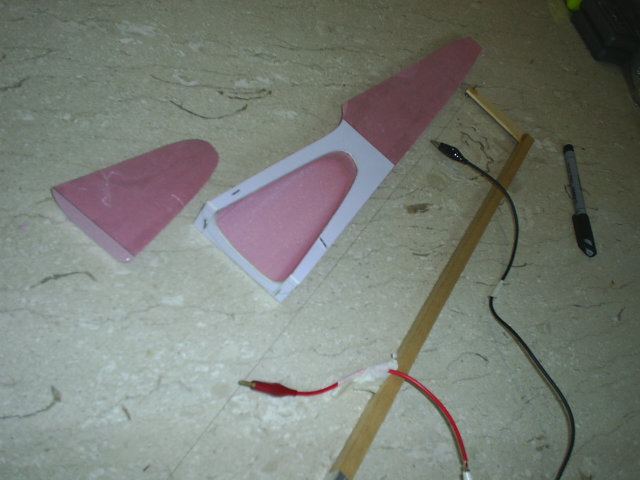
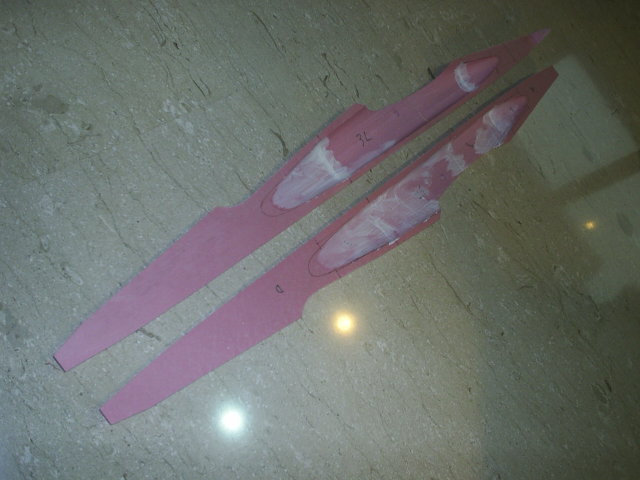
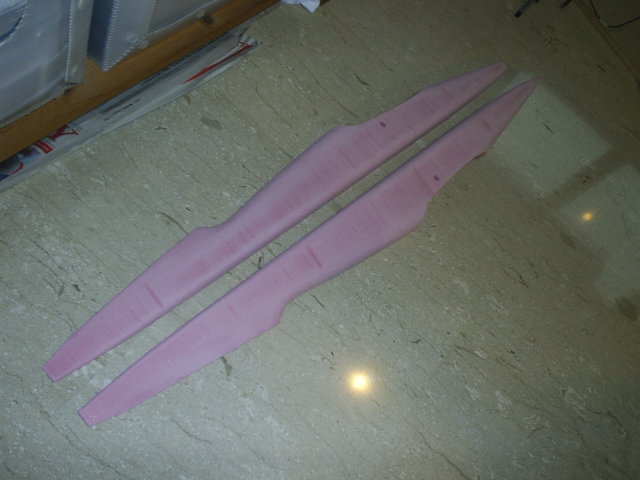
    At this point, I had hotwire cut 3 fuselages and vertical fins from pink foam. One of them is carved and sanded and ready to be dissected for internal shaping.


    #2
    BTW, this is how the Jart looks like.

    Comment


      #3
      Wooaahhh... this will be interesting... thanks for sharing Joe

      Comment


        #4
        The original uses lost foam method of moulding the fuselage and vacumm bagged wings.

        First of all, I do not have vacuum bagging facility at home and I want to minimise the layers to glasscloth for moulding the fuselage. So, I will go for the very strong and easily repairable sheeted foam core wings and composite foam core sandwich fuselage. After shaping the external of the fuselage, an internal channel will be hotwire cut within to accomodate the radio equipment. The internal walls will be glassed as well to keep the foam sandwiched within. With such method, I do not need to build up a thick layer of glasscloth to achieve sufficient strength.

        Comment


          #5
          Originally posted by joe yap
          BTW, this is how the Jart looks like.
          Nice choice of plane Joe, In fact I printed out the pic of the Jart a few weeks ago...just loved the blue colour scheme, made the plane look very sleek.

          Comment


            #6
            I got the fins hotwire cut. I need to sort of finished them so that I can use them to get the actual contour at the joint at the fuselage. I do not have vacuum bagging facilities but I have came up with a plan.

            I cut and laid a piece of thin PVC plastic sheet on the table, waxed it down and laid fibreglass cloth with finishing epoxy. After curing, the thin glass sheets are removed from the PVC which produce a very shiny and flat surface. I trimmed them to approximated 1/2" wider than the fins and laid them down on the fin foam cores with epoxy.

            Comment


              #7
              Both sides of the fins are covered with the fibreglass sheets. They all look so shiny now. Only left the LE and the TE to be touch-up later. I'd rather do it later when I got some epoxy mixed for the fuselage.

              Comment


                #8
                Now is the time to get back on the fuselages. The canopy is removed and the 2 halves splitted apart. I spent about 1 hour designing and making the template for internal cavity cutting. I marked out the parting lines at different sections of the fuselage with the templates and slice them apart using a sharp penknife. Hotwire cutting for this is not recommended as it will withdraw some foam away at the edges. The penknife cut should be done as straight as possible with the aid of the steel ruler, but need not to be perfect. The joint will match perfectly anyway.

                Comment


                  #9
                  Next, by using the sectional templates, the inner cavity is hotwire cut out.

                  Comment


                    #10
                    With both sides done, I have a hollow foam core for the fuselage! That's pretty fast. I temporarily place the parts together to see how much space I have for the equipment. Looks like there's plenty of room.

                    Comment


                      #11
                      Looking great joe! Just one question. How did you use the hot wire to cut out the inner cavity?? Care to show the tool you use?

                      Multiplex Parkmaster 3D
                      Tarot 450SE V2

                      Comment


                        #12
                        My cutter setup is just a 12V transformer, a pair of wires and the 2' cutter bow with nichrome wire.

                        The tail section template was pinned on the sectional joint and the other pinned onto the centre joint. The hotwire is passed through diagonally to produce a diagonal trough cutout with concave side and cross sectional profile.

                        The fuselage centre section cavity is simply formed by cutting the foam at the centre away with 2 sectional templates pinned in place.

                        Comment


                          #13
                          The sections were epoxied back in place, but at this point, the 2 halves will not be joined. I applied some speckling compound to fill some deeper than usual imperfections on the inner walls, to ensure proper epoxy resin bond of the glasscloths. Yes, I'll be glassing the inner walls as well this time to produce a true sandwich structure.

                          Comment


                            #14
                            Ic... Thanks! Didnt know i can use my 12V power supply to heat the hot wire. 
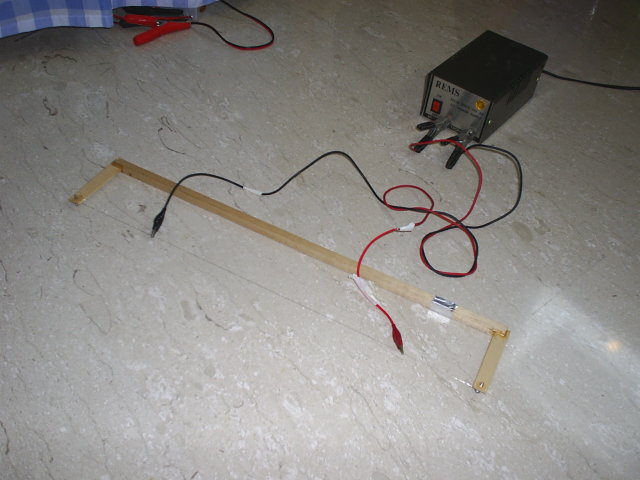
And may i know where you got the nichrome wire and pink foam from too?? Maybe i can try making my own plane some day

                            Multiplex Parkmaster 3D
                            Tarot 450SE V2

                            Comment


                              #15
                              I got the pink foam from a hardware shop opposite Chong Pang, along upper Thomson road. The wire has found in my father's previous workshop and not specification labels were found. So, I don't know where to source actually. I was told some guitar strings and piano wire works well too.

                              Comment

                              Working...
                              X