Well I am having a ball  , MOHA is out playing her Mahjong so I am sanding like crazy
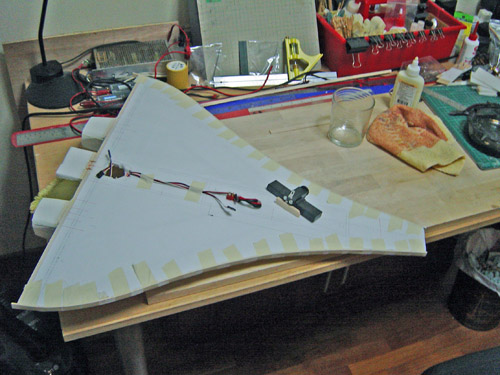
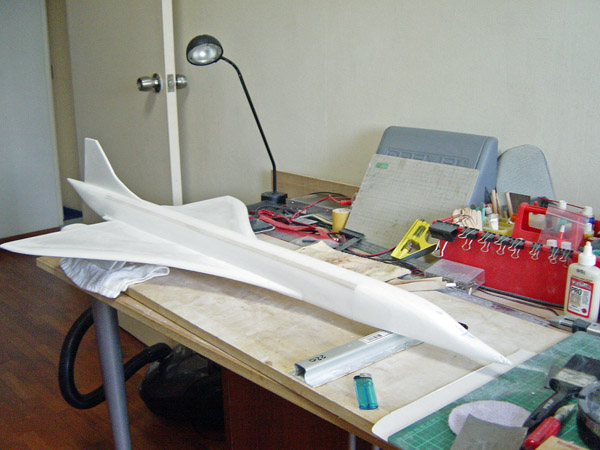
  . Those who have looked or even download the plans from AstroBoy will notice the engine pods are not square boxes, equally in real life the 4 x Rolls Royce Conways do not have square exhausts. First get the two tapers on the bottoms as near as the drawing (my trusty T bar made this an easy job), then you will note the wing is two pieces of 5 mm Depron so we can sand a nice taper down to the lower 5mm on the top side of the wing. Angle and round off the corners, shamfer and it now looks more the reverse thrust clam shells of the Conways.
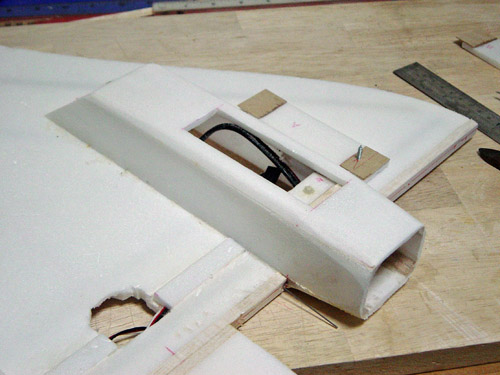
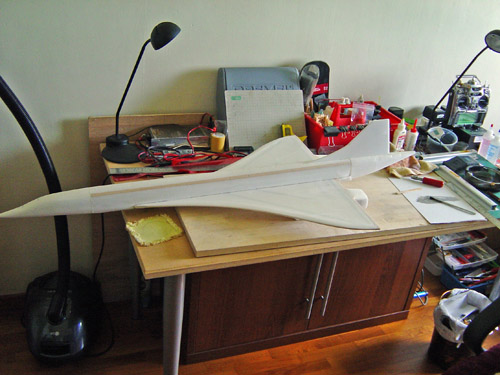
I checked the springiness (not an English word) and control of the elevons and decided it was too much. Modification time again , this time an easy one to drop two 150 mm extension leads into the wing so that the servo's can be mounted on the side of the engine pods. Another little gem I learnt from a Robbe Dash7 model was to cut the slots (inside the engine pods and on the underside of the wing), and then use a short length of 1/8" dowel to make the slot under the engine pod side by keeping the dowel on the bottom of the slot and gently pushing. Two fillets and as we would say Bob's your uncle, just need to sand smooth when the glue has dried.
I used extension leads even though the HS55 servo lead is long enough, you never know if you may strip a gear have to change the servo lah..
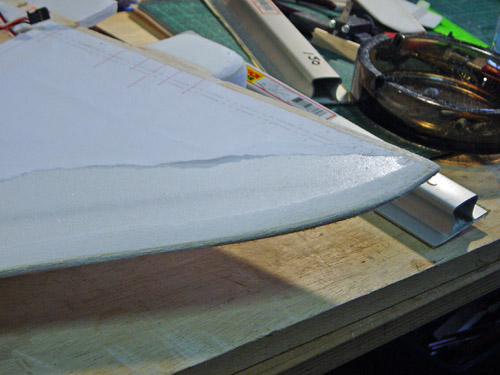
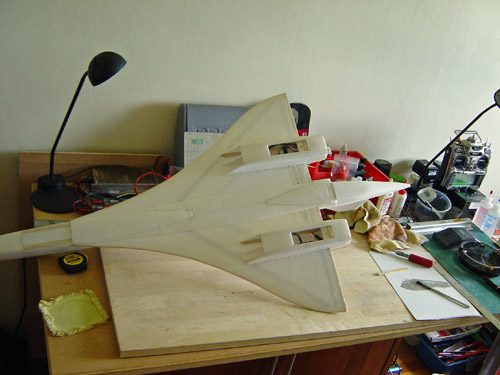
Last tip of the day before I get back to sanding , those access hatches 1/32" Lite ply as can be seen and then a small 5 mm piece of Depron for the screw to go into in the engine pod. Here is the cunning part if you do not have any oil burner models ask a fellow modeller for a piece of fuel tubing, open up the hole in the Depron and glue the tubing in with the UHU Por. Your self taping srew just loves that flexible rubber and if it ever wears replace it. The nice thing about using this method is you will not see the screw head. Now for the big fun the leading edge of the wing to get a aerofoil not just a rounded edge, more when I surface from the Depron dust........
, MOHA is out playing her Mahjong so I am sanding like crazy . Those who have looked or even download the plans from AstroBoy will notice the engine pods are not square boxes, equally in real life the 4 x Rolls Royce Conways do not have square exhausts. First get the two tapers on the bottoms as near as the drawing (my trusty T bar made this an easy job), then you will note the wing is two pieces of 5 mm Depron so we can sand a nice taper down to the lower 5mm on the top side of the wing. Angle and round off the corners, shamfer and it now looks more the reverse thrust clam shells of the Conways.I checked the springiness (not an English word) and control of the elevons and decided it was too much. Modification time again
, this time an easy one to drop two 150 mm extension leads into the wing so that the servo's can be mounted on the side of the engine pods. Another little gem I learnt from a Robbe Dash7 model was to cut the slots (inside the engine pods and on the underside of the wing), and then use a short length of 1/8" dowel to make the slot under the engine pod side by keeping the dowel on the bottom of the slot and gently pushing. Two fillets and as we would say Bob's your uncle, just need to sand smooth when the glue has dried.I used extension leads even though the HS55 servo lead is long enough, you never know if you may strip a gear have to change the servo lah..
Last tip of the day before I get back to sanding
, those access hatches 1/32" Lite ply as can be seen and then a small 5 mm piece of Depron for the screw to go into in the engine pod. Here is the cunning part if you do not have any oil burner models ask a fellow modeller for a piece of fuel tubing, open up the hole in the Depron and glue the tubing in with the UHU Por. Your self taping srew just loves that flexible rubber and if it ever wears replace it. The nice thing about using this method is you will not see the screw head. Now for the big fun the leading edge of the wing to get a aerofoil not just a rounded edge, more when I surface from the Depron dust........

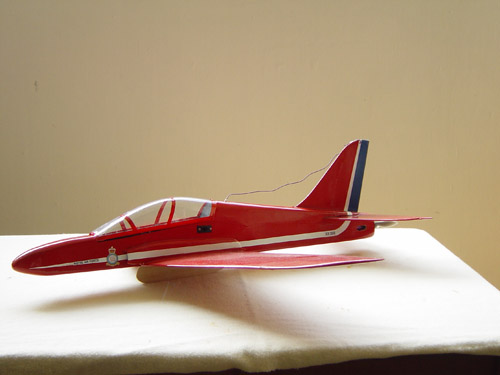
 . So back to the MotoCalc program to see what I had estimated, too my surprise I had estimated a raw airframe, wires and servo's at 10 ounces from a spreadsheet that I use. The motors (2 x AXI 2208's), Castle Creation ESC's (25A), 1,500 x 3S1P Li-Poly come to another 7.4 ounces, so I am at 17.4 ounces or 493 grams, which gives a wing loading of 7.8 ounces/sq. ft, so we have a Park Flyer and not a Park Brick
 But please go easy on the paintwork!
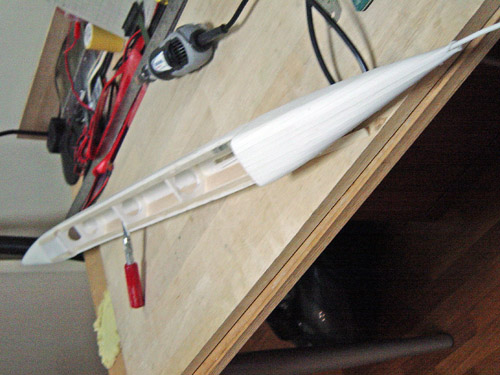

 . Still all is recoverable and this part of the model is quite fragile and heavy fists was not treating it in the manner is desired.
 .
.

Comment