Hello all.
I have recently bought a Cap232 0.1 Kit from SHS.
This would be sort of some build notes plus perhaps you all can get the insight of how balsa planes are made....
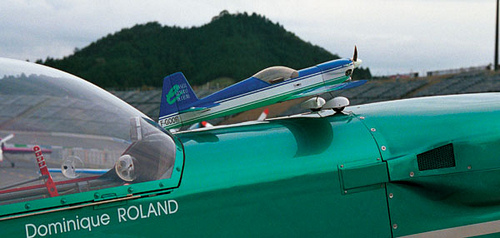
Here's the picture of the CAP 232 0.10 sitting on a...CAP 232, I suppose.
The picture is from OK Models website at http://www.okmodel.co.jp/
The product website is here.
Due to my excitement, I have not taken any pictures of the pre-built review.... I'll be grabbing some pictures to refer to from OK models. Anyway I'm sure they appreciate the free publicity...
Now.... on to the build.
The kit is the same as any other kit. Upon opening it, you will see a lot of balsa planks with the part shapes lazered into them.

So, we'll start with the instructions...at the beginning.
Step 1 - make the engine mount. Some extra work is needed as I'm going to convert this to electric.

Stock engine mount
Measure, and hack off some parts of the 'noses'
Epoxy mounting plate to the engine mount - reinforce with ice cream sticks. Later on we'll firewall mount a motor on.

Prepare the other small parts, like this
and this

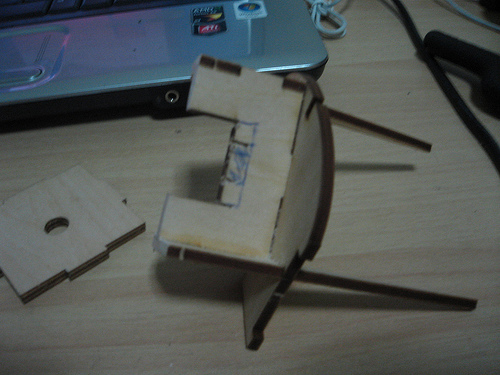
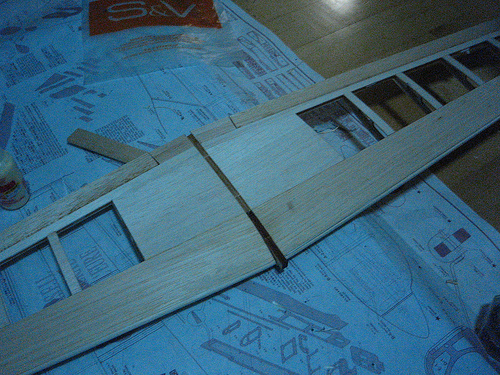
Lay out parts on the building board

Dry fit together.
Pilot/Ok models precision is so good, you can even dry fit them together and they would stick, without glue. But of course, I glued the parts together with white glue. Only used clothes pegs to peg the rear together.

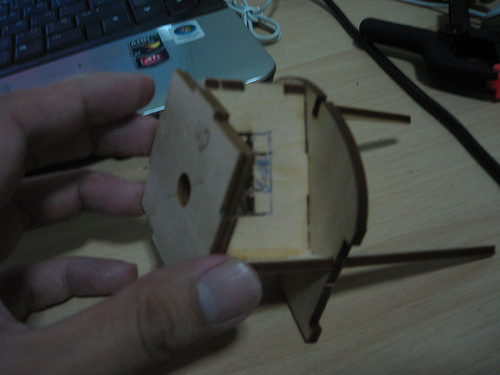
A few more parts here

A few more parts there
Very simple so far. I took 1 night on the motor mount (actually an hour plus) and then another night 1 hr on the fuse. Have to build when wife is not looking or getting me to do housework.

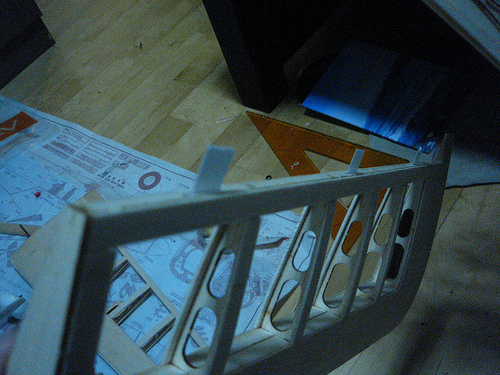
Planking of balsa start
This is starting to get tricky - to get the balsa to fit perfectly around the curved surface. I wasted a lot of balsa here
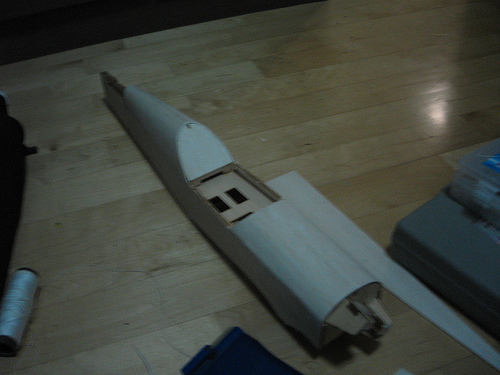
Planking end

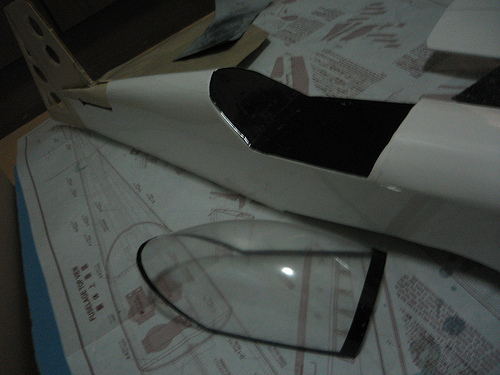
Glue cowl together, test fit

Remember the earlier photo?
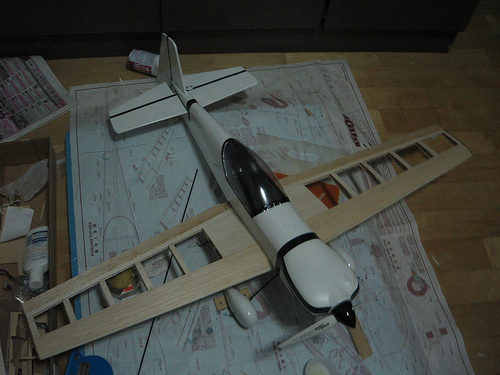
Now its' time we firewall mounted the motor and test the fit

Look and see.....mmmm seems ok.
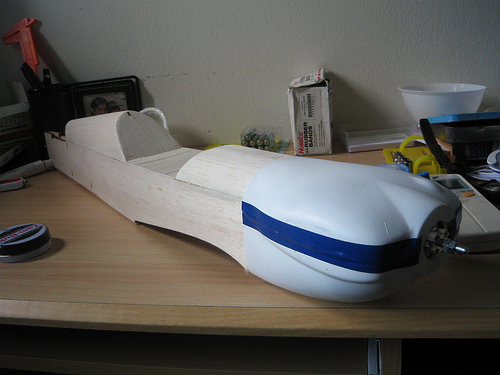
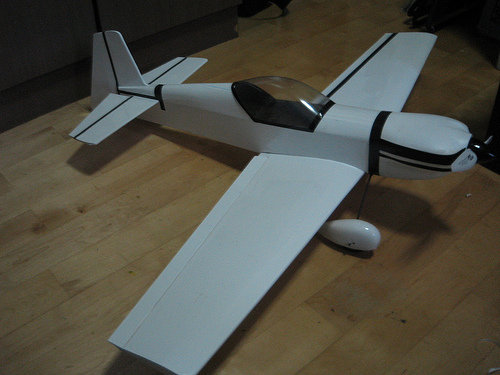
Next, spraypaint the cowl, put a electric insulation tape as decoration.
I'm up to here at this point.
Next -
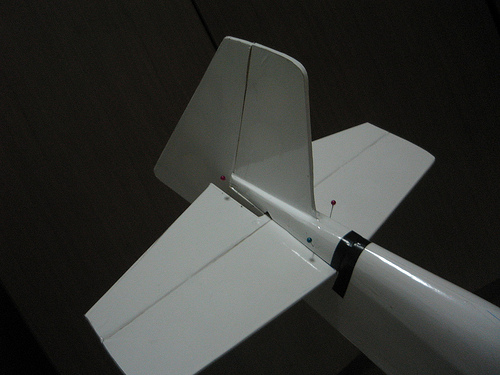
making horizontal stabs and vert stabs
Covering the fuse
Making the wings
To be continued
I have recently bought a Cap232 0.1 Kit from SHS.
This would be sort of some build notes plus perhaps you all can get the insight of how balsa planes are made....
Here's the picture of the CAP 232 0.10 sitting on a...CAP 232, I suppose.
The picture is from OK Models website at http://www.okmodel.co.jp/
The product website is here.

Due to my excitement, I have not taken any pictures of the pre-built review.... I'll be grabbing some pictures to refer to from OK models. Anyway I'm sure they appreciate the free publicity...
Now.... on to the build.
The kit is the same as any other kit. Upon opening it, you will see a lot of balsa planks with the part shapes lazered into them.
So, we'll start with the instructions...at the beginning.
Step 1 - make the engine mount. Some extra work is needed as I'm going to convert this to electric.
Stock engine mount
Measure, and hack off some parts of the 'noses'
Epoxy mounting plate to the engine mount - reinforce with ice cream sticks. Later on we'll firewall mount a motor on.
Prepare the other small parts, like this
and this
Lay out parts on the building board
Dry fit together.
Pilot/Ok models precision is so good, you can even dry fit them together and they would stick, without glue. But of course, I glued the parts together with white glue. Only used clothes pegs to peg the rear together.
A few more parts here
A few more parts there
Very simple so far. I took 1 night on the motor mount (actually an hour plus) and then another night 1 hr on the fuse. Have to build when wife is not looking or getting me to do housework.
Planking of balsa start
This is starting to get tricky - to get the balsa to fit perfectly around the curved surface. I wasted a lot of balsa here
Planking end
Glue cowl together, test fit
Remember the earlier photo?
Now its' time we firewall mounted the motor and test the fit
Look and see.....mmmm seems ok.
Next, spraypaint the cowl, put a electric insulation tape as decoration.
I'm up to here at this point.
Next -
making horizontal stabs and vert stabs
Covering the fuse
Making the wings
To be continued


 :
:

 )
) 


Comment