Announcement

Collapse
No announcement yet.

Padawan micro slope soarer

Collapse

Zenm Tech Pte Ltd

Collapse

Visit Zenmtech at rc.zenmtech.com

X
 
  • Filter
  • Time
  • Show
Clear All
new posts

    Padawan micro slope soarer

    This is not the first time. Before the Southwest monsoon season starts, our good friend Mr Tee, "poloso'ed" me to build something for the Phuket slope soaring season. Last year, it was the JART. This year, he stumbled across the 'Padawan' micro slope soarer from RCG in search of a pitcheron plane, and managed to convince me and Johnnie Wong to build it.

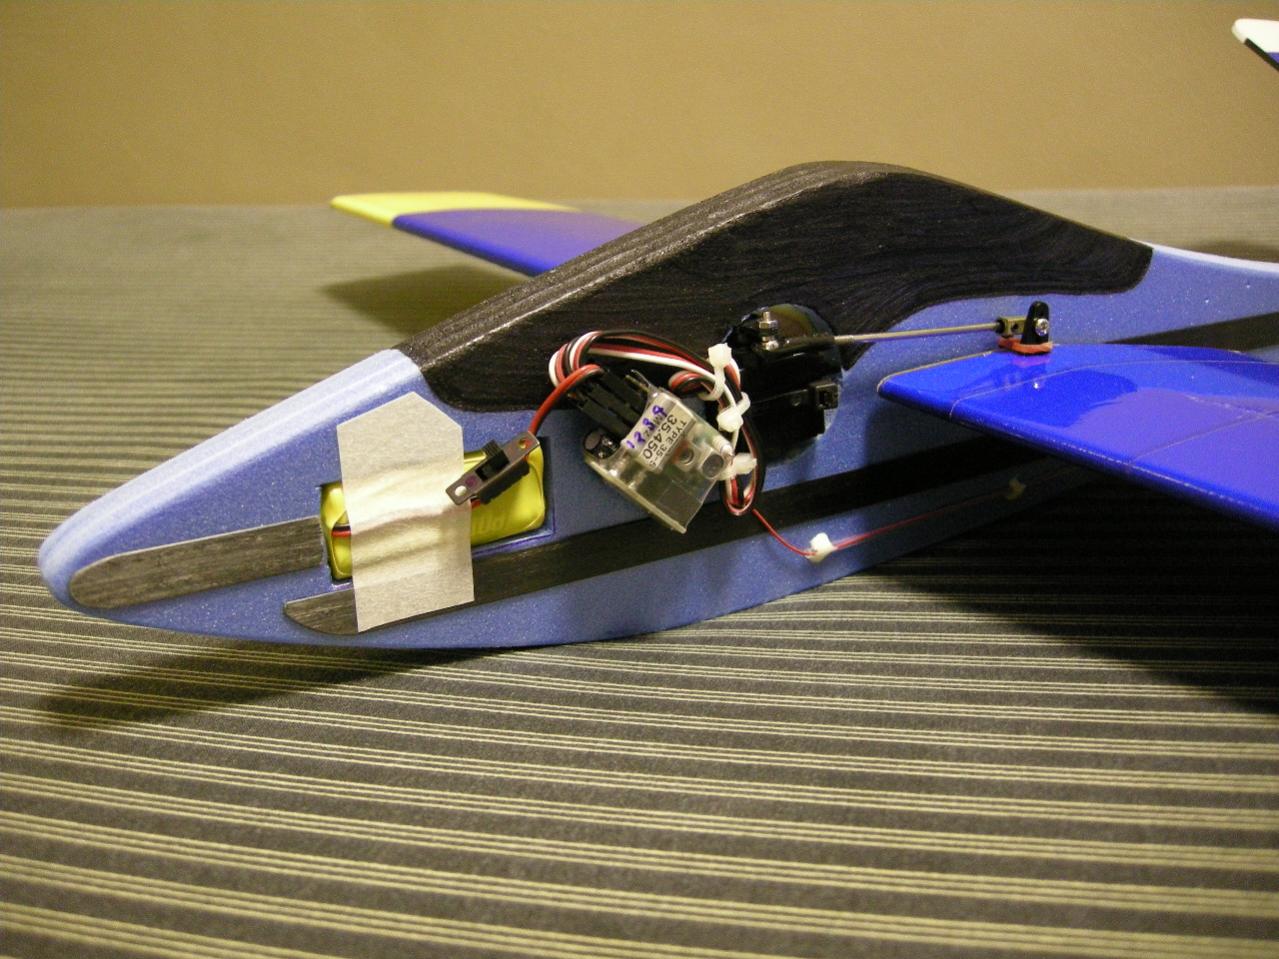
    A little on the original model. The designer built it with EPP foam and the model is rather small at about 32" of total wingspan. The model uses 2 servos to drive the variable pitch main wings directly. The horizontal stabilizer is, as the name implies, just a stabilizer, no elevator. Both pitch and roll controls are done by changing the angle of incidence of each wing. The original has no rudder control.

    See link: http://www.rcgroups.com/forums/showthread.php?t=820994


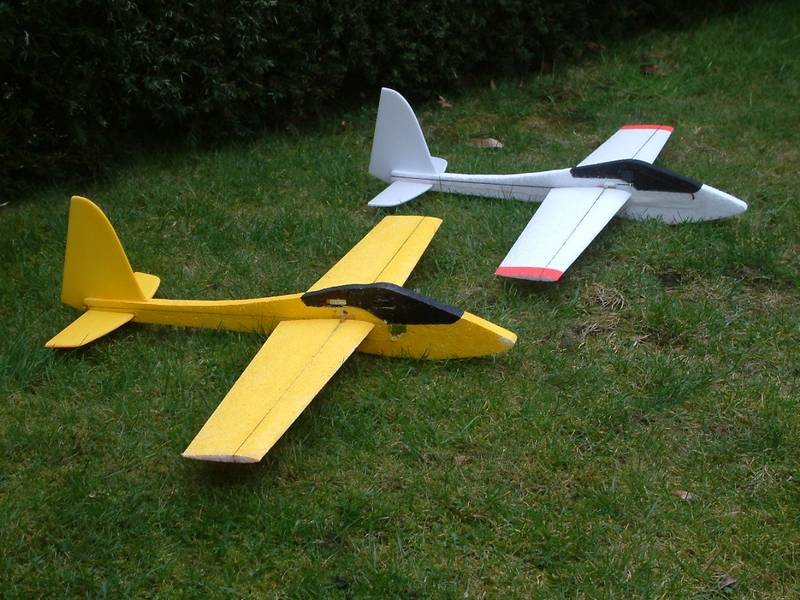
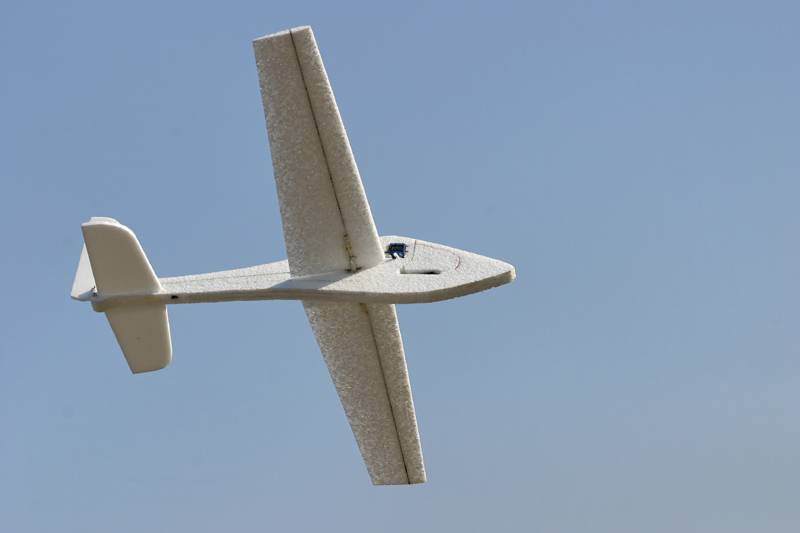
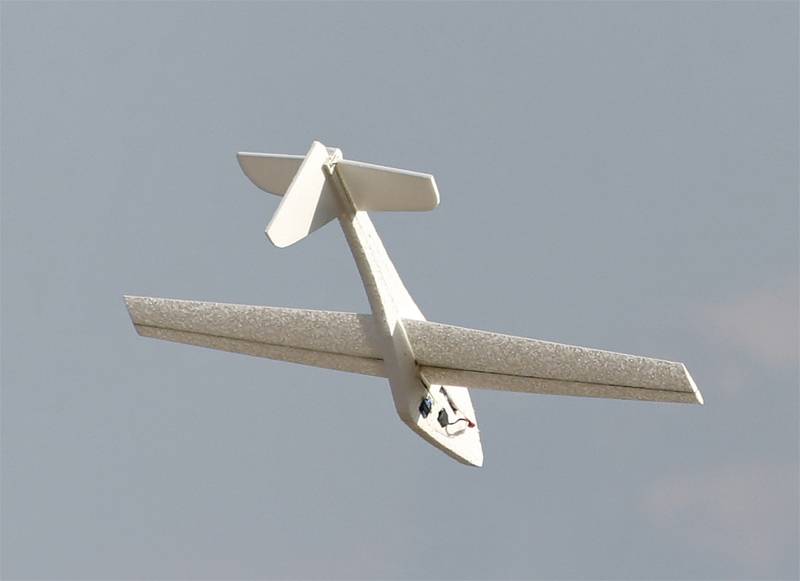
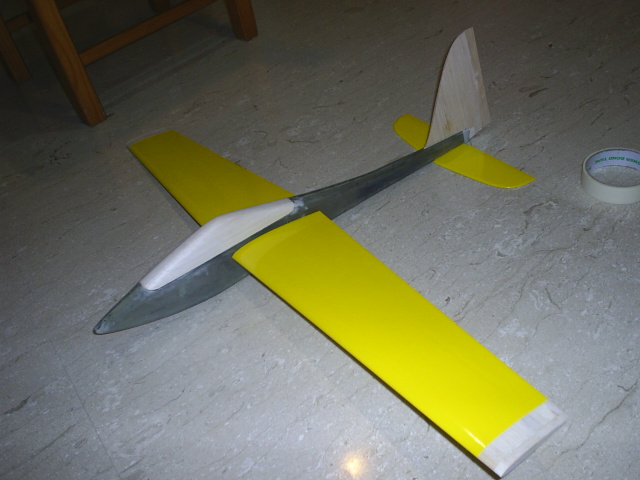
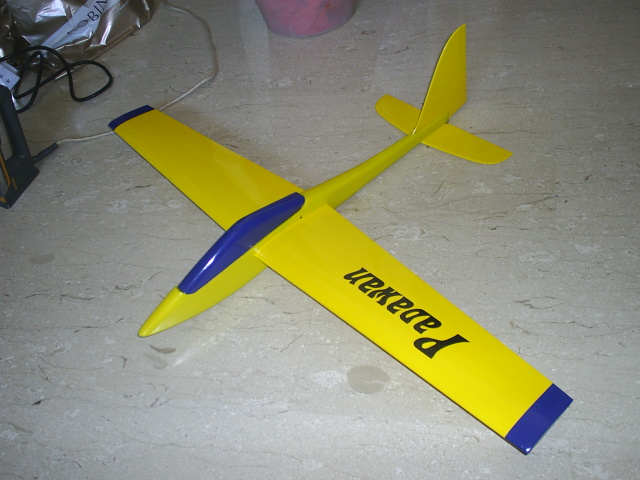
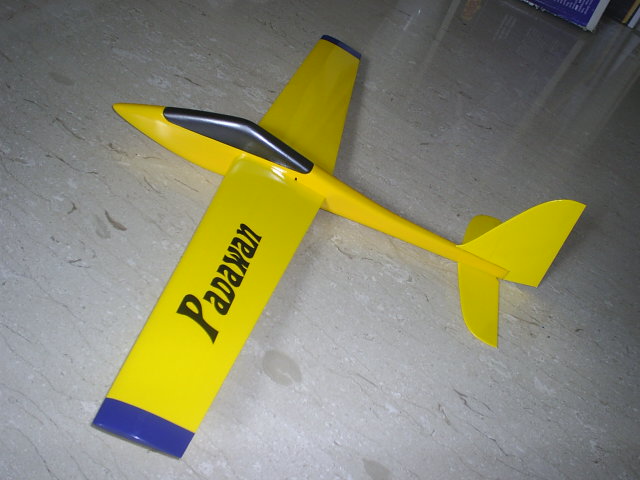
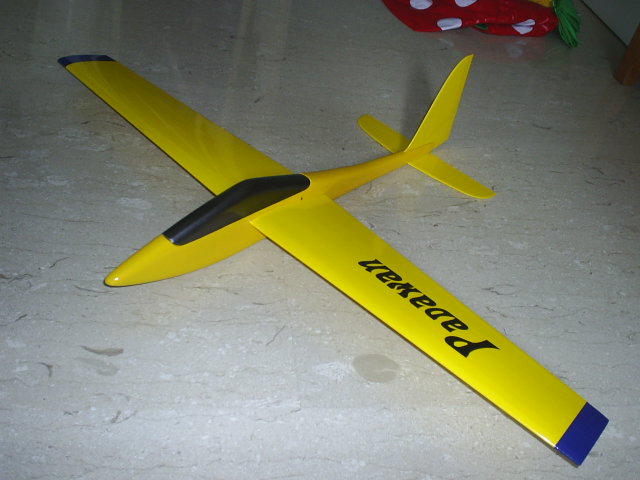
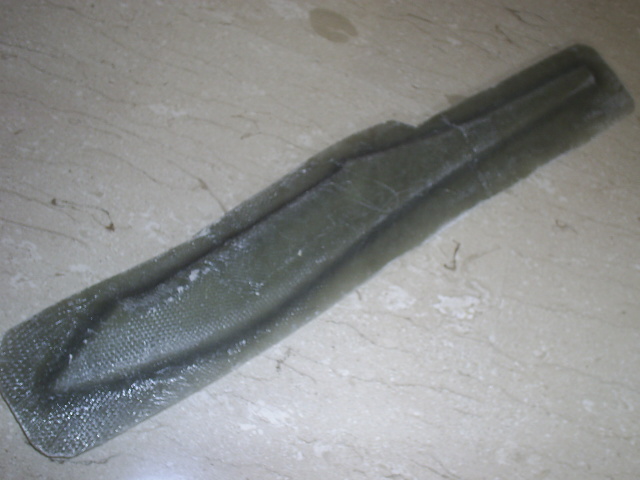
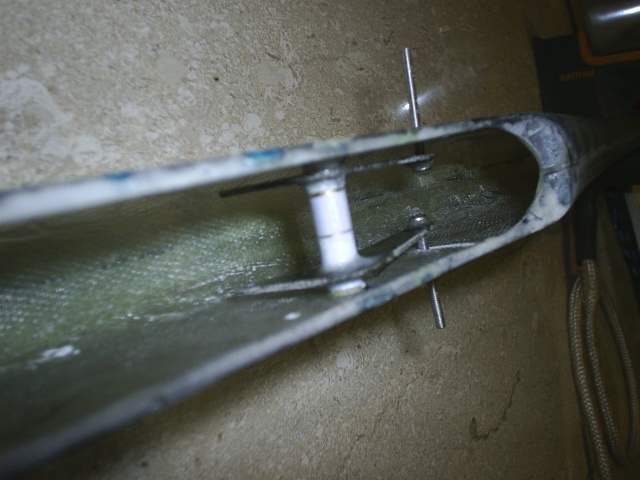
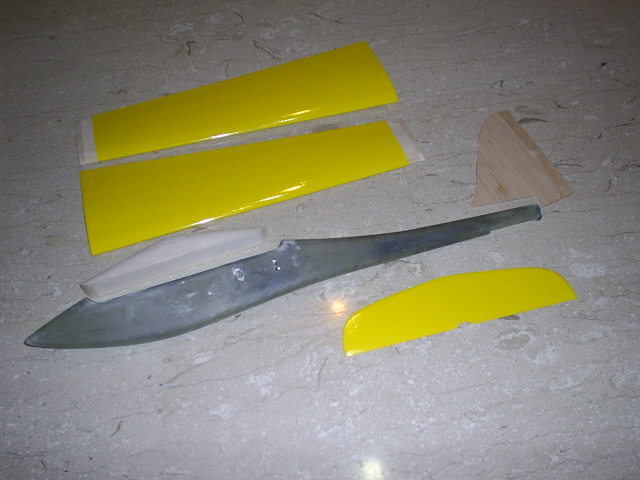
    These are some pictures of the original design.


    #2
    Johnnie has just finished his Depron version, instead of the original EPP version. He had the wings formed by rolling the Depron sheets to form the airfoil, and changed the standard tail to V-tail. He has yet to maiden it.

    With V-tails, the model has a smarter look somehow. As usual, Johnnie's worksmanship with foams is superb.

    Comment


      #3
      As for my model, I can't kick the habit of making simple things difficult, especially when Tee reminded me that he'd prefer a stiffer airframe than just a plain foamie, especially if you are flying it in the howling winds of Phuket.

      The wings are of my usual sheeted foam core wings, but since there won't be any ailerons on the wings, construction is much easier and faster. The only important item is to have 2 support ribs to hold the brass wing joiner tube to prevent it from tearing off during high-Gs manuevers. The coverings will be film.

      The tail parts is even simpler. Just plain sholid 3/32" hard balsa sanded to shape and will has film coverings.

      The main highlight, is the fuselage, which is something I seldom do; fully moulded fibreglass. I carved the balsa plug and covered it with Oracover. Then I waxed it to make the first mould half. Once it is done, the second half is done, before I splitted them apart and had the plug removed.

      Each mould is made up of multiple layers of light to heavy fibreglass cloth. Thanks to Raven for the contributions anyway. After waxing up the female mould halves, I laid 2 layers of medium weight cloth, followed by a layer of heavy cloth, with laminating resin. Once cured, the overhanging cloths are trimmed away. Then I laid a strip of fg cloth on one side. When it has partially cured, I bolted the 2 mould halves together and apply some more resin of the fg cloth strip on the other side, followed by some more cloth to join the 2 halves together. Once the resin has cured, I pulled the 2 female mould halves apart and the actual part fell on my feet. Although not perfect, but it is quite well moulded. It needed some filling of pin holes and voids, before some sandings.

      I didn't opt for the original control rigging. I've read an article of another pitcheron plane and I adopted the same technique, in order to hide the linkage within the fuselage as far as possible. The wings will be controlled via a bellcrank on each side, which one of its horn has a incidence pin attached to it,which in term will be connected to the wing root. The other horn will be connected to its respective servo horn. The 2 bellcranks are mounted on the joiner brass tube itself, where the wing rod will pass through it.

      At this stage, most of the difficult parts are done, except for the canopy, which will be moulded with glasscloth later on. The bals plug is ready though.

      Comment


        #4
        lol... Joe, you still cant kick the habbit. You've put the glass into good use. Buzz me anytime of you need more. The mould looks neat... maybe one day i would want to duplicate a fuse too. Good Job
        sigpic
        FASSTGot Quard?

        Comment


          #5
          Originally posted by Raven View Post
          lol... Joe, you still cant kick the habbit. You've put the glass into good use. Buzz me anytime of you need more. The mould looks neat... maybe one day i would want to duplicate a fuse too. Good Job
          No problem Raven. I'm done with the mould. I can pass it to you anytime. It's not perfect though.

          Comment


            #6
            scary

            a simple epp become a full fiberglass fuselage glider

            only a master can do that

            Comment


              #7
              Manz ! ...between you and Johnny, any poor glider pilot will get 'poisoned' to death !
              Seriously running out of ...Storage space !

              Comment


                #8
                Joe makes glassing look so "easy". I cannot even get that level of finish glassing just the center section of wings for simple strengthening
                If in doubt - add more horsepower!

                Comment


                  #9
                  Originally posted by Doraemon View Post
                  Joe makes glassing look so "easy". I cannot even get that level of finish glassing just the center section of wings for simple strengthening
                  The basic idea is easy, but that is about it. The actual processes are PITA!

                  Comment


                    #10
                    The fuselage moulding finishing is far from perfect. After plenty of voids fillings and sandings, the paintjob reveals even more crap! Anyway, from experiences, the first layer of paint is only good for sanding off. The second coat will be much better. I'll leave the paint to cure fully for another few days befor sanding down again.

                    Meanwhile, I got the servos rigged and glued in place. I use a push-pull system threaded stud on each wing root for wing retainer, with conjunction of a pen spring.

                    The horizontal stabilzer is mounted to the fuselage by 2 machine screws. This system makes it detachable for easy transportation. The vertical fin is covered but yet to be epoxied to the fuselage. It'll be done only when I'm satisfied with the paintjob. For the time being, I dry assemble all the available parts with the canpoy plug for photo taking.

                    Comment


                      #11
                      As always ..... WOW
                      Helis
                      Logo 500 3D

                      Once upon a time , there were frequency pins , flybars and nitros...

                      Comment


                        #12
                        I sanded down the paint of the fuselage, primed it and sanded down again. Then, followed by another coat of primer before the Tamiya yellow Acrylic spray paint topcoat. At least it now looks much better. The canopy is moulded and painted with Tamiya Gun metal Acrylic spray paint.

                        Now, I've to make the canopy attachment system and radio installation.

                        Comment


                          #13
                          is this slope soarer easy to built and fly if so i may consider trying a glider after my miniT
                          «Kira'sHanger™®»:
                          HK450MT ( awaiting elecs)

                          Comment


                            #14
                            bro i think the slope flyers cant reply u as they maybe still be in phuket or somewhere slope gliding
                            DX7 SE

                            Comment


                              #15
                              Hi Joe,

                              I've got a couple of questions and hope you'll share more of your techniques and materials used:

                              What do you use for filling voids before sanding down and painting again?

                              What type of spray paint do you use? I know you've stated that the final coat is a Tamiya Acrylic, so is the same one used before the final coat?

                              Also, which primer do you use?

                              Thanks!

                              Comment

                              Working...
                              X