Announcement

Collapse
No announcement yet.

GWS 400 Tigermoth building / modification thread

Collapse

Zenm Tech Pte Ltd

Collapse

Visit Zenmtech at rc.zenmtech.com

X
 
  • Filter
  • Time
  • Show
Clear All
new posts

    GWS 400 Tigermoth building / modification thread

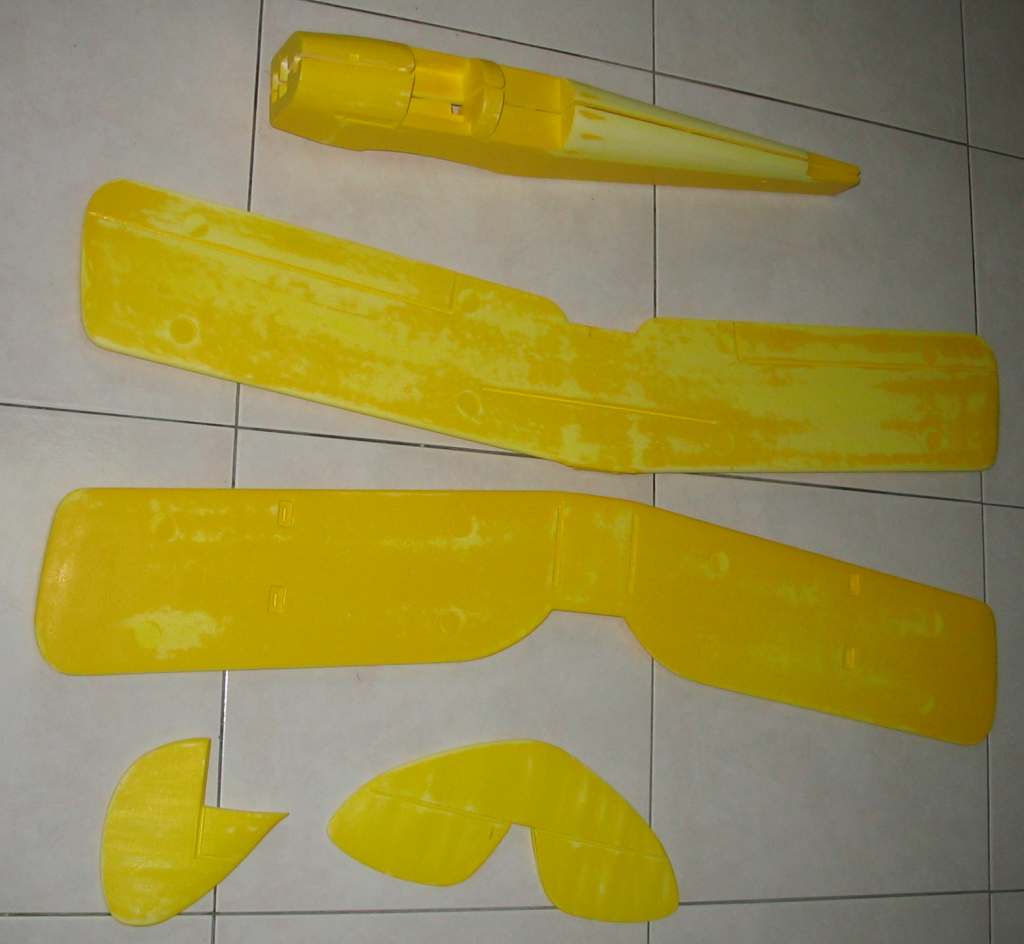
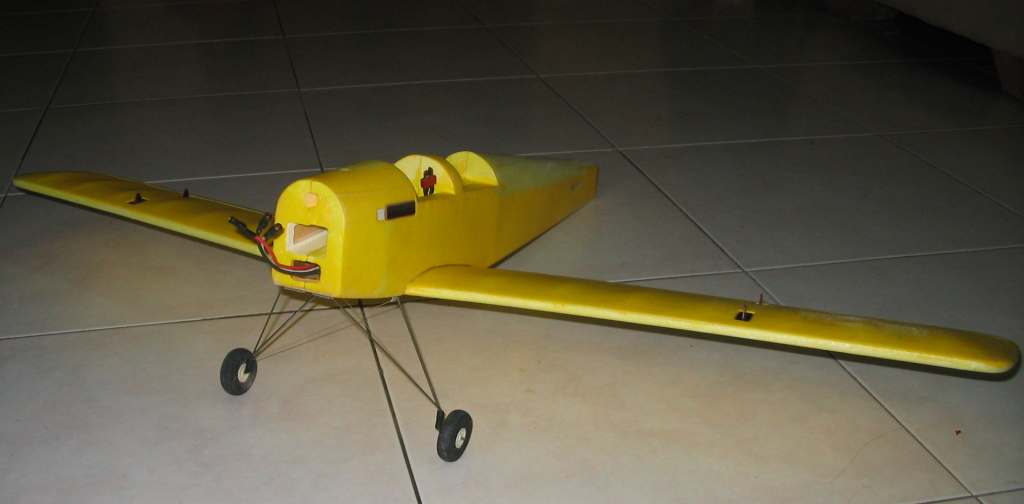
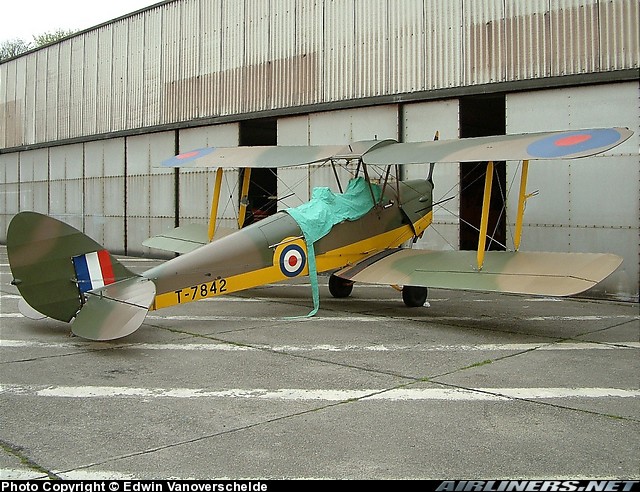
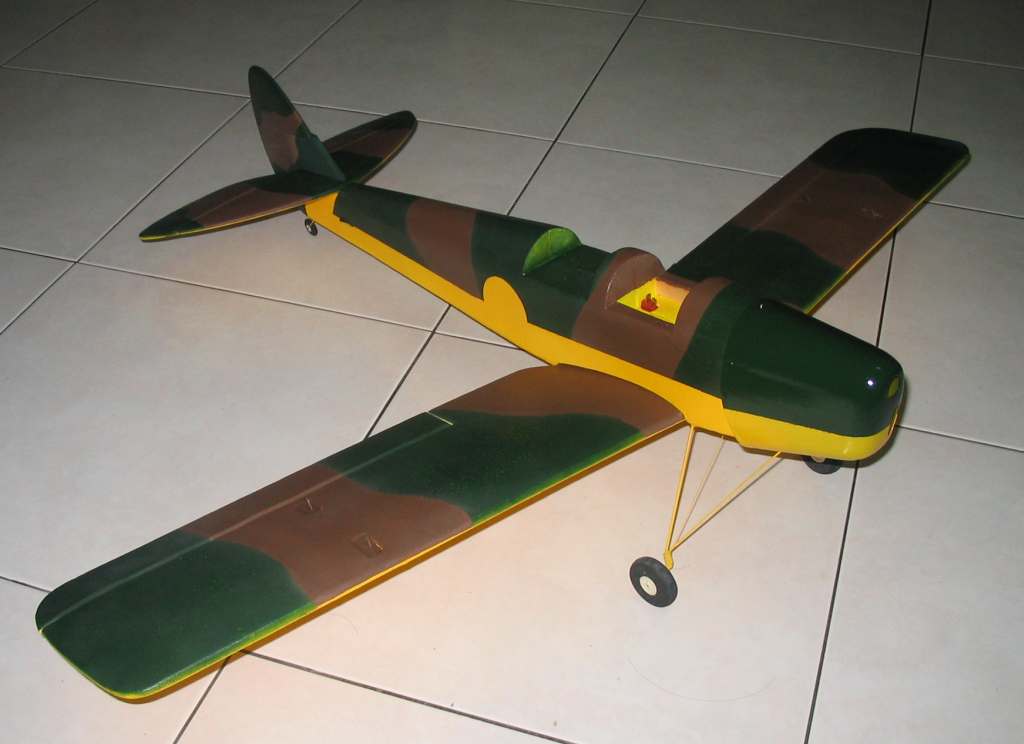
    I would like to share my building experience of the GWS Tigermoth (TM) and hope those TM lover our there find it useful.

    Before start, just some commend about the GWS TM. It is not too scale by itself hence some work are needed to fix it. Example are back part of the upper fuselage should be rounded off, wing of TM should not be stright, landing gear is too weak and out of position, aileron control rod may cause stress on servo due and finially reinforce the fuselage especially the front part with the land gear.

    OK lets start....

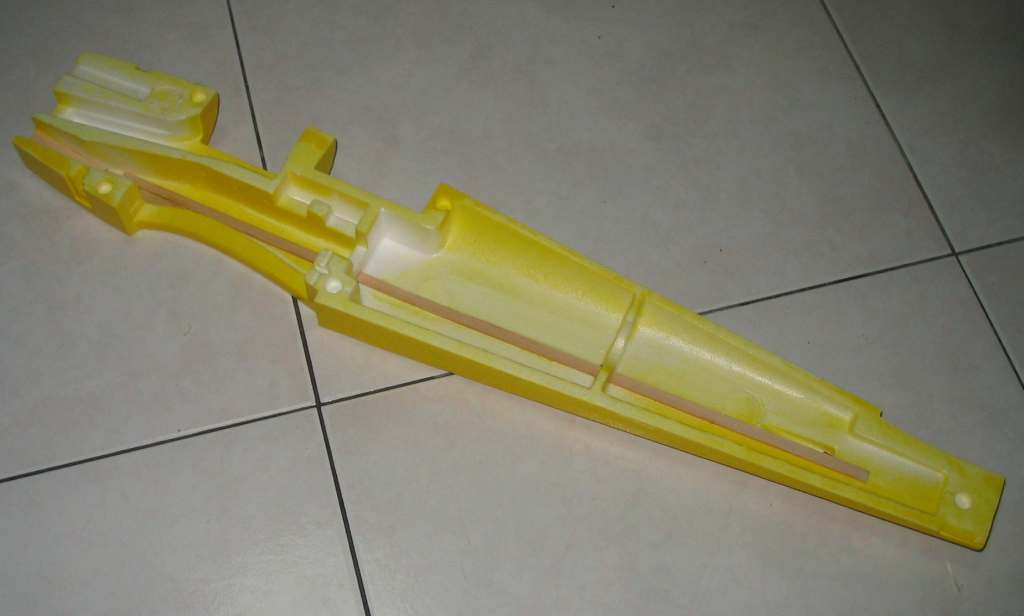
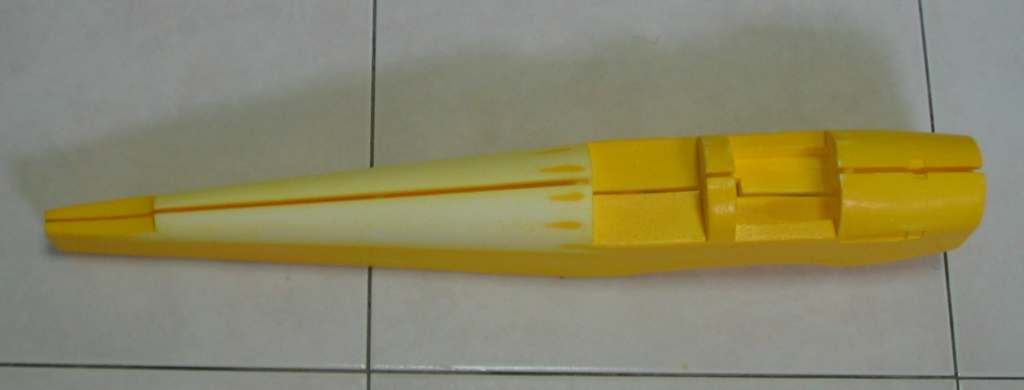
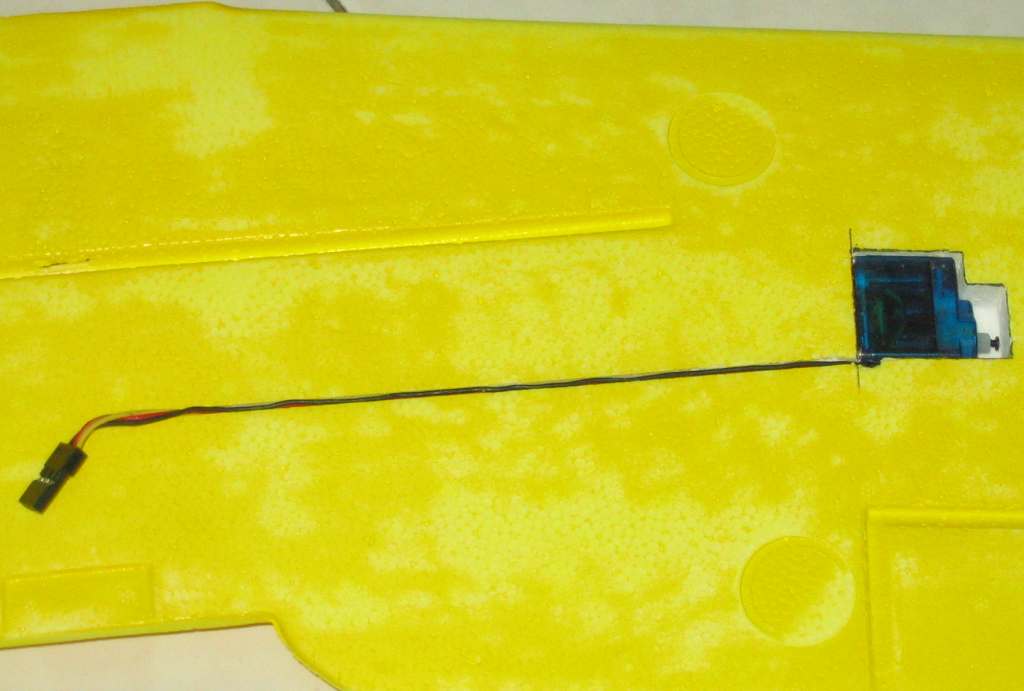
    1) Cut and sand fuselage to shape

    2) Sand all part to smooth......step to prepare for fiber glassing

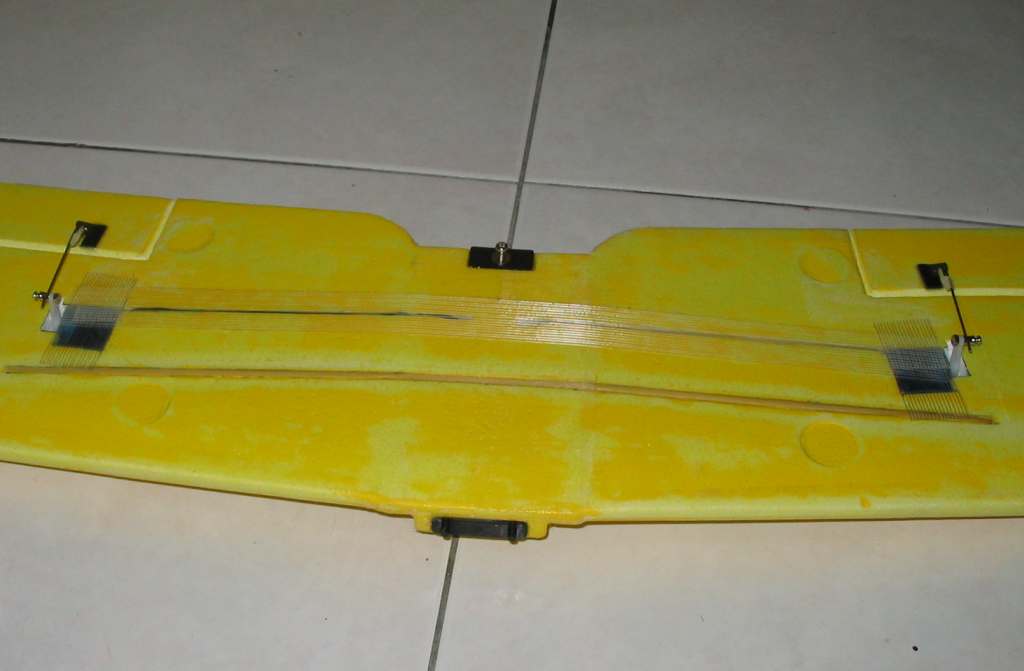
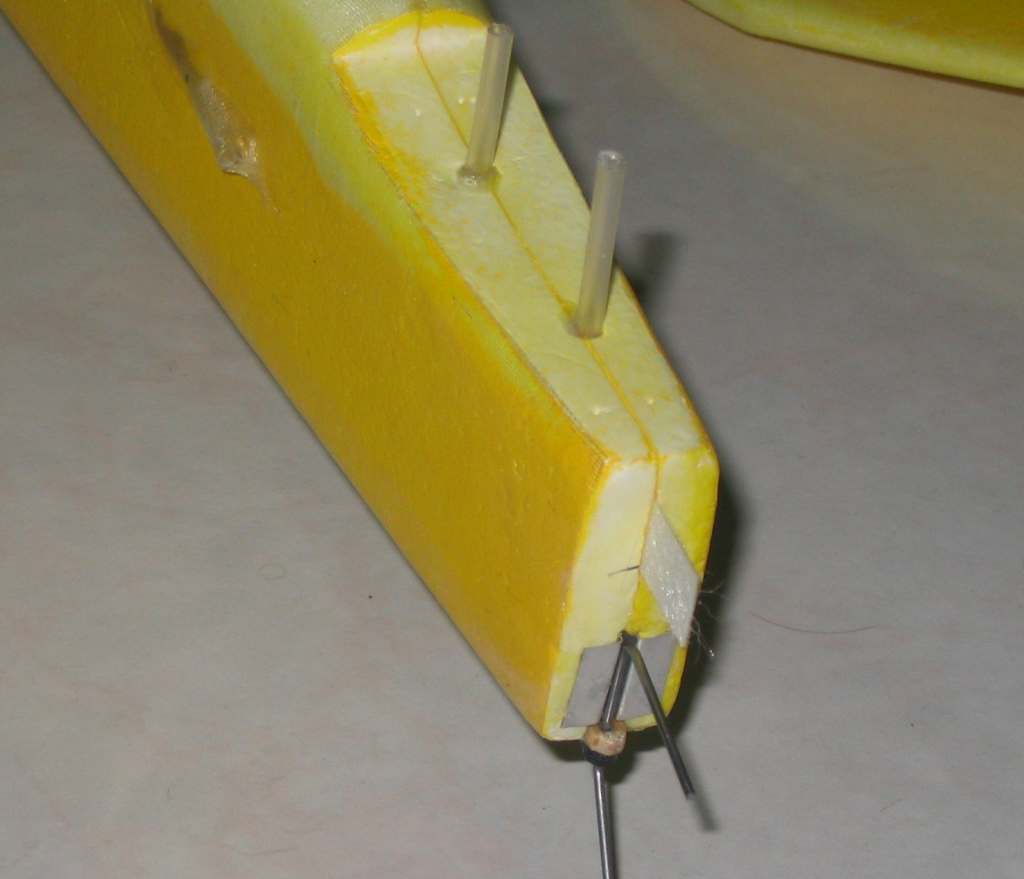
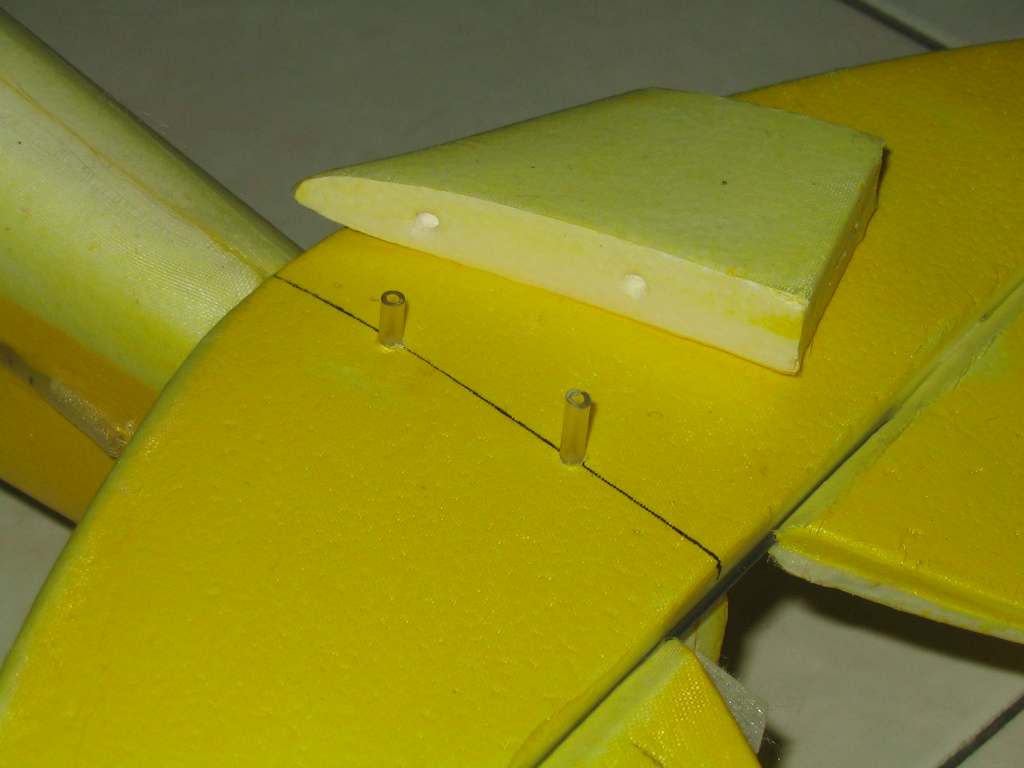
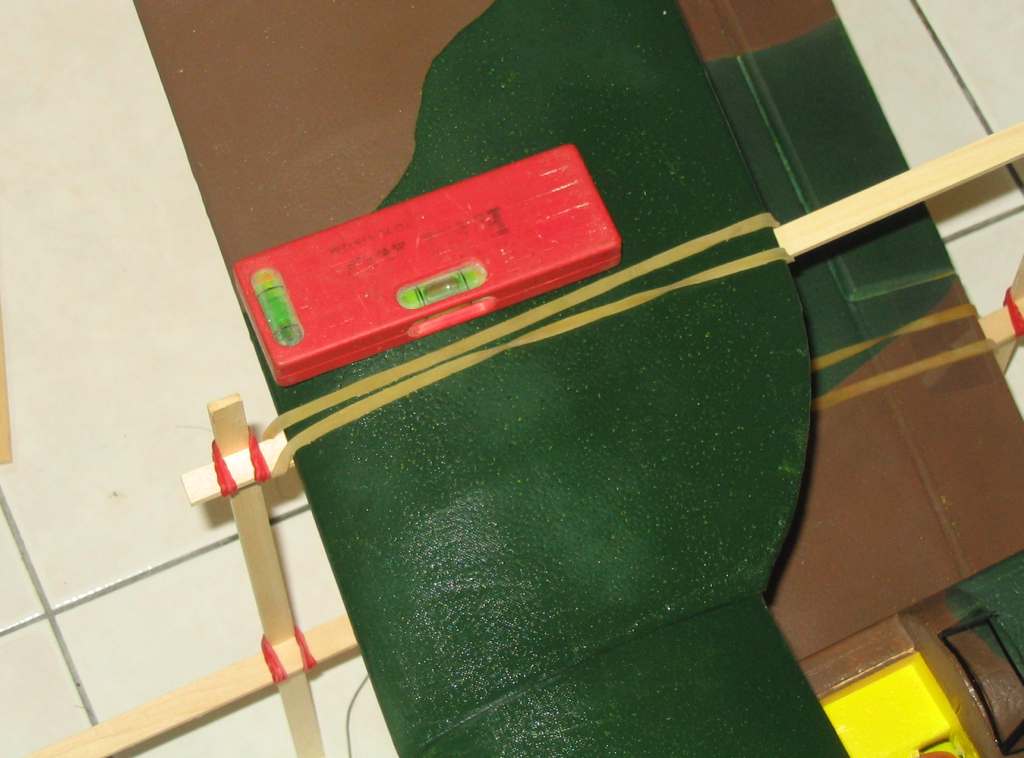
    3) reinforce the fuselage ....I used cheap hard wood instead of carbon rod


    #2
    The following step show how a new scale like landing gear is being form.

    1) Make new main landing gear wire

    2) DIY mounting plate with thin Alu sheet

    3) Glue 2 pcs of hard wood at the fuselage for mounting

    4) mount landing gear sub assembly to fuselage with small wood screw

    Test landing gear to ensure plane is level

    Comment


      #3
      The aileron is at the lower wing, and I dont like the torque rod design hence I go for separate servo control. You need to cut the servo well out on the lower wing.

      Comment


        #4
        The tail sub assembly

        1) Cut / sand down the vert tail as it is just too thick

        2) Reinforce the tail wheel and 2 plastic tubes was insert to fuselage for alignment and reinforcement on tail

        3) Make alignment holes for vert and horz tail. You just slot them together during finally assembly

        Comment


          #5
          As usual I dont like the GWS soft cowling so I DIY a fiber glass cowling with the original cowling as mold.

          You need to cut out new opening for the scale landing gear.

          Comment


            #6
            All the following parts were glassed with 3/4 oz fiber glass

            Last edited by loyn; 19-01-2006, 12:48 PM.

            Comment


              #7
              Determine the color you want to paint .....I like to give it warbird look so....fond some reference pic as guide

              Comment


                #8
                The motor stick mount was reinforce same go for the "fire wall"

                Comment


                  #9
                  Add some details to the plane

                  Comment


                    #10
                    Mounting of the upper wing.....to ensure both the angle and position is align. I used a simple fixture to help out on the job. The main objective is to find right position for the center support

                    Comment


                      #11
                      Add on the wing wire and now you have a mush scale like Tigermoth. At the same time a more scale look wheel was used.

                      Hope you guys found it useful

                      Comment


                        #12
                        A splendid Tiger Moth Loyn 
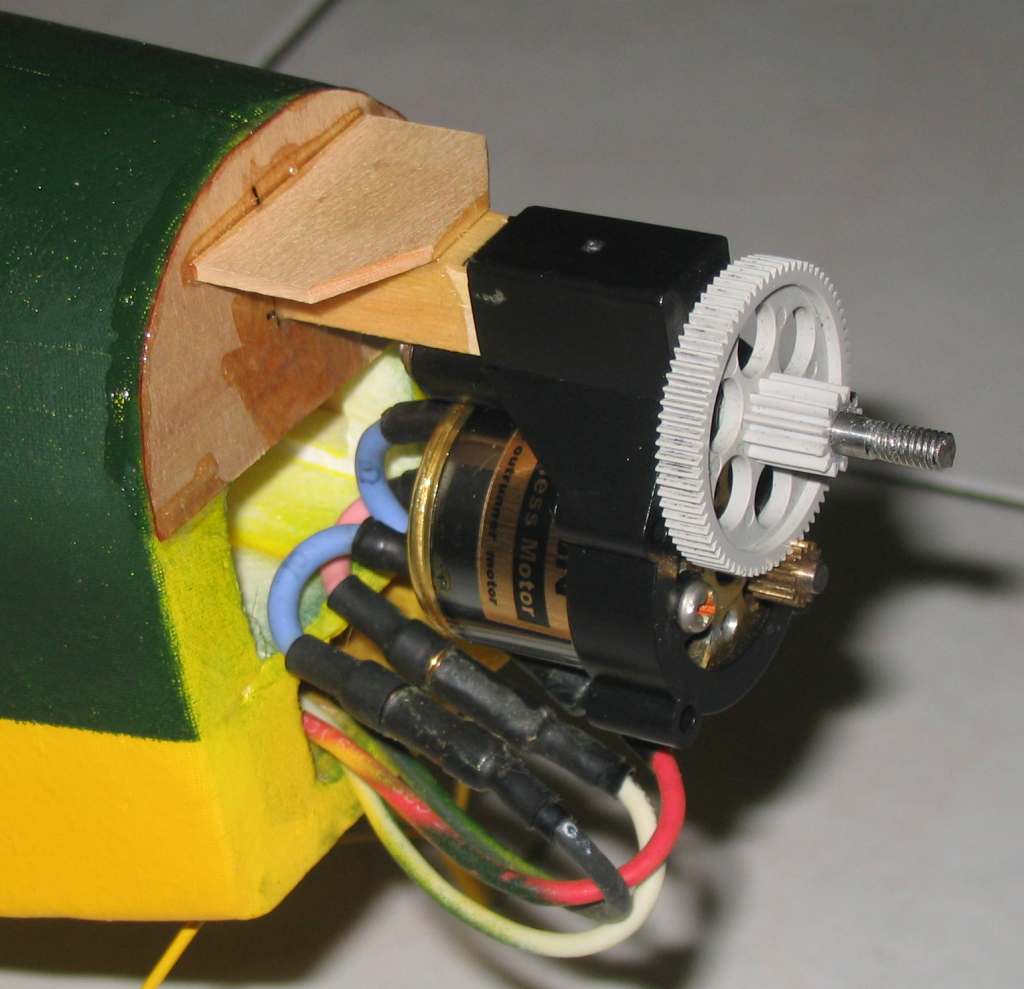
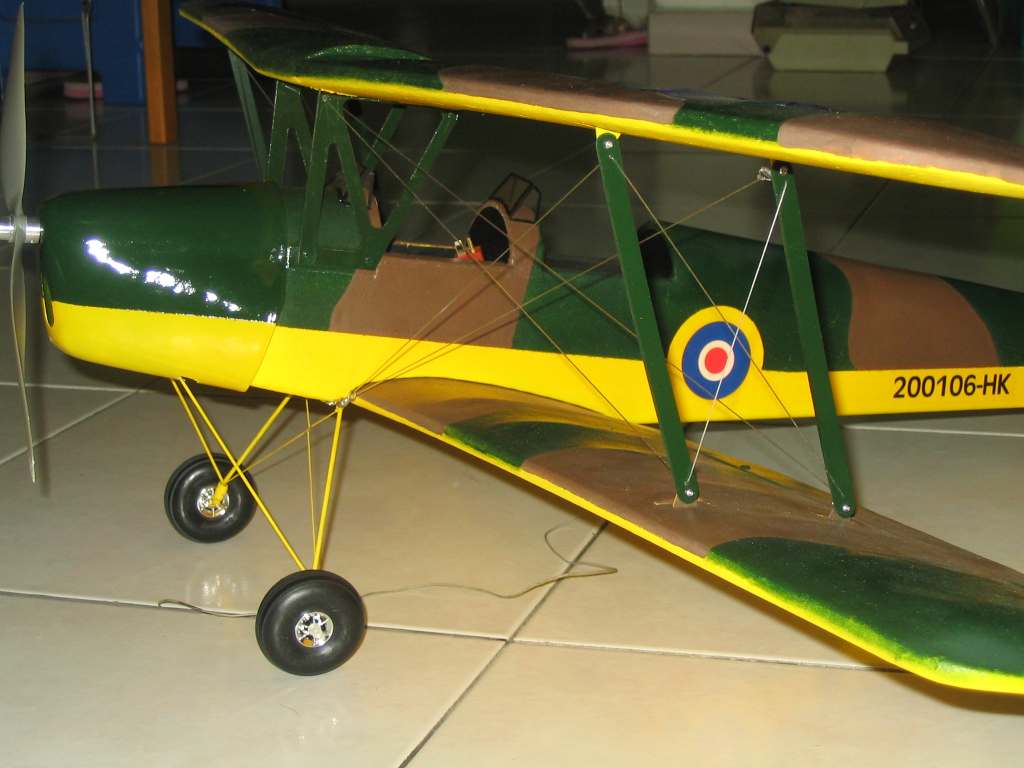
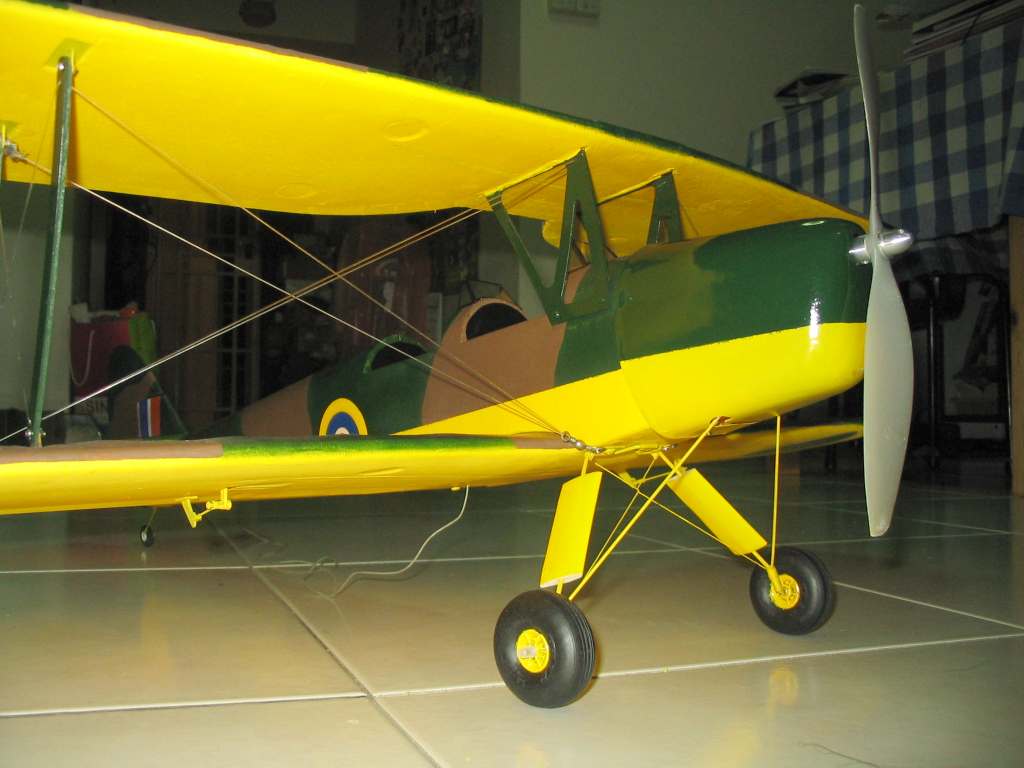
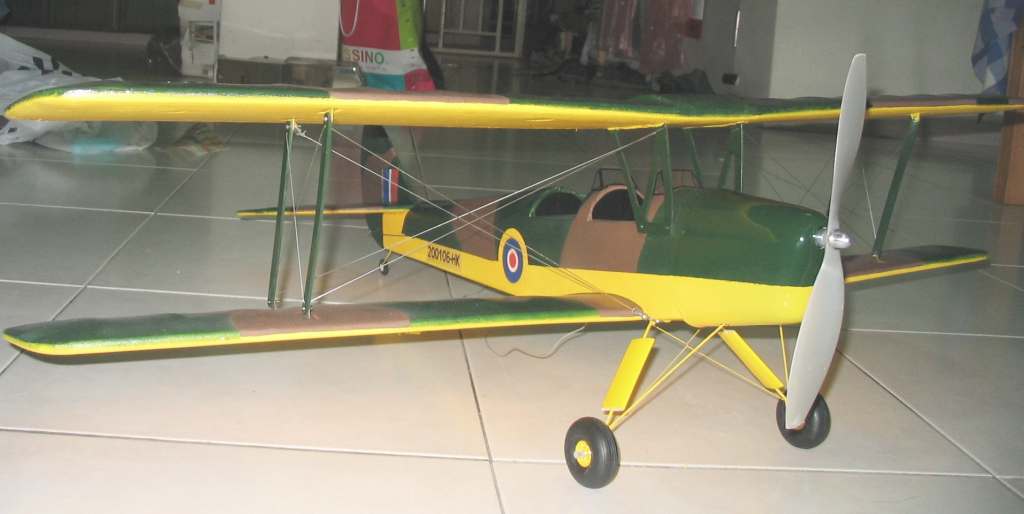
!!! Another great piece of work from the Master !!! Like the way you make your own cowling too with fibre glass resin - was the DIY cowling heavier than the GWS plastic cowling ? Just out of interest -- how much heavier would a foam plane gets with fibre glass reinforcement -- 20- 30 % heavier ?

                        Comment


                          #13
                          Loyn..... the prop...
                          huh

                          Comment


                            #14
                            u need a wood prop!!!! now u know why ask u the other day..
                            i'm a rc sotong. And i know nuts about it.

                            Comment


                              #15
                              Finally it is finish with painting of the wheel and detail of the the landing gear ......time to take a break 
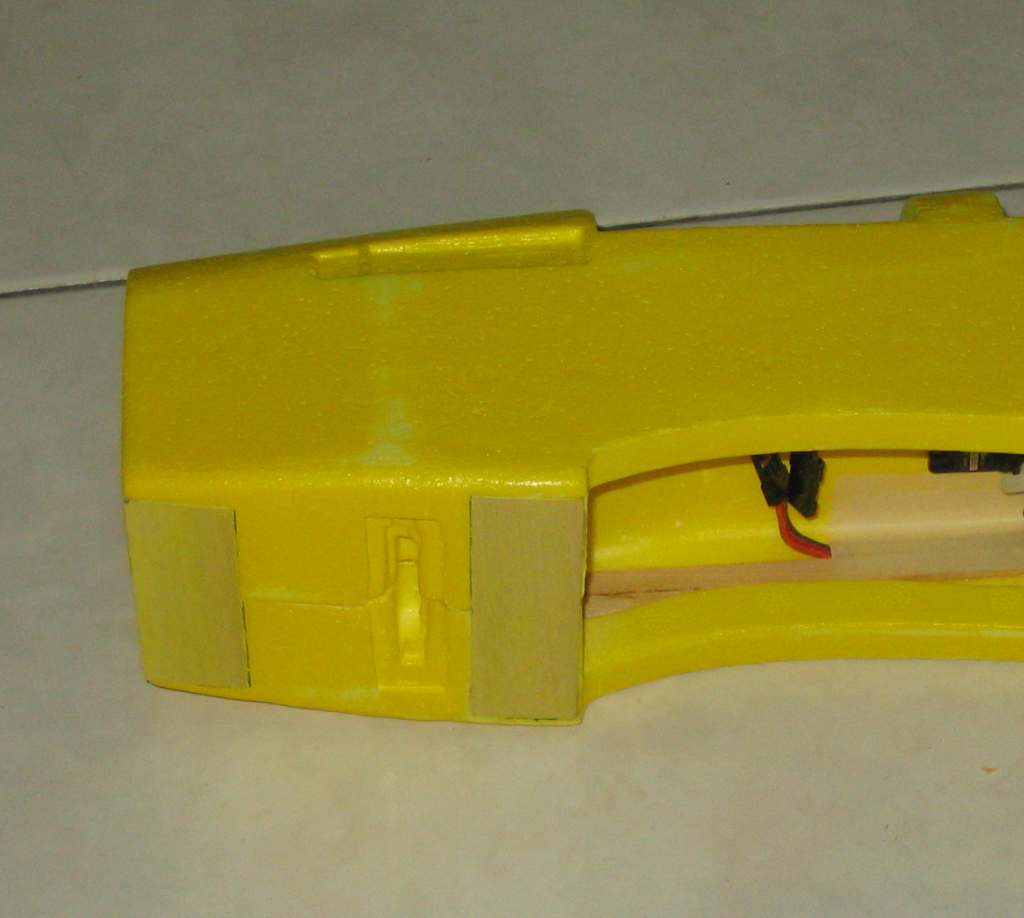
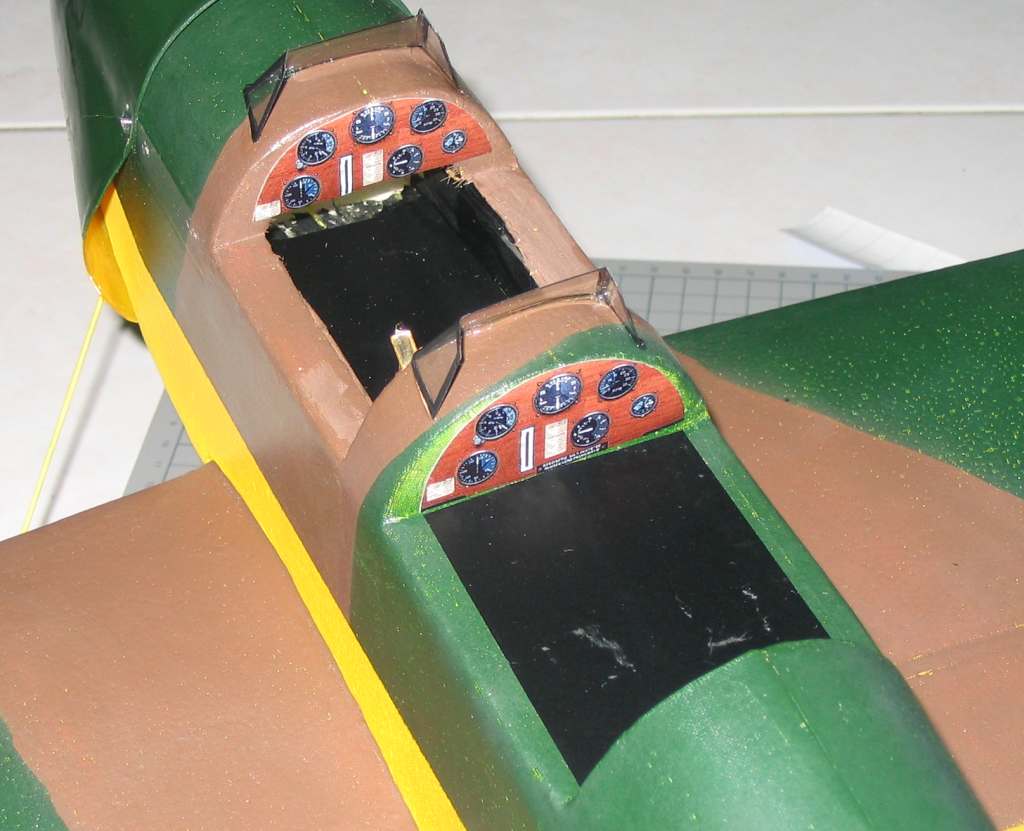
......time for clean up

                              Comment

                              Working...
                              X