~cont.. from where we left off..~
Sorry guys for the little delay in updating.. been busy..
Anyhow, here's the pictures after puttied and another thin layer of primer plus sanding down with 800 - 1000 grit..
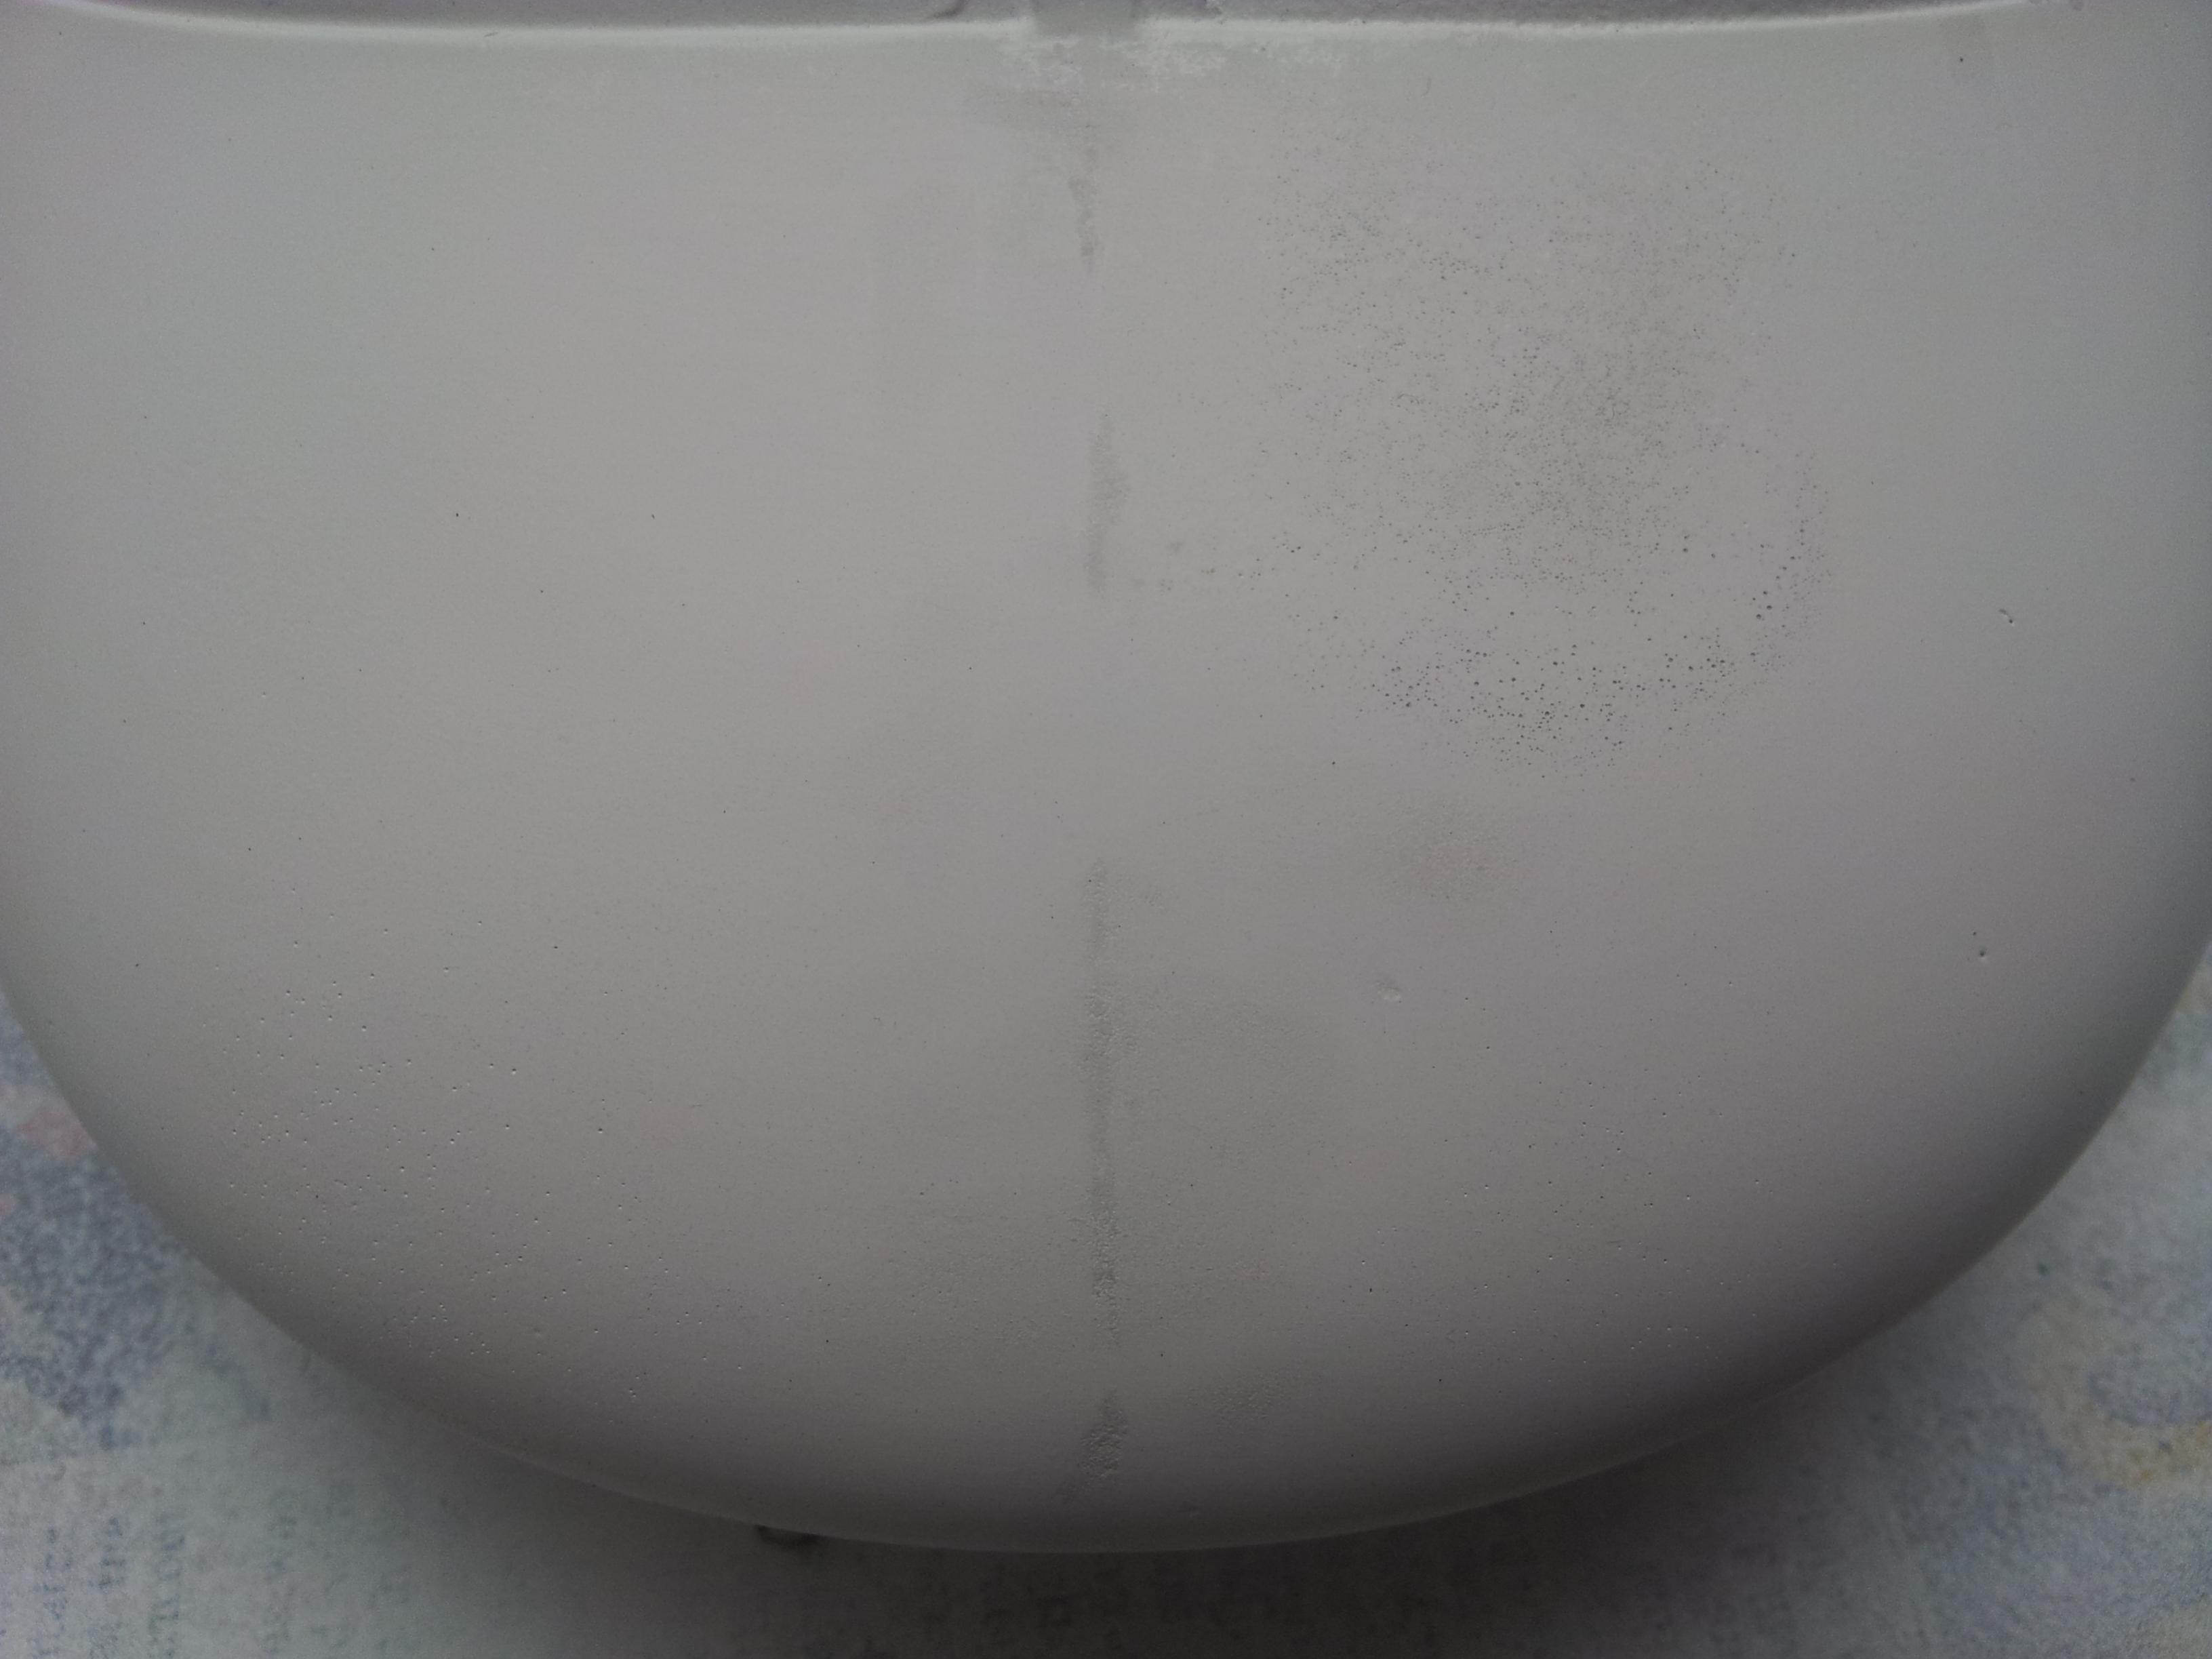
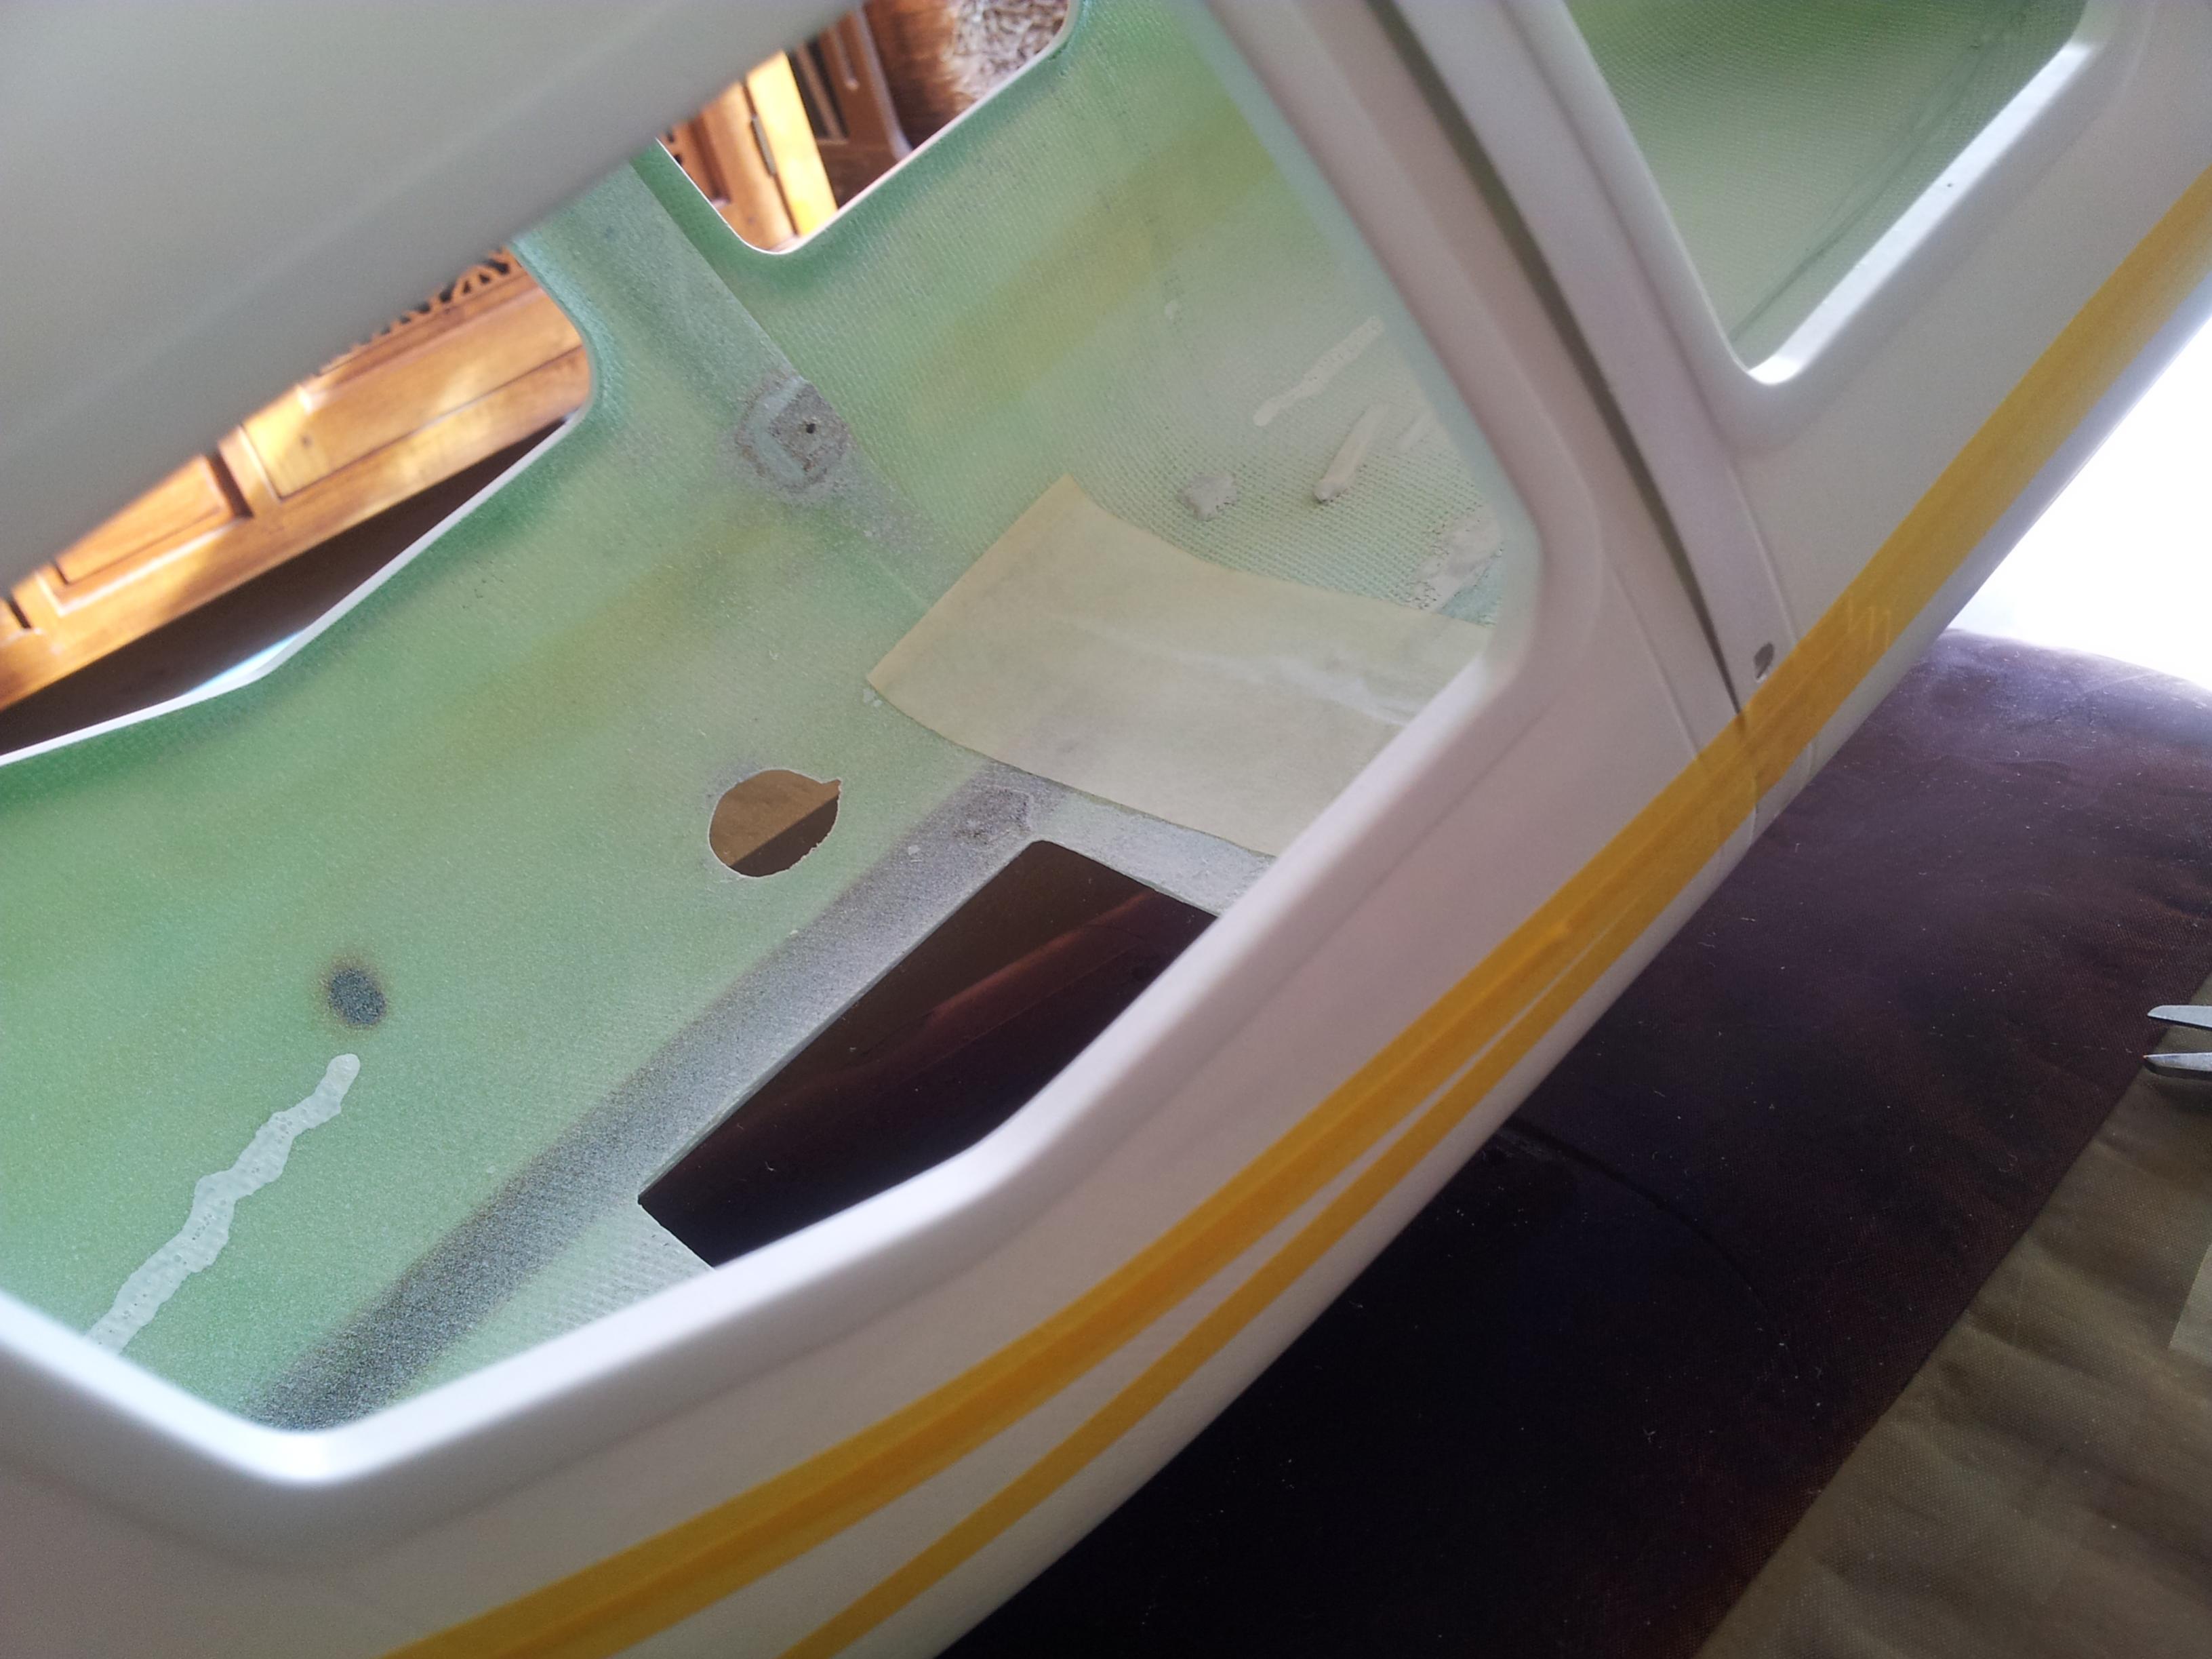
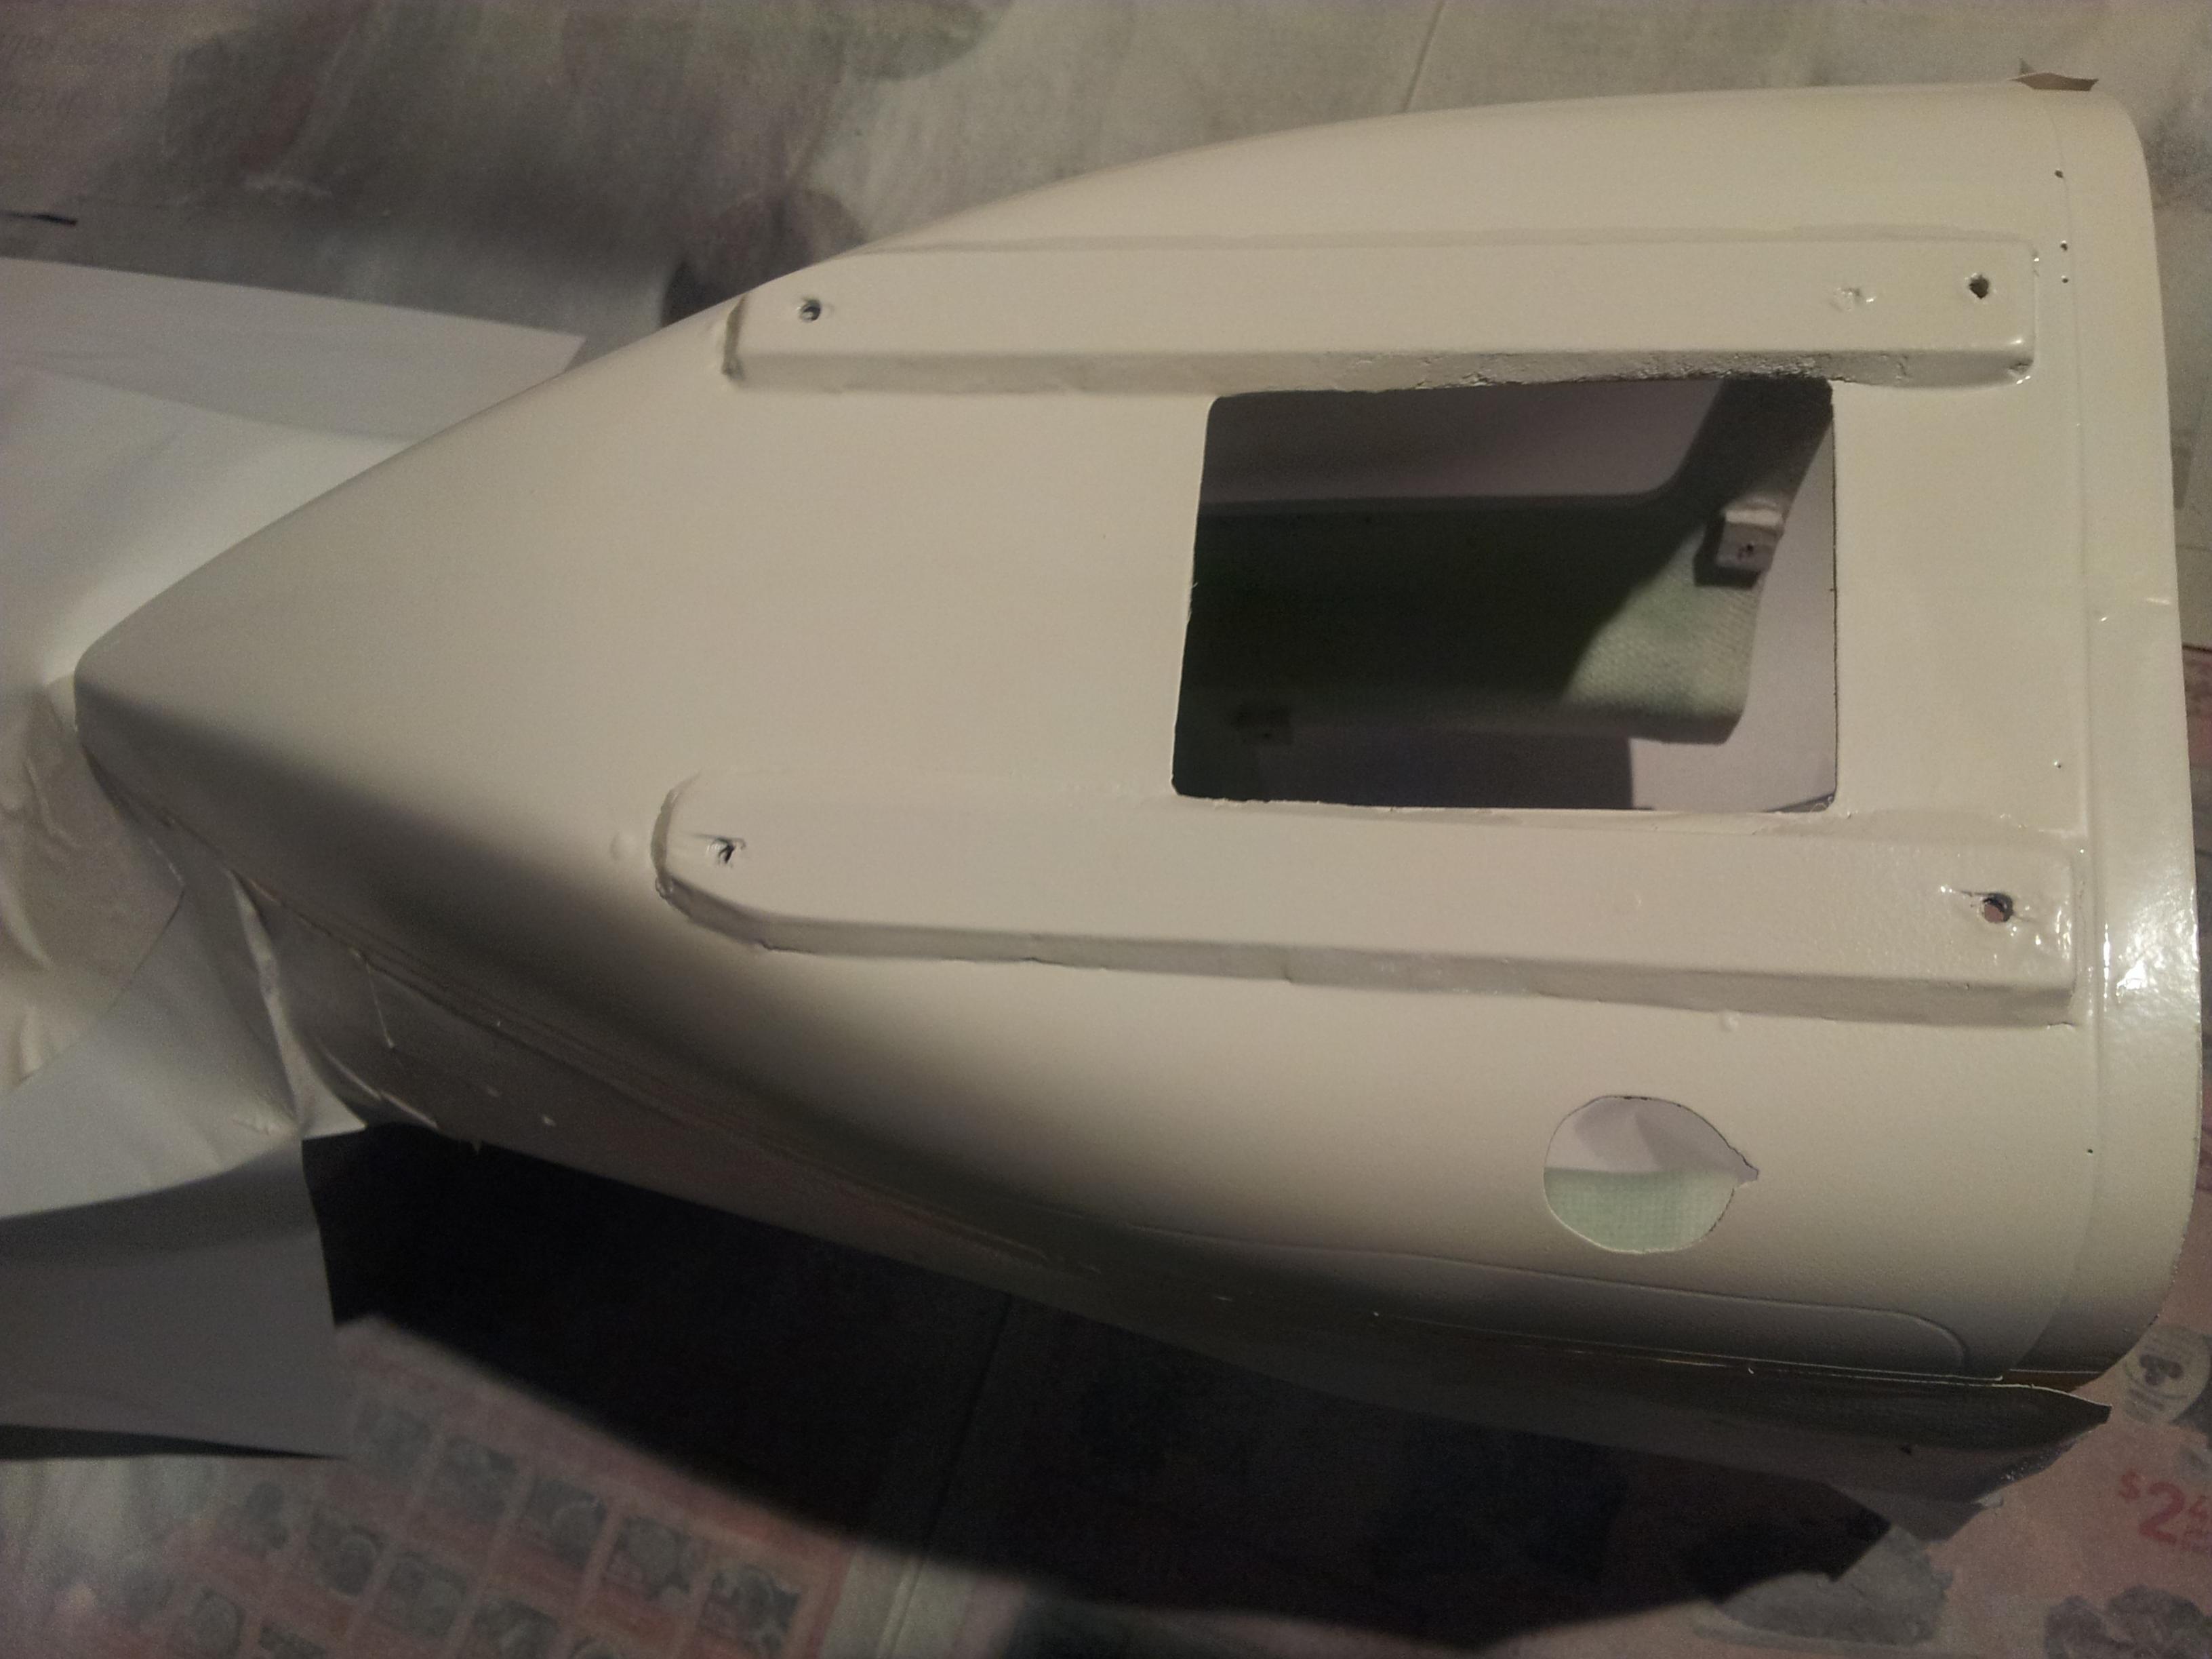
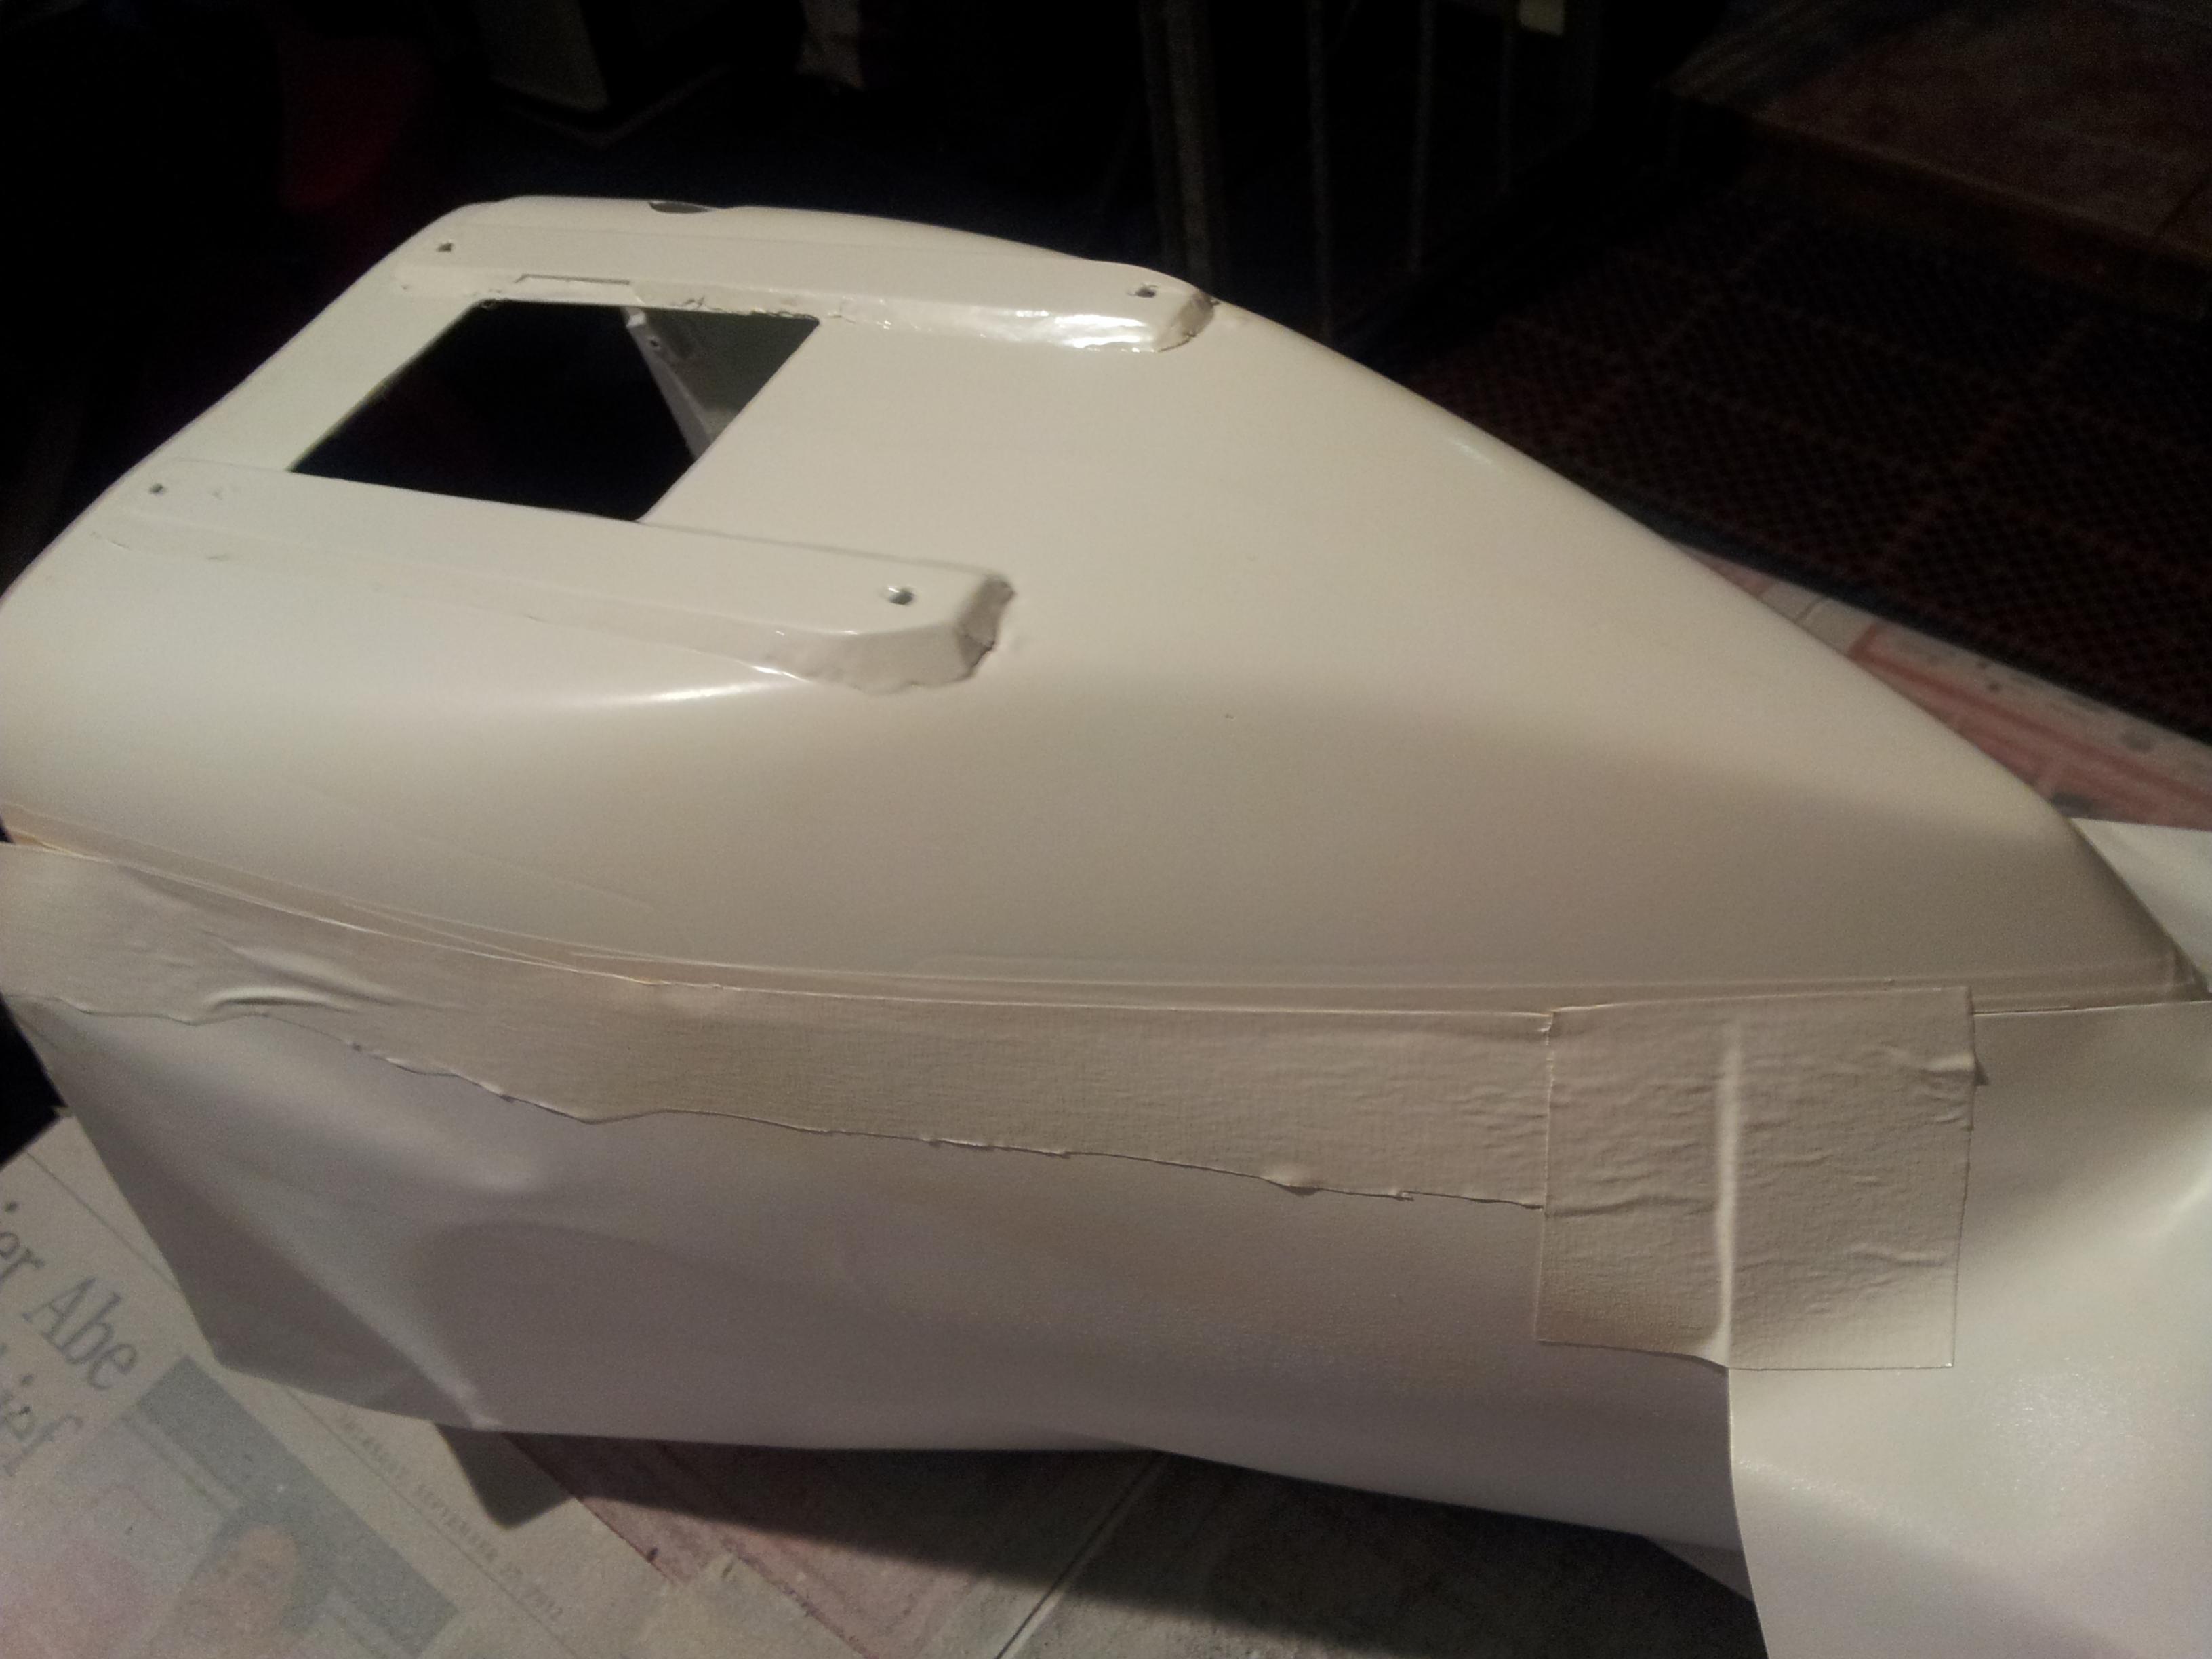
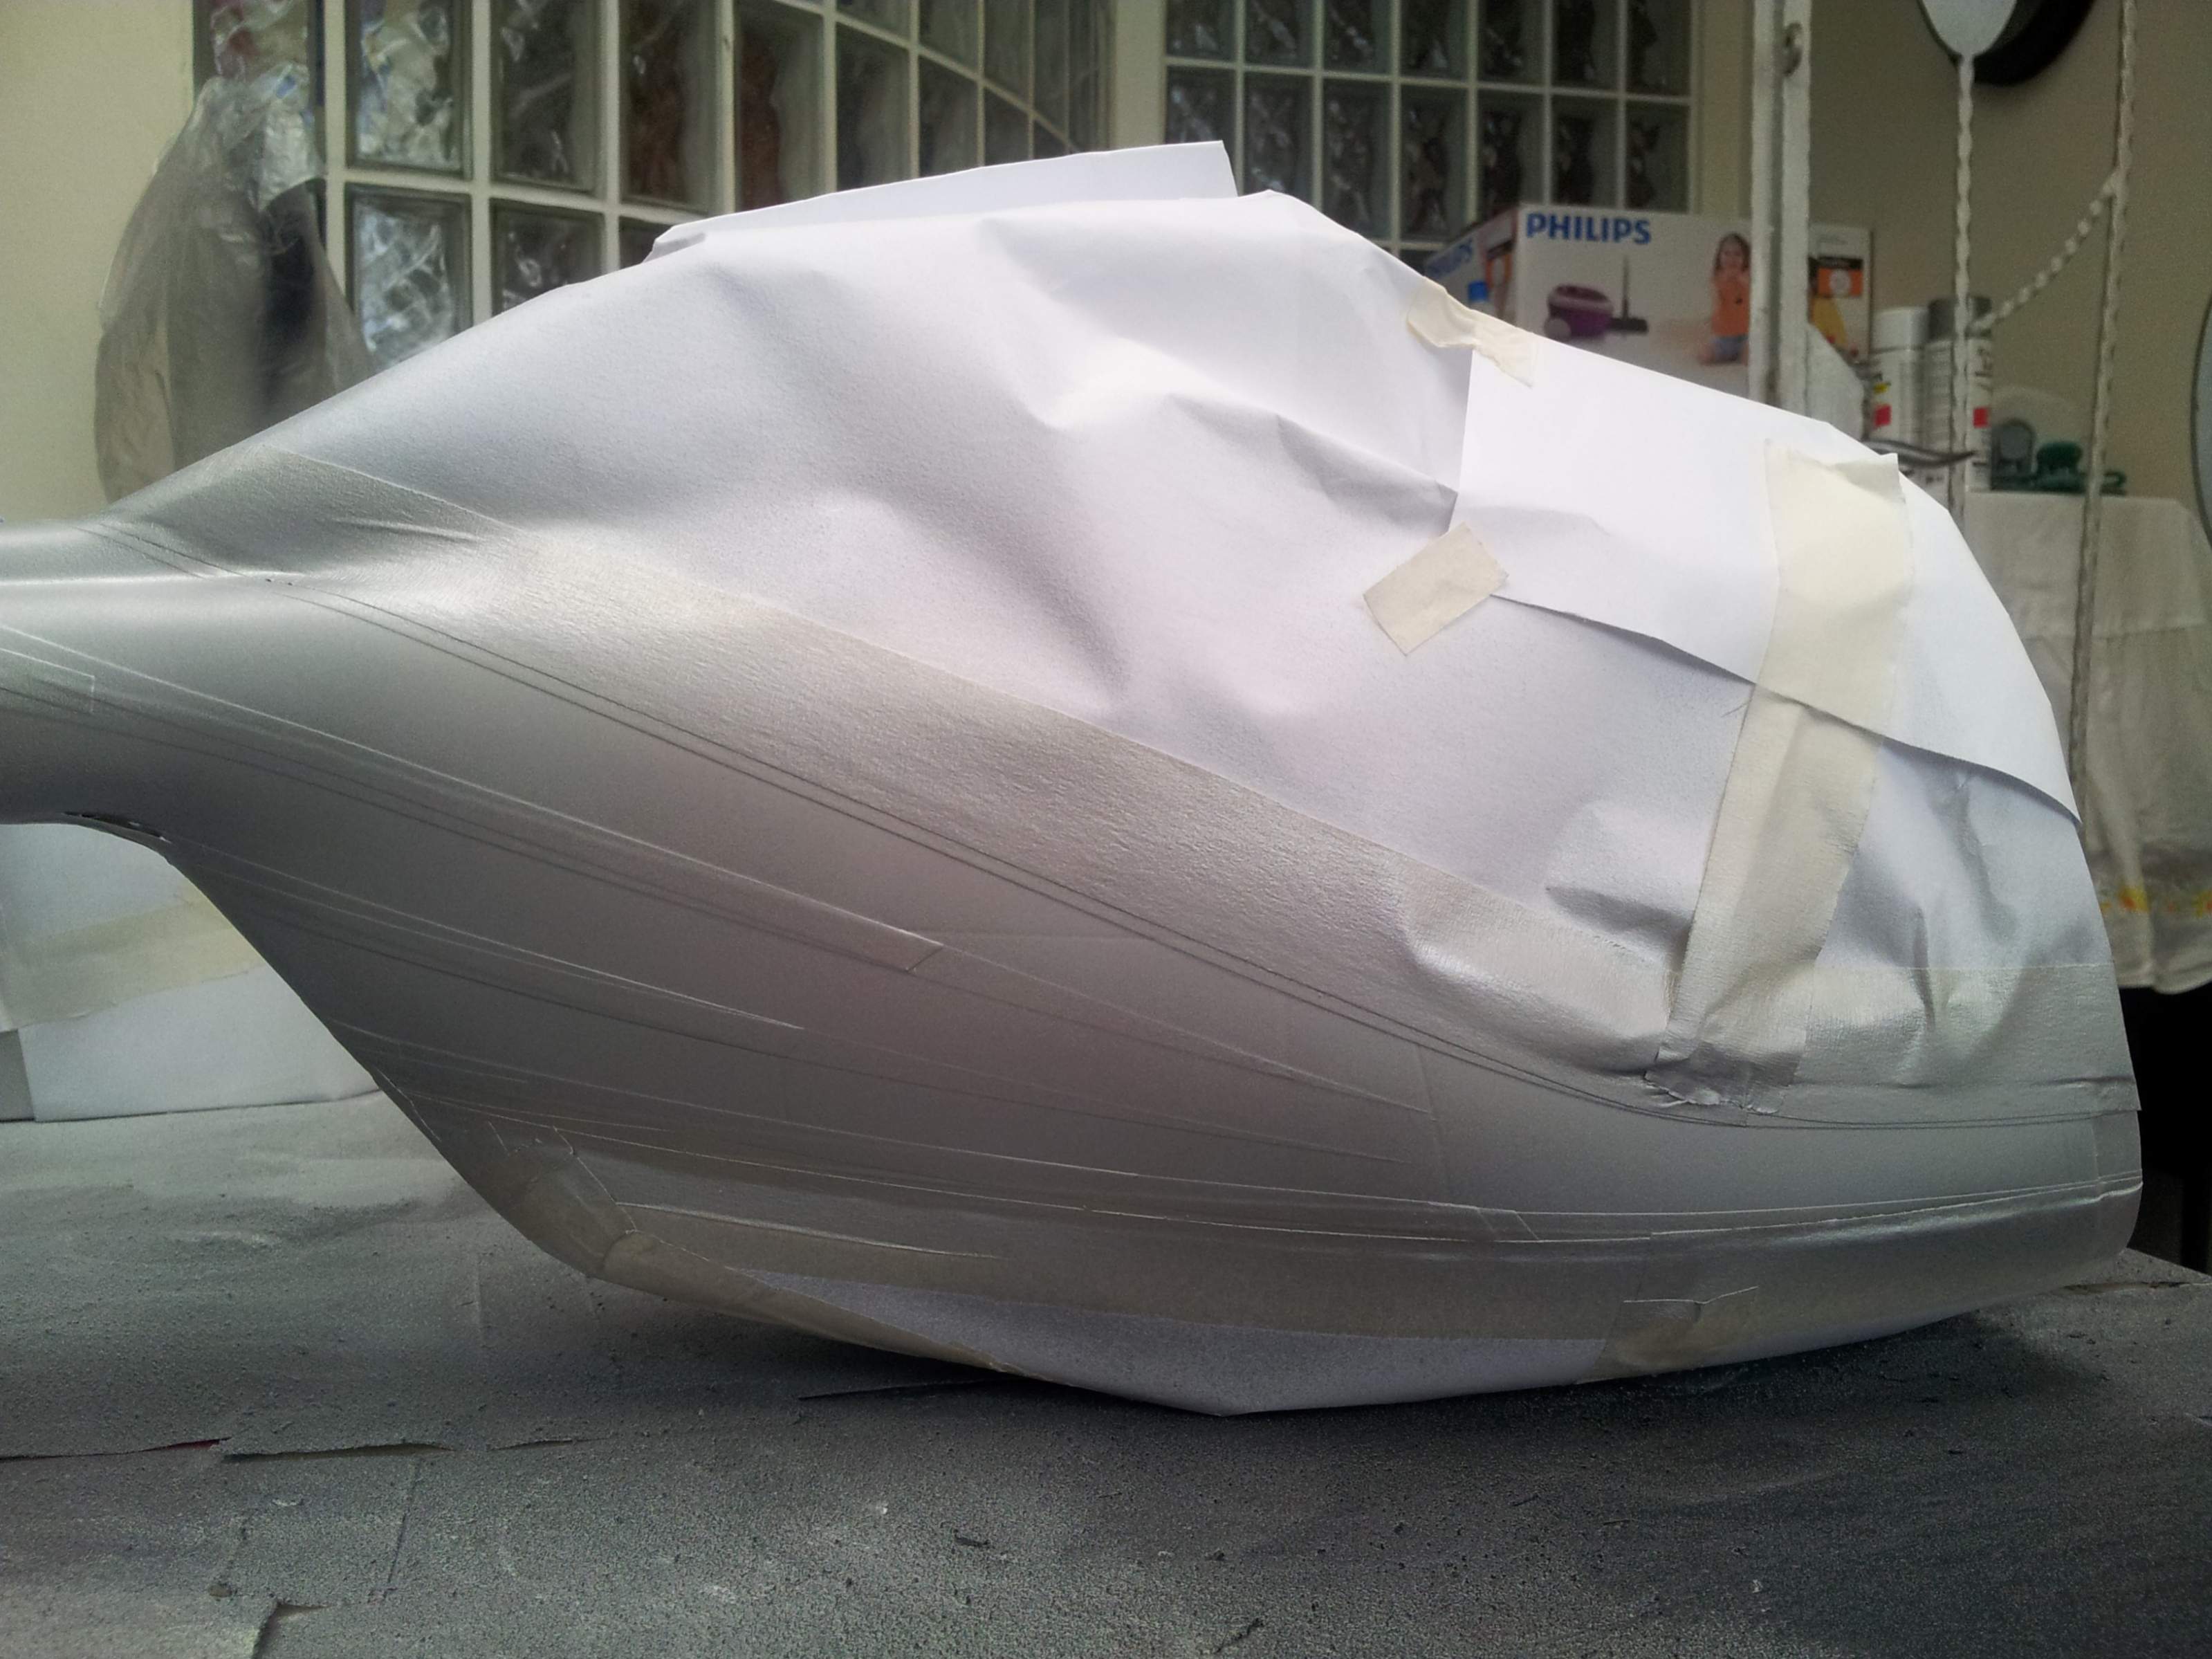
In this pic, you can see the puttied and sand down parts.. the 'spotty' patch on the right is what happens when you accidentally spray to thick or when the before layer is not completely dried.. As mentioned earlier, stop, and sand down again. Over here, I've also puttied the dried bubbled holes..
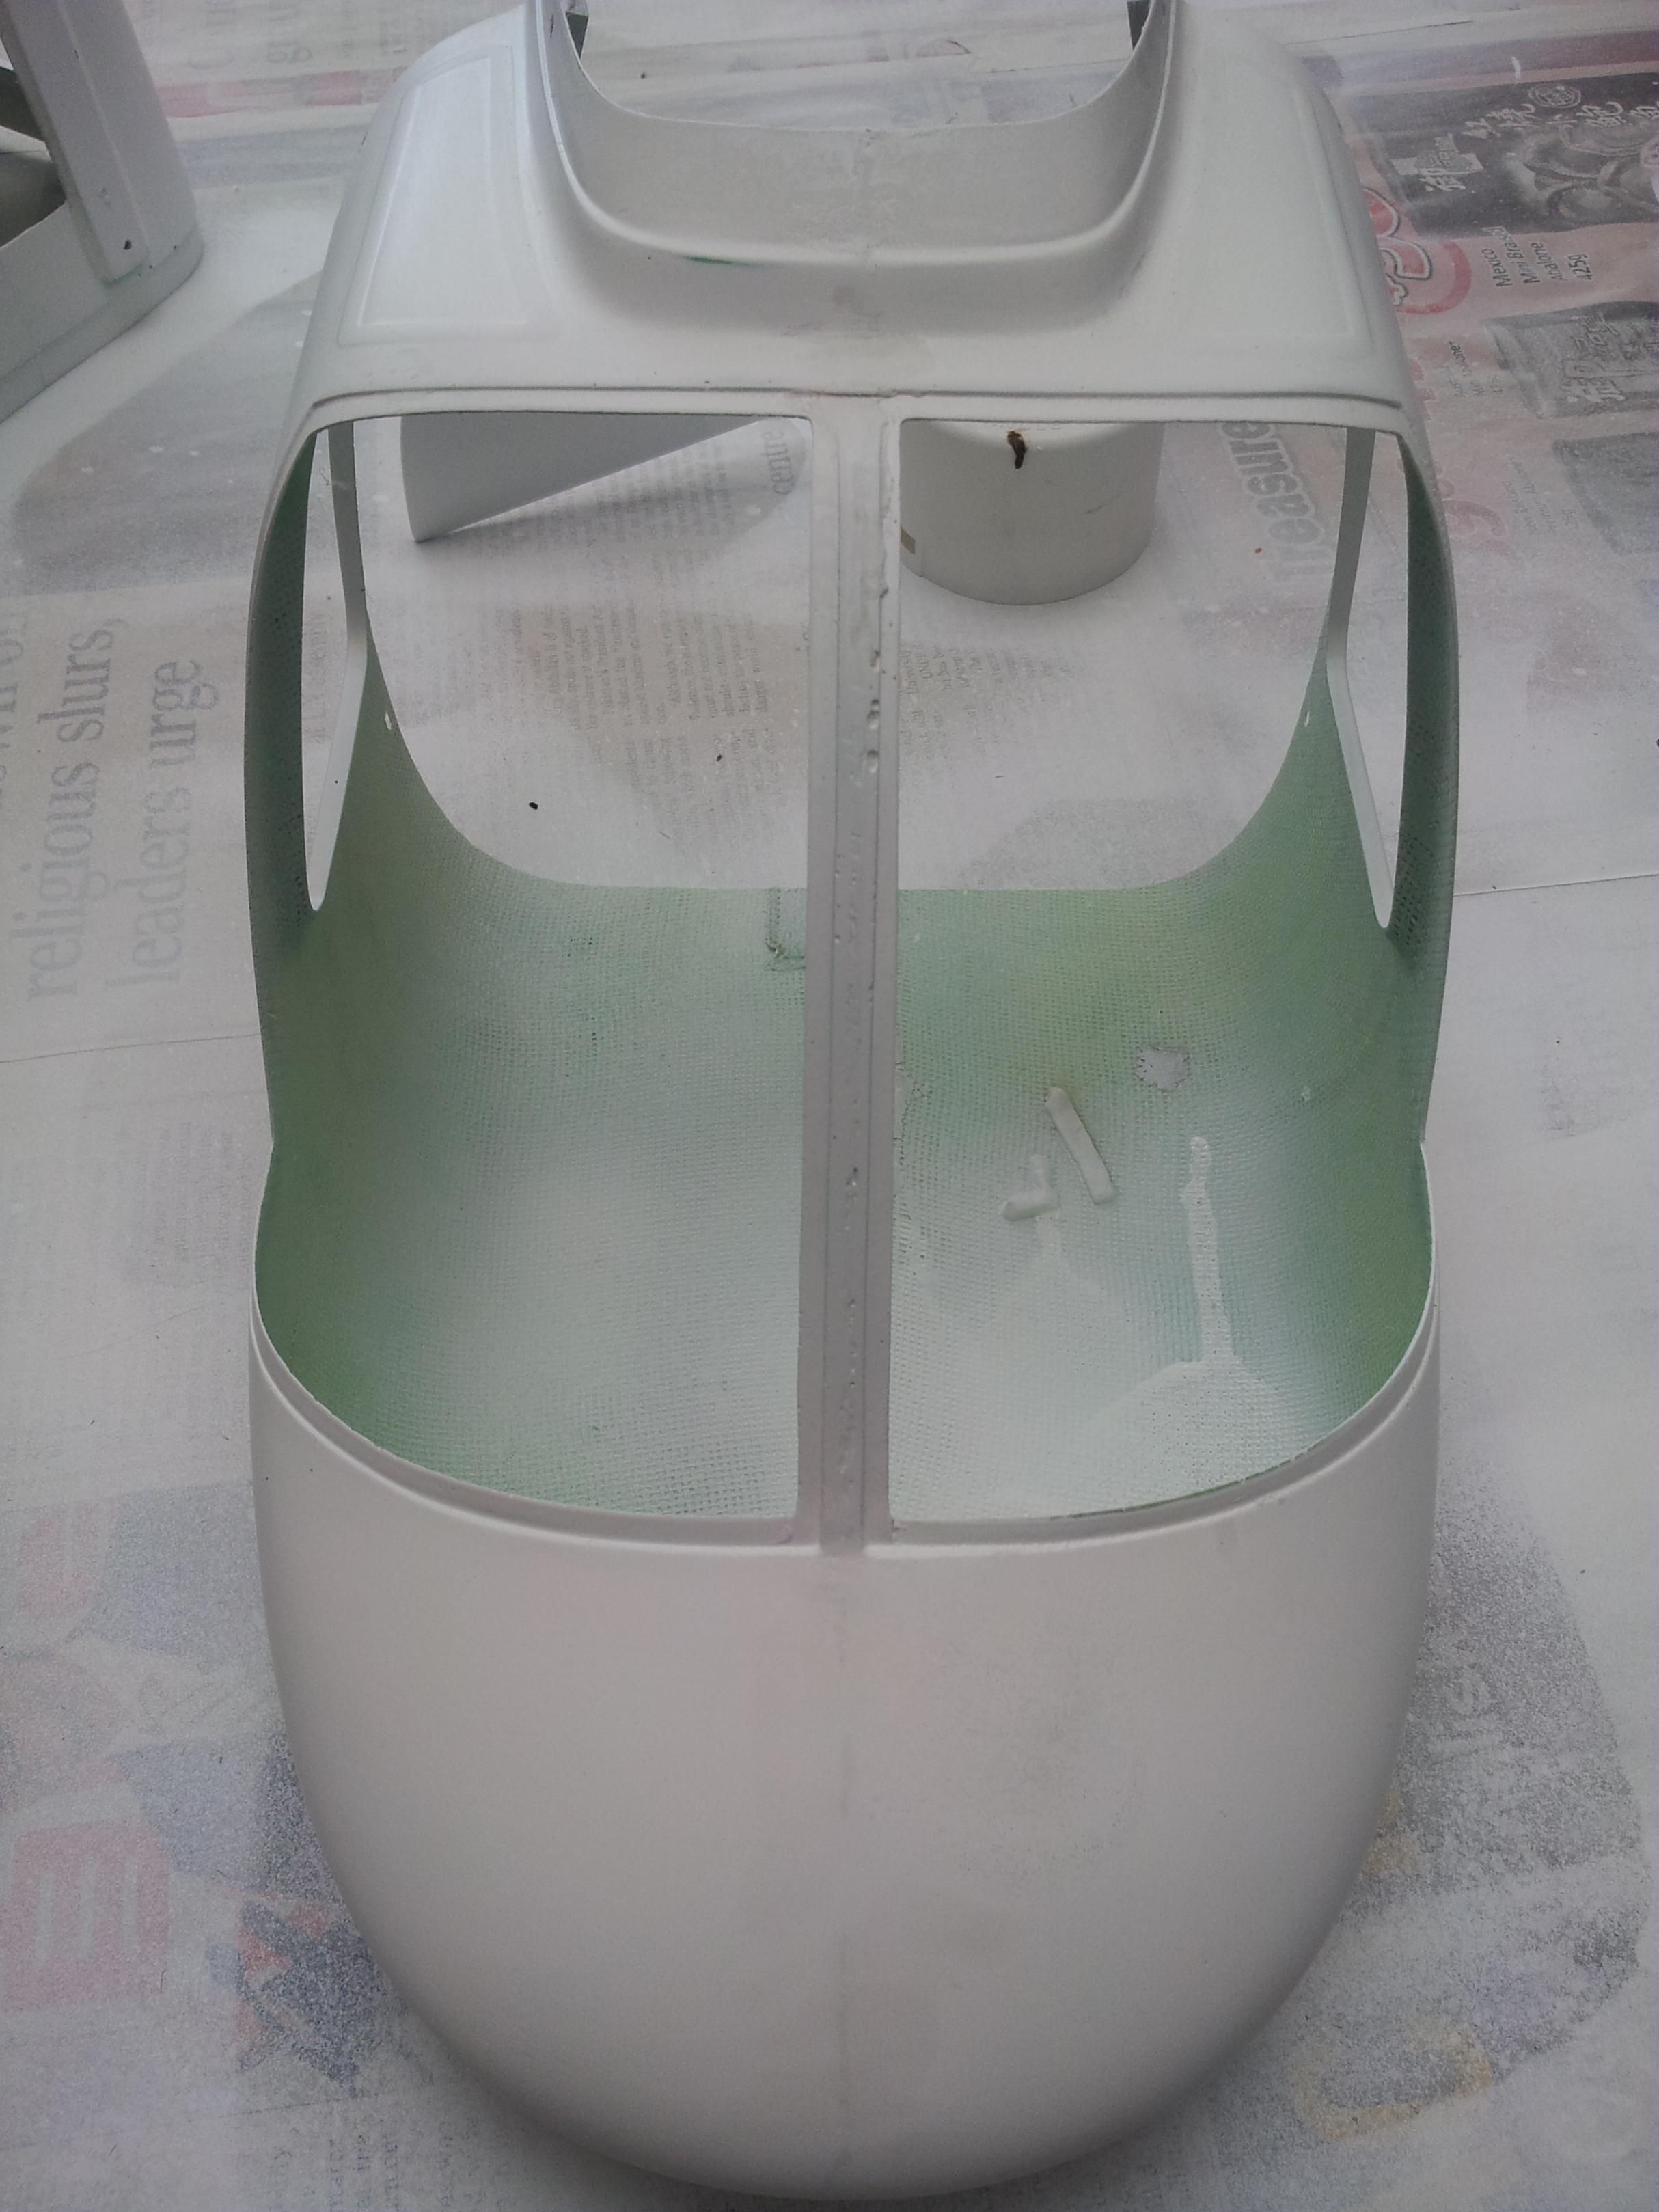
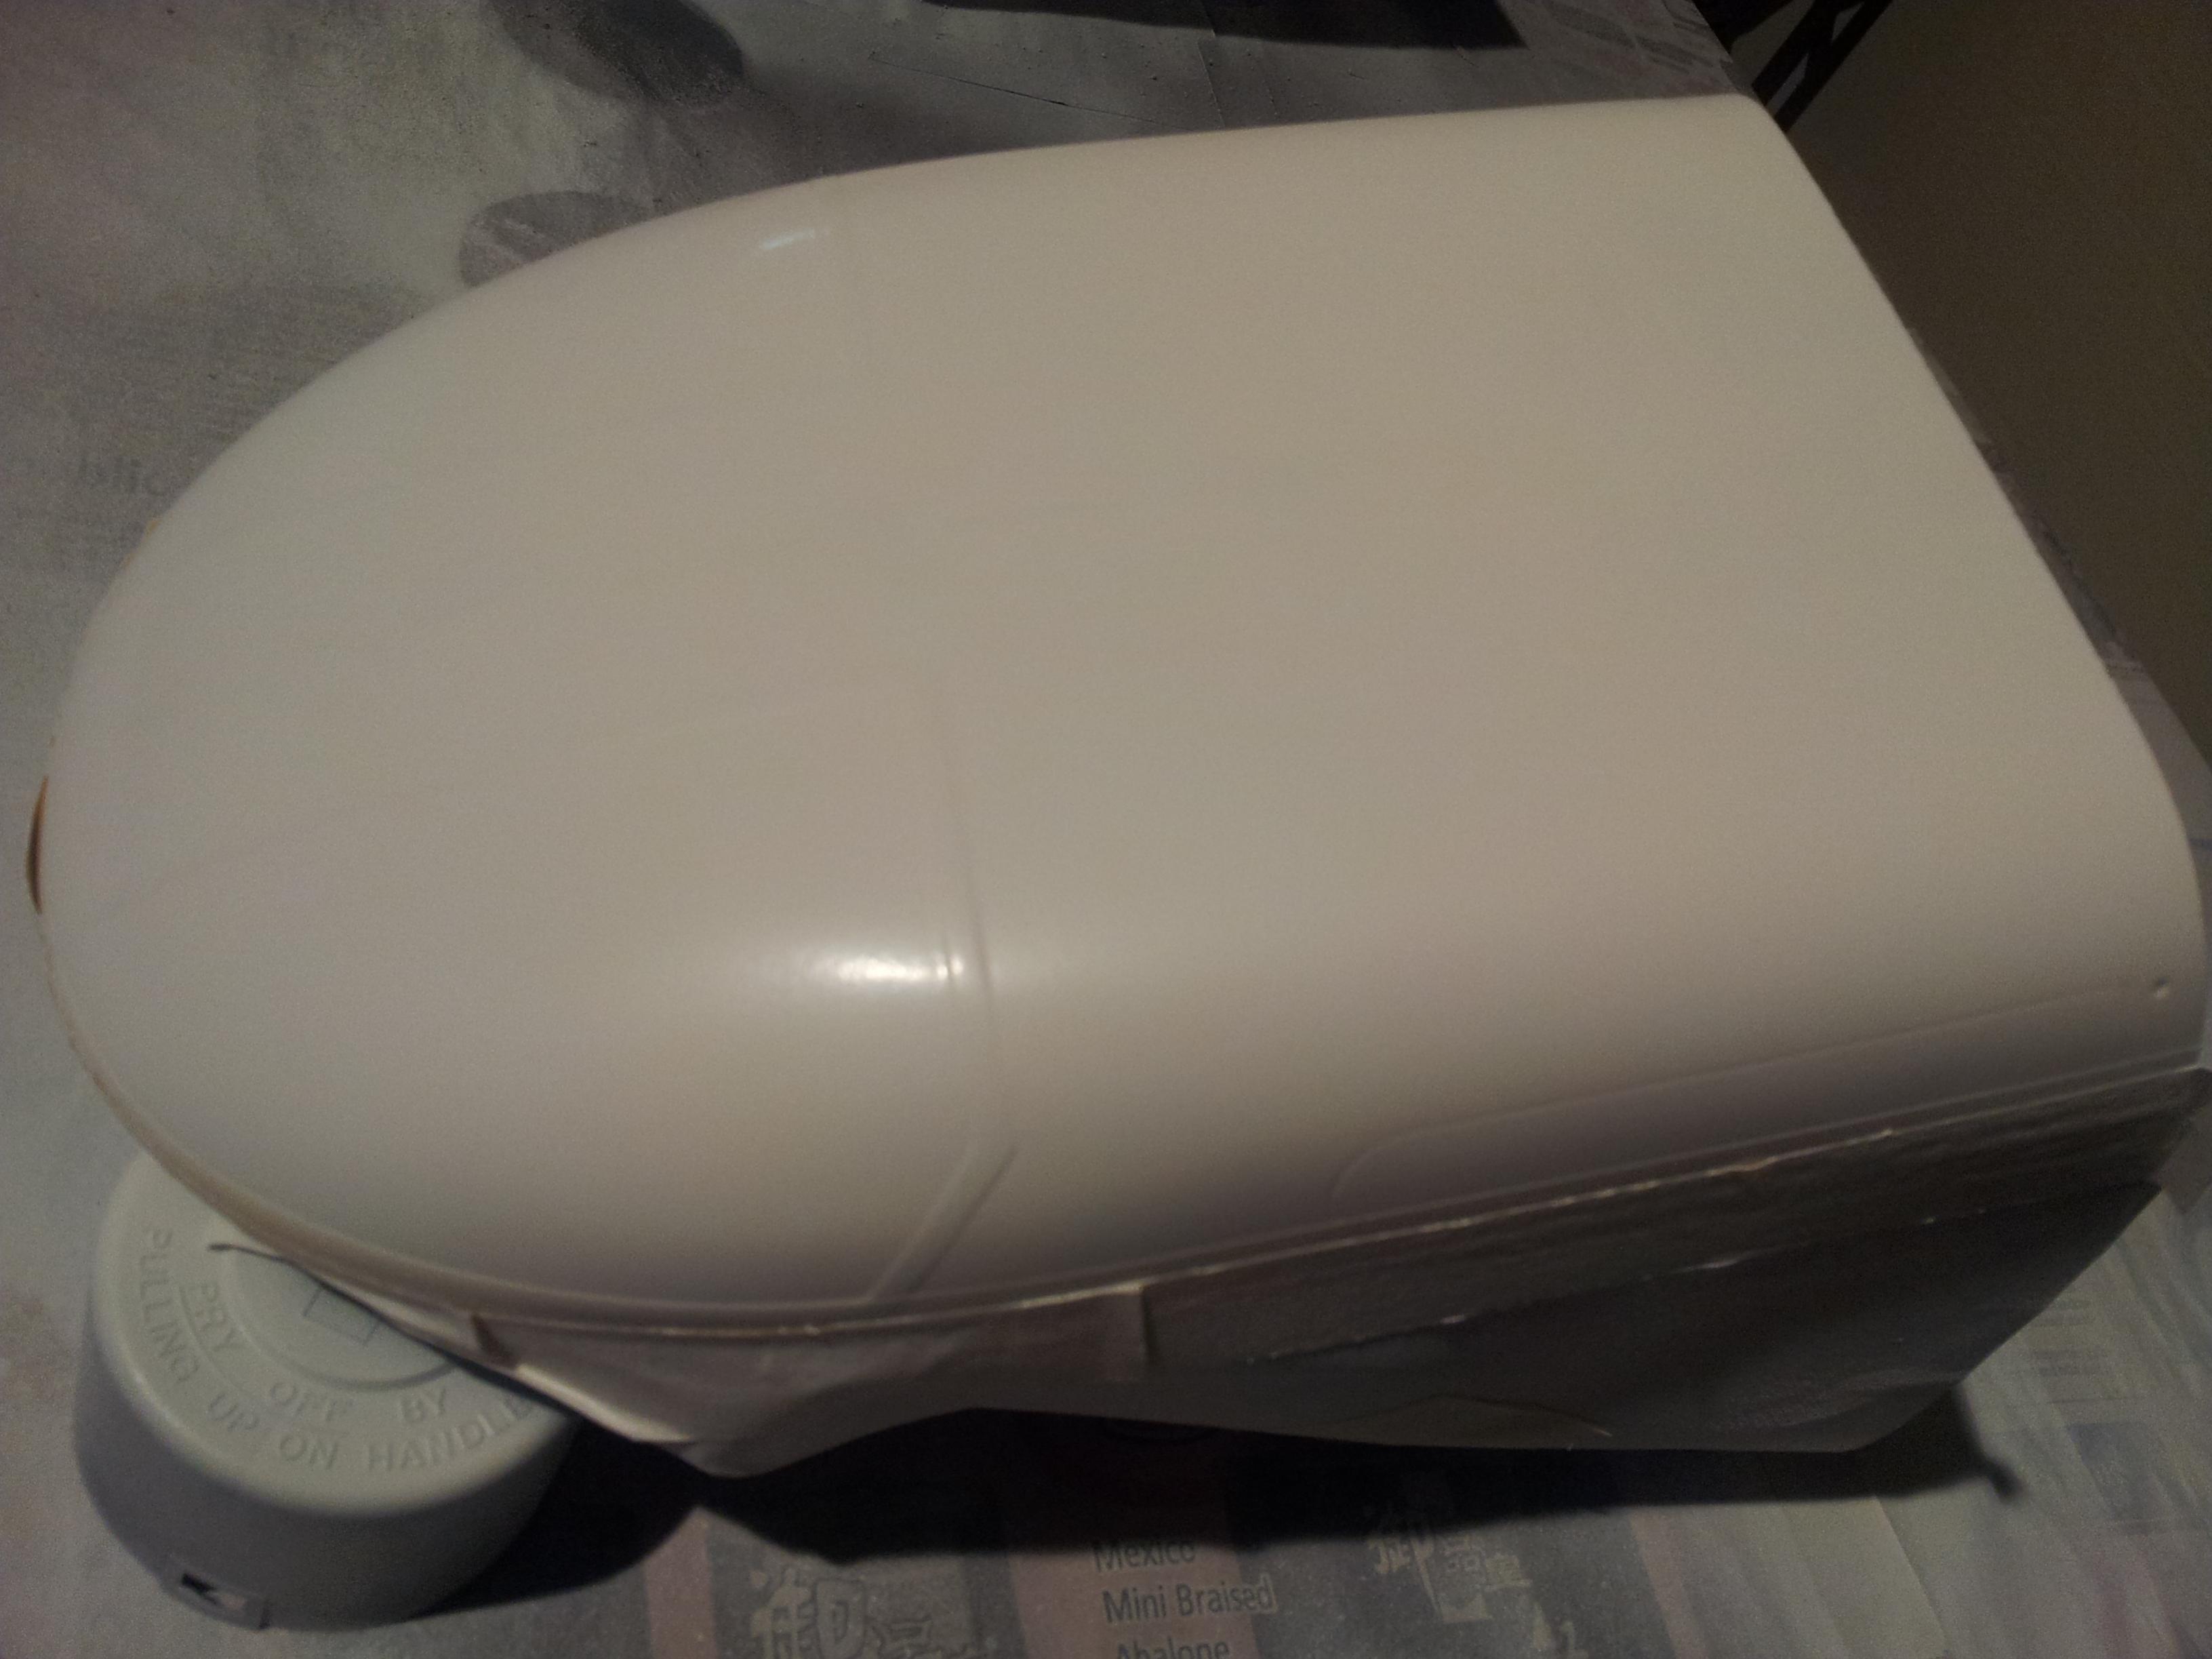
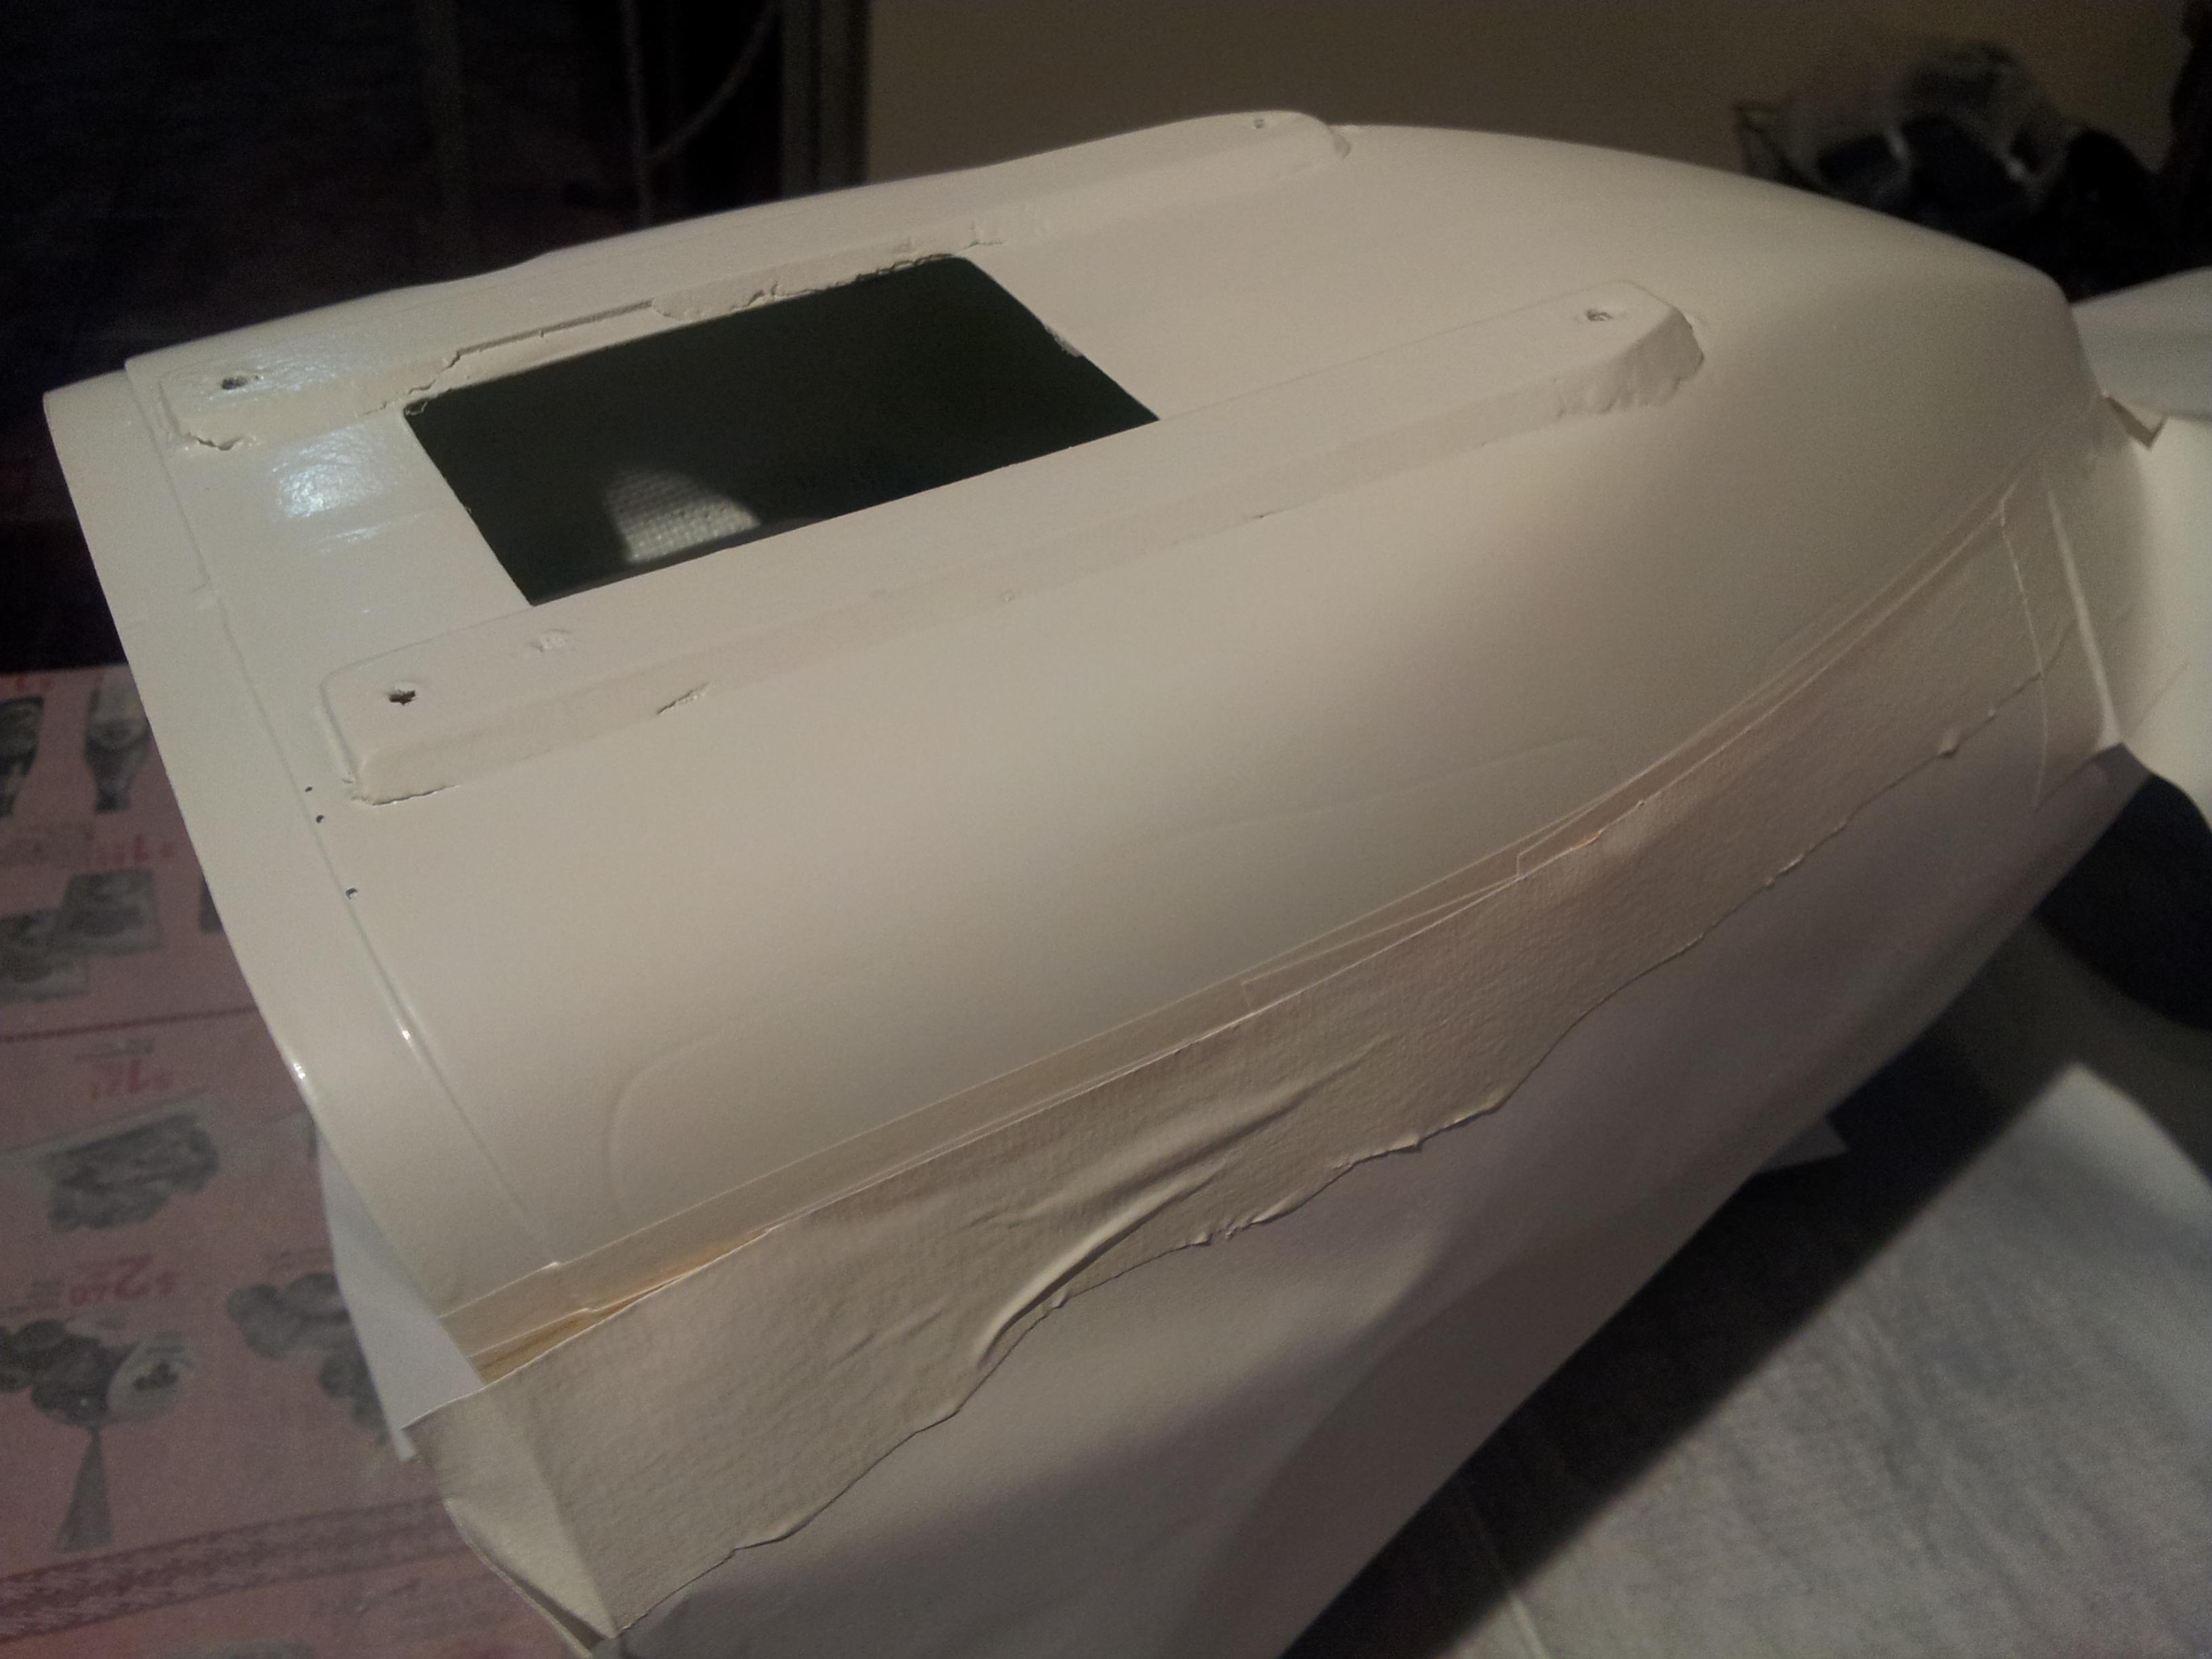
This is after I puttied, sand (800 grit), Prime thin layer over and sand down with 1000 grit.. you can see most defects covered up from previous pic.. basically this will be the surface for painting thereafter.. so ensure all is smooth at touch and dimple/defects free..
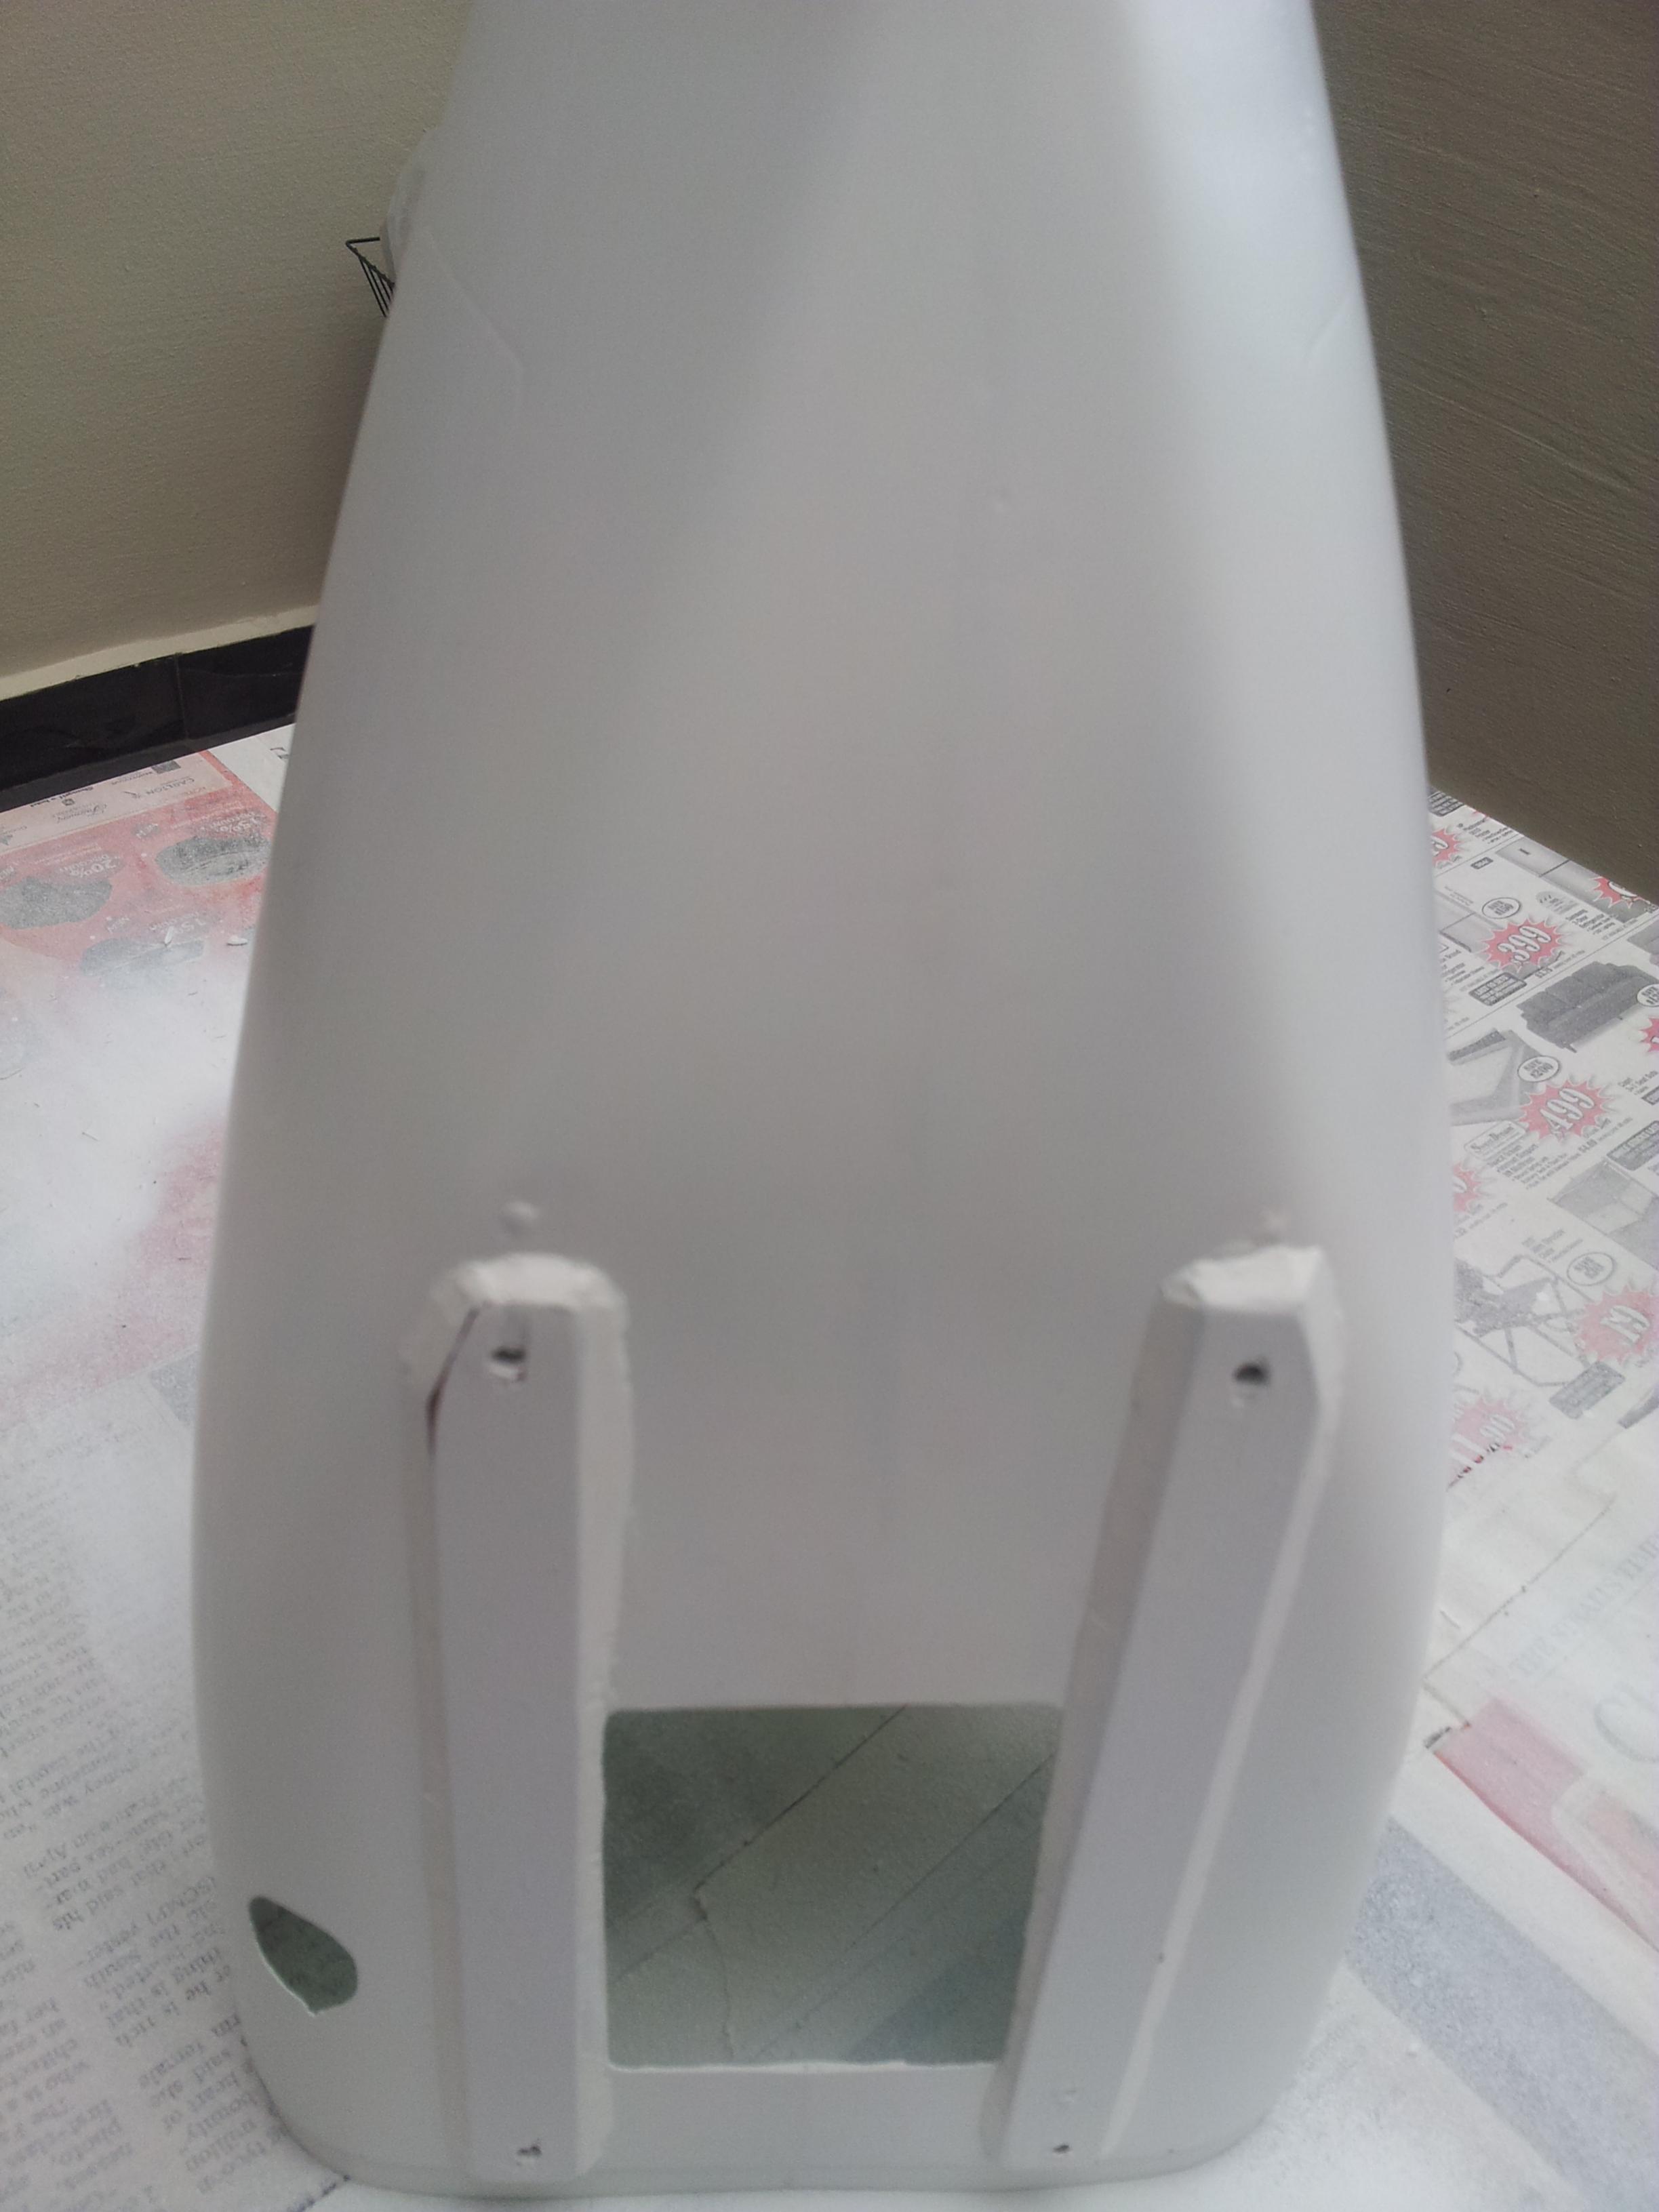
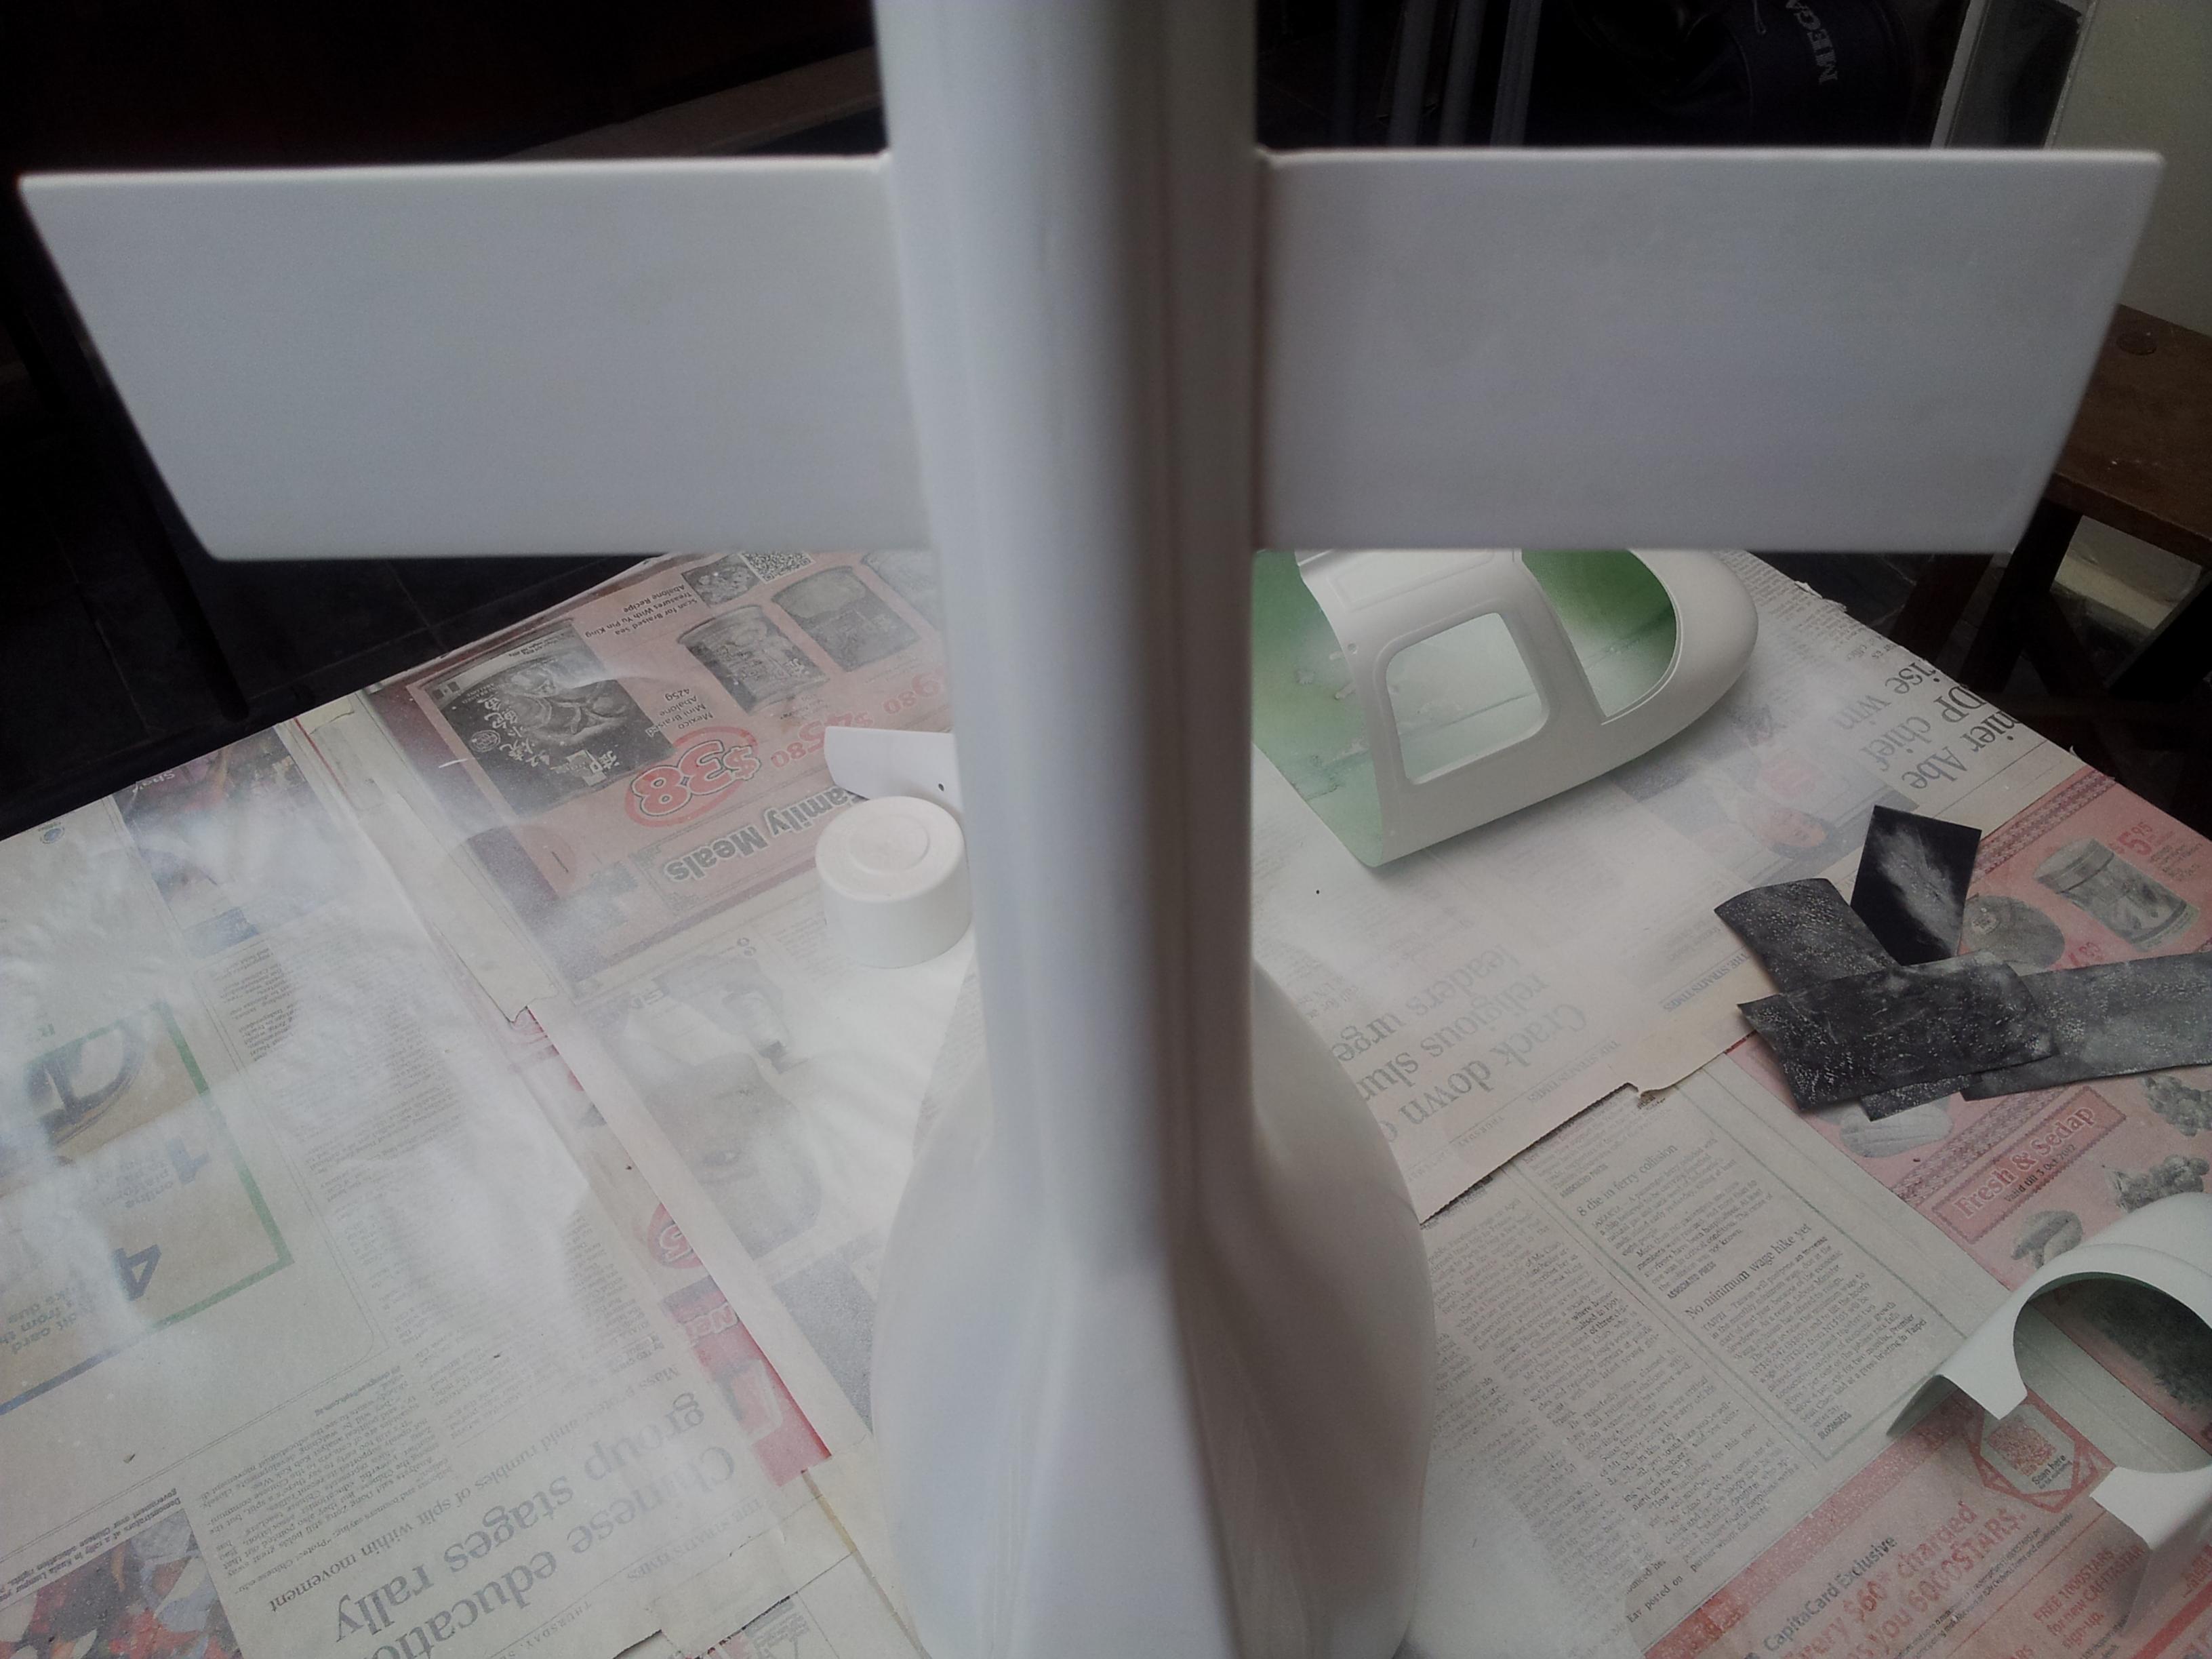
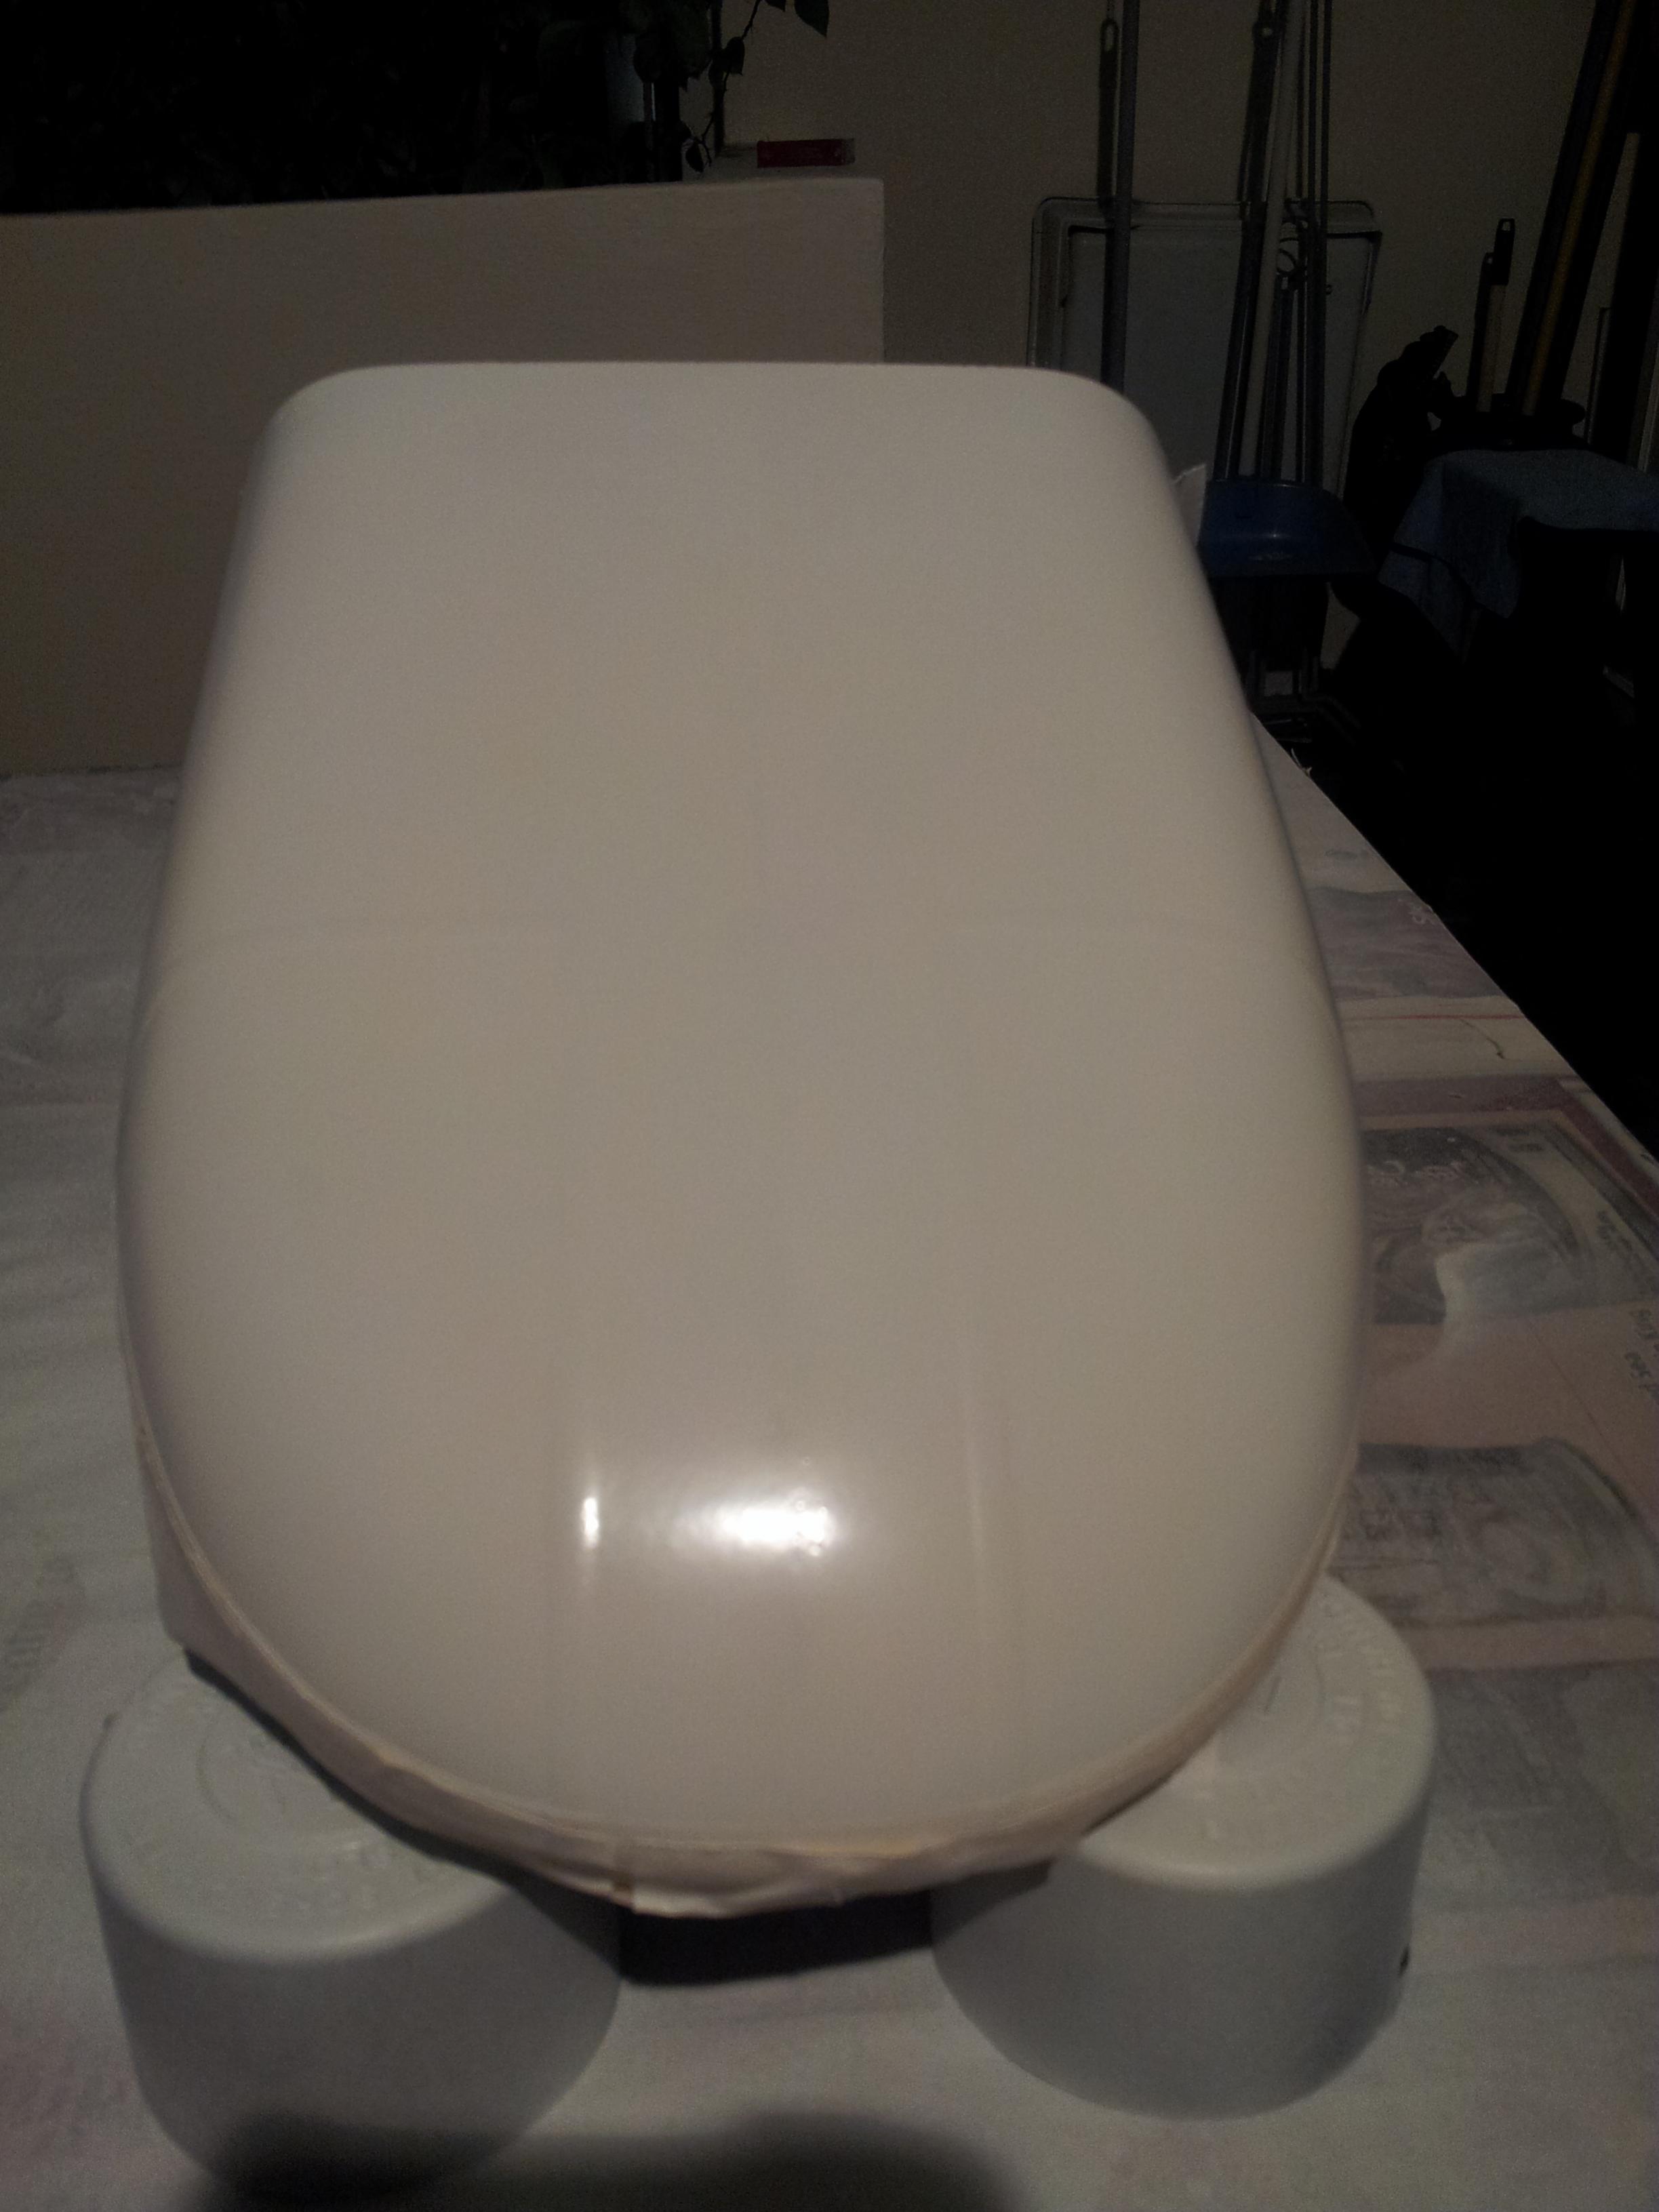
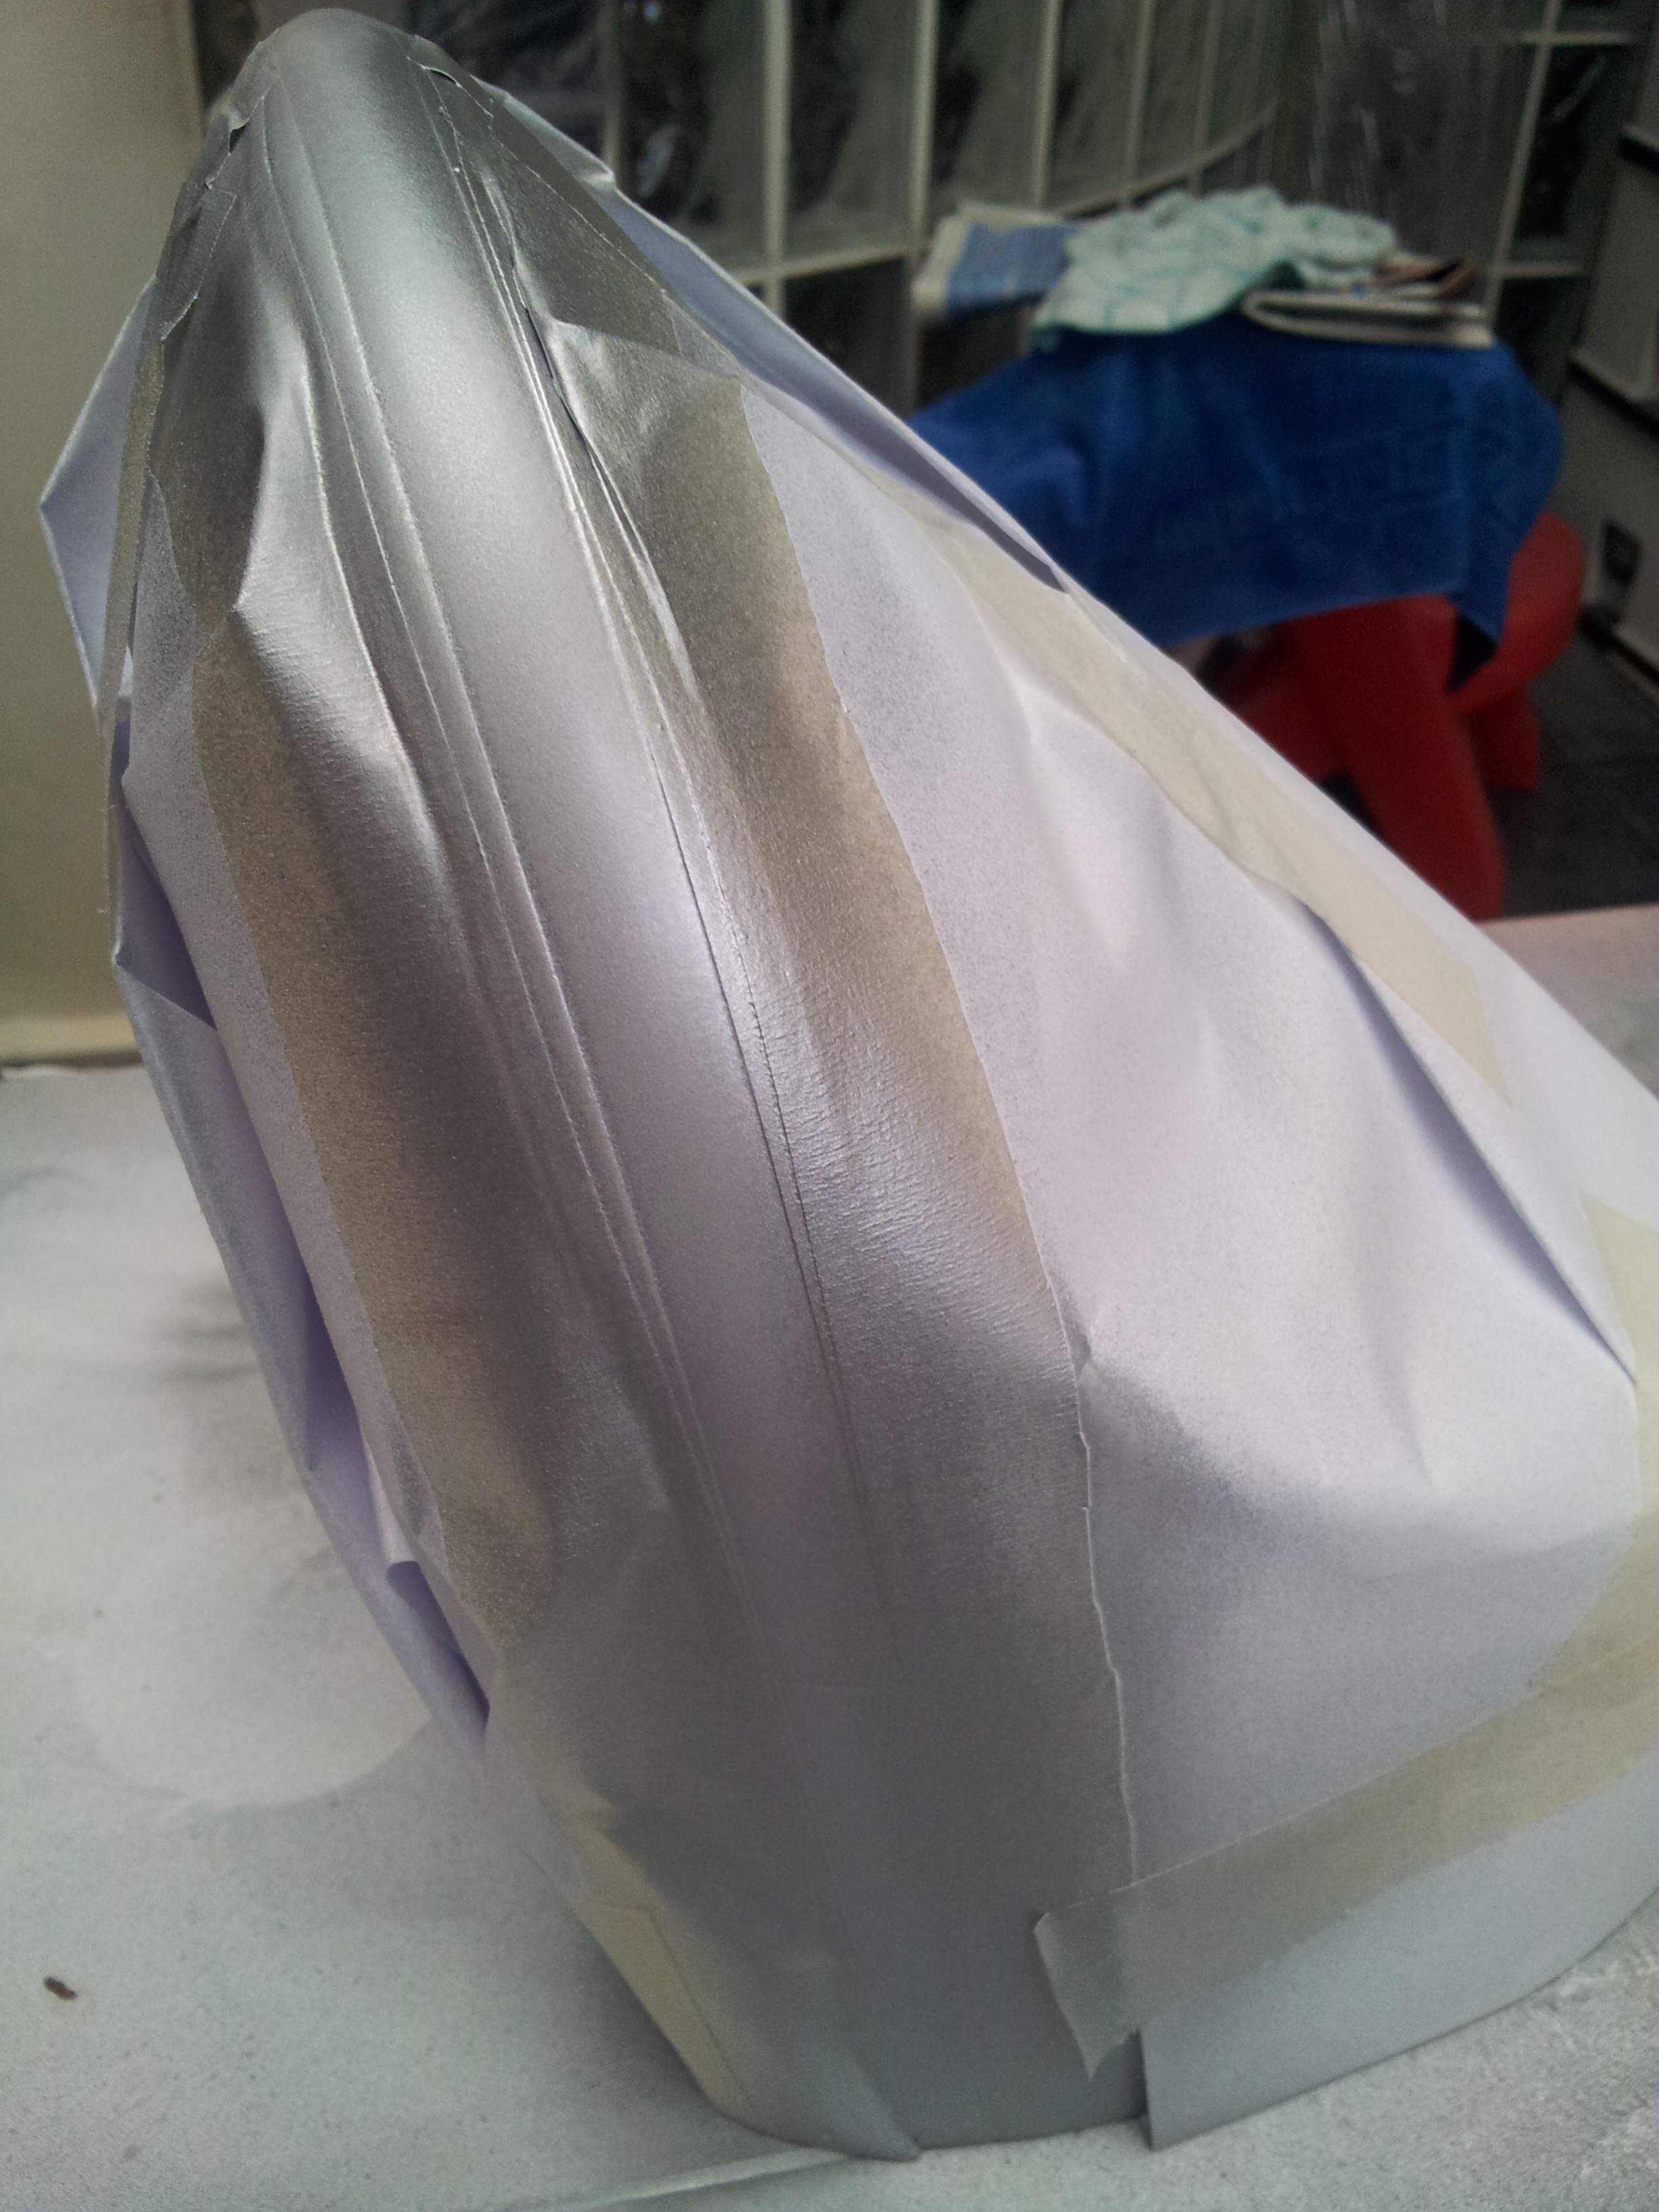
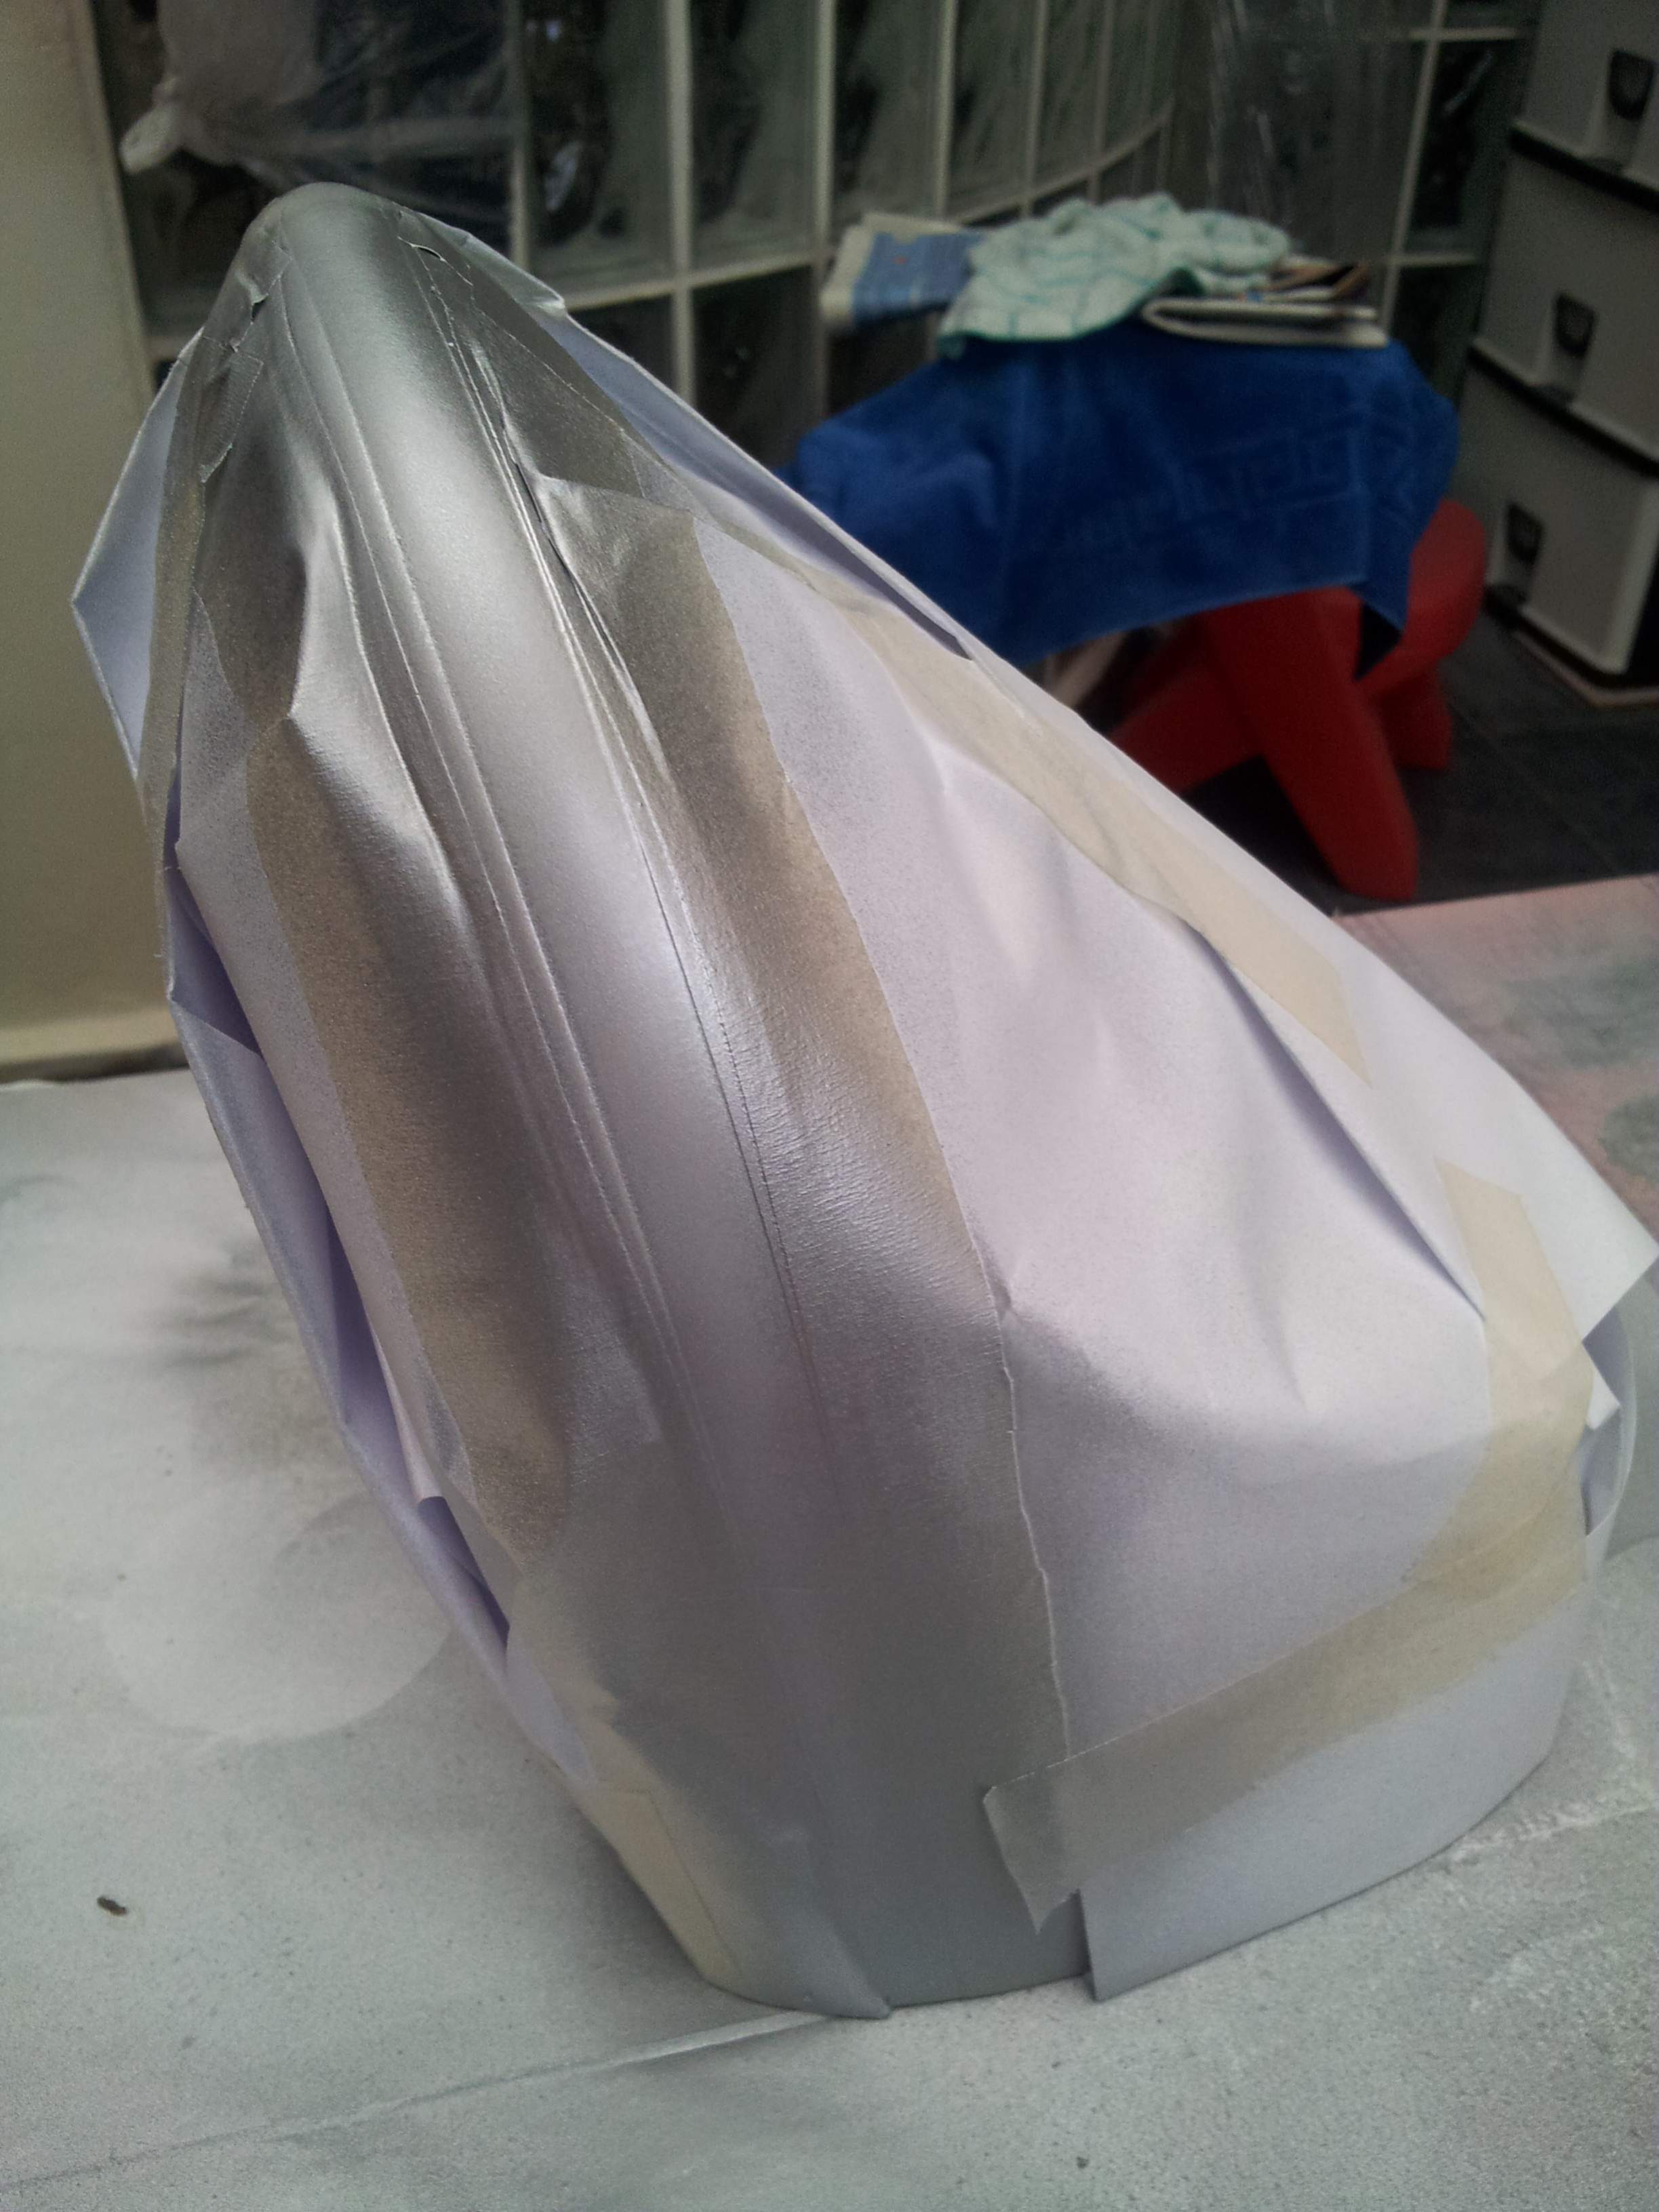
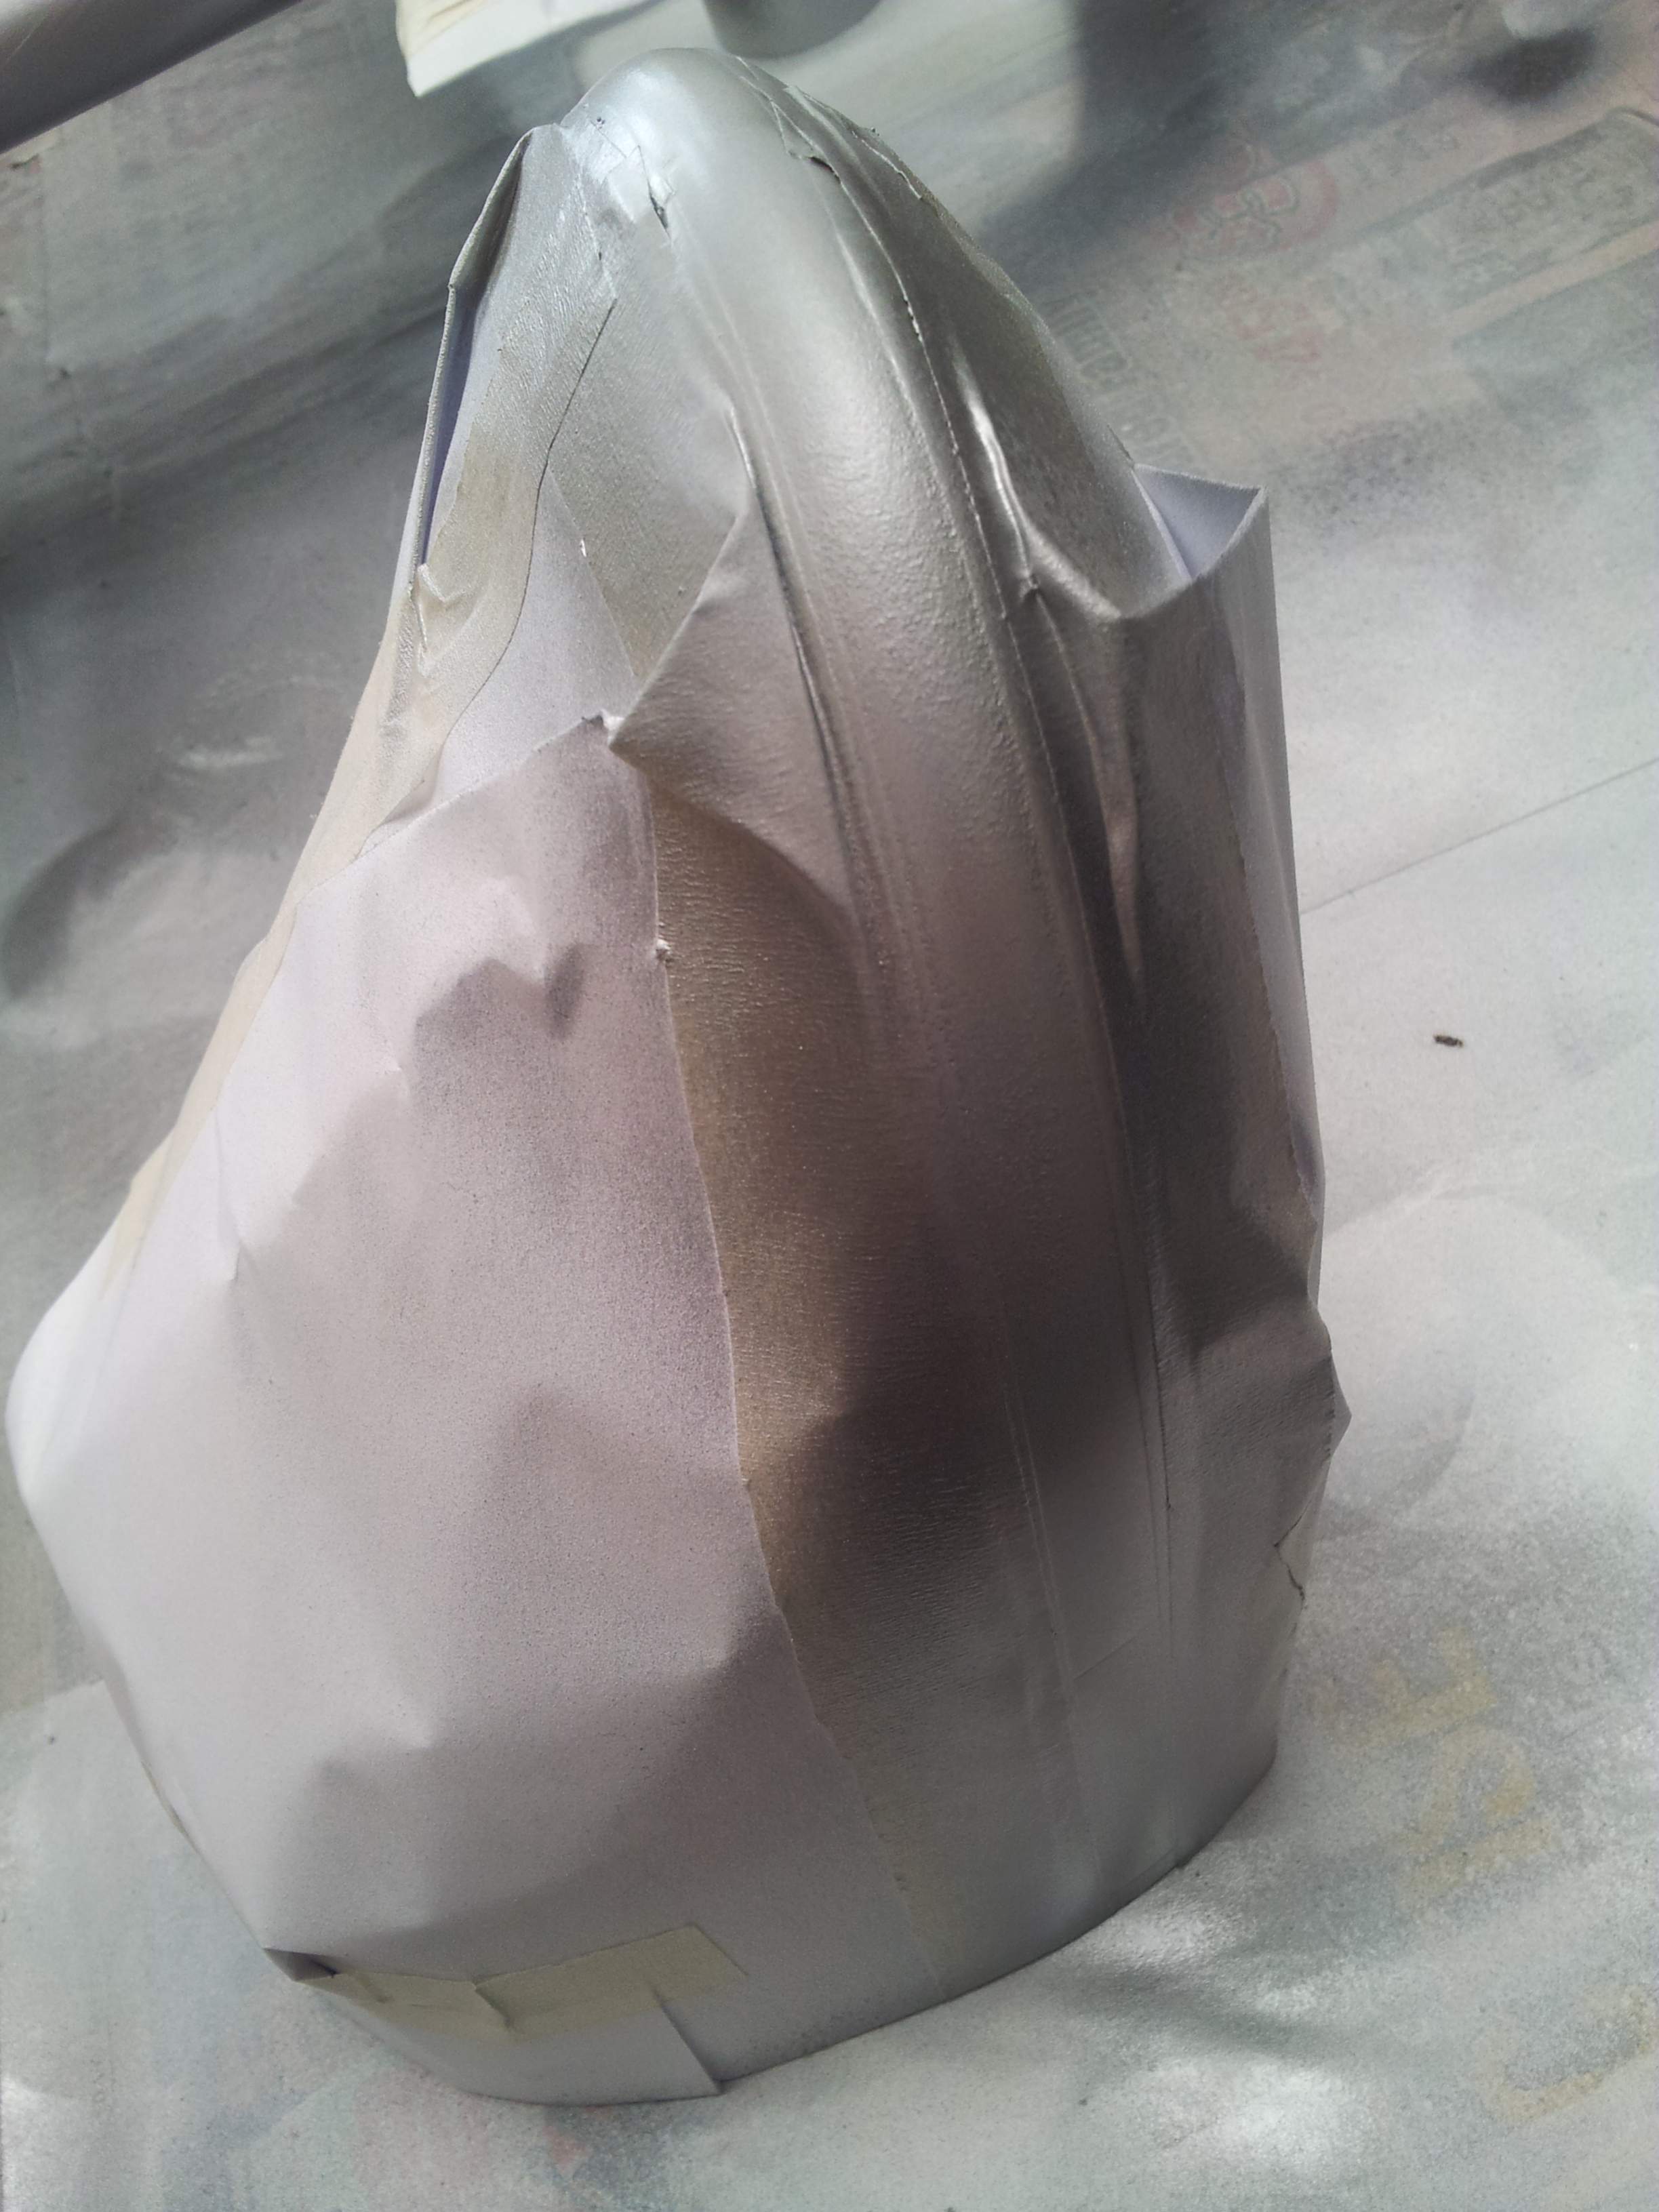
The Stabs are also puttied and sanded down, but as putty was thick, I used 600 grit here..

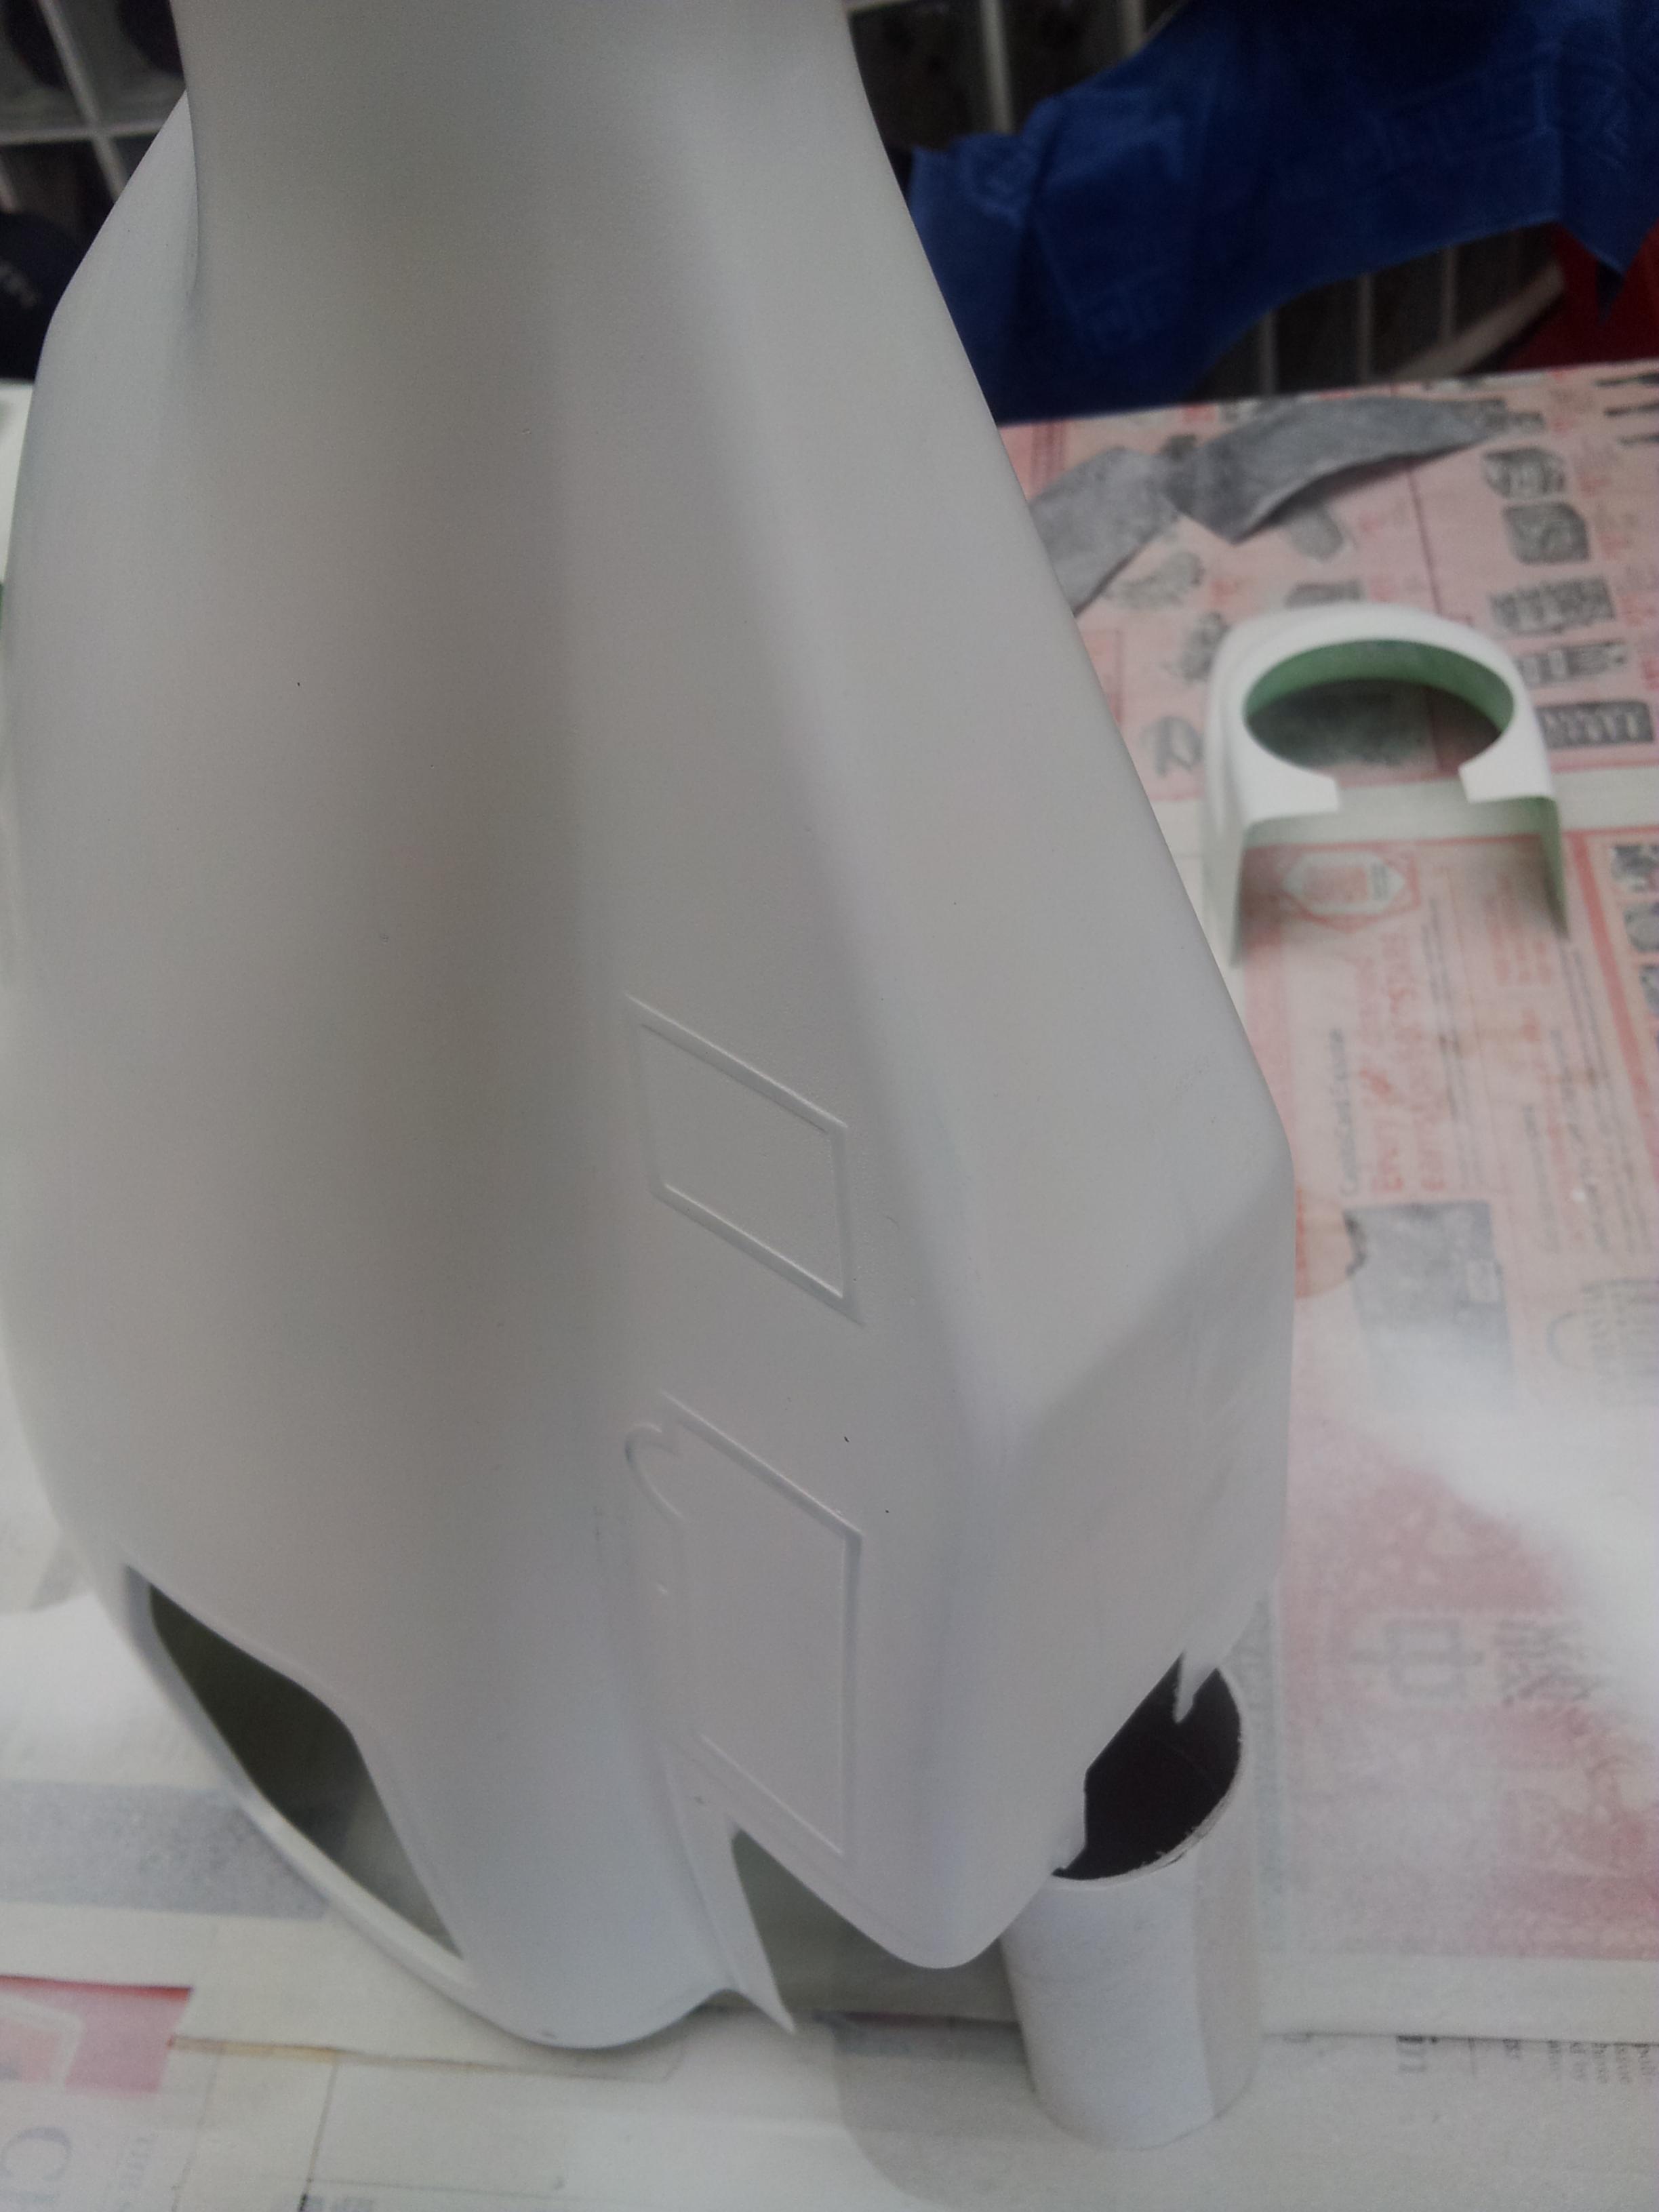
You can see that the wood grains and low spots from initial pics are all covered up.. I also try best to putty a 'joining shape' for the part where the satbs joins the fuse..

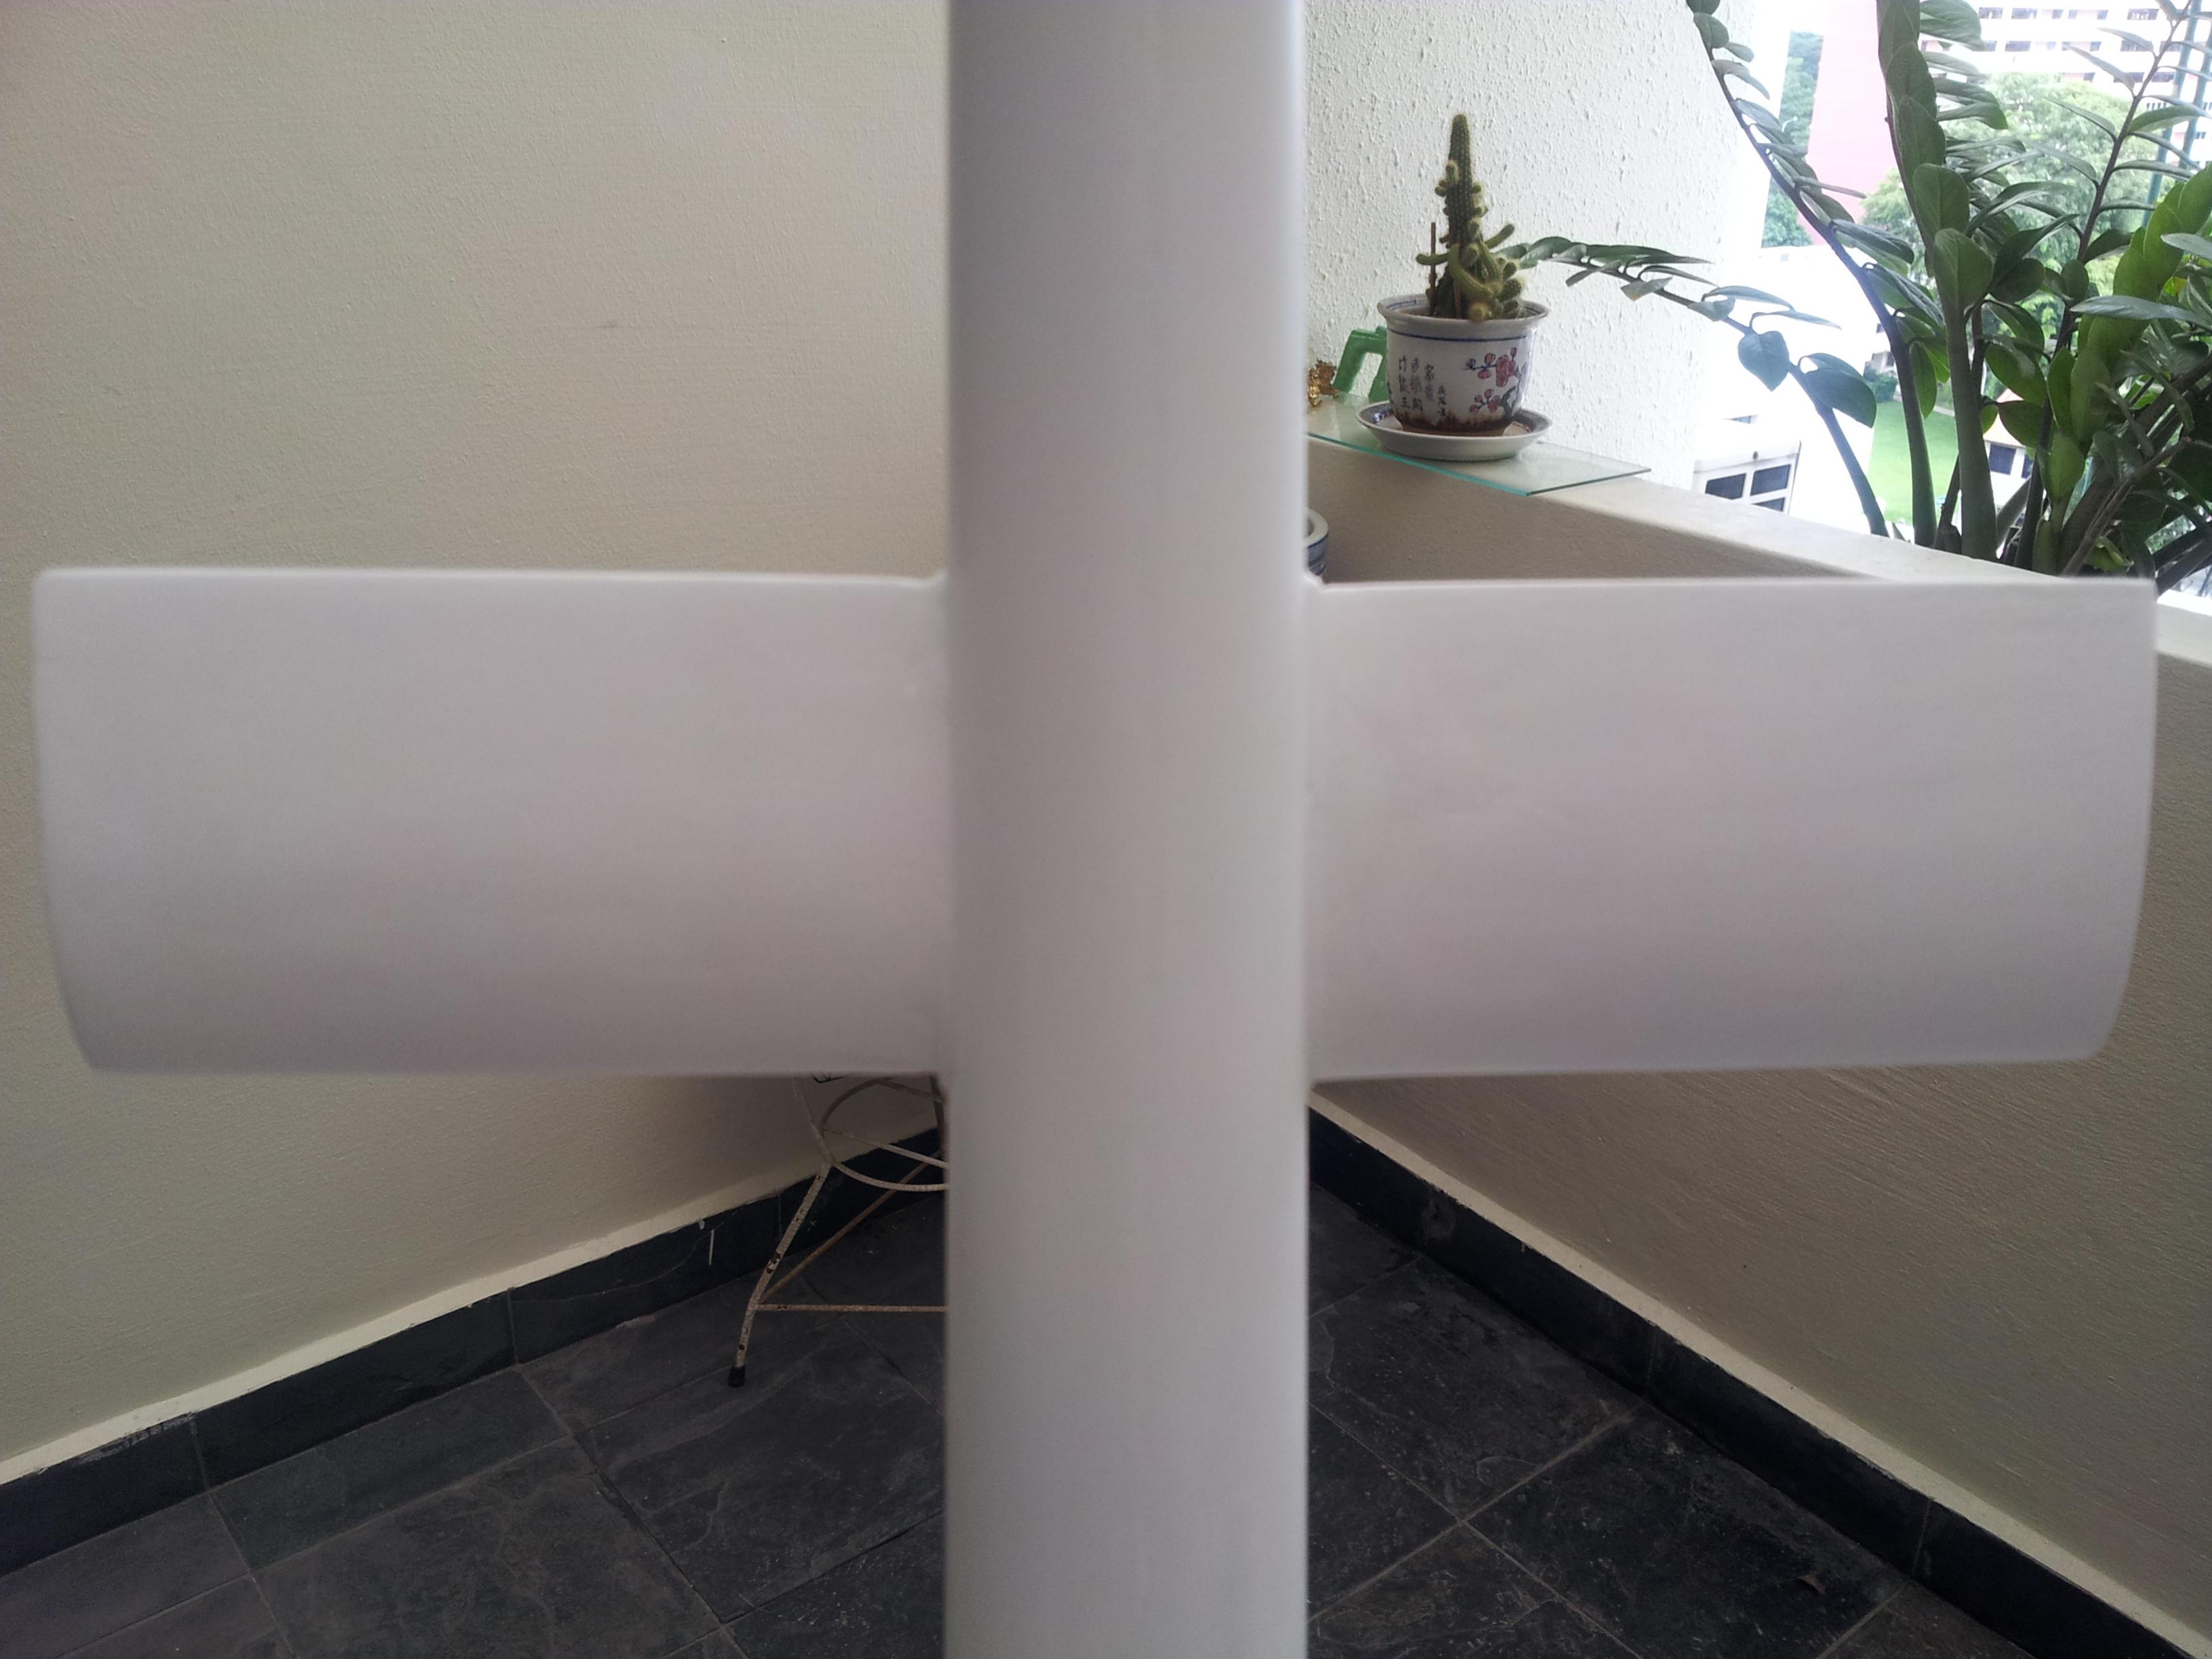
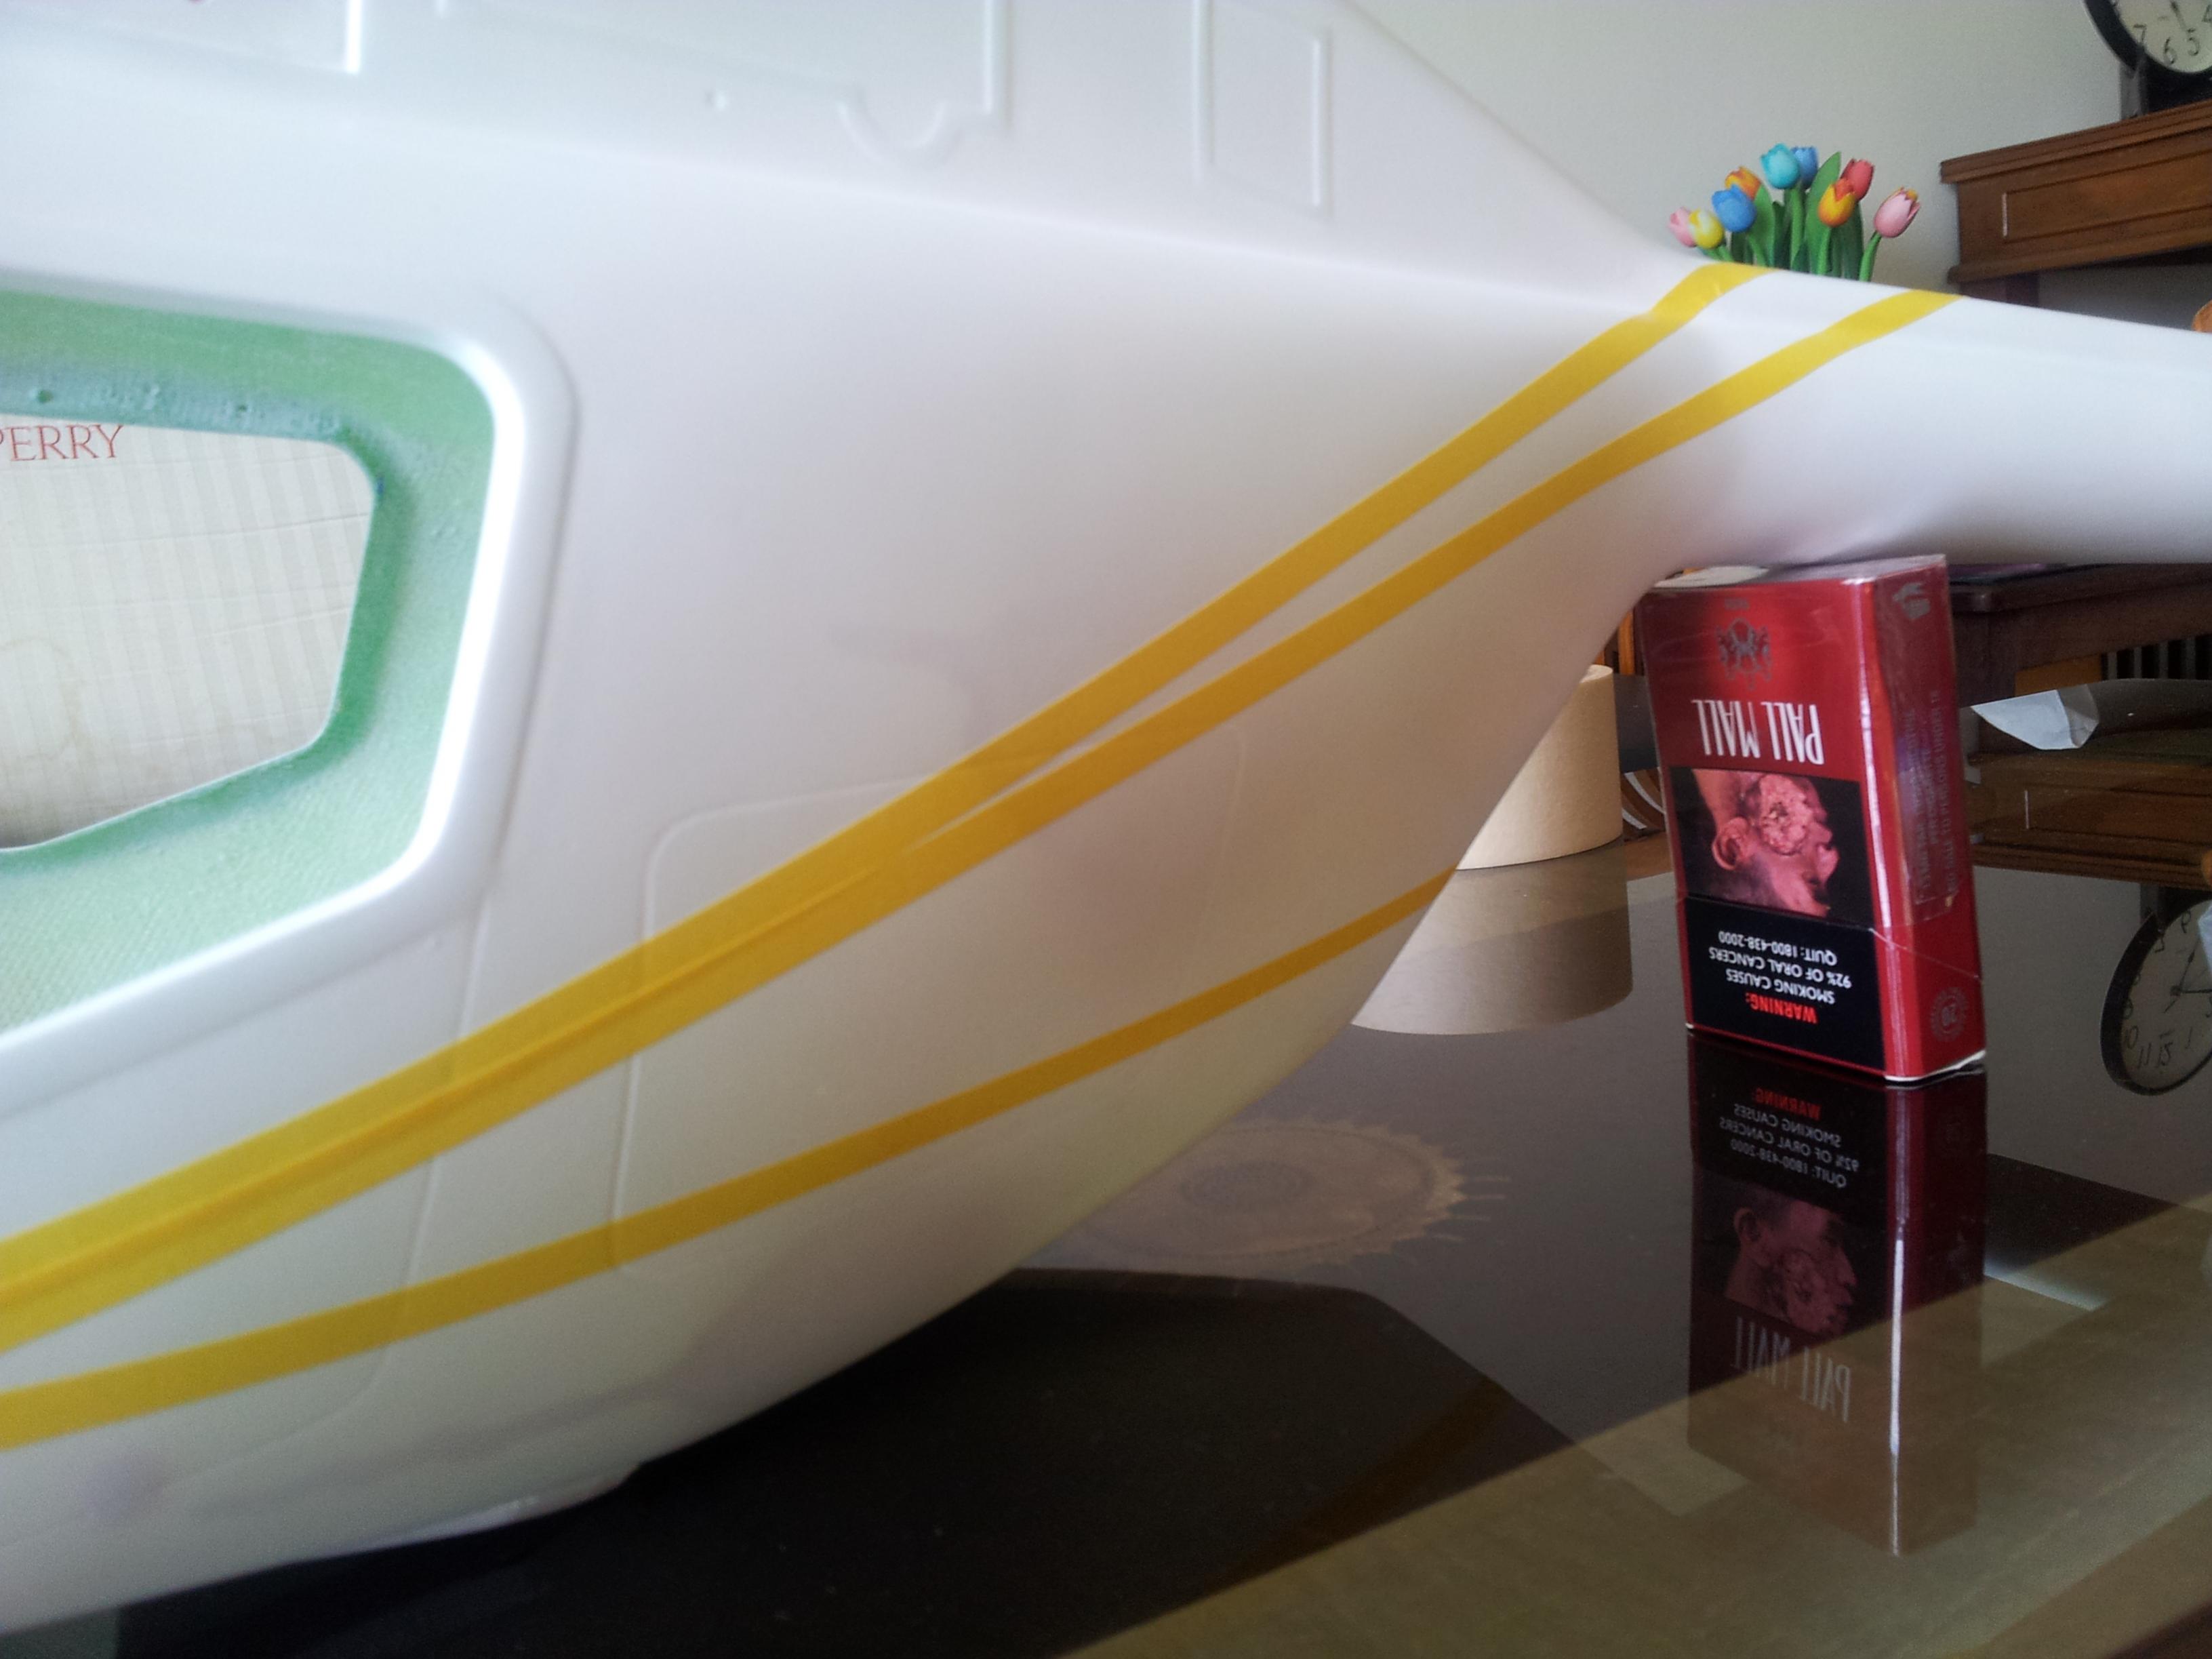
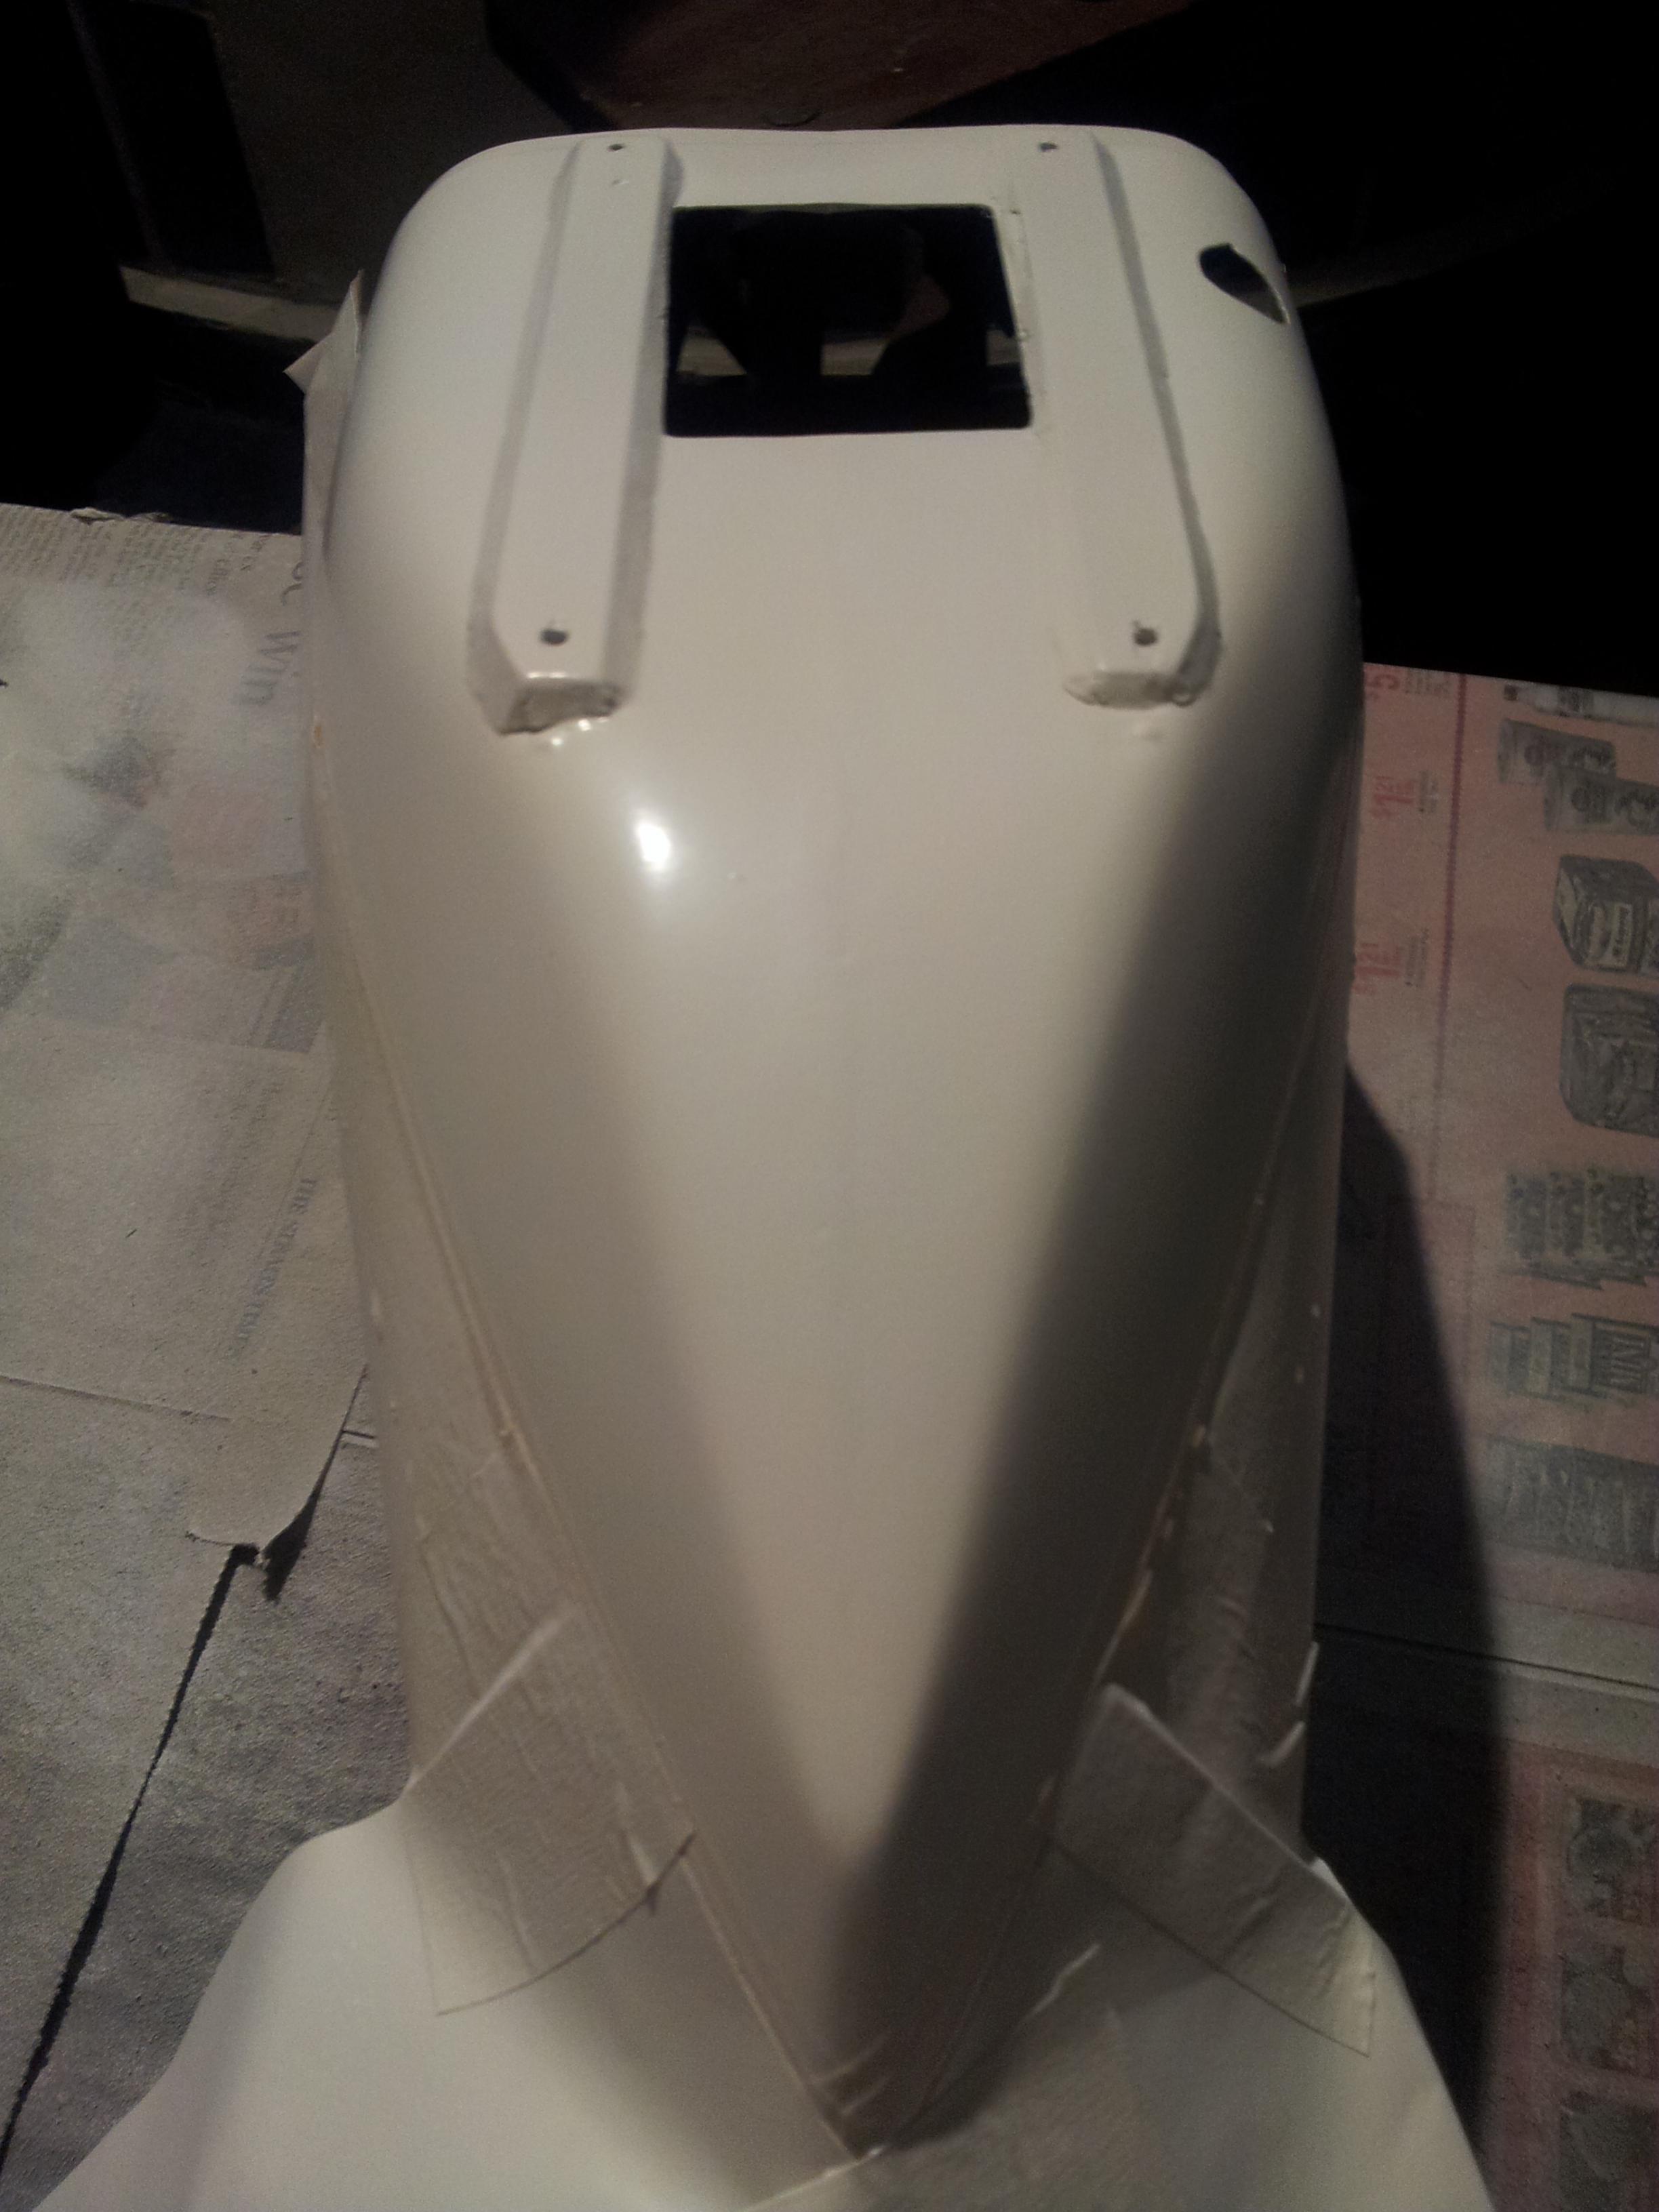
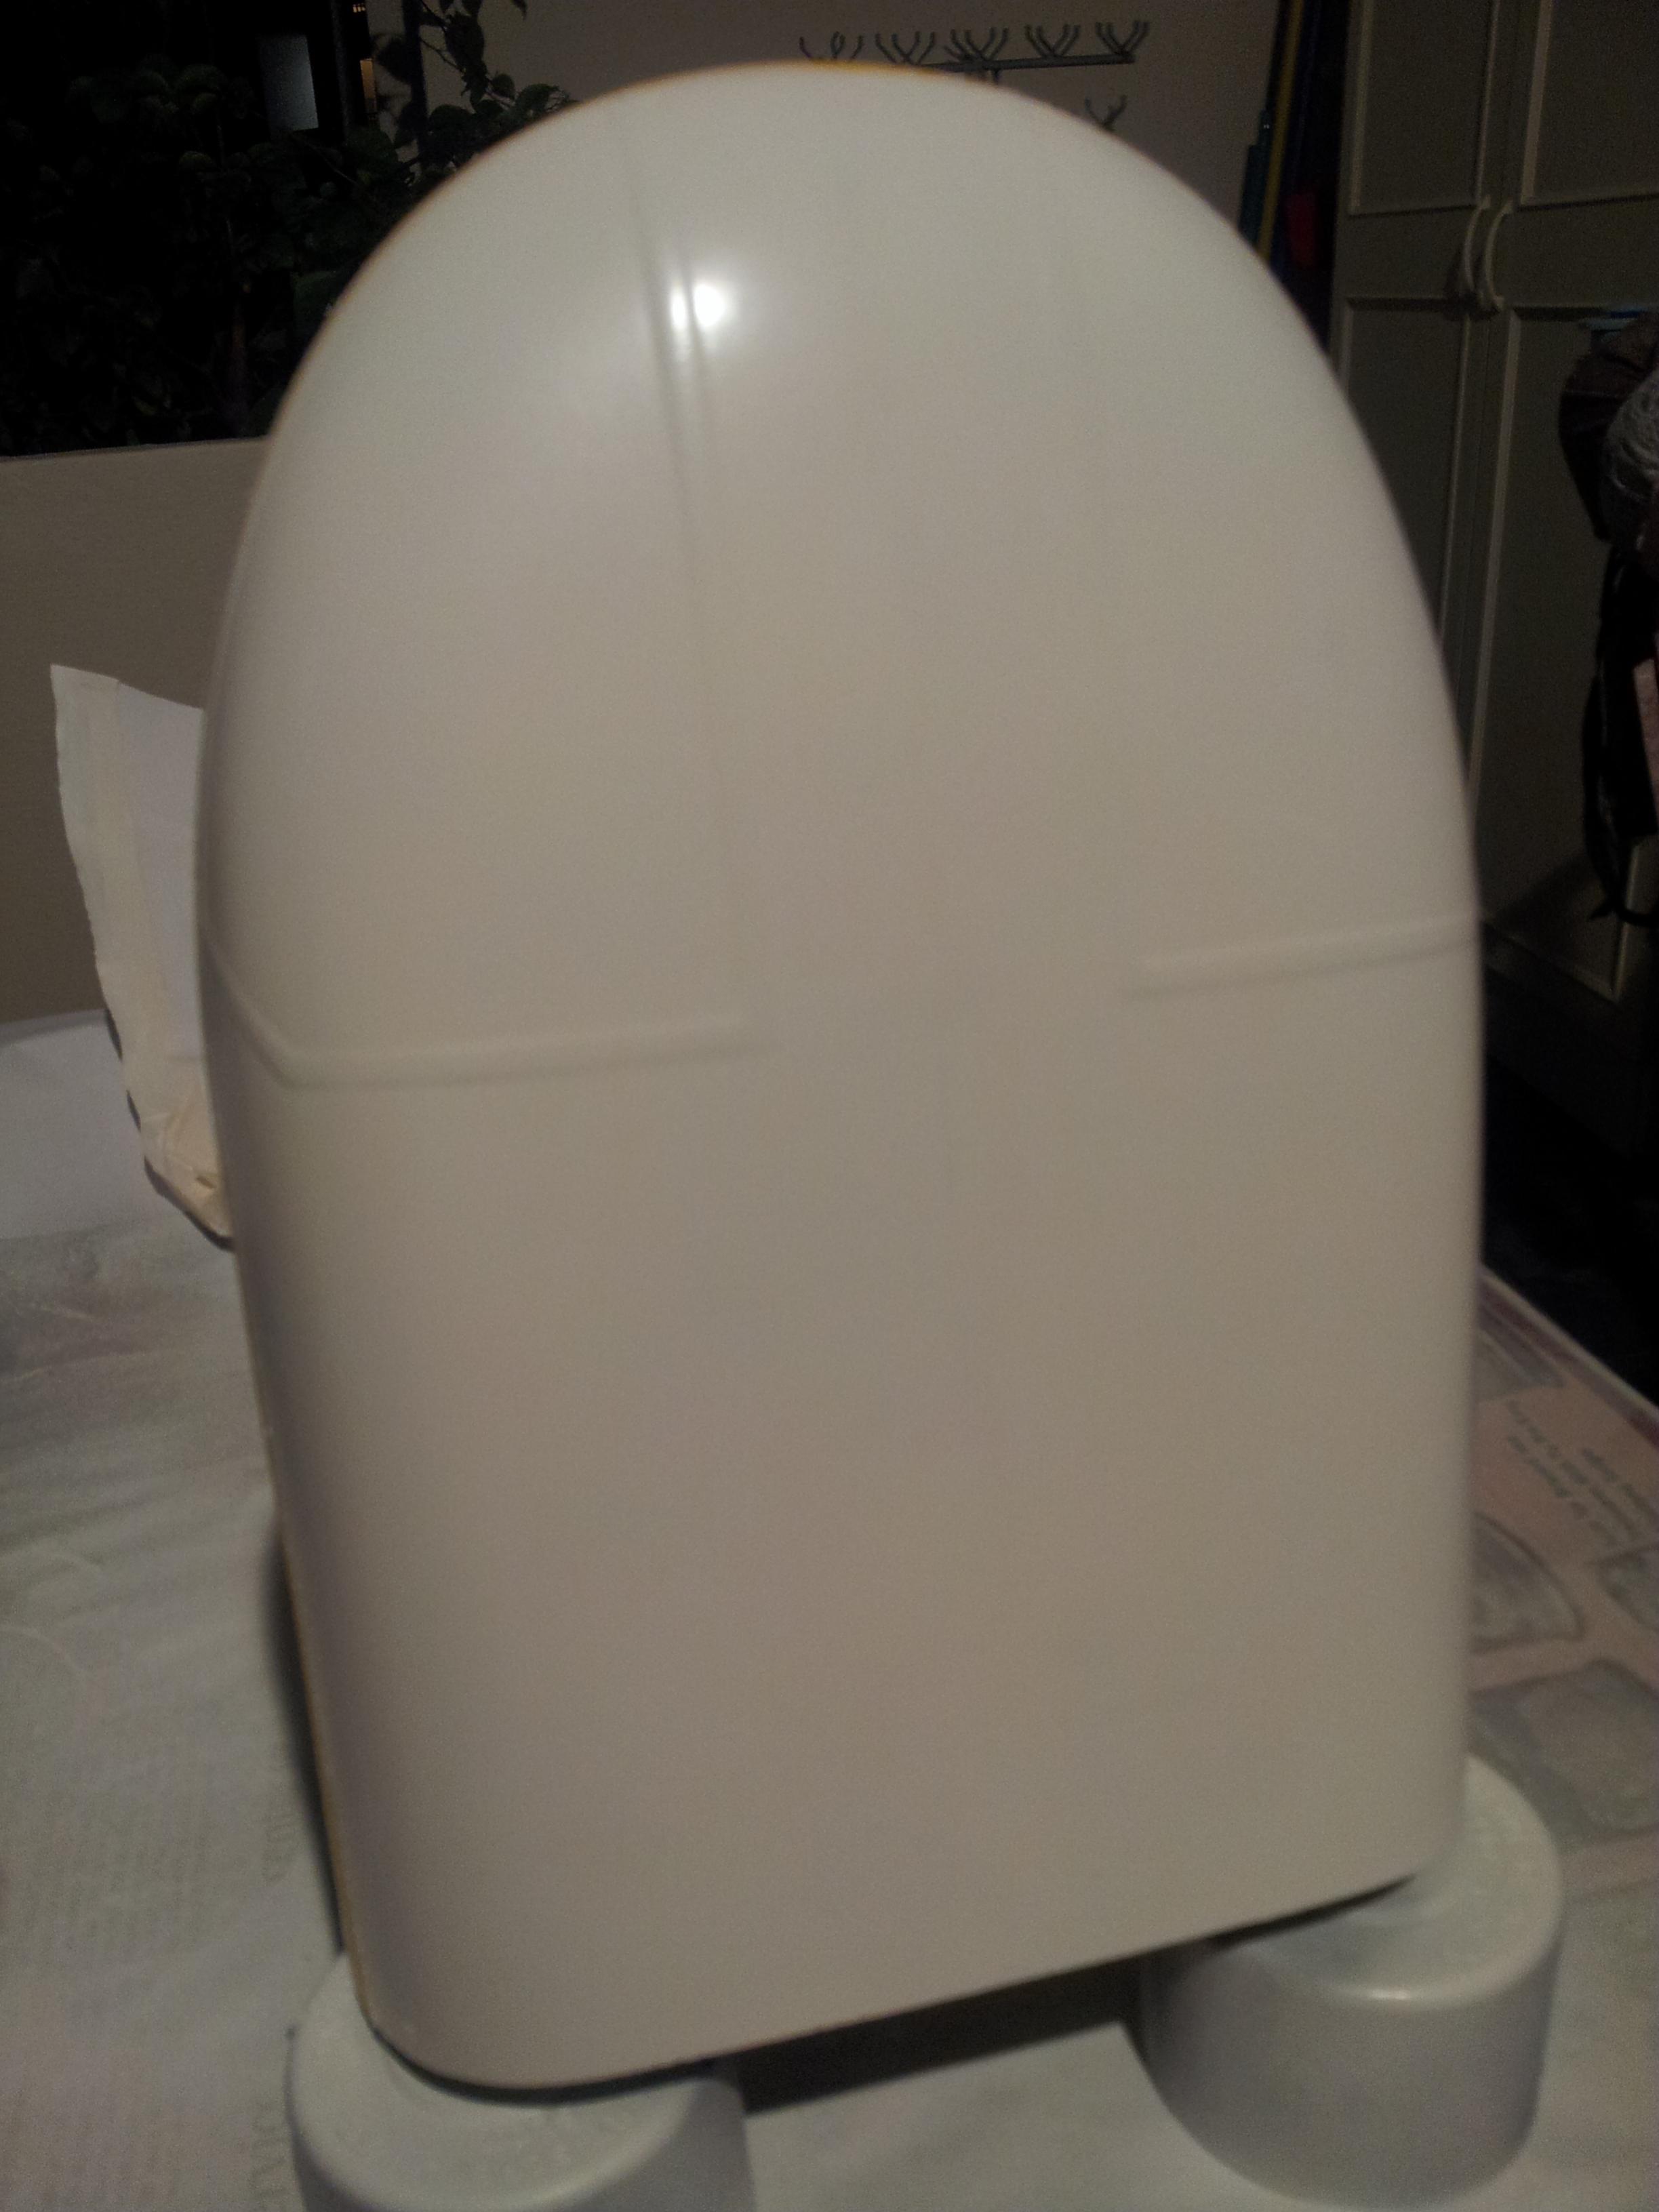
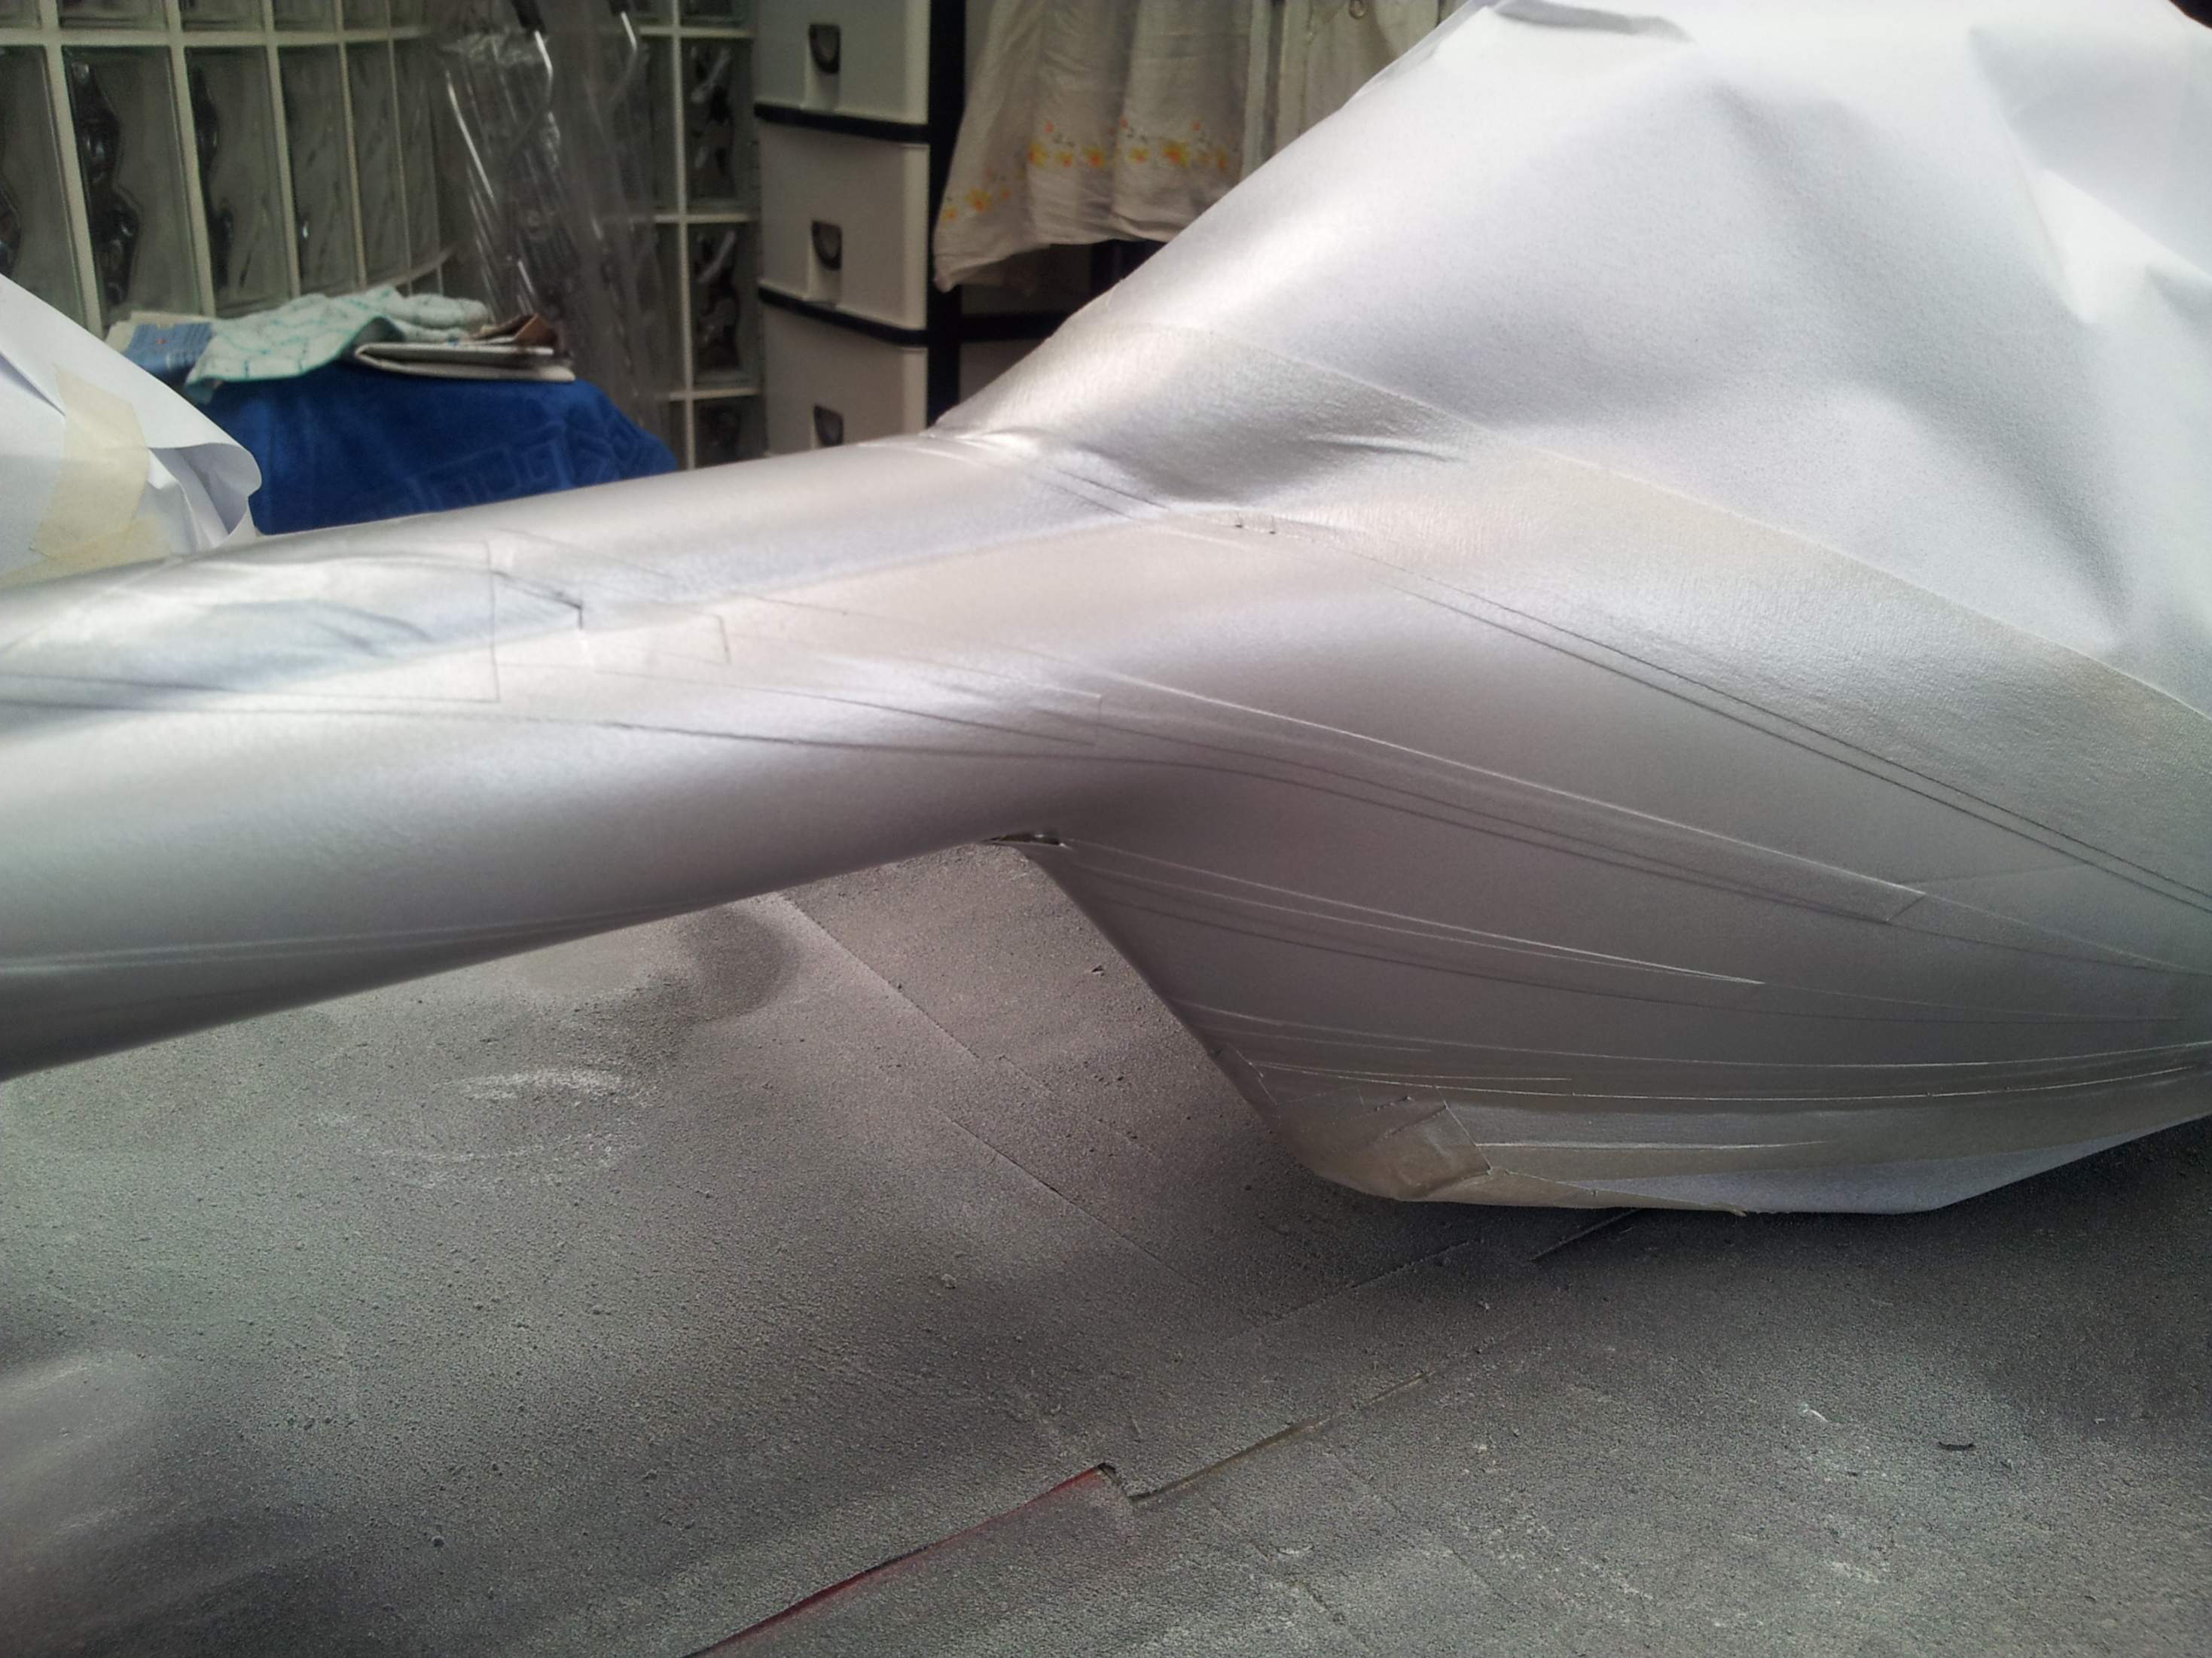
This is after I primed a thin layer over and sanded down (1000 grit). This pic is angled to try to show how smooth it can end up using this method (Carved Balsa to shape => Prime thin 'tact' coat => putty on => sand down => Prime & finish sand)

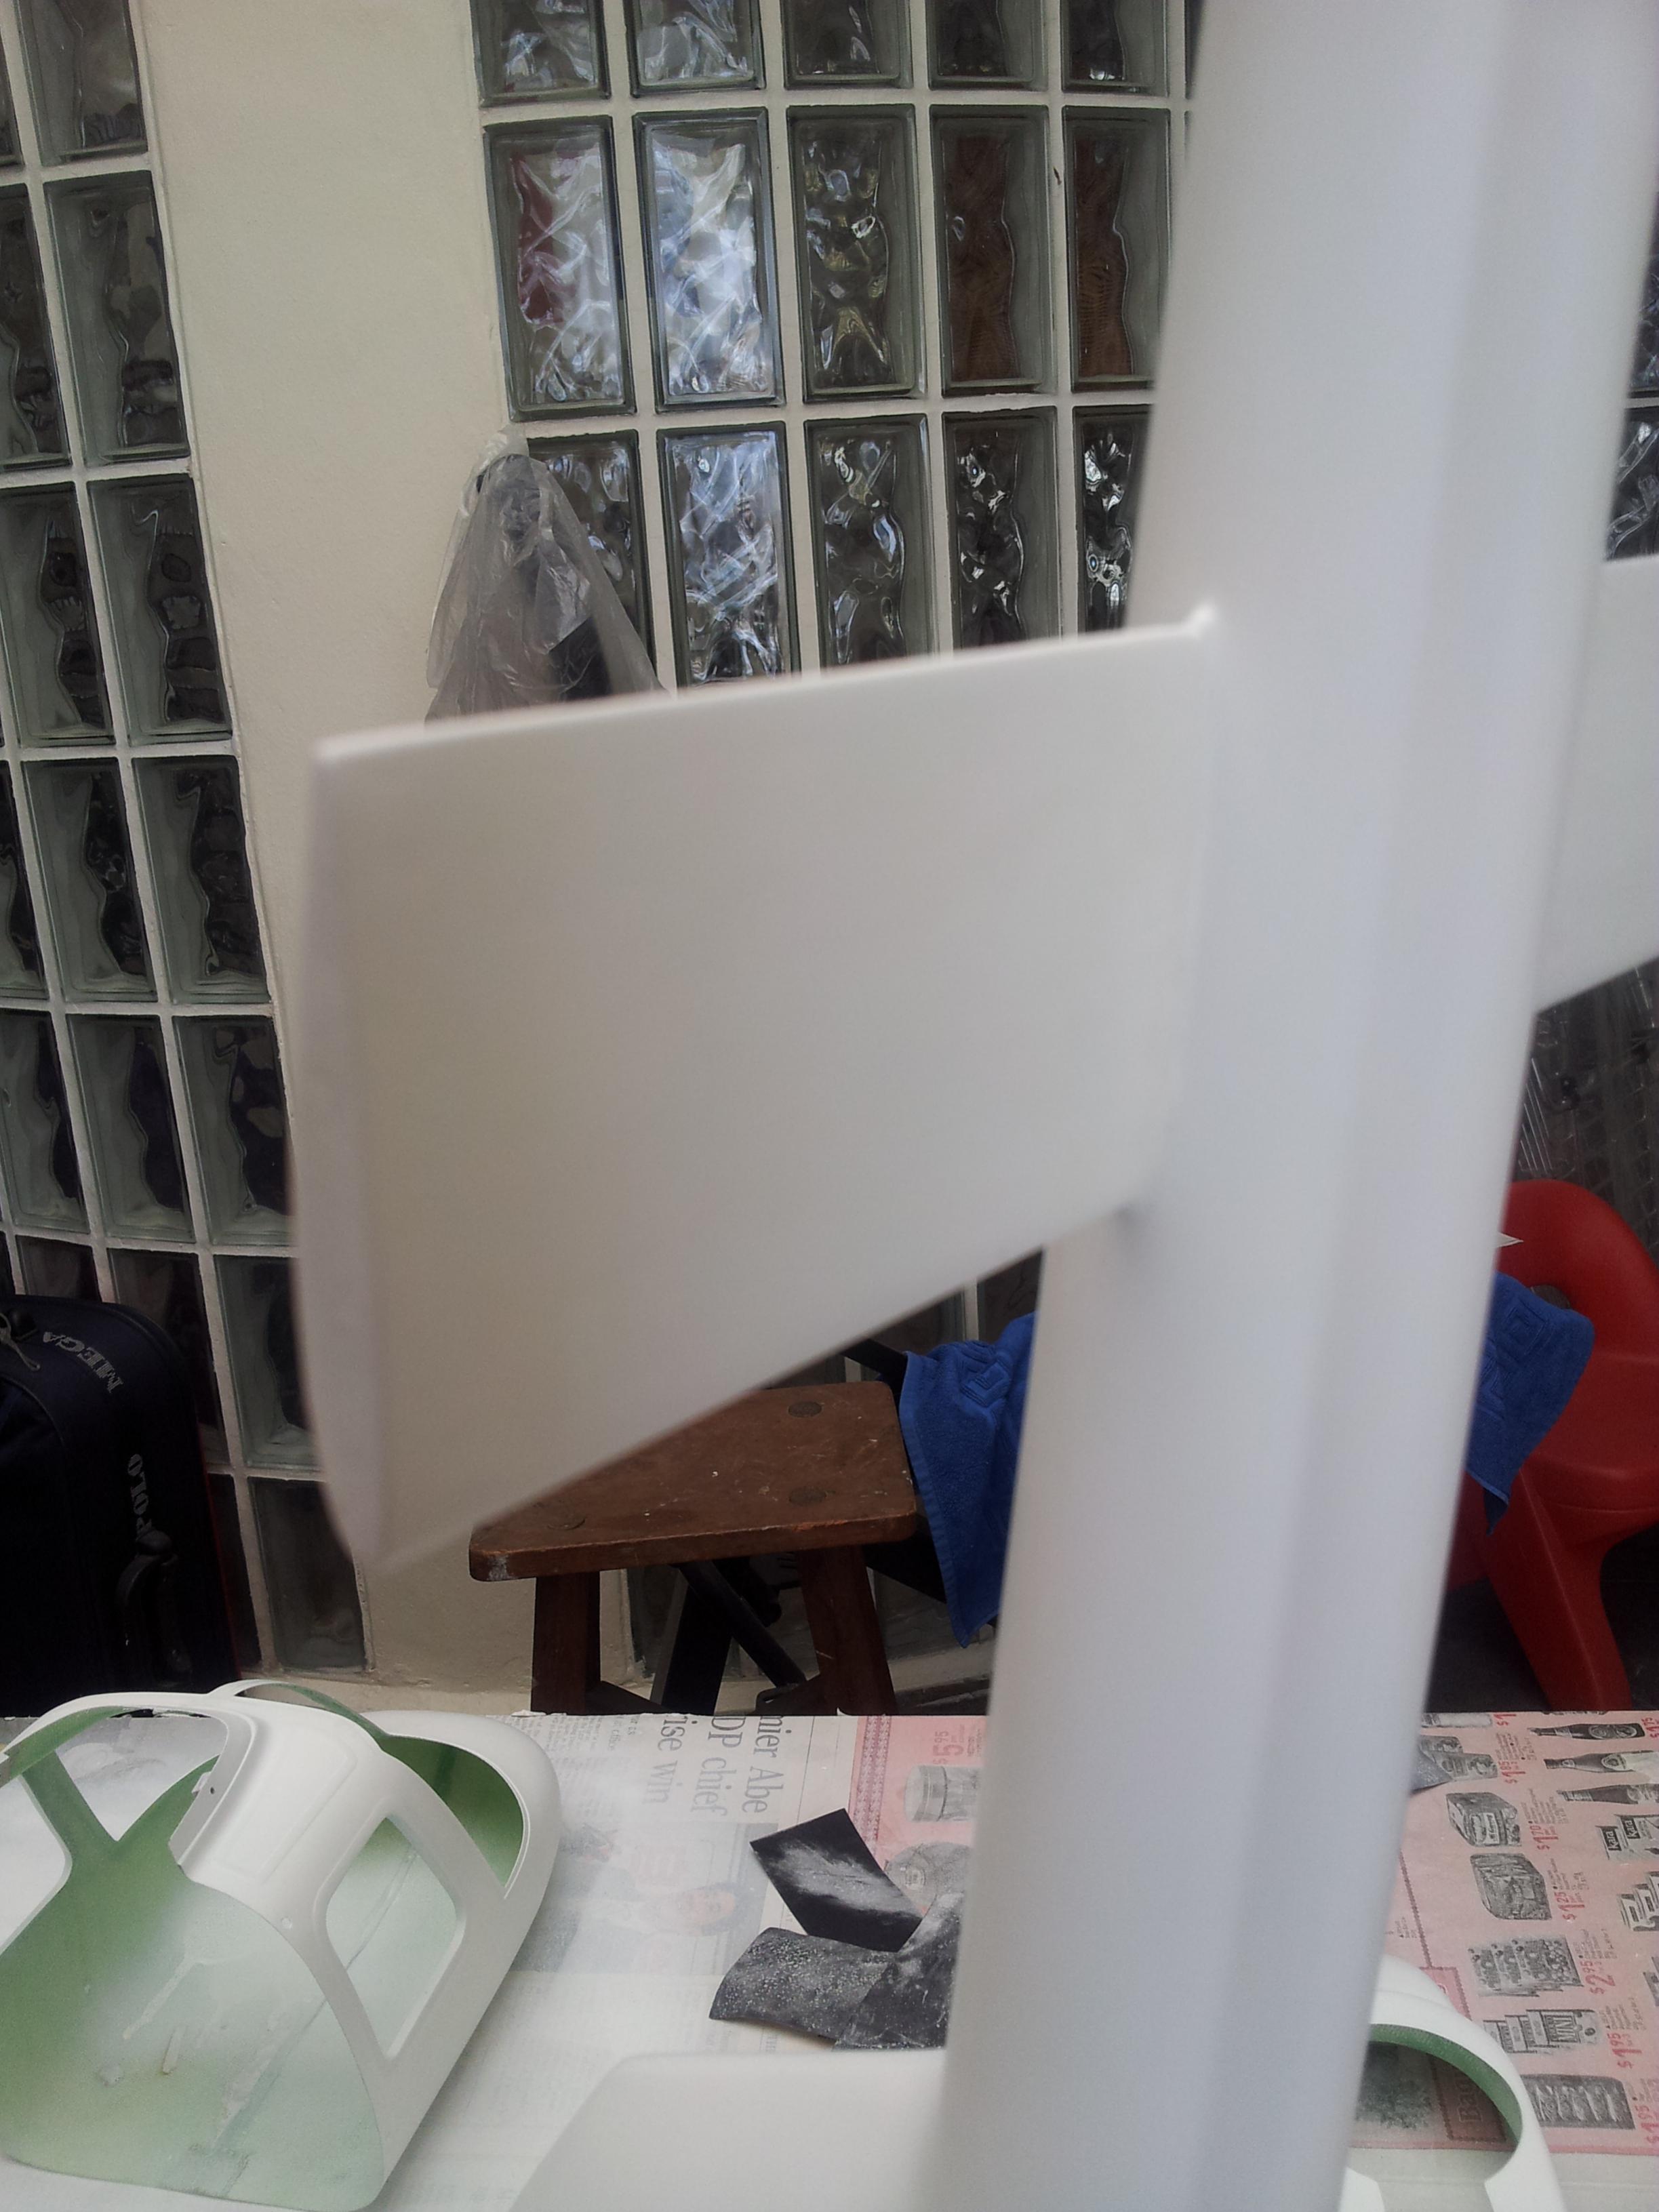
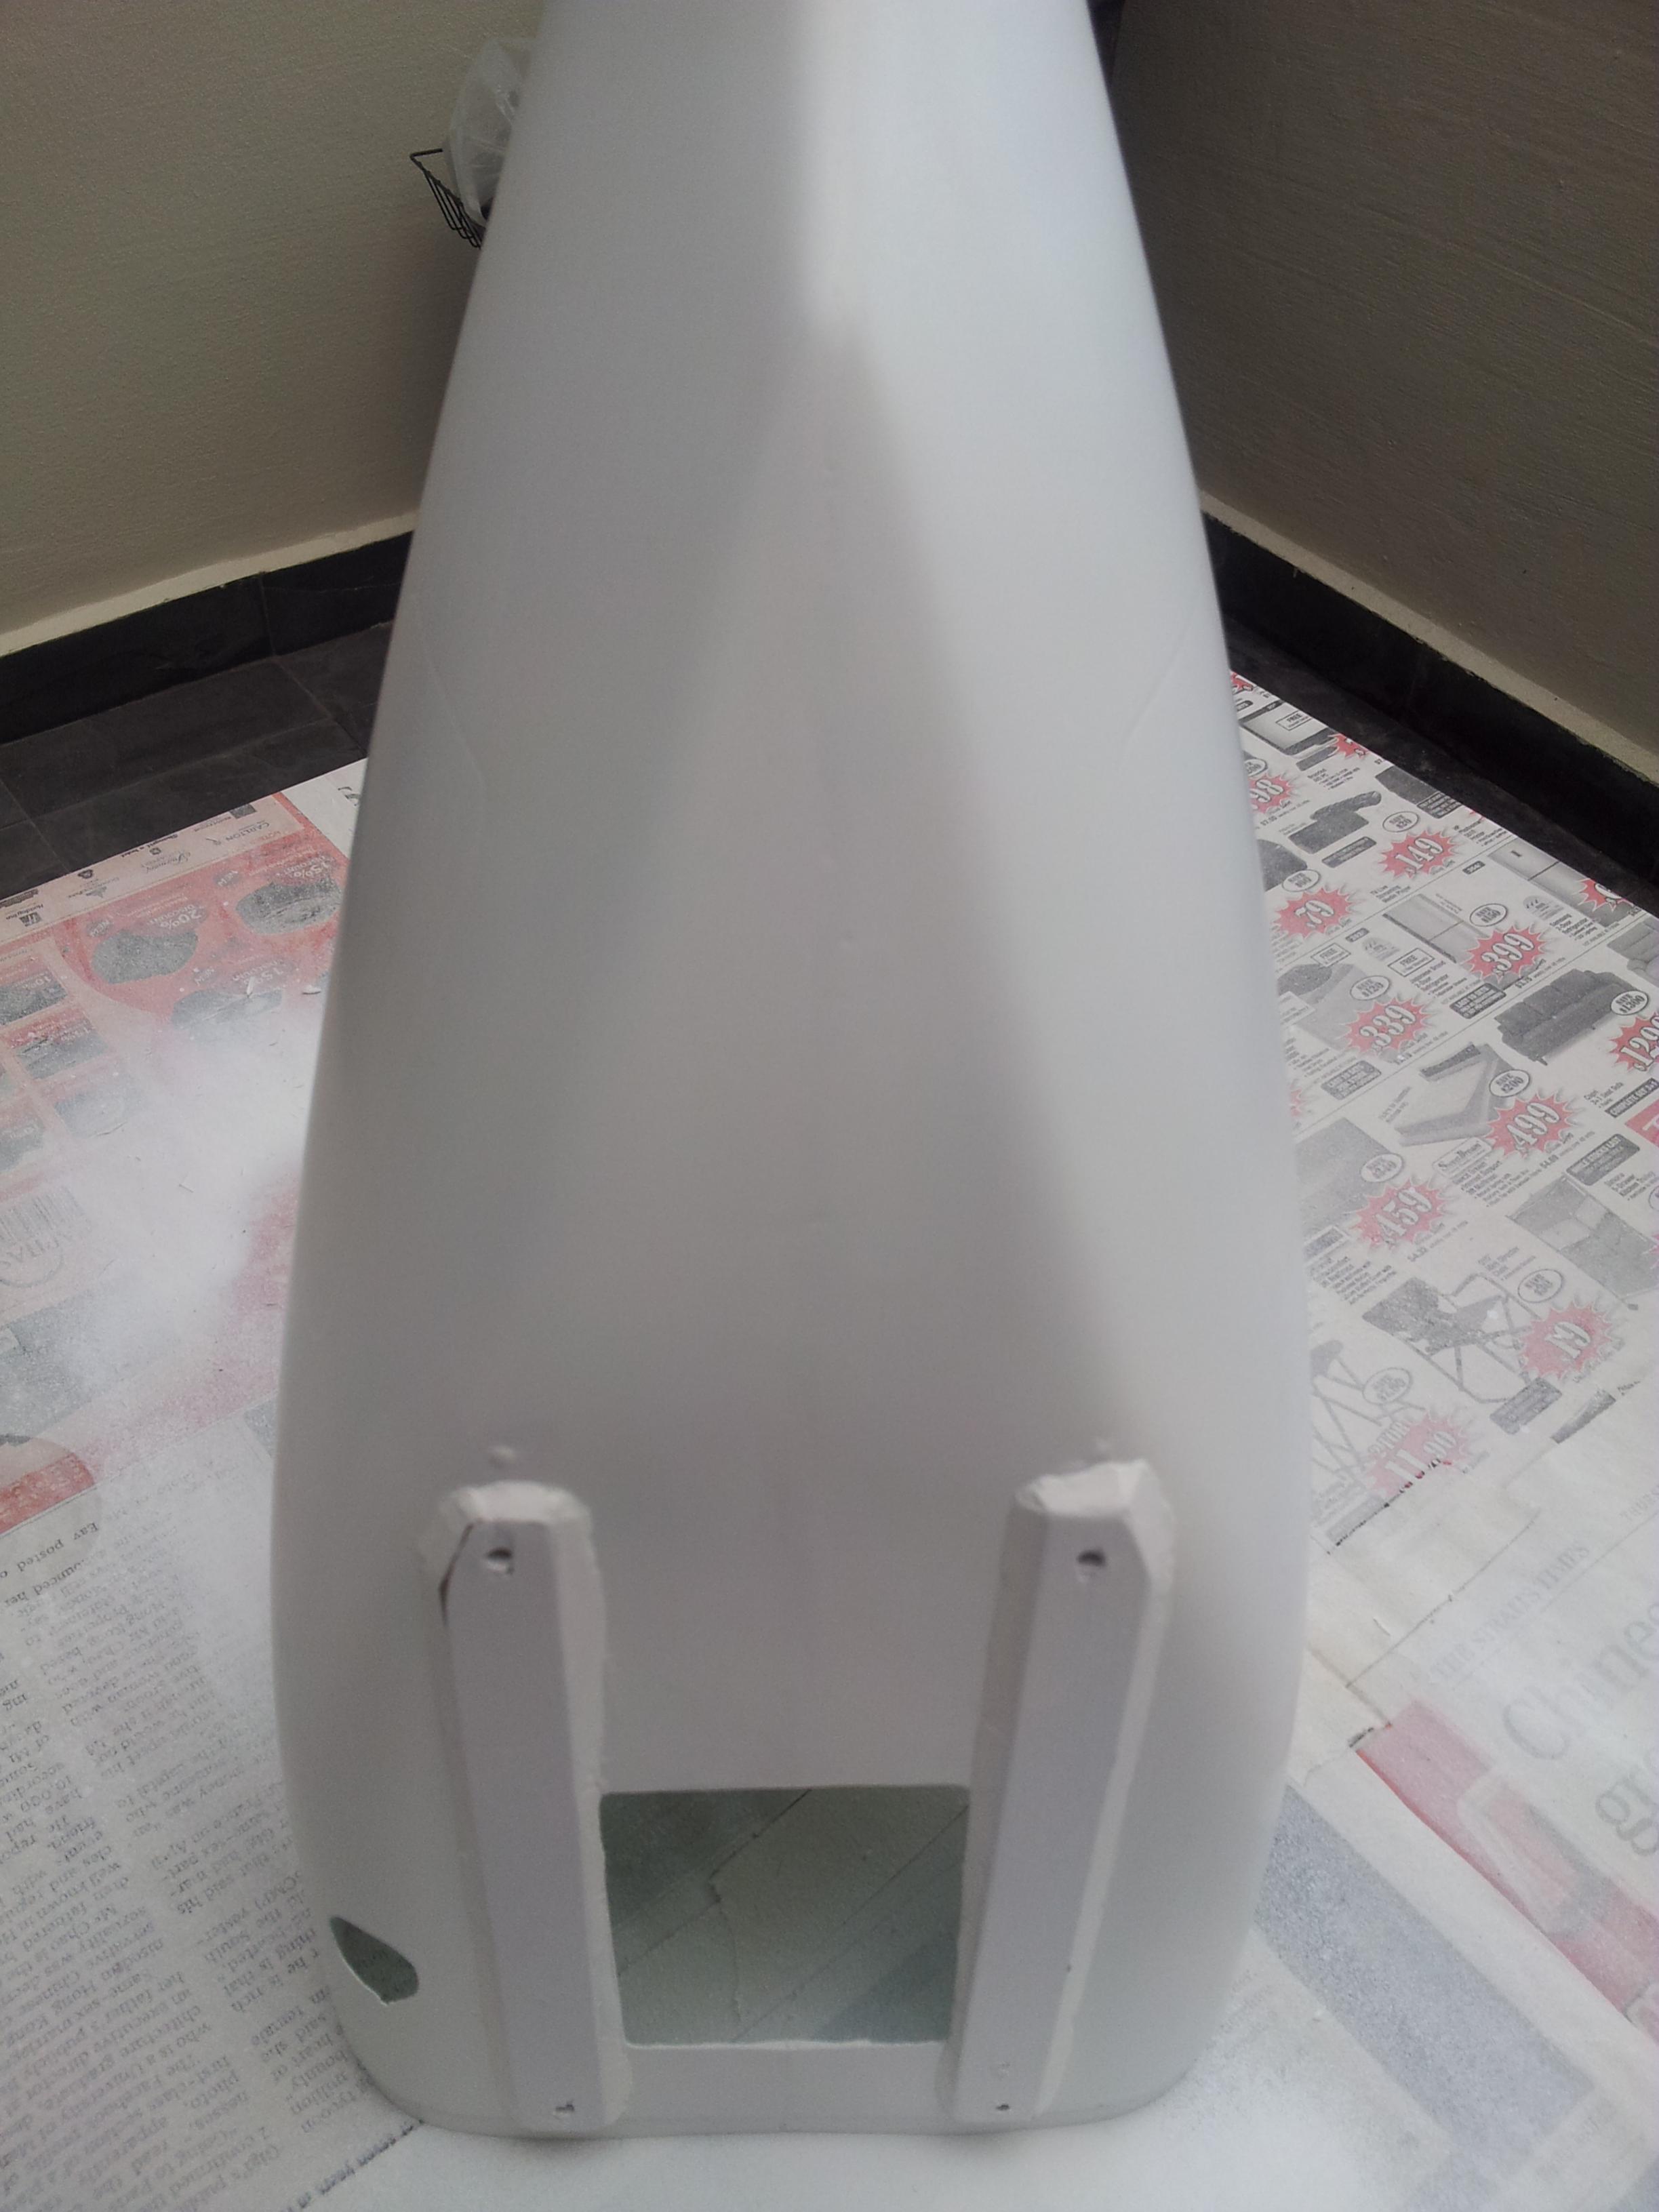
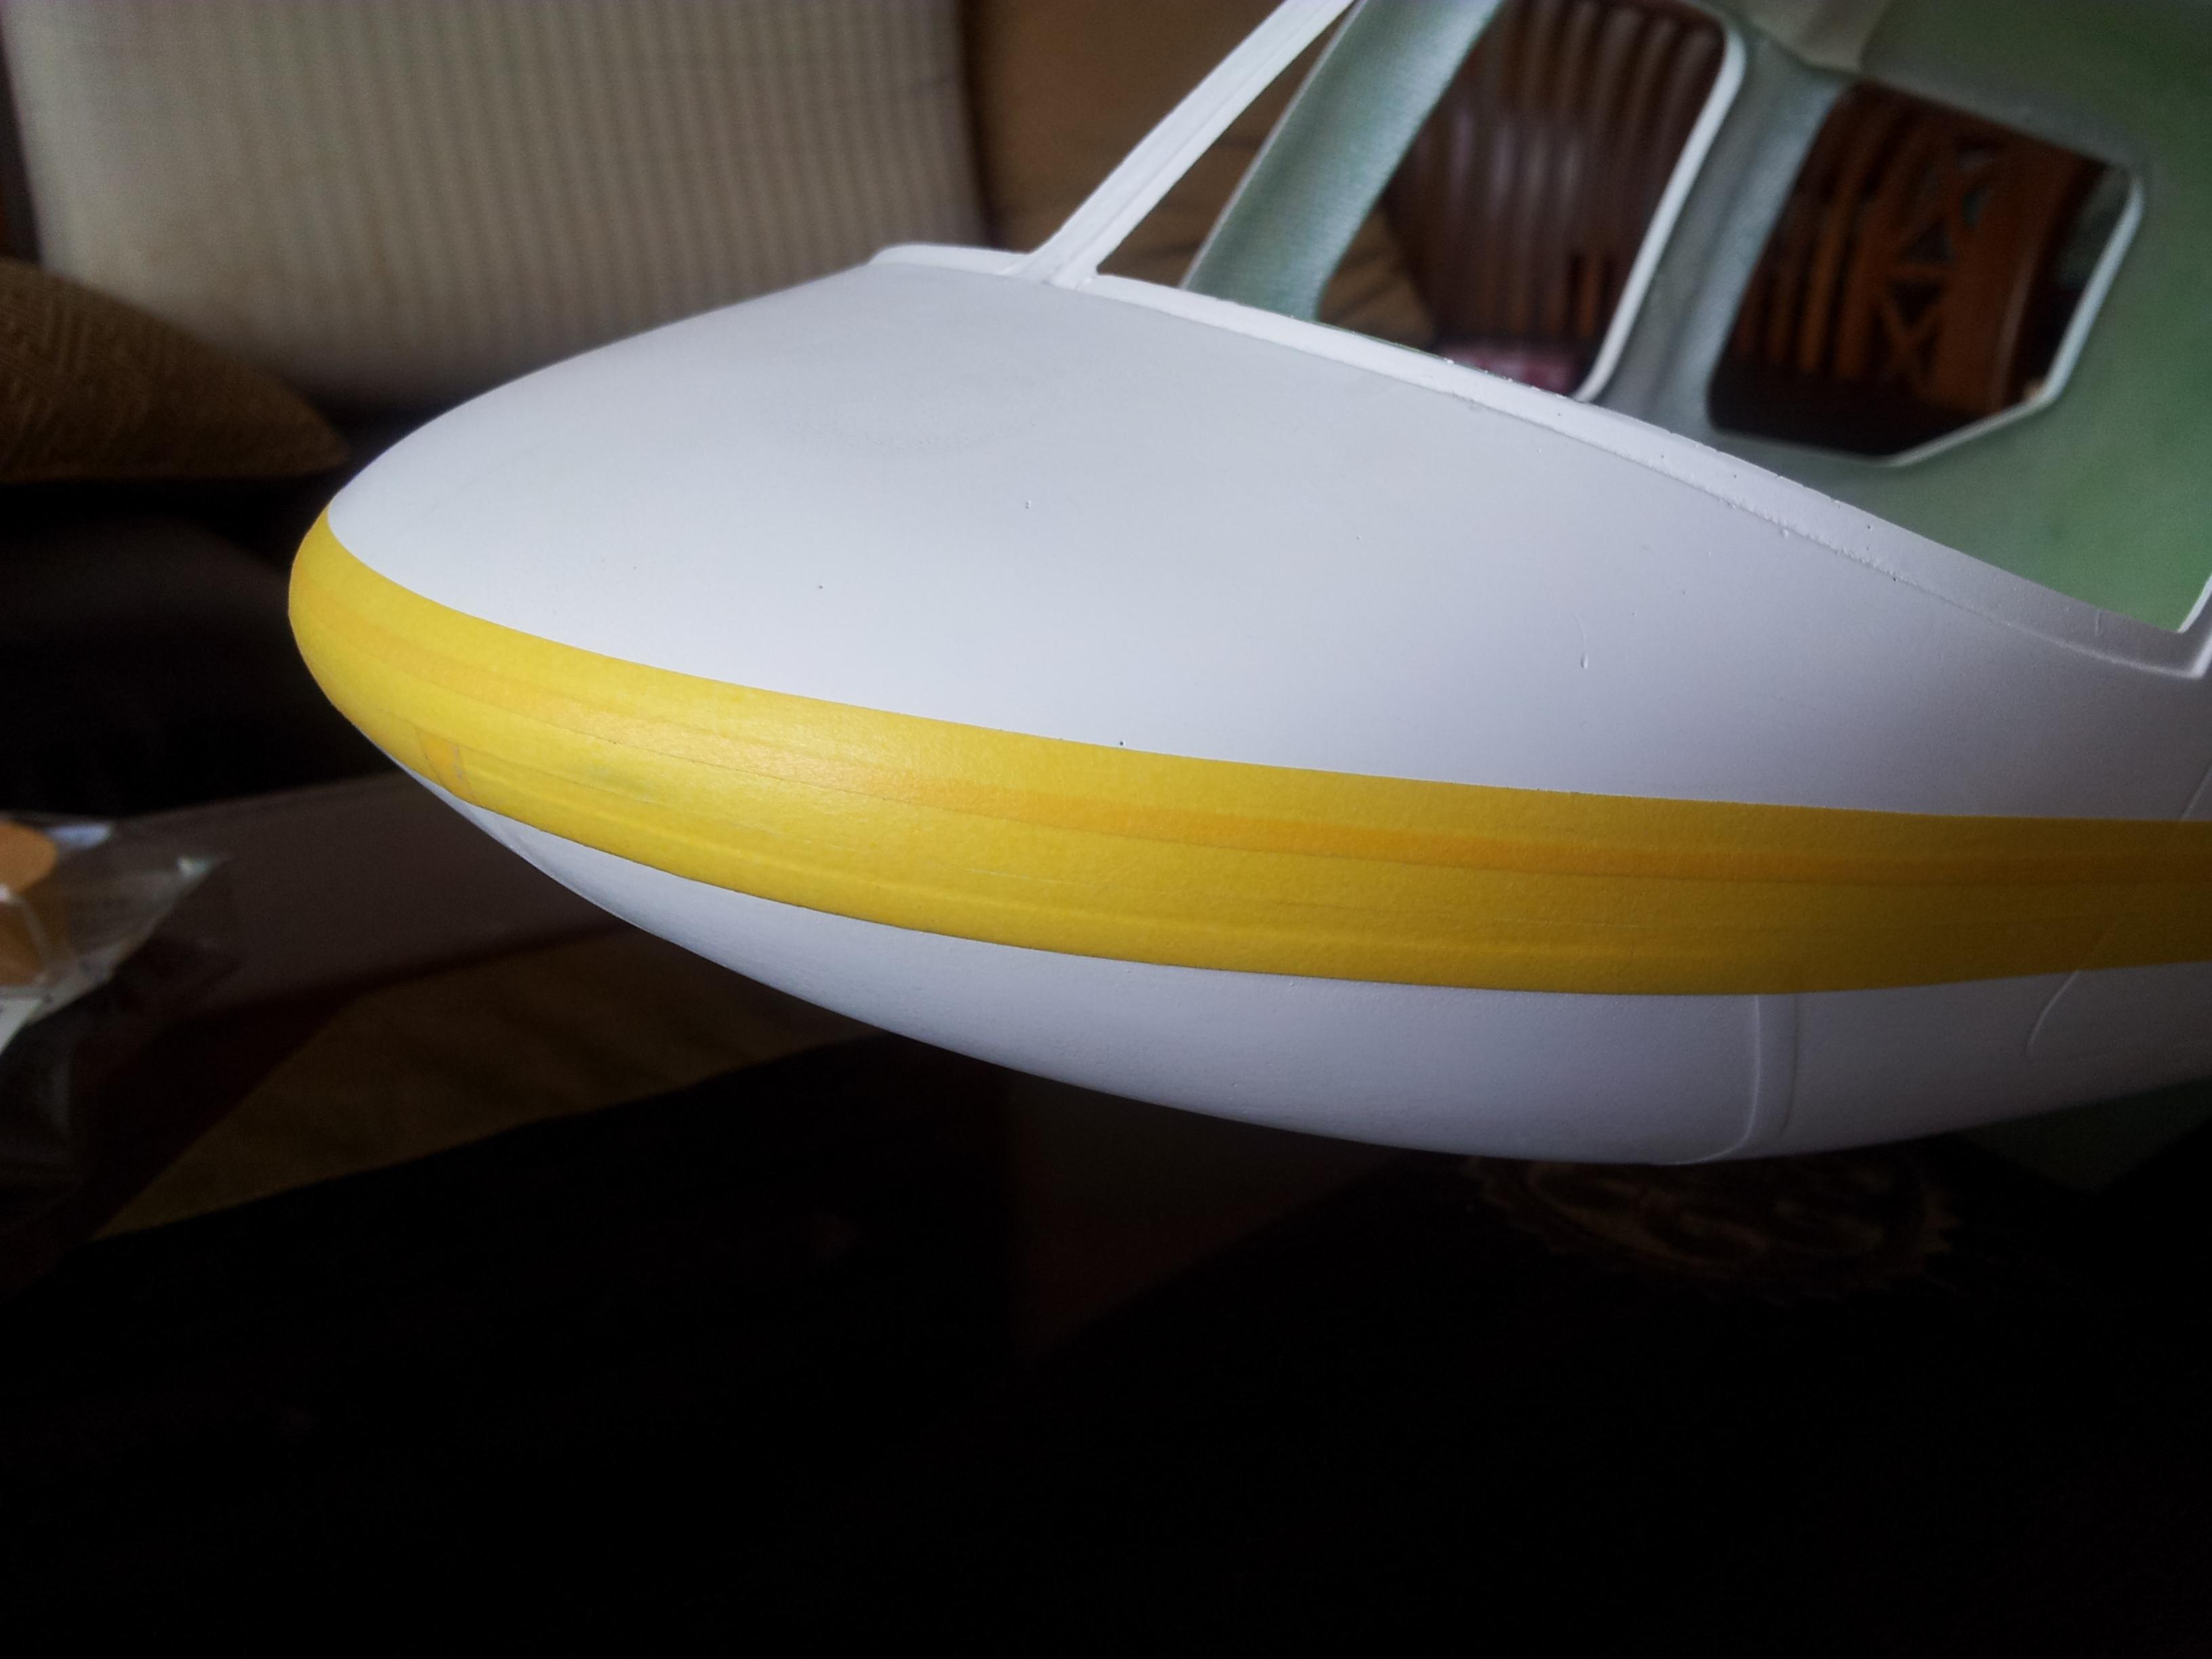
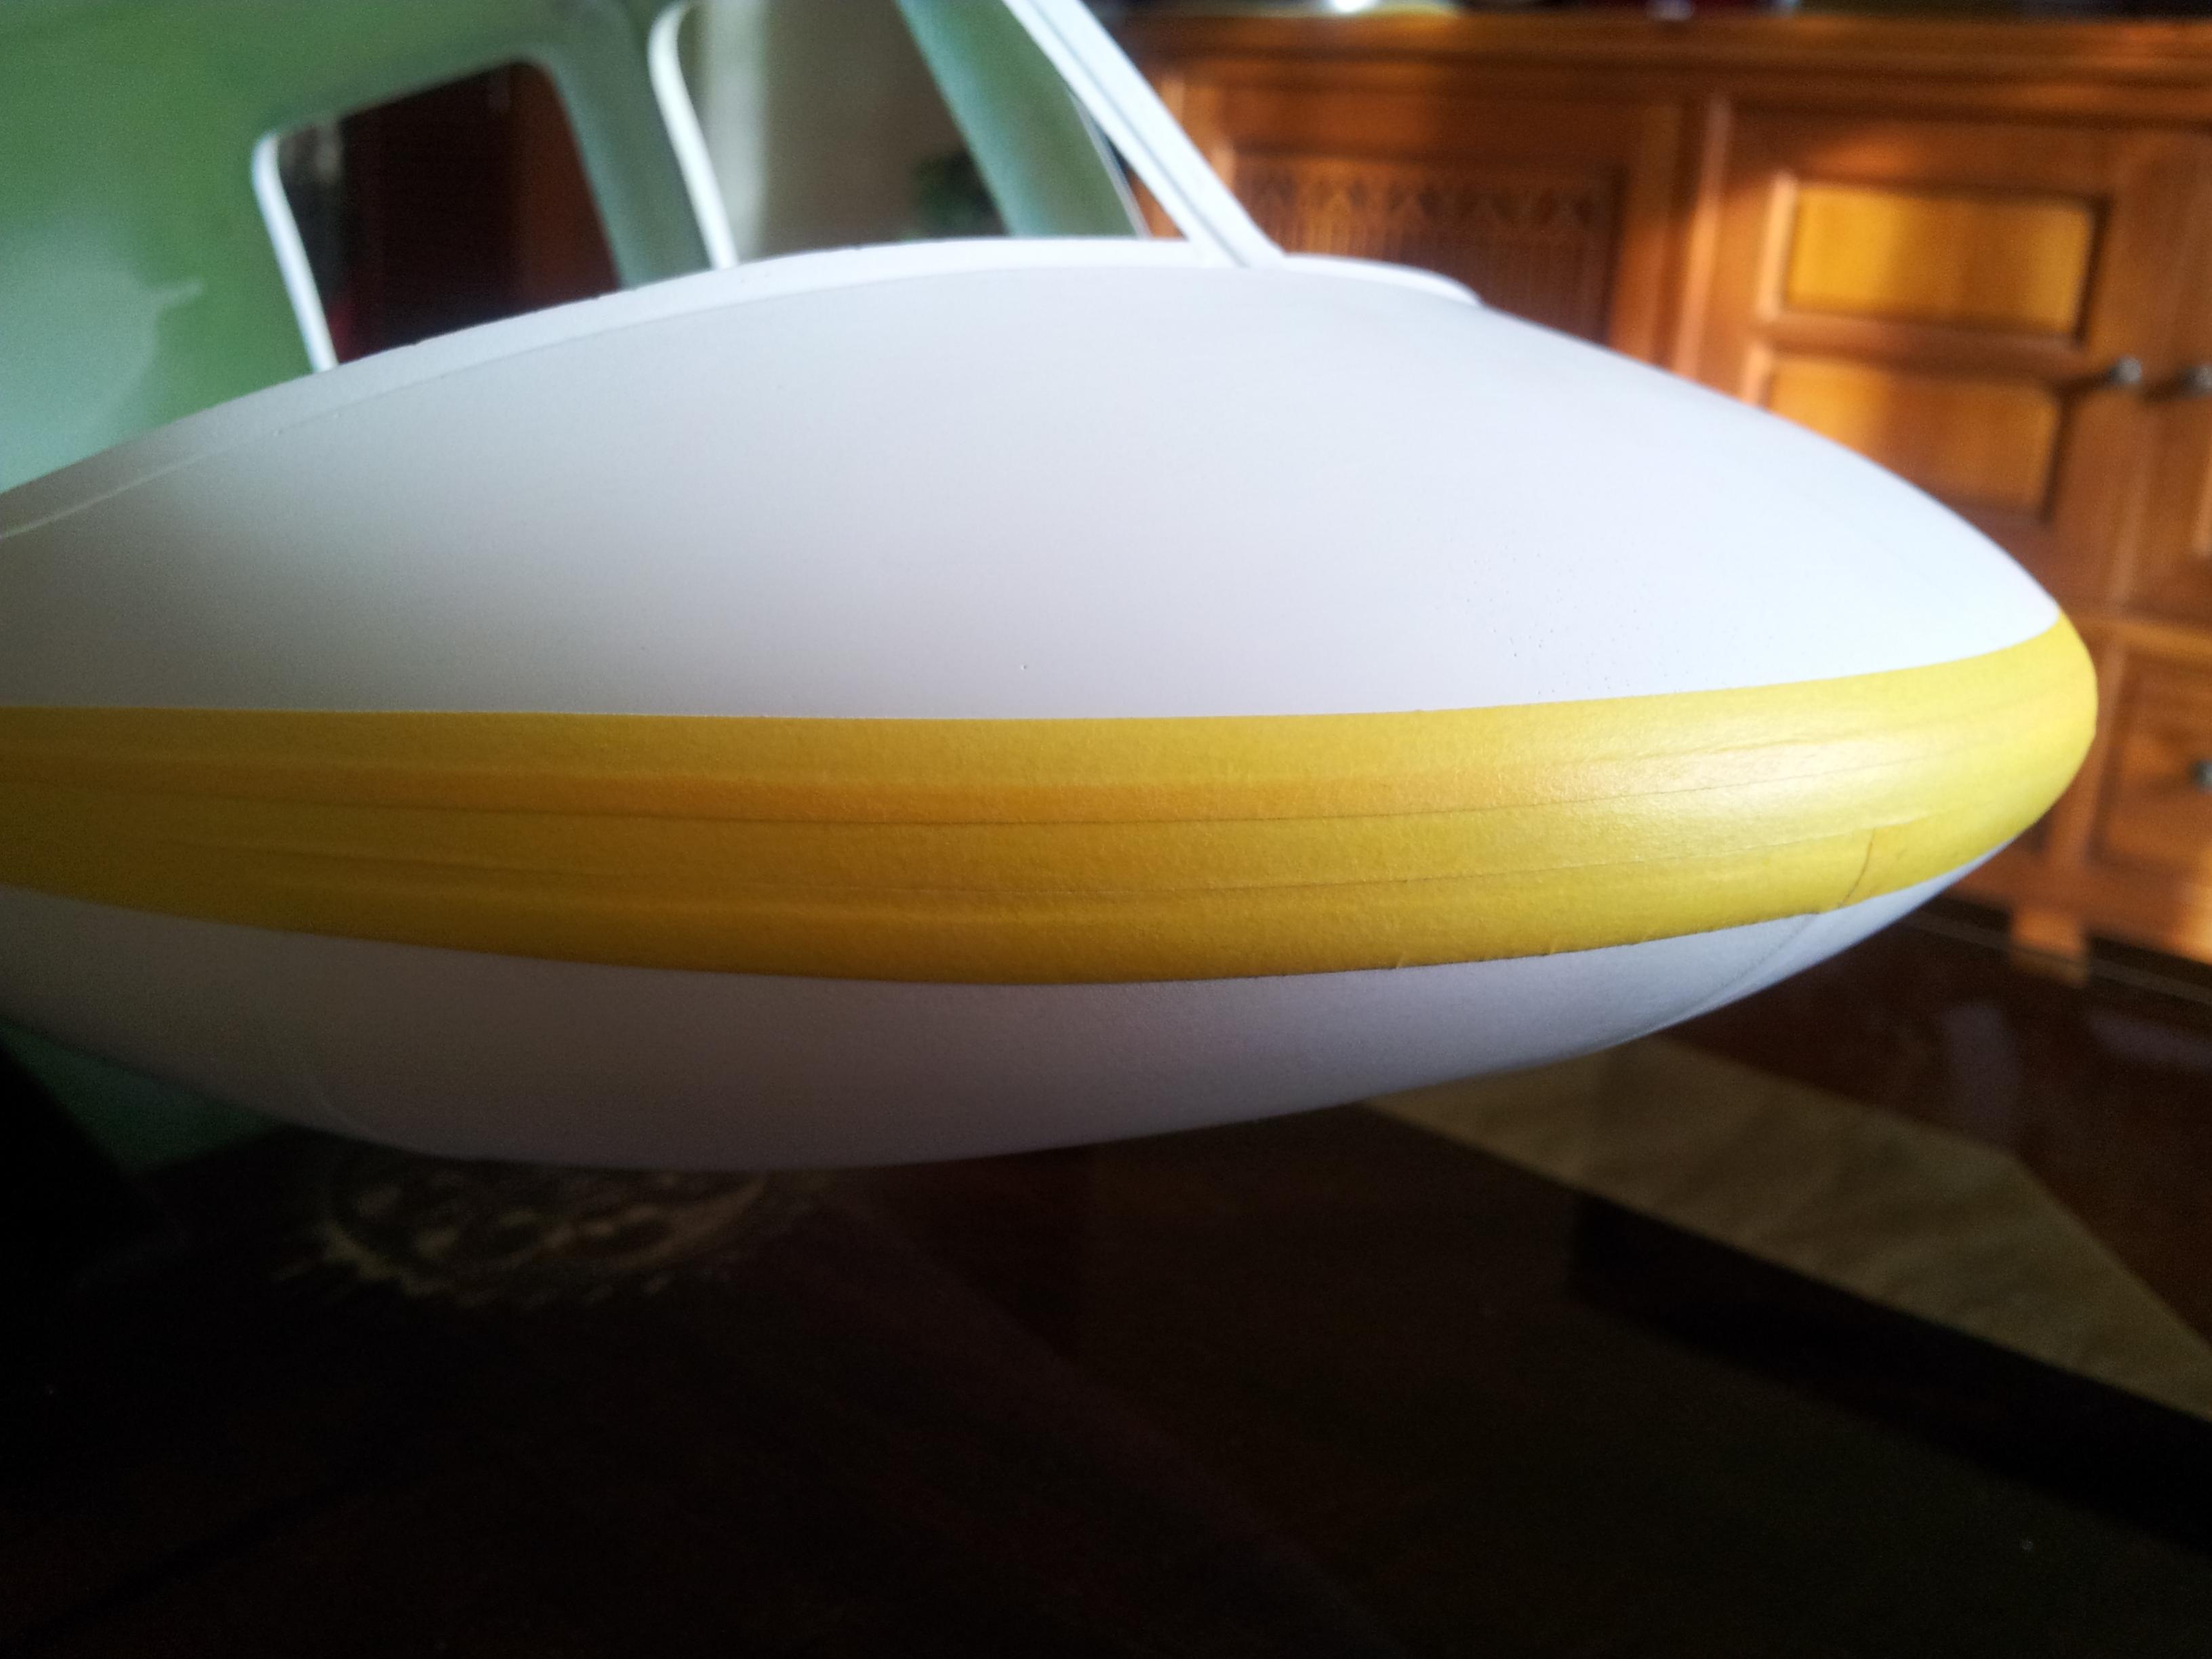
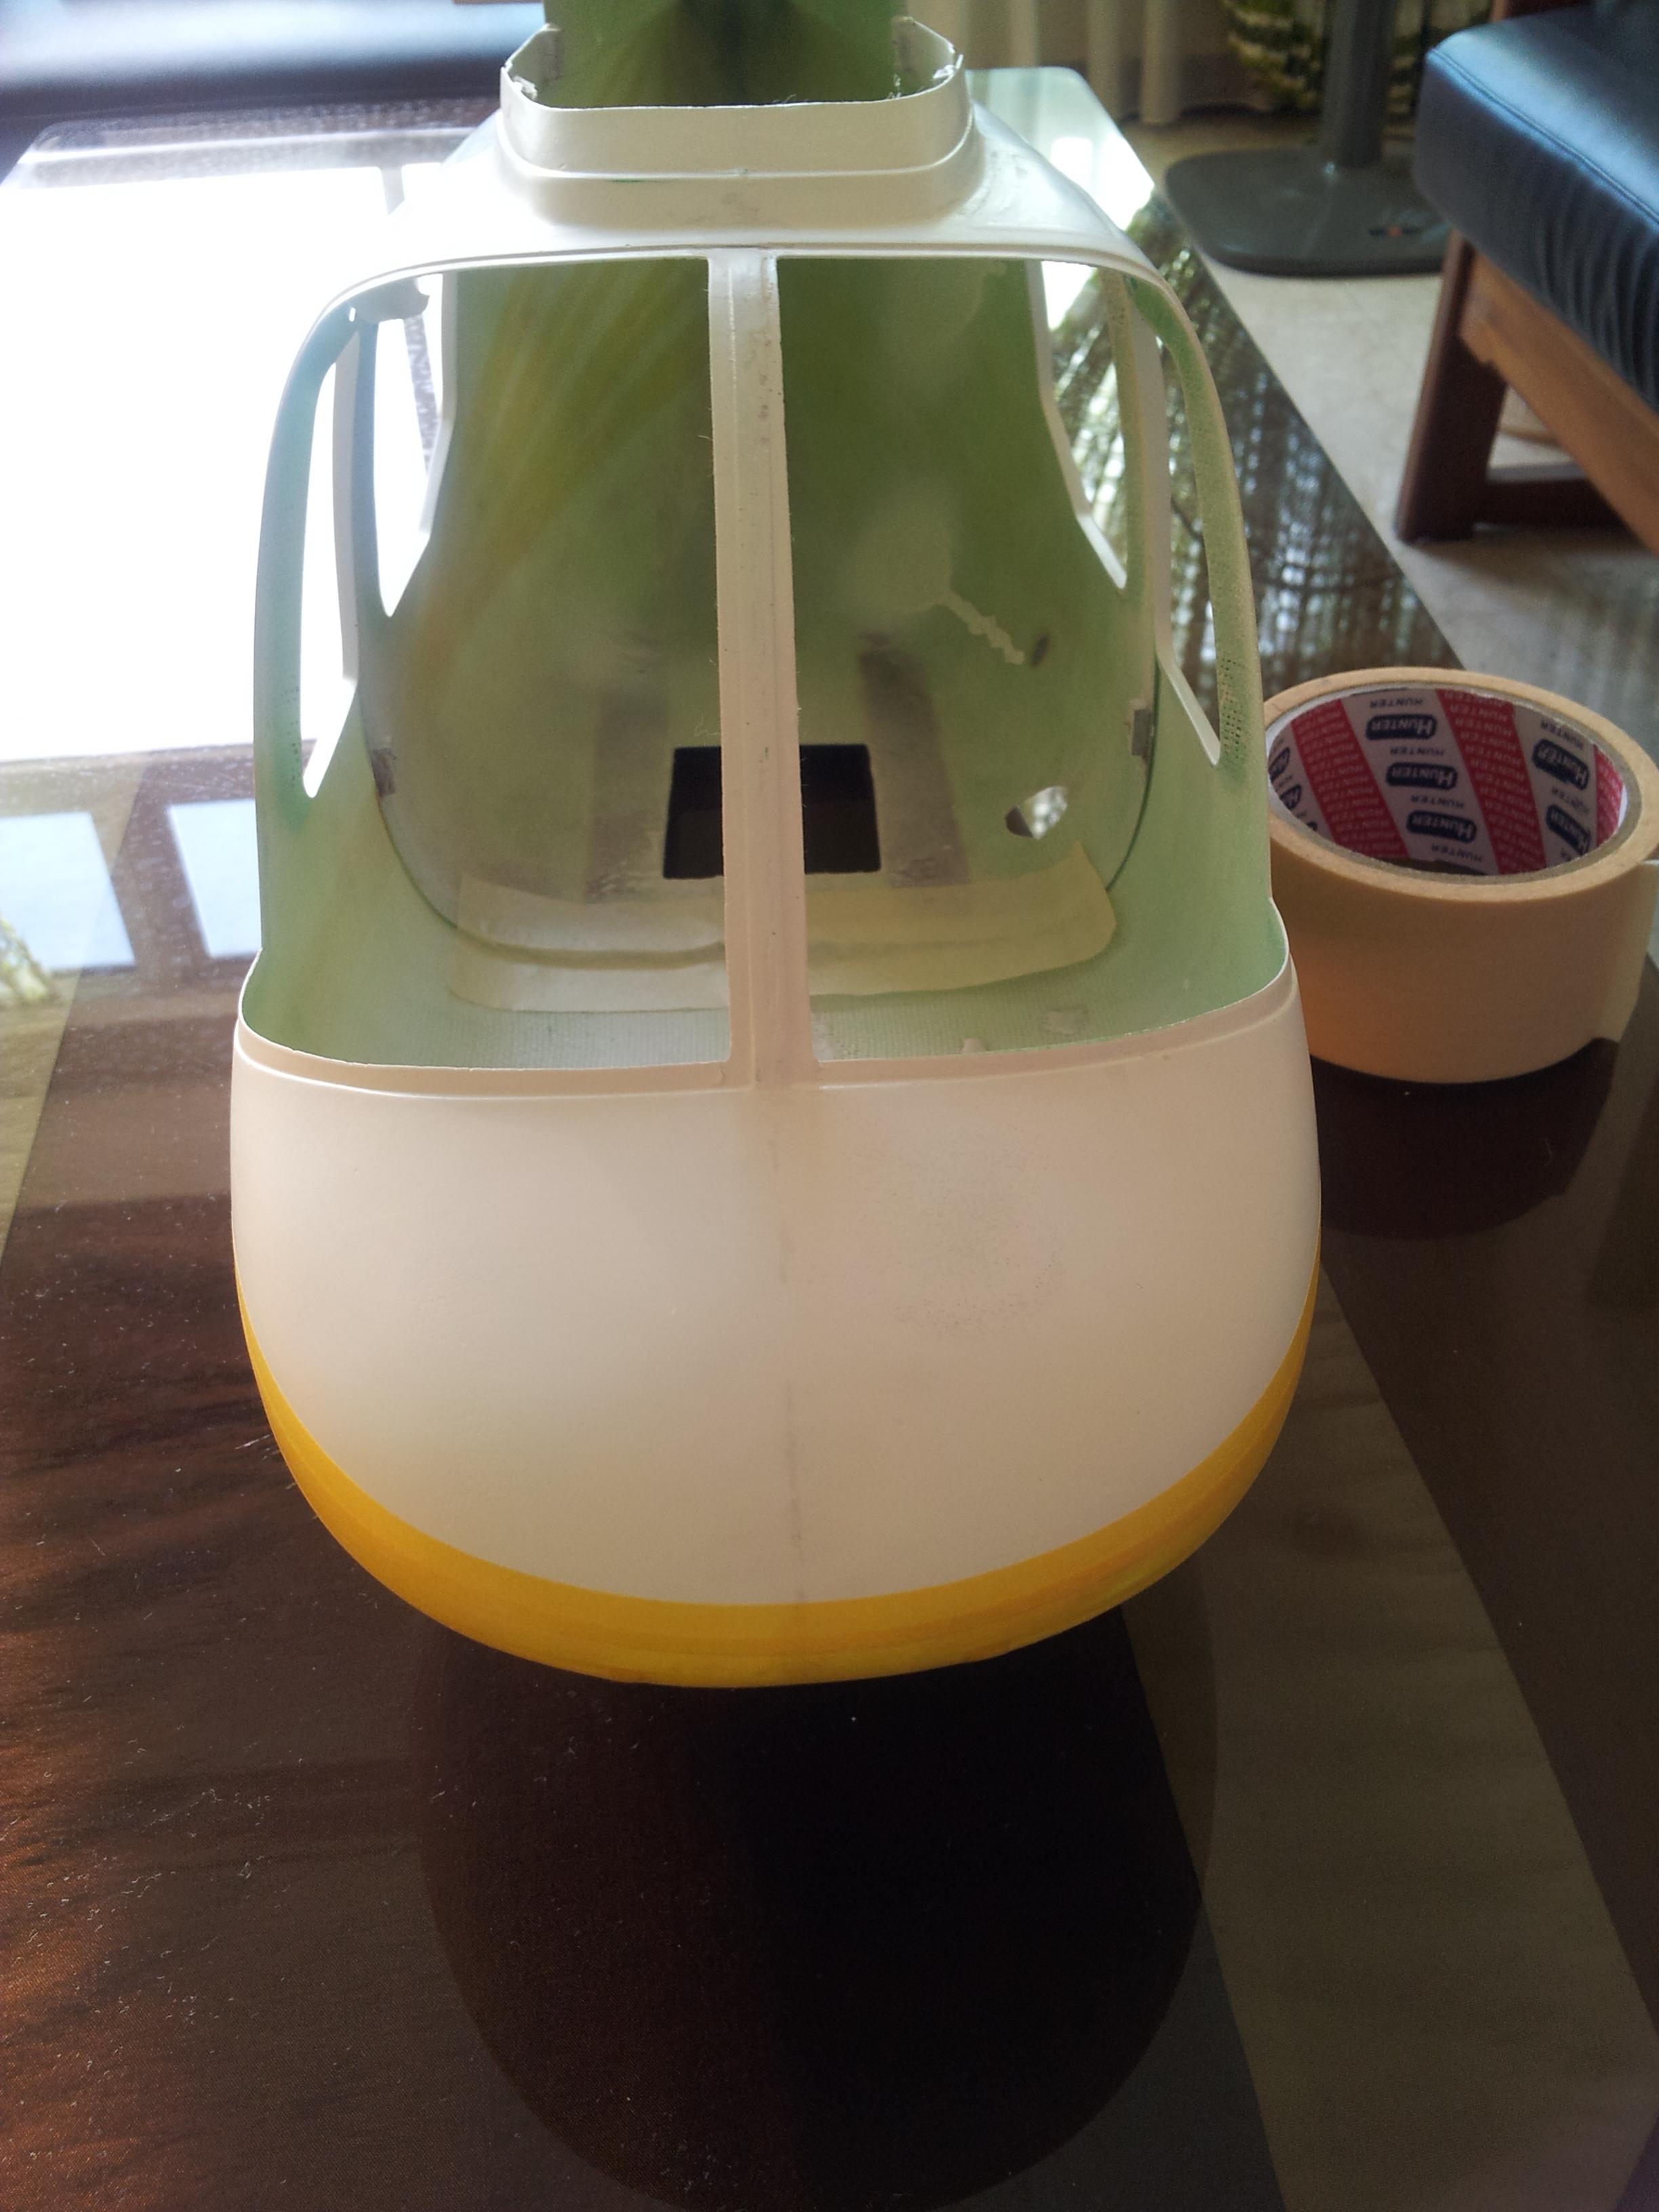
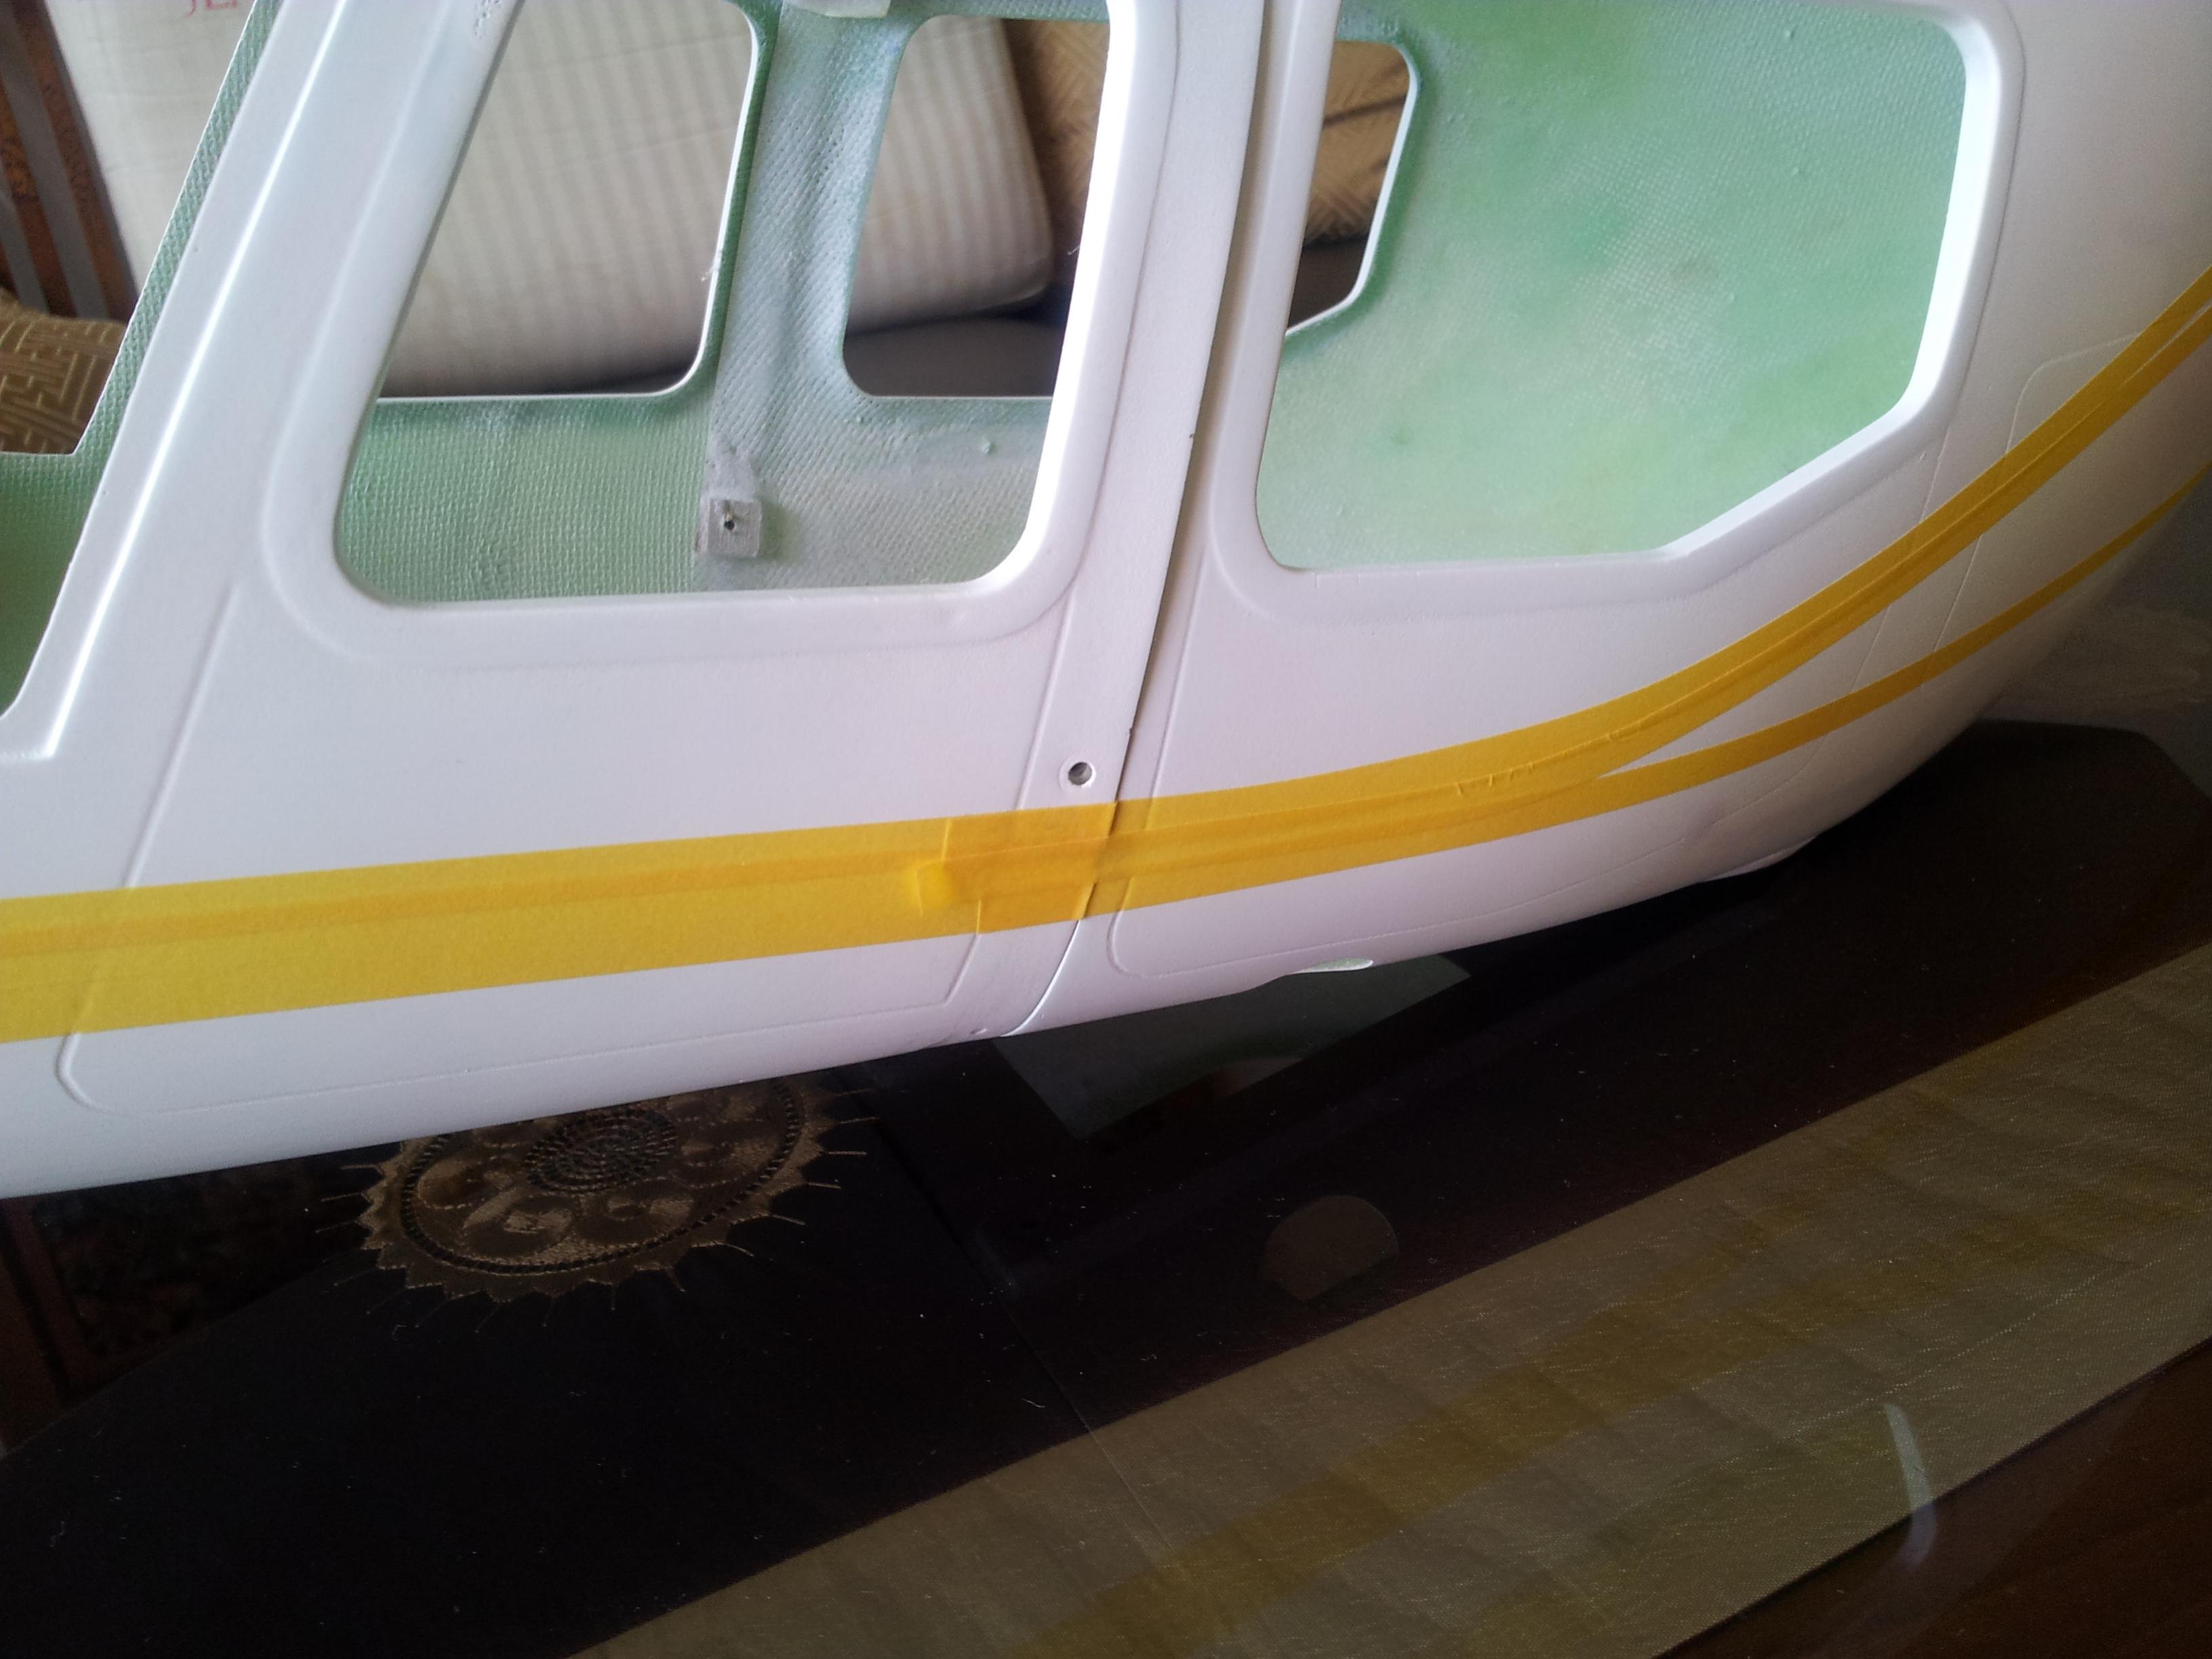
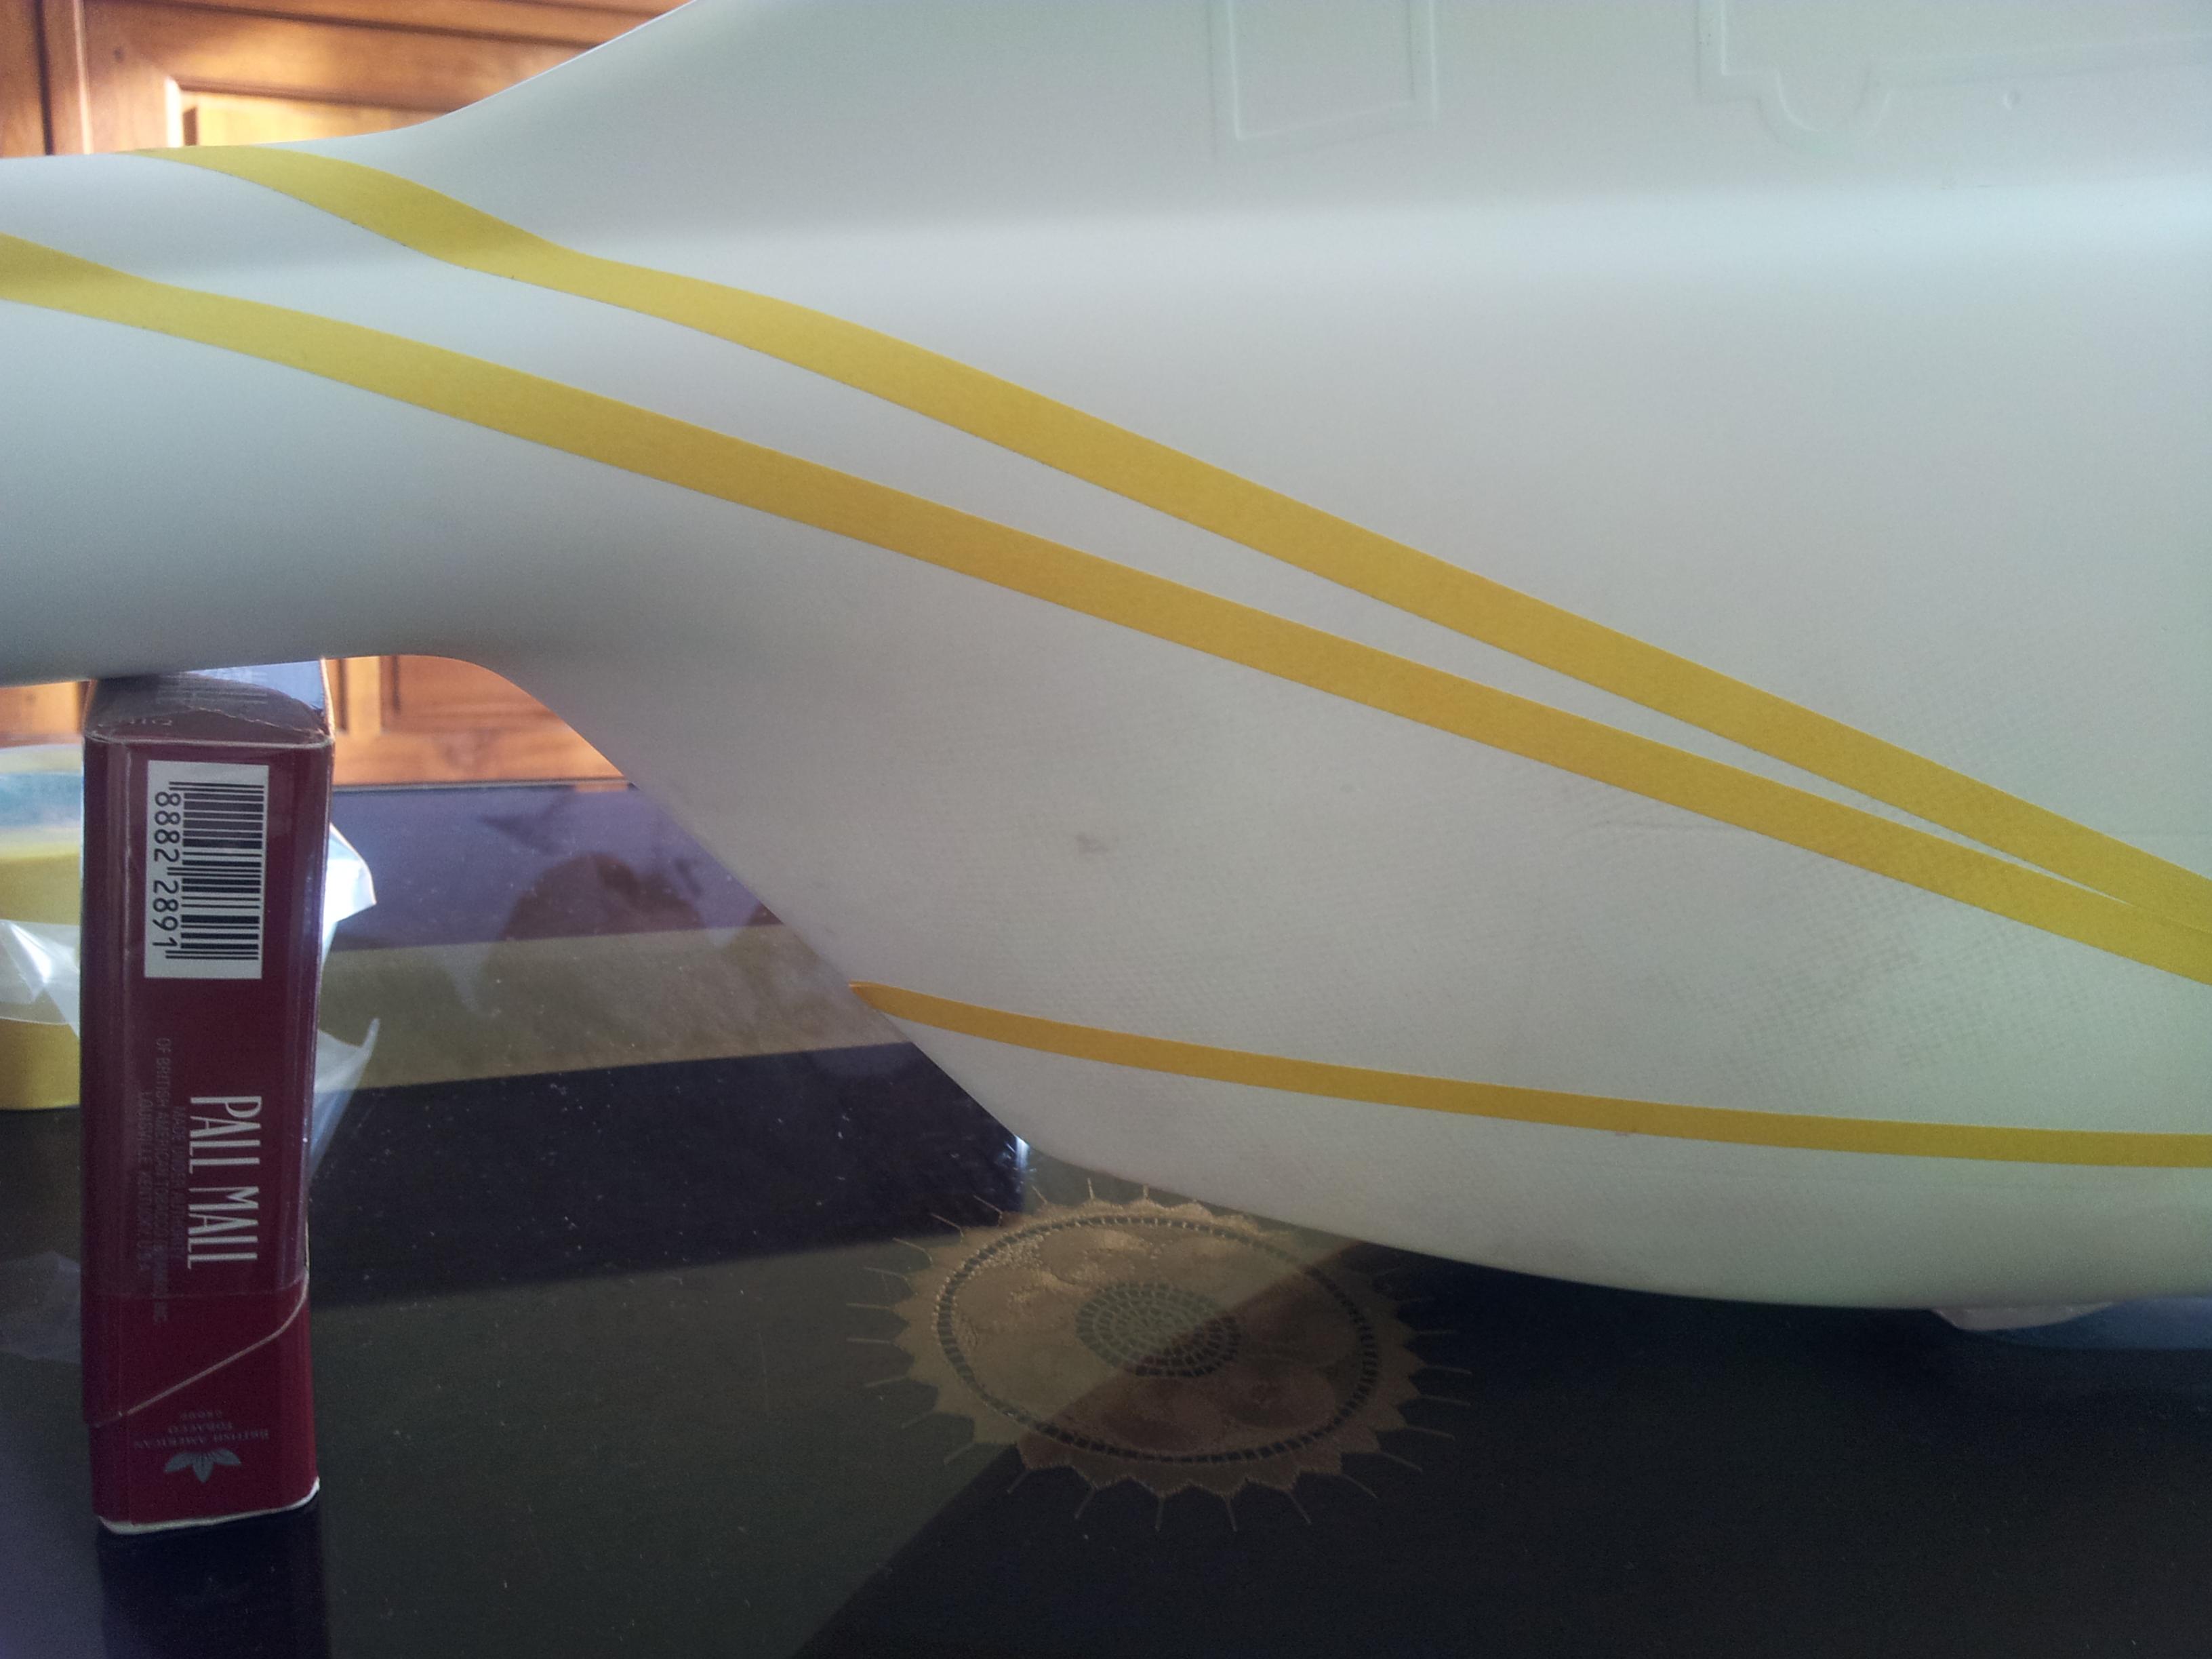
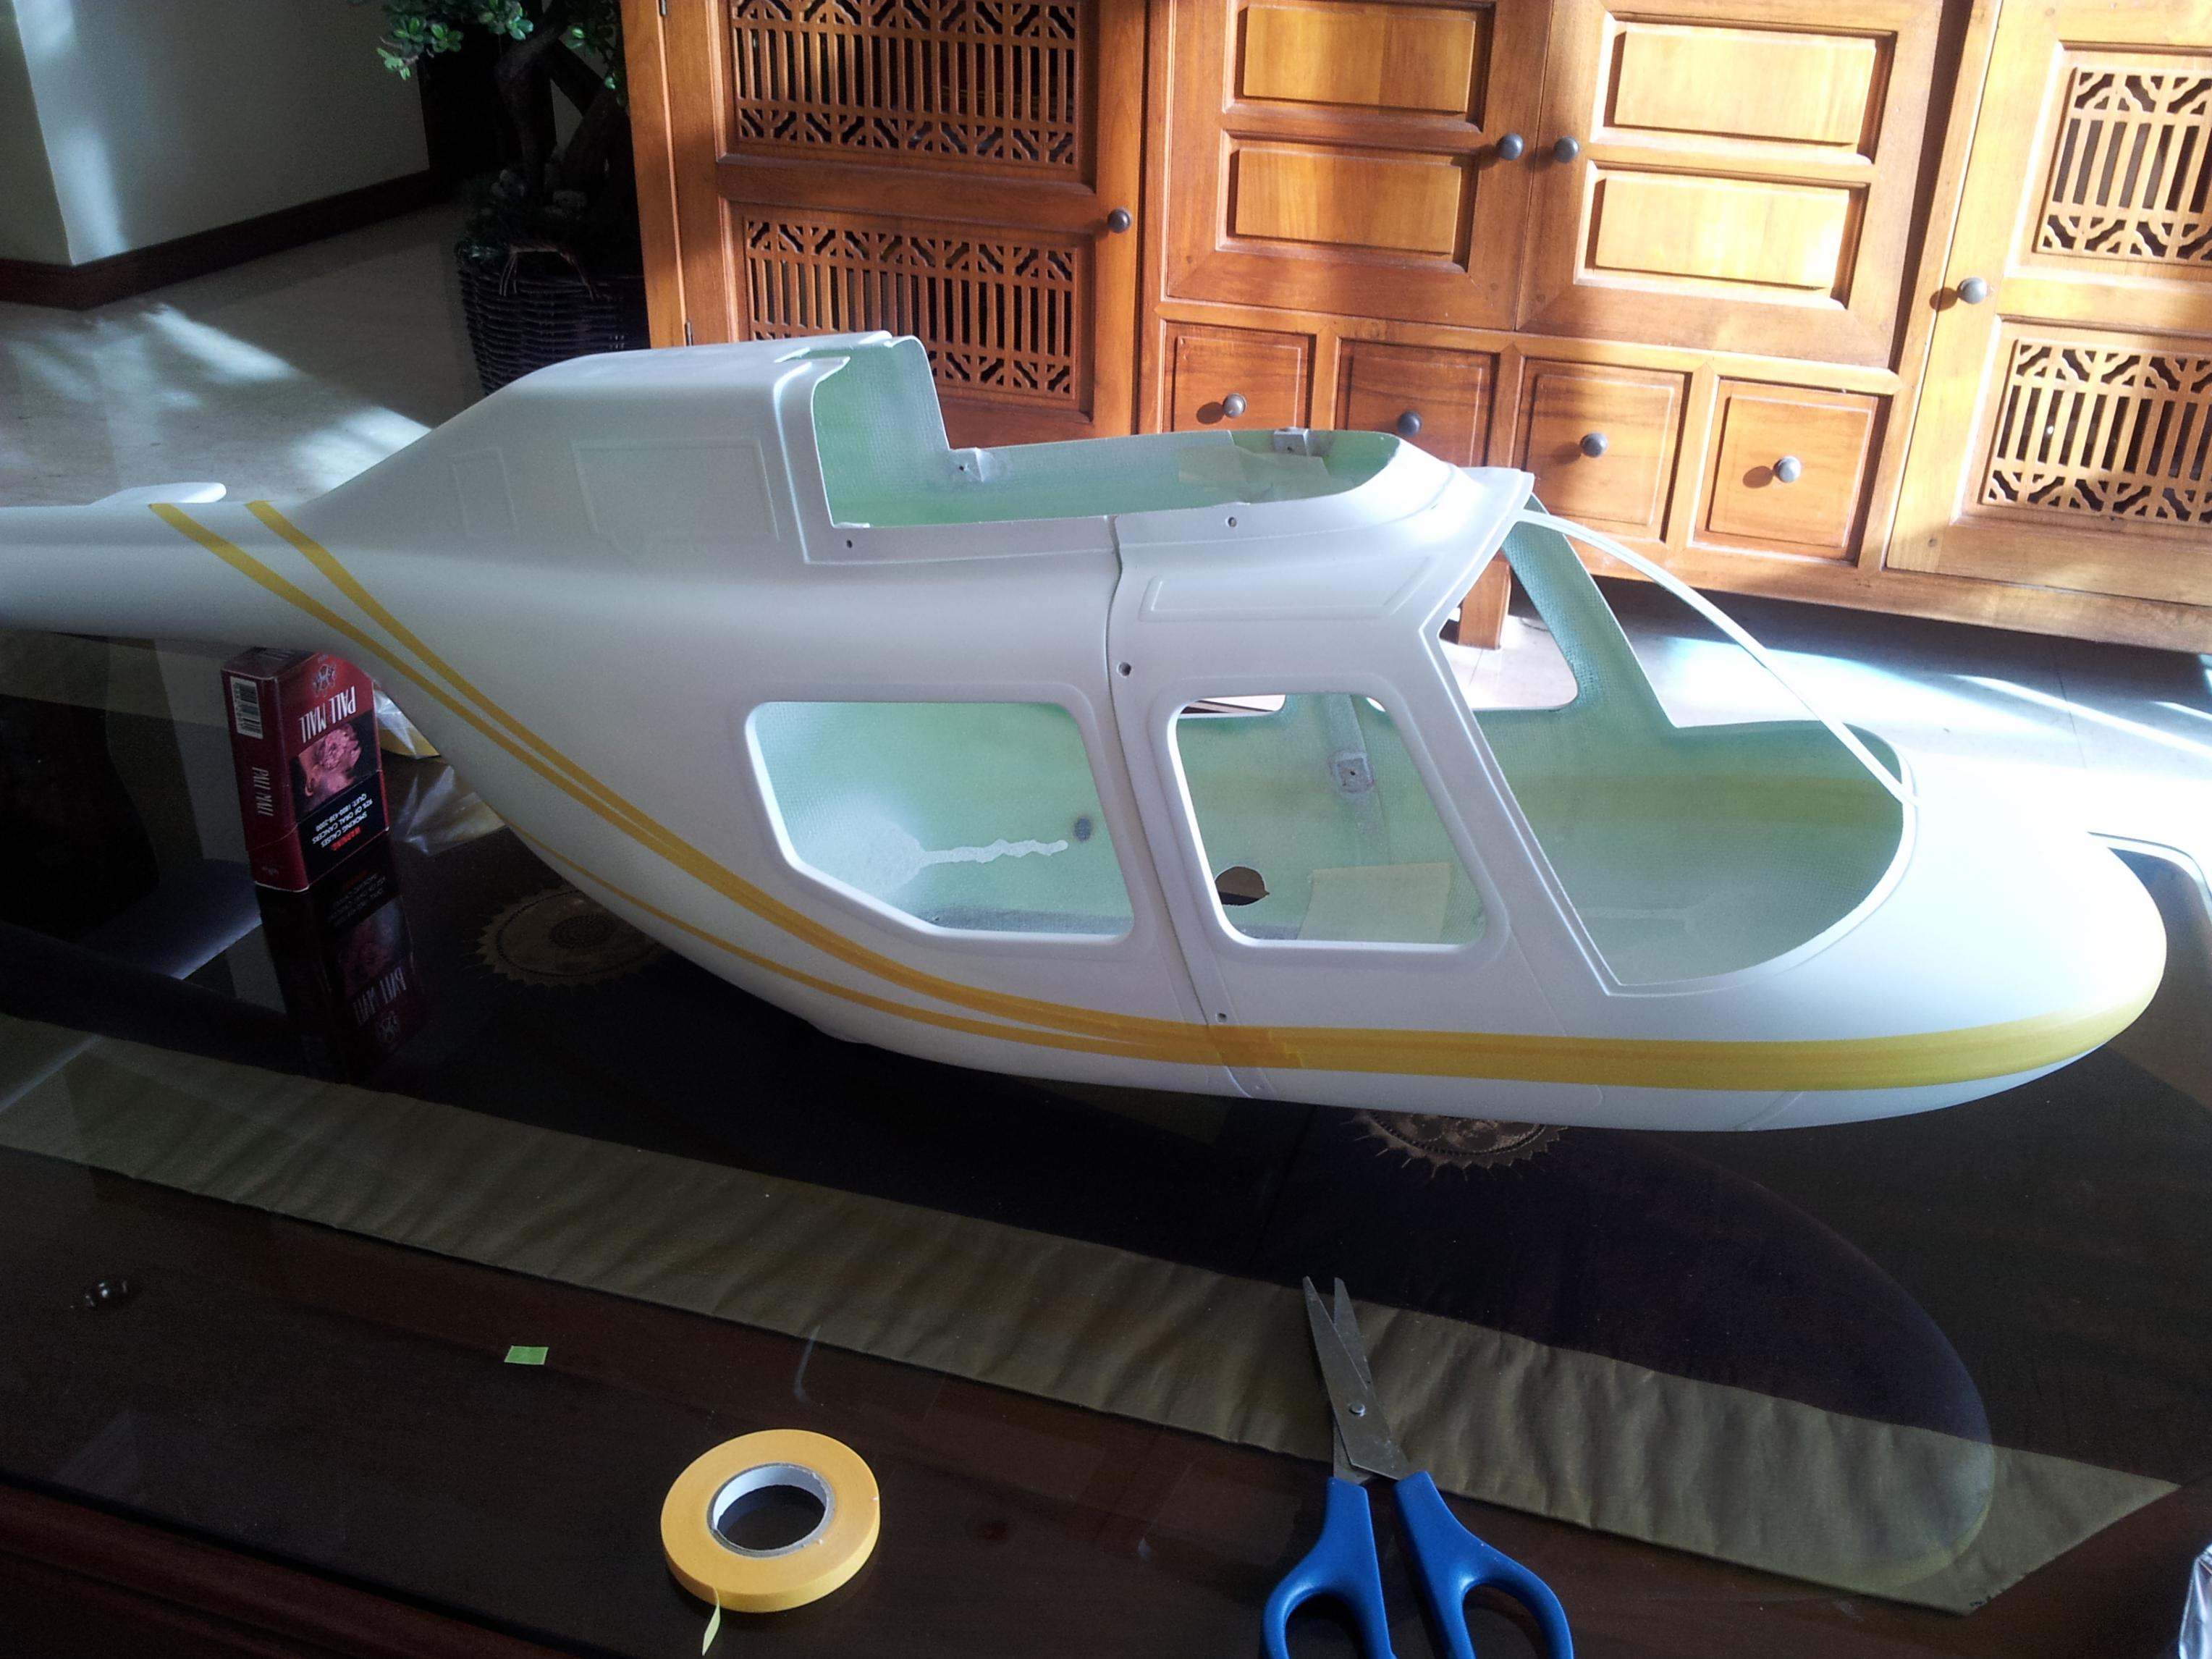
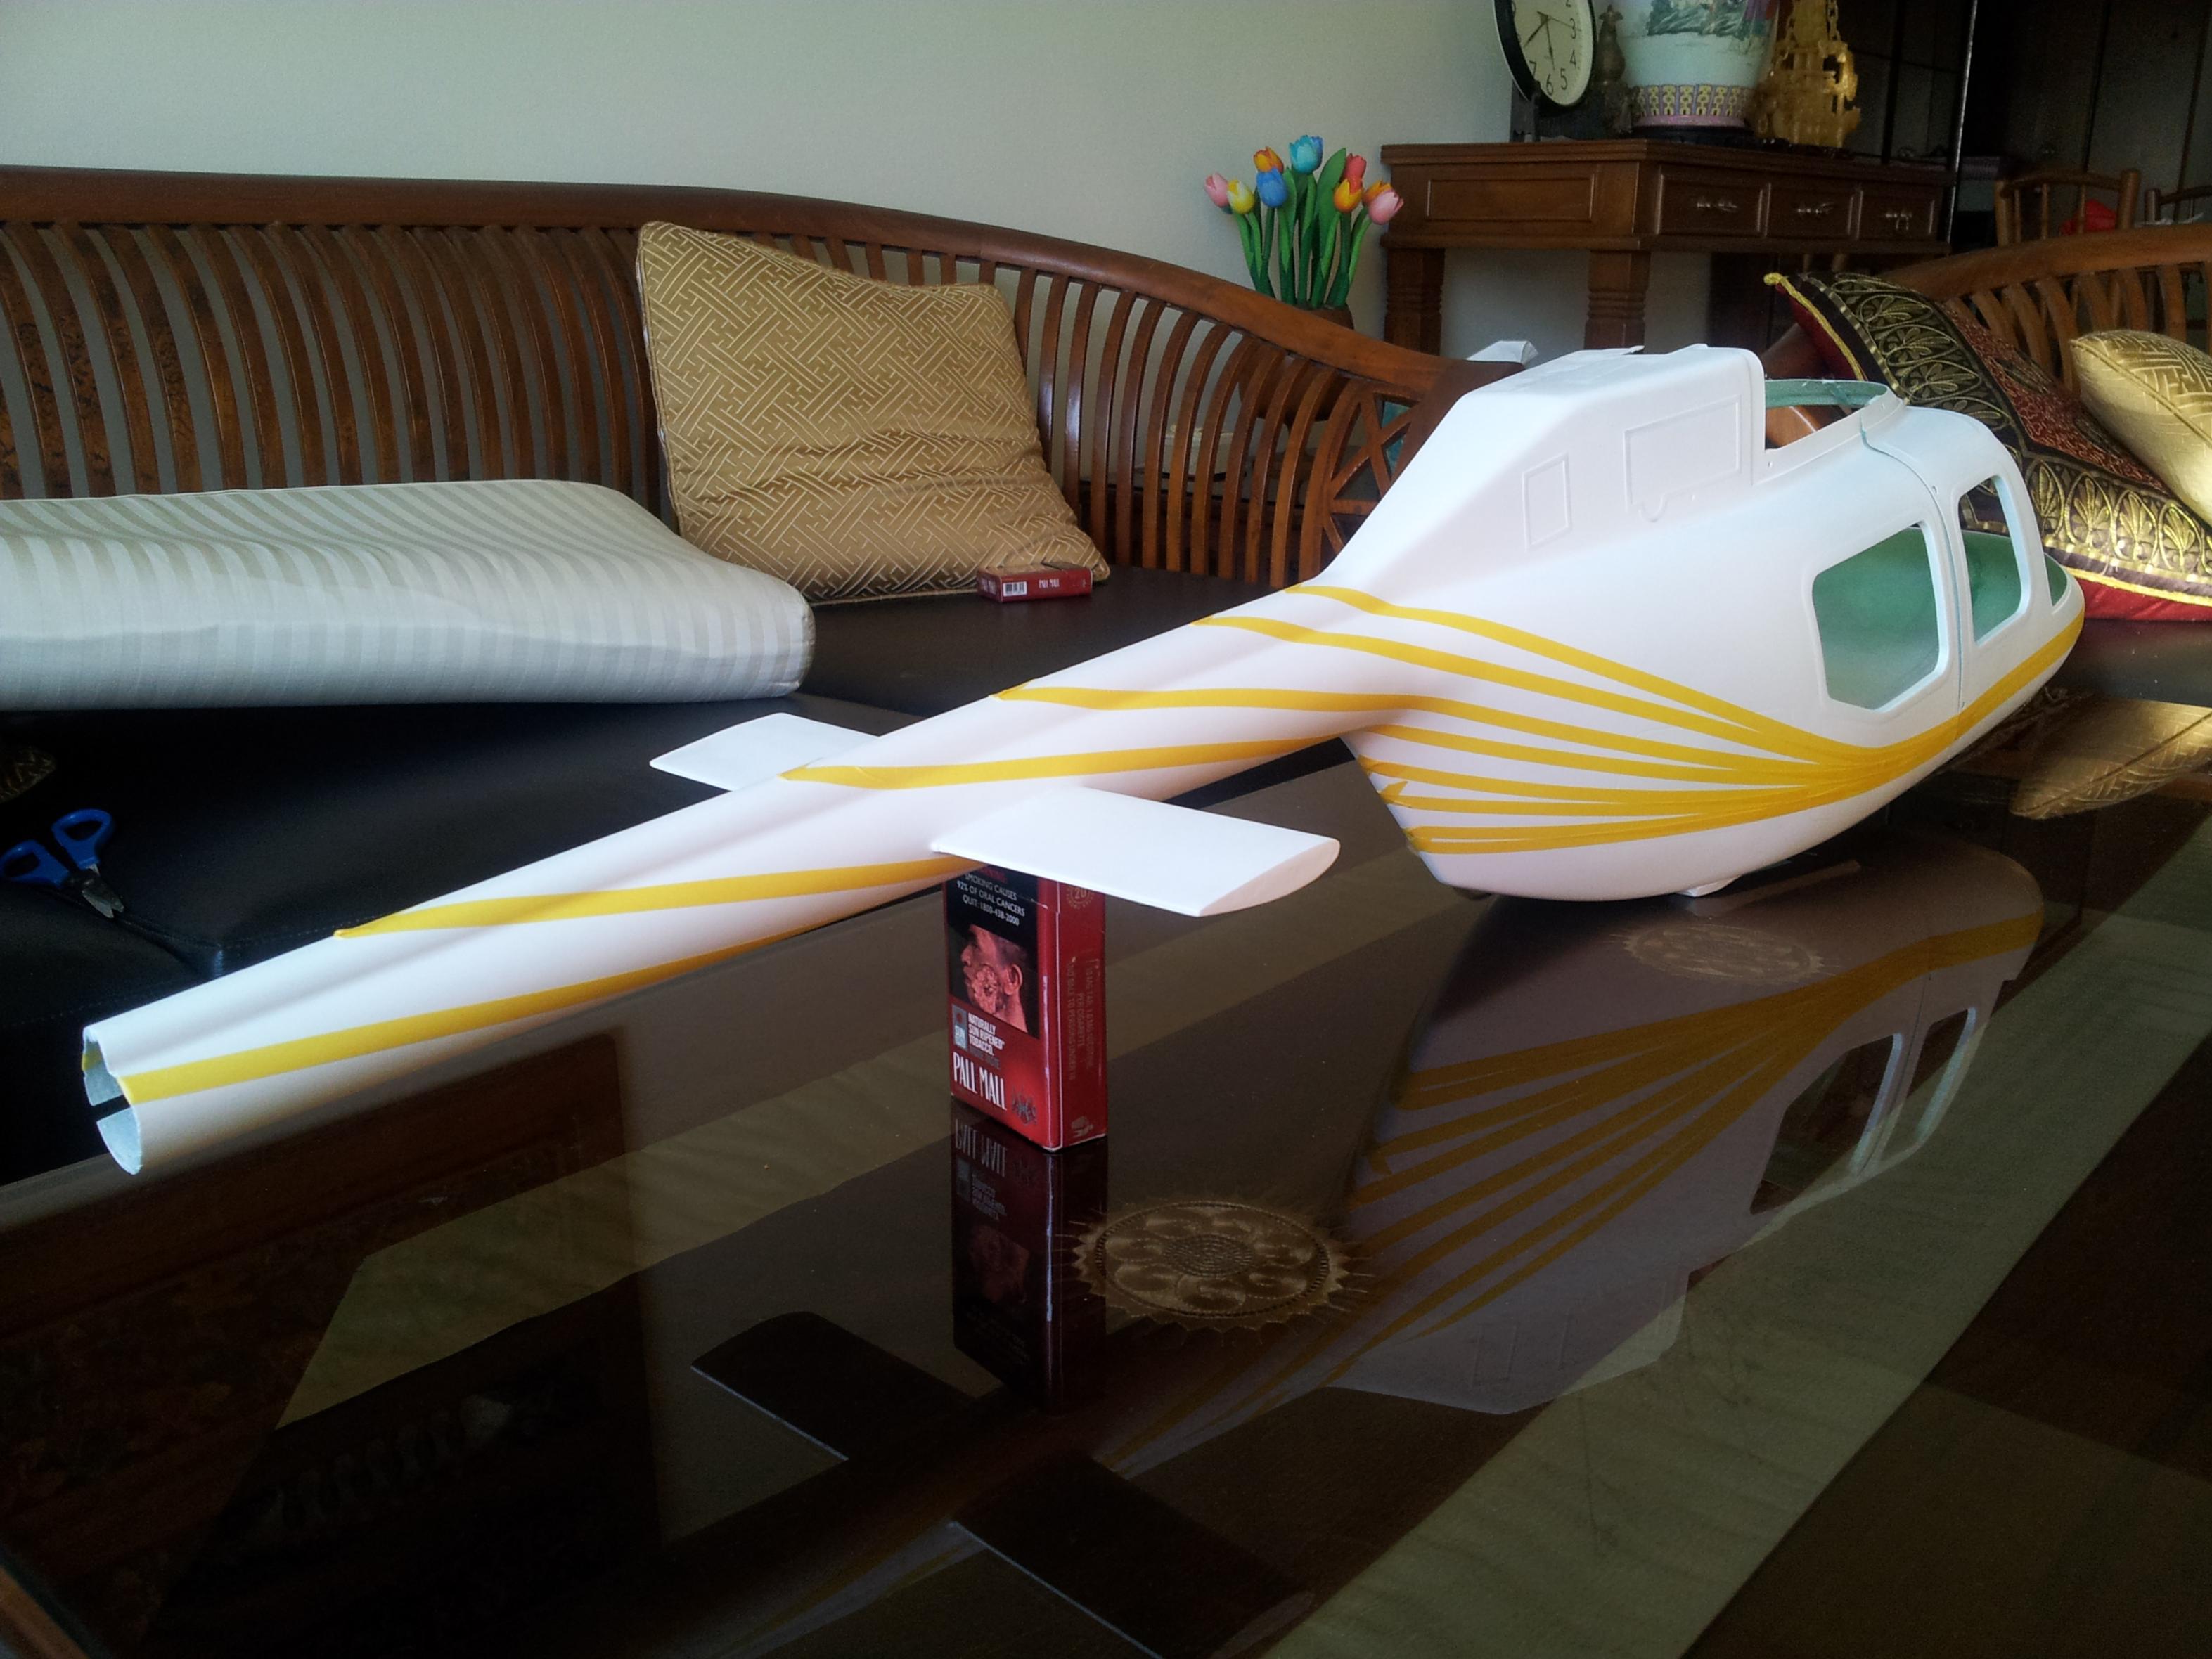
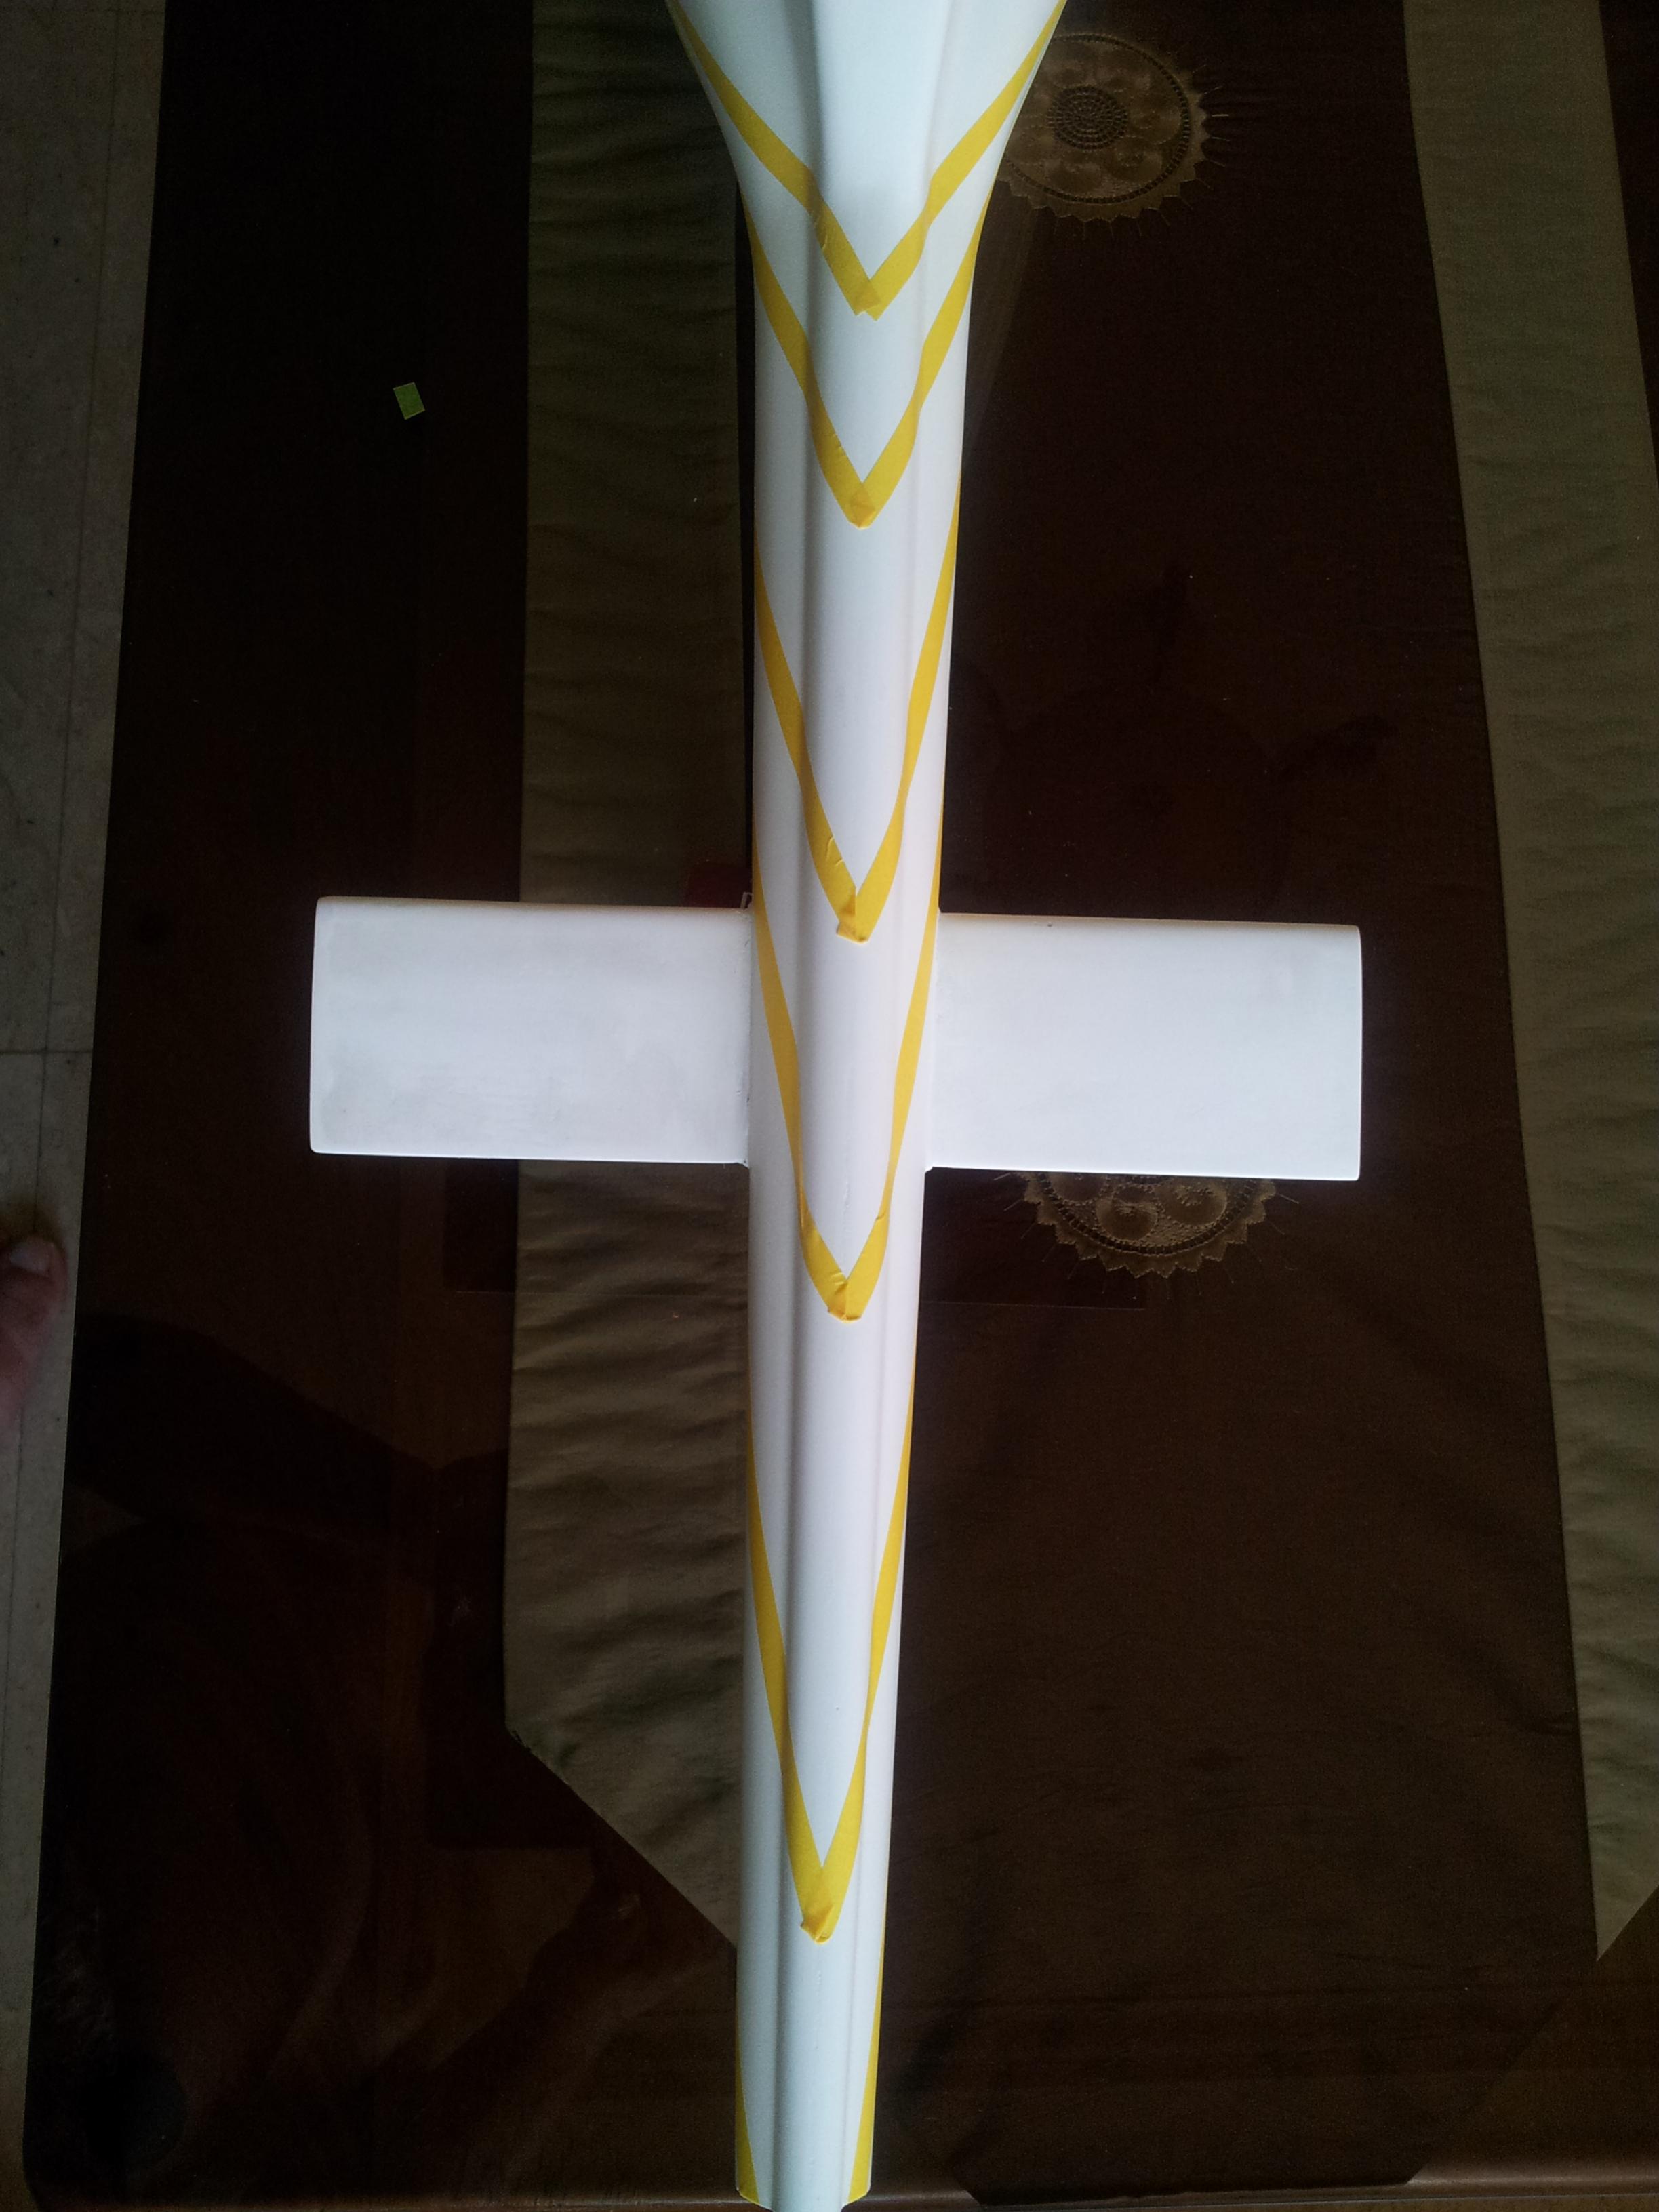
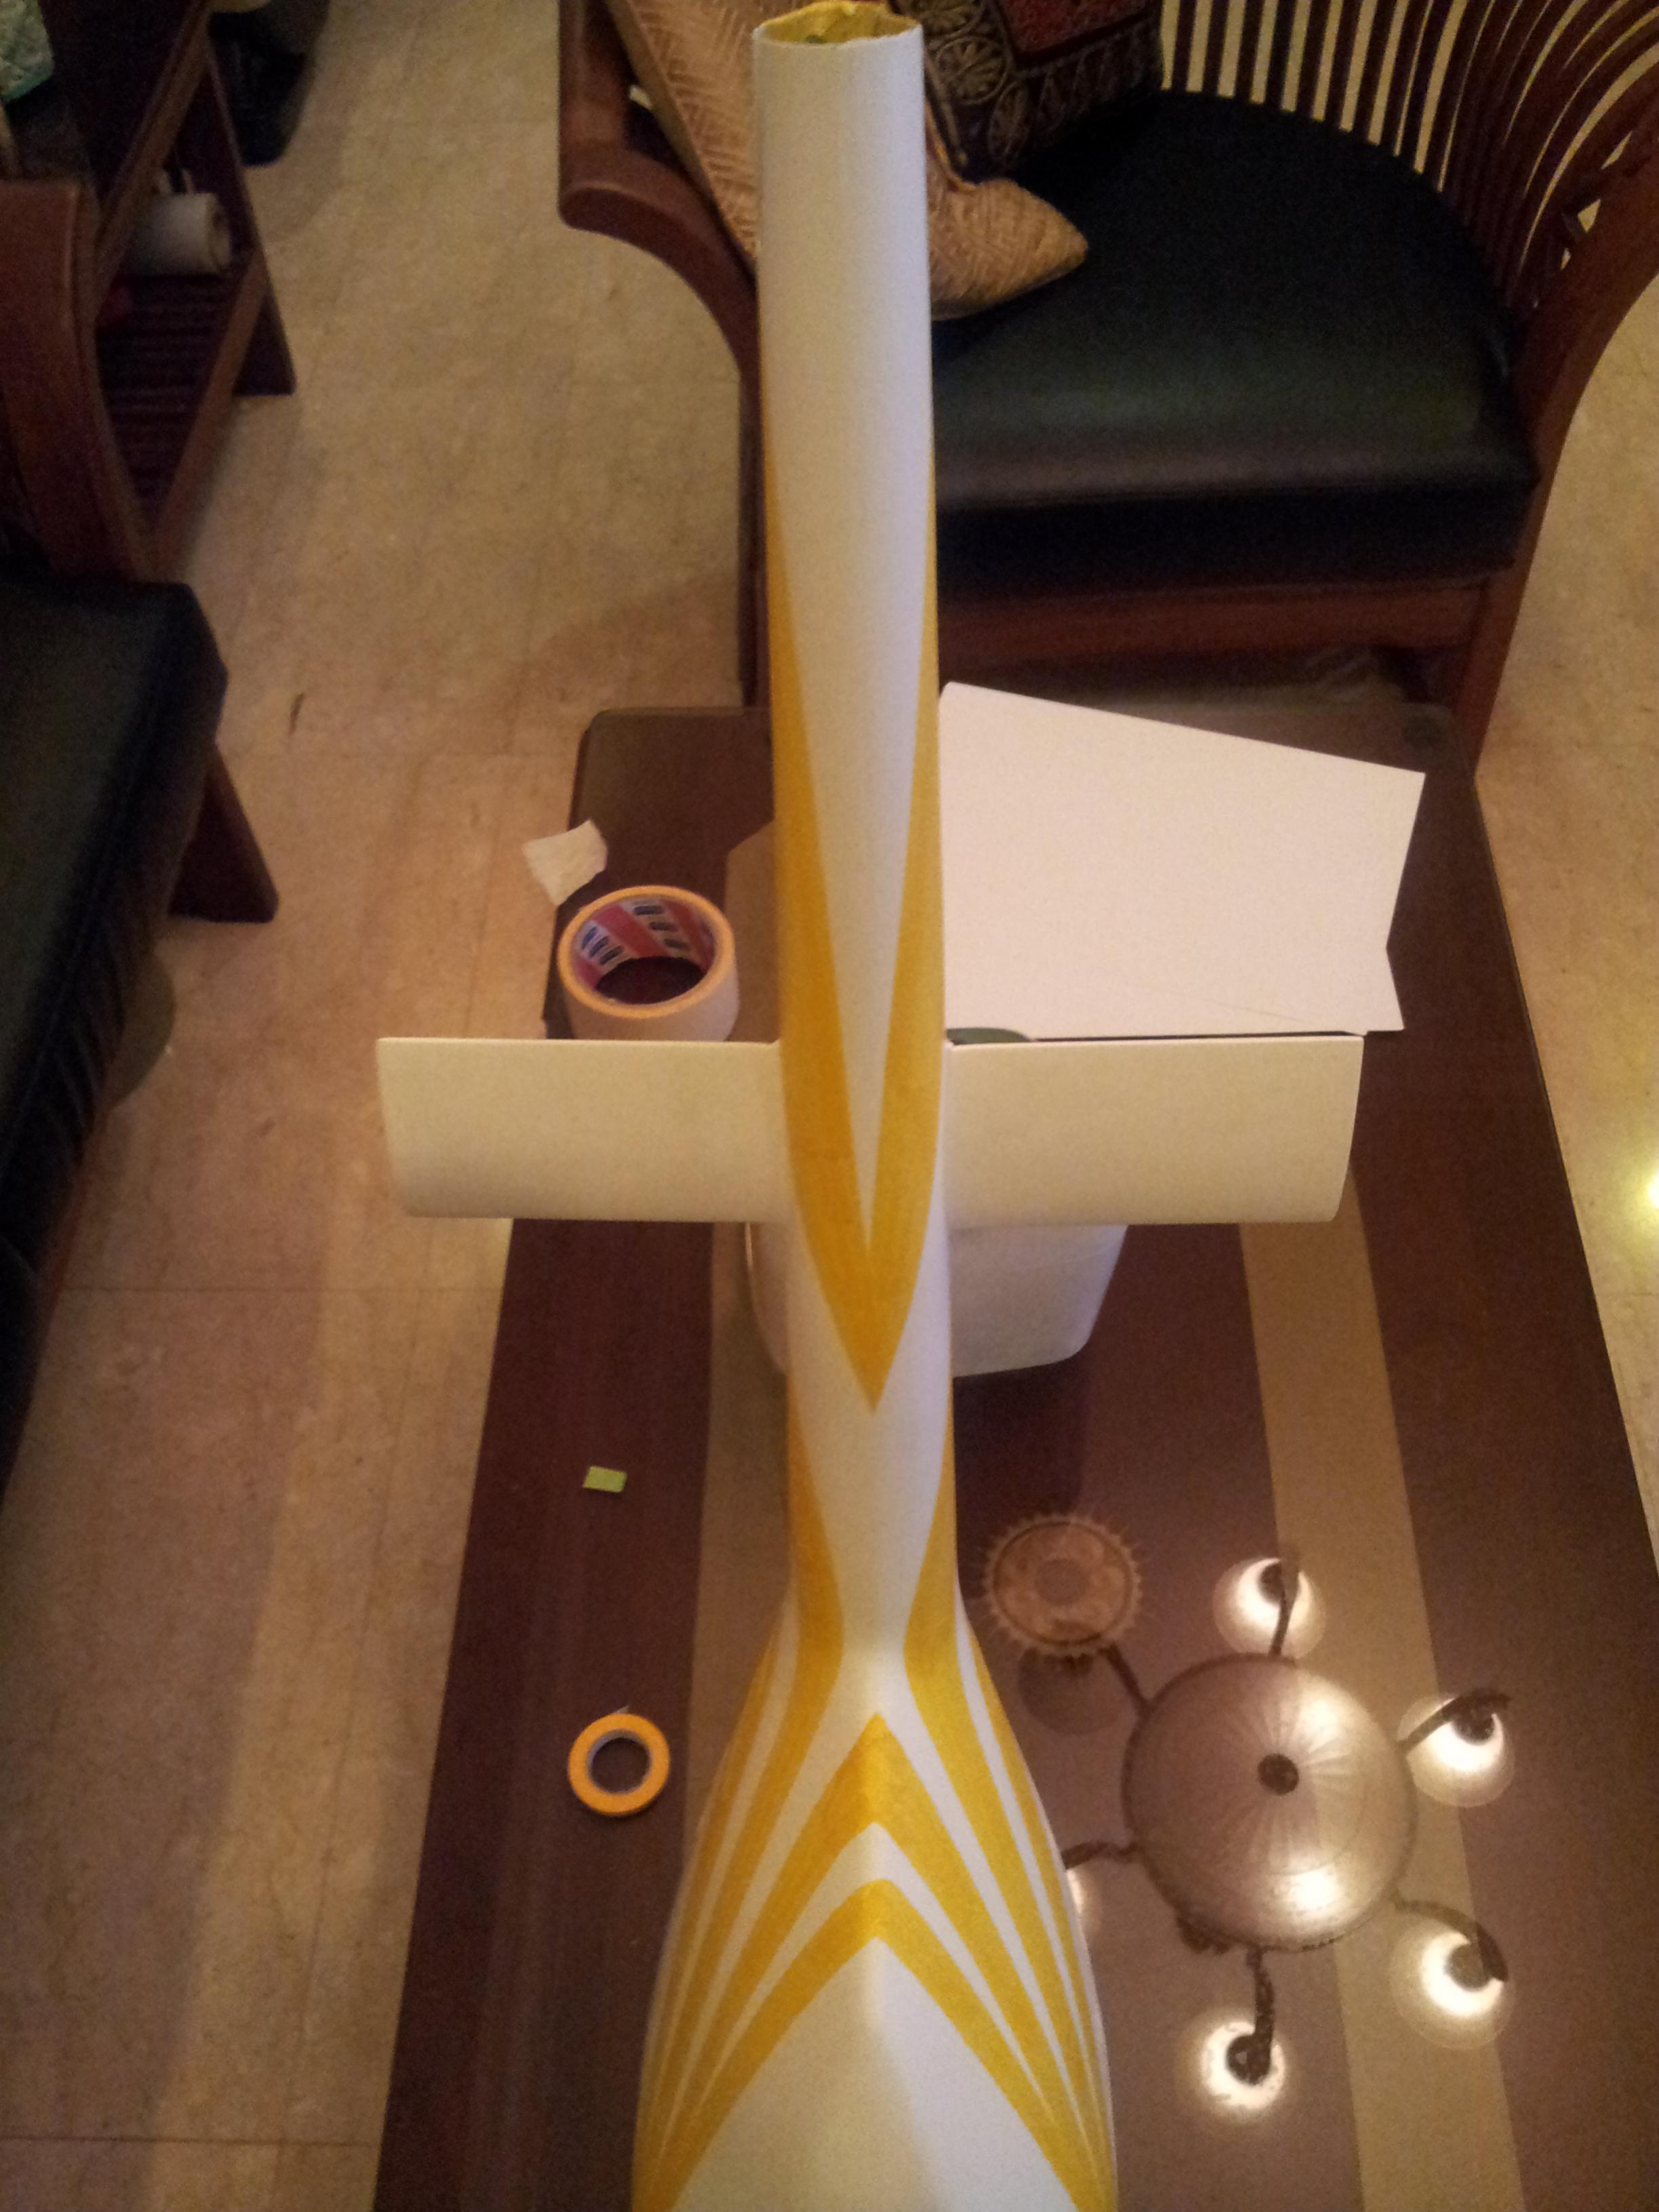
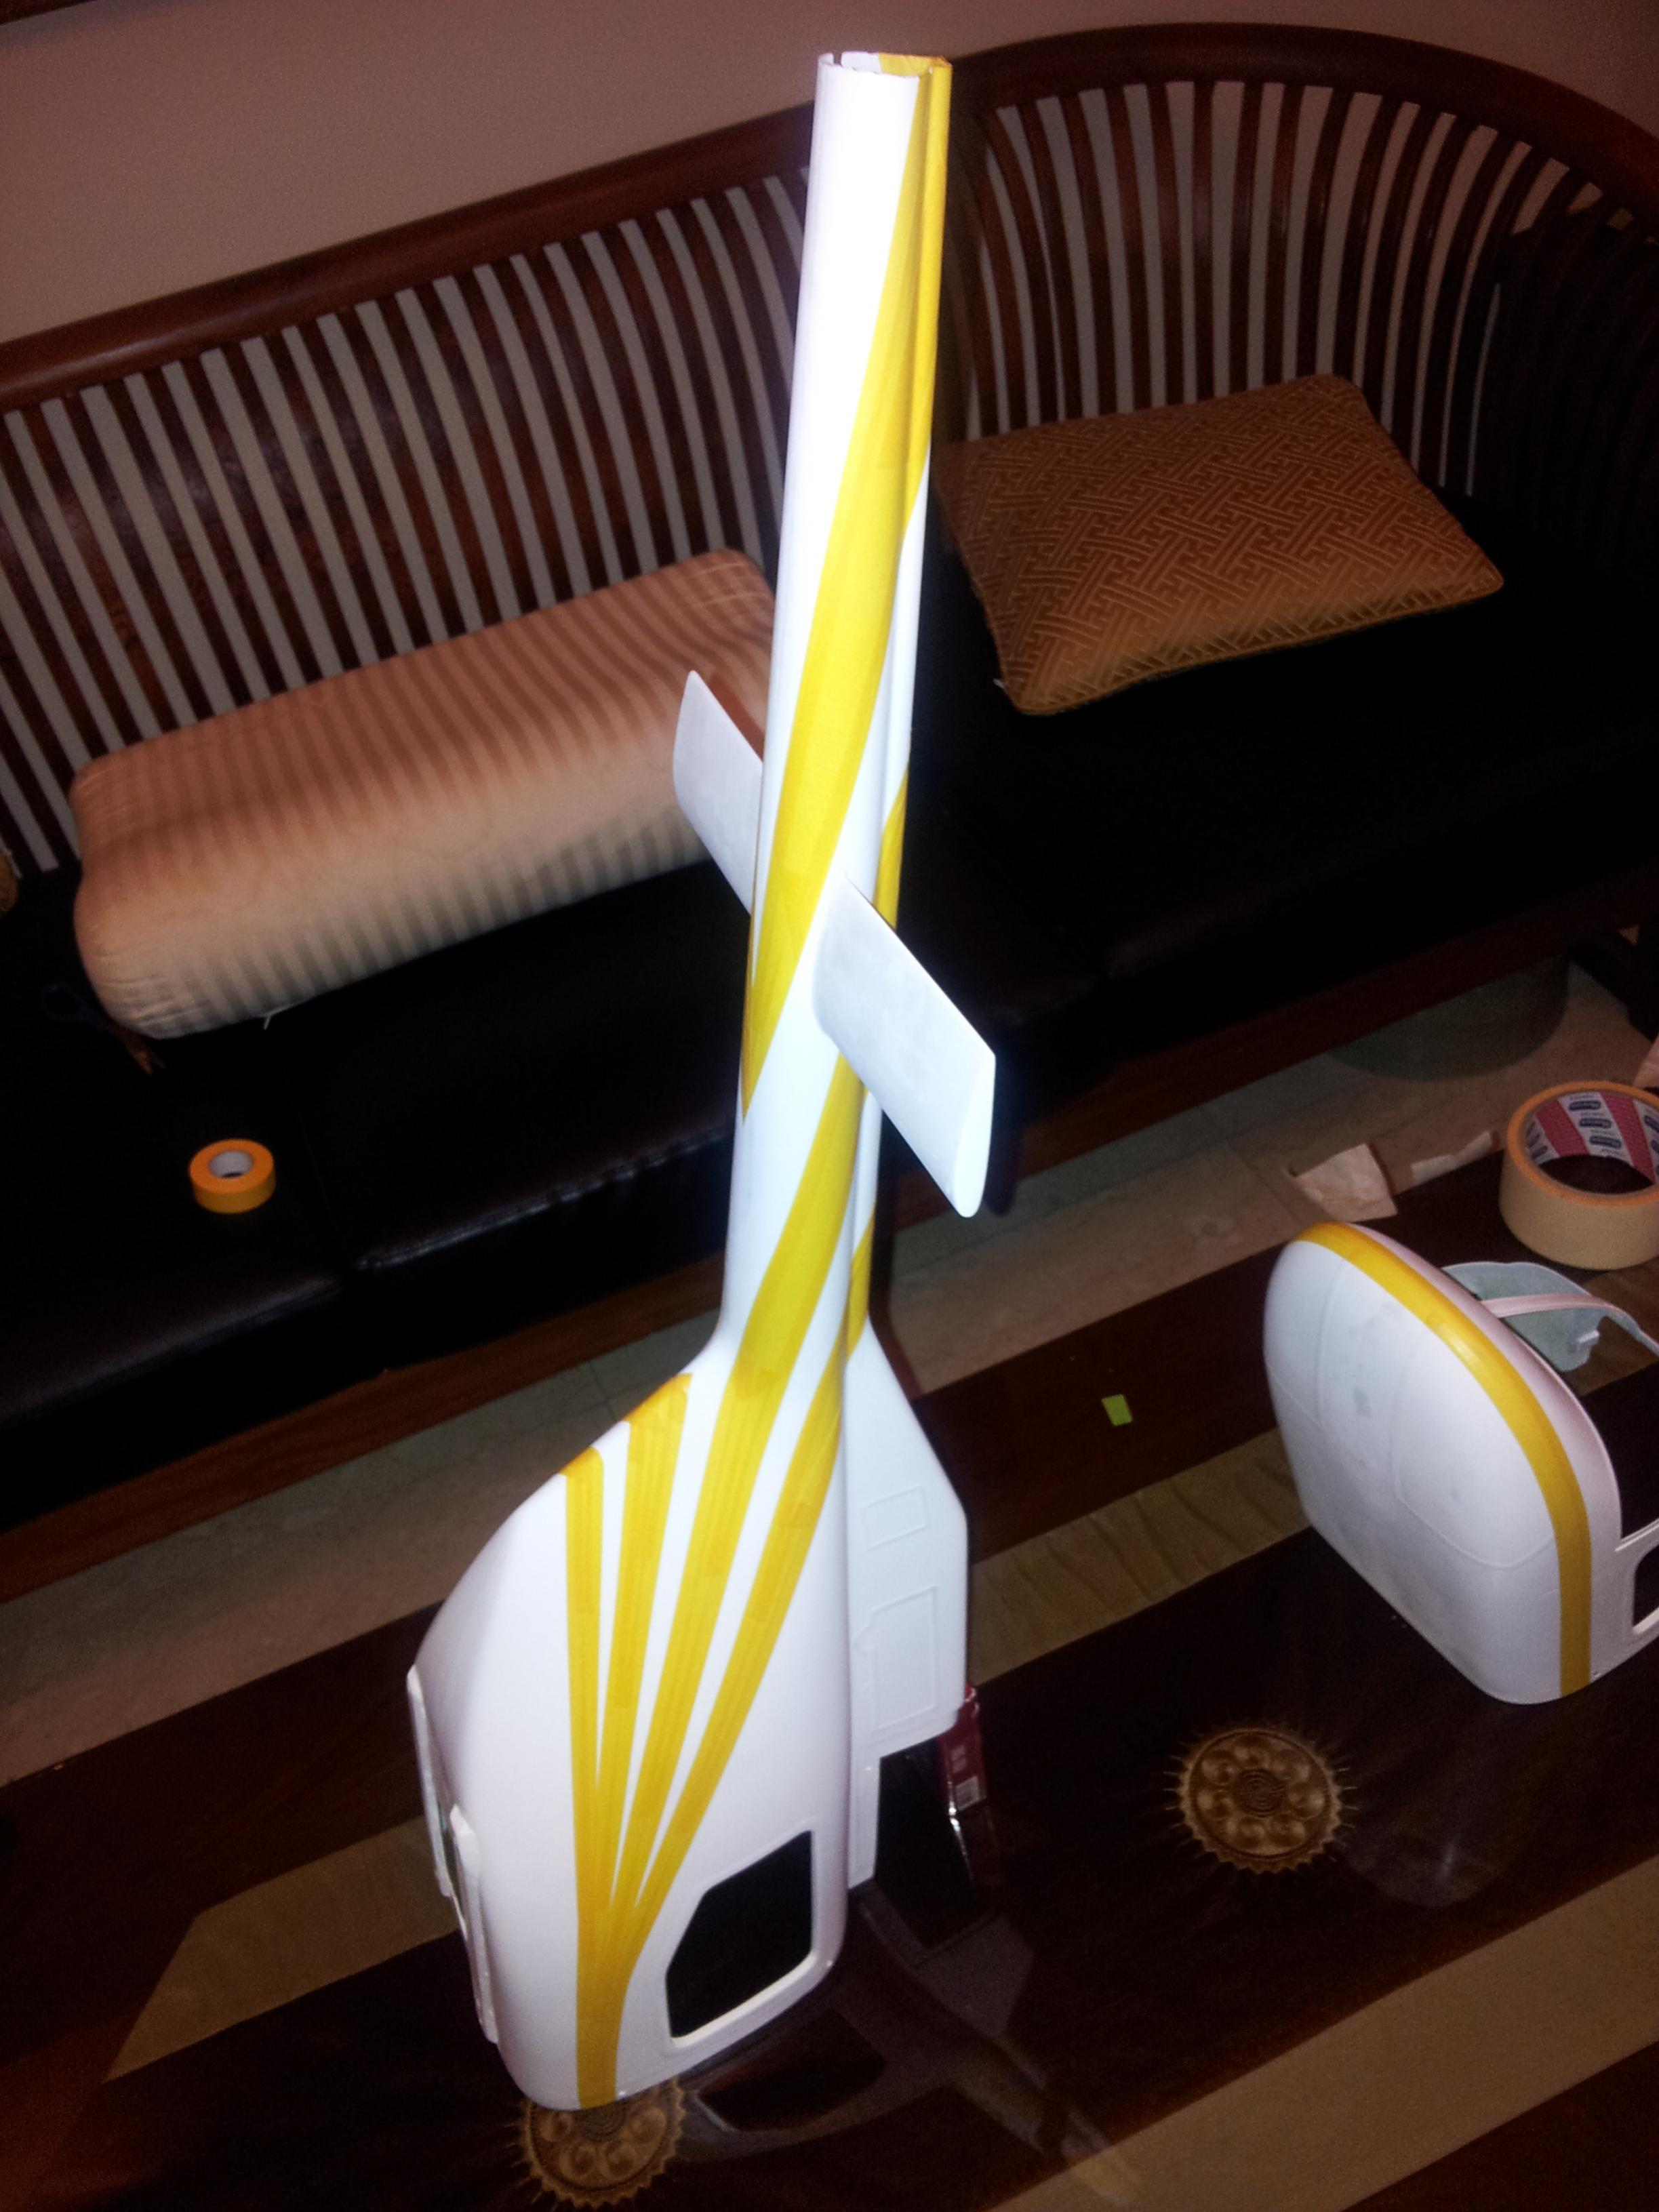
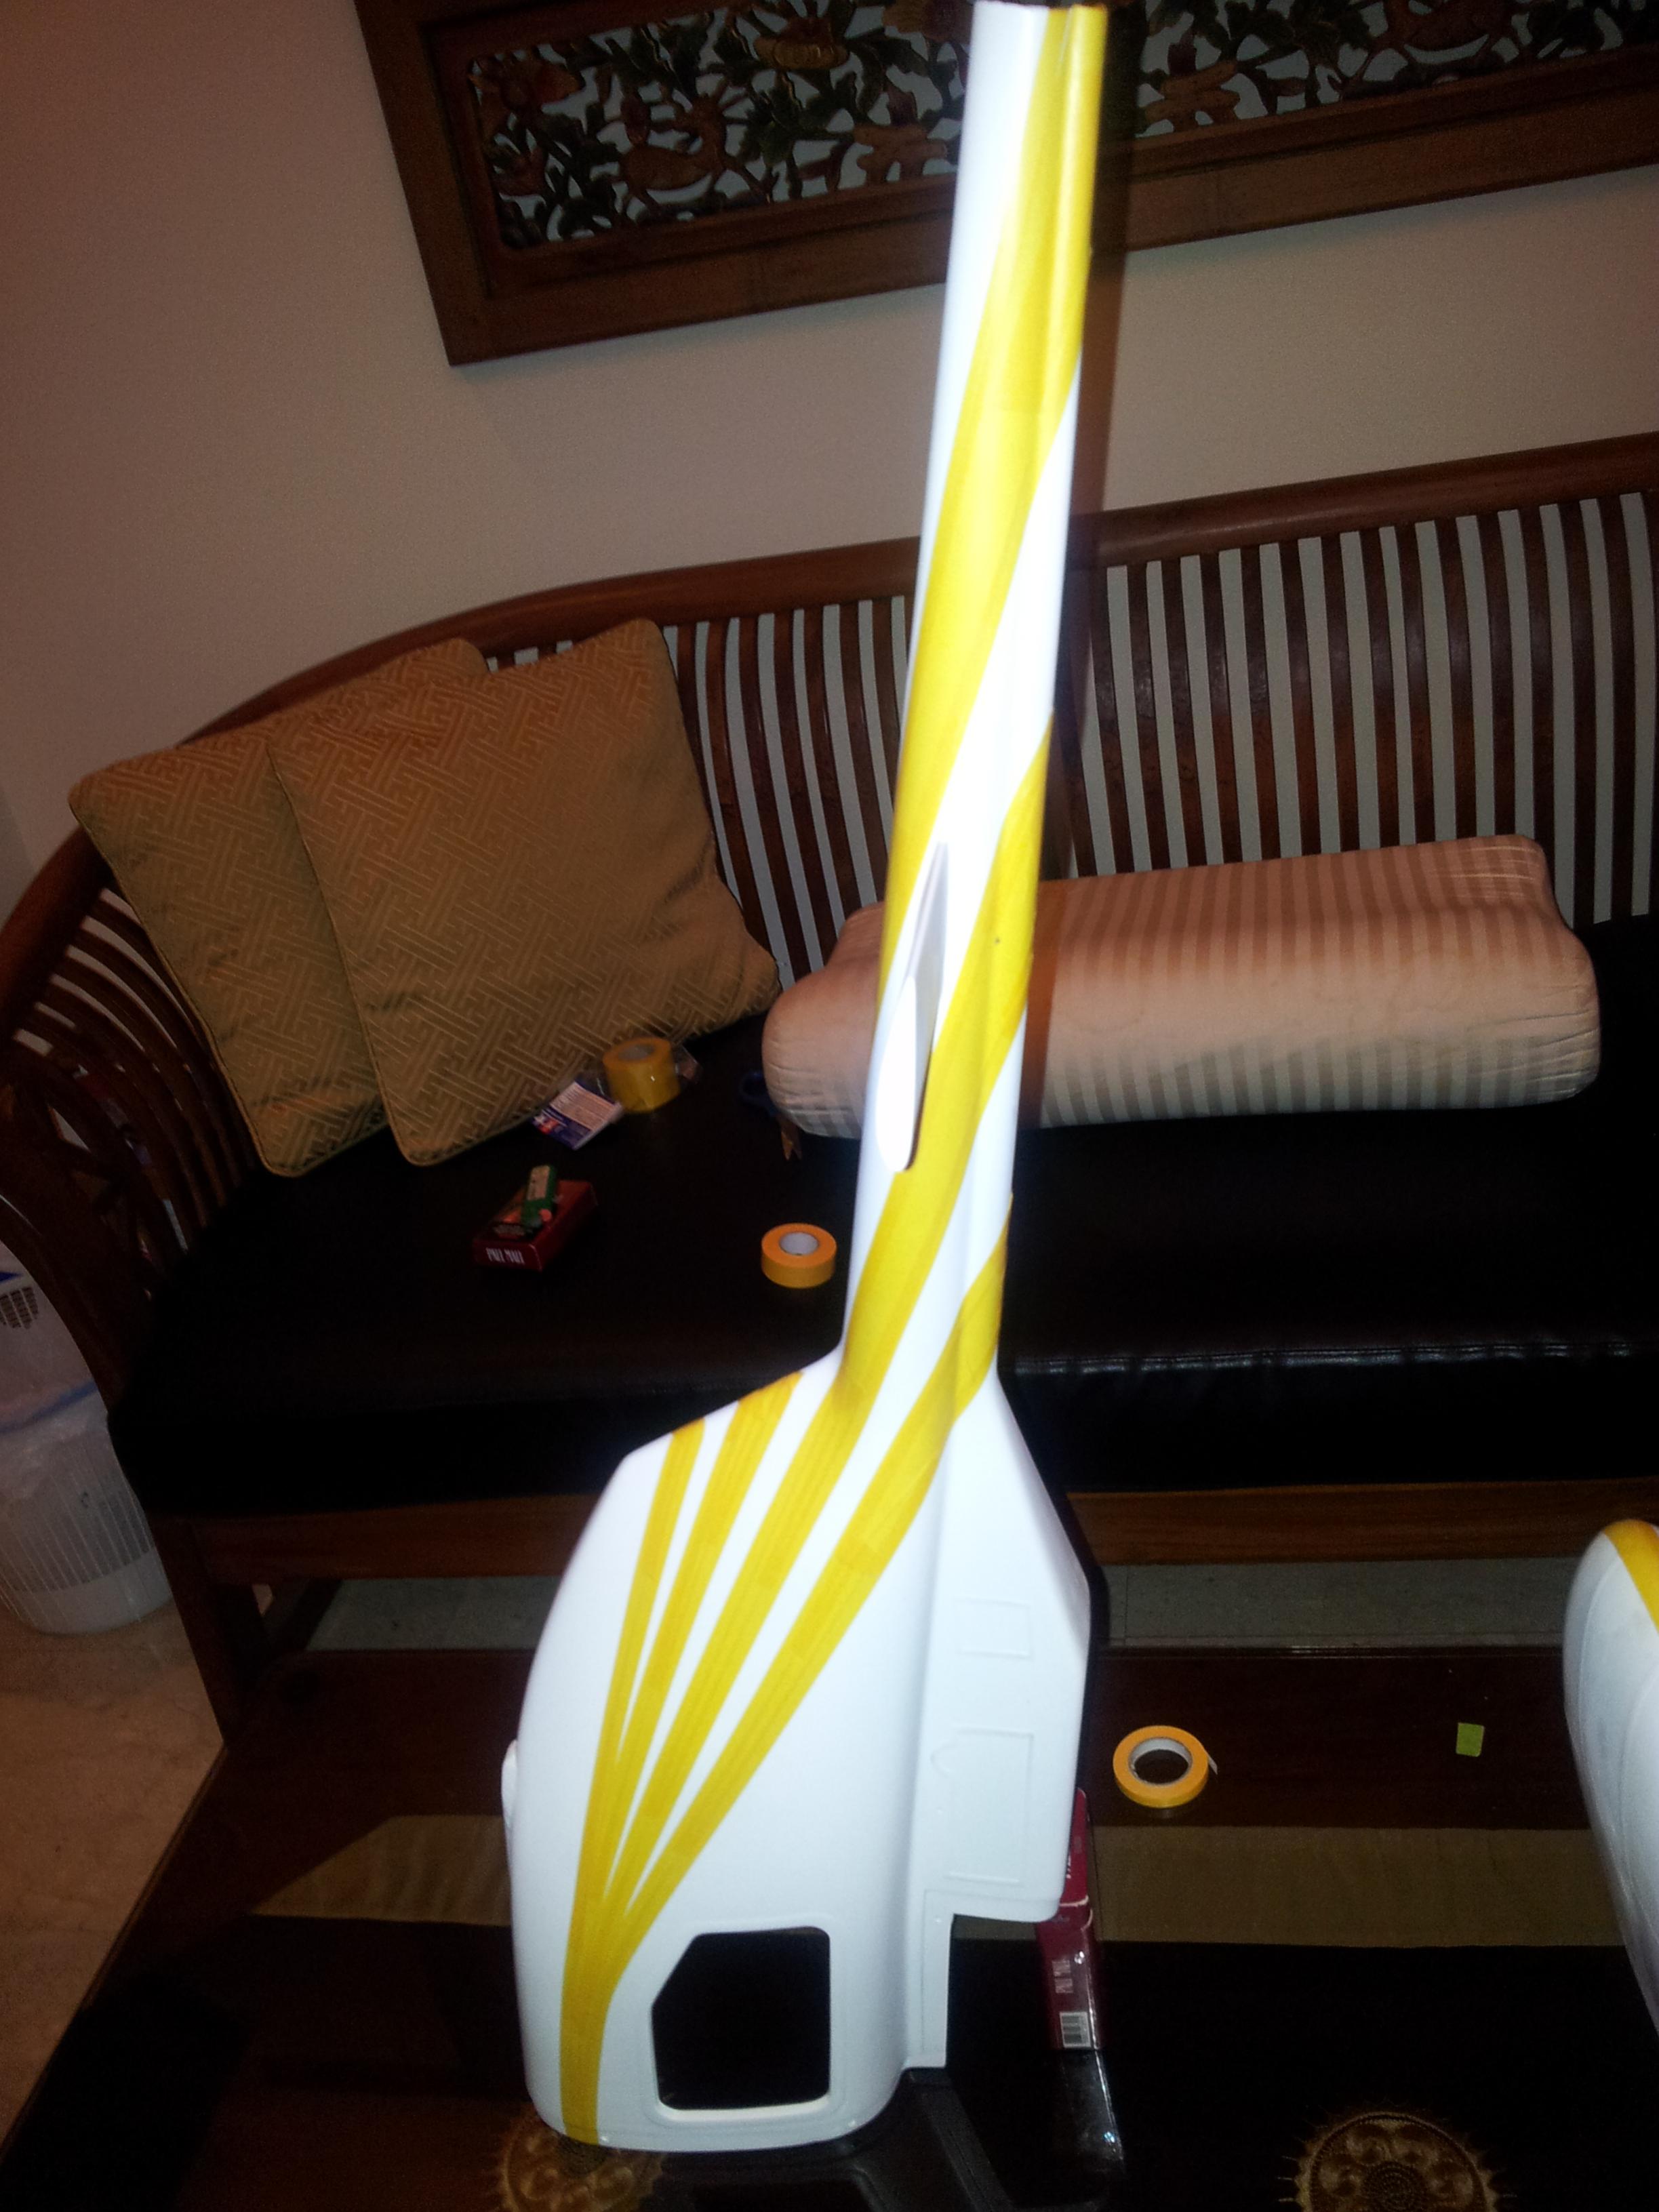
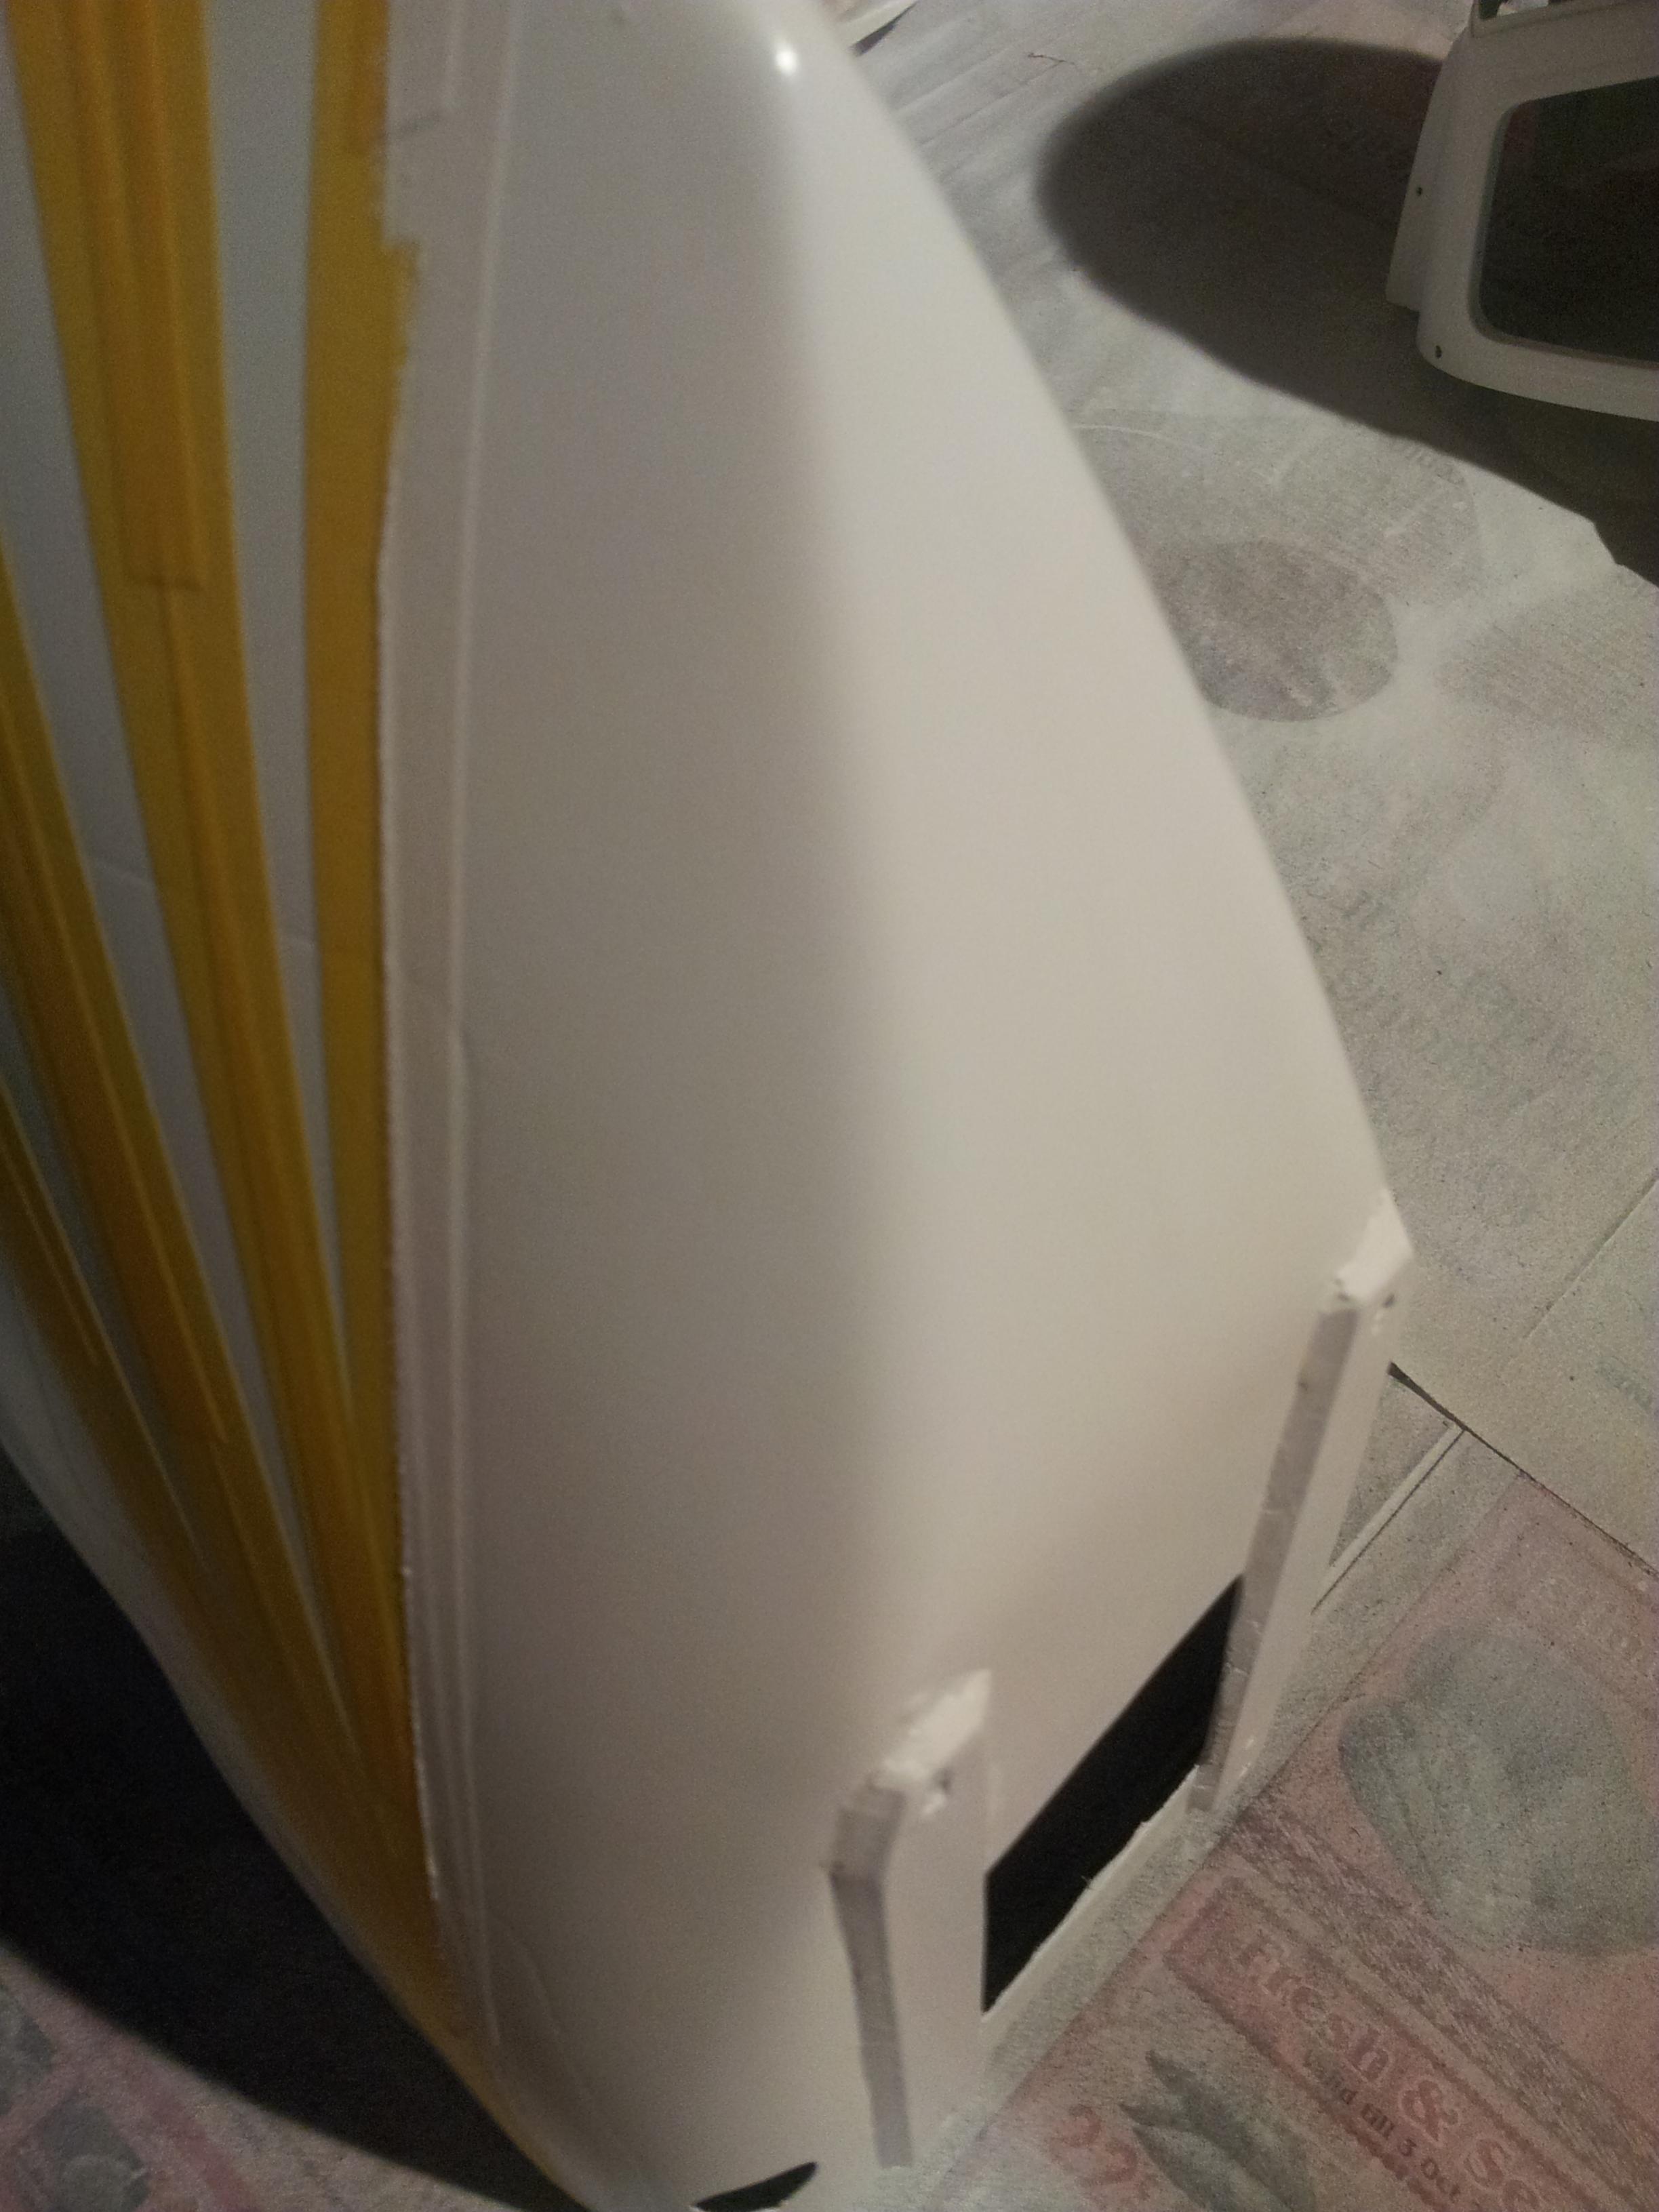
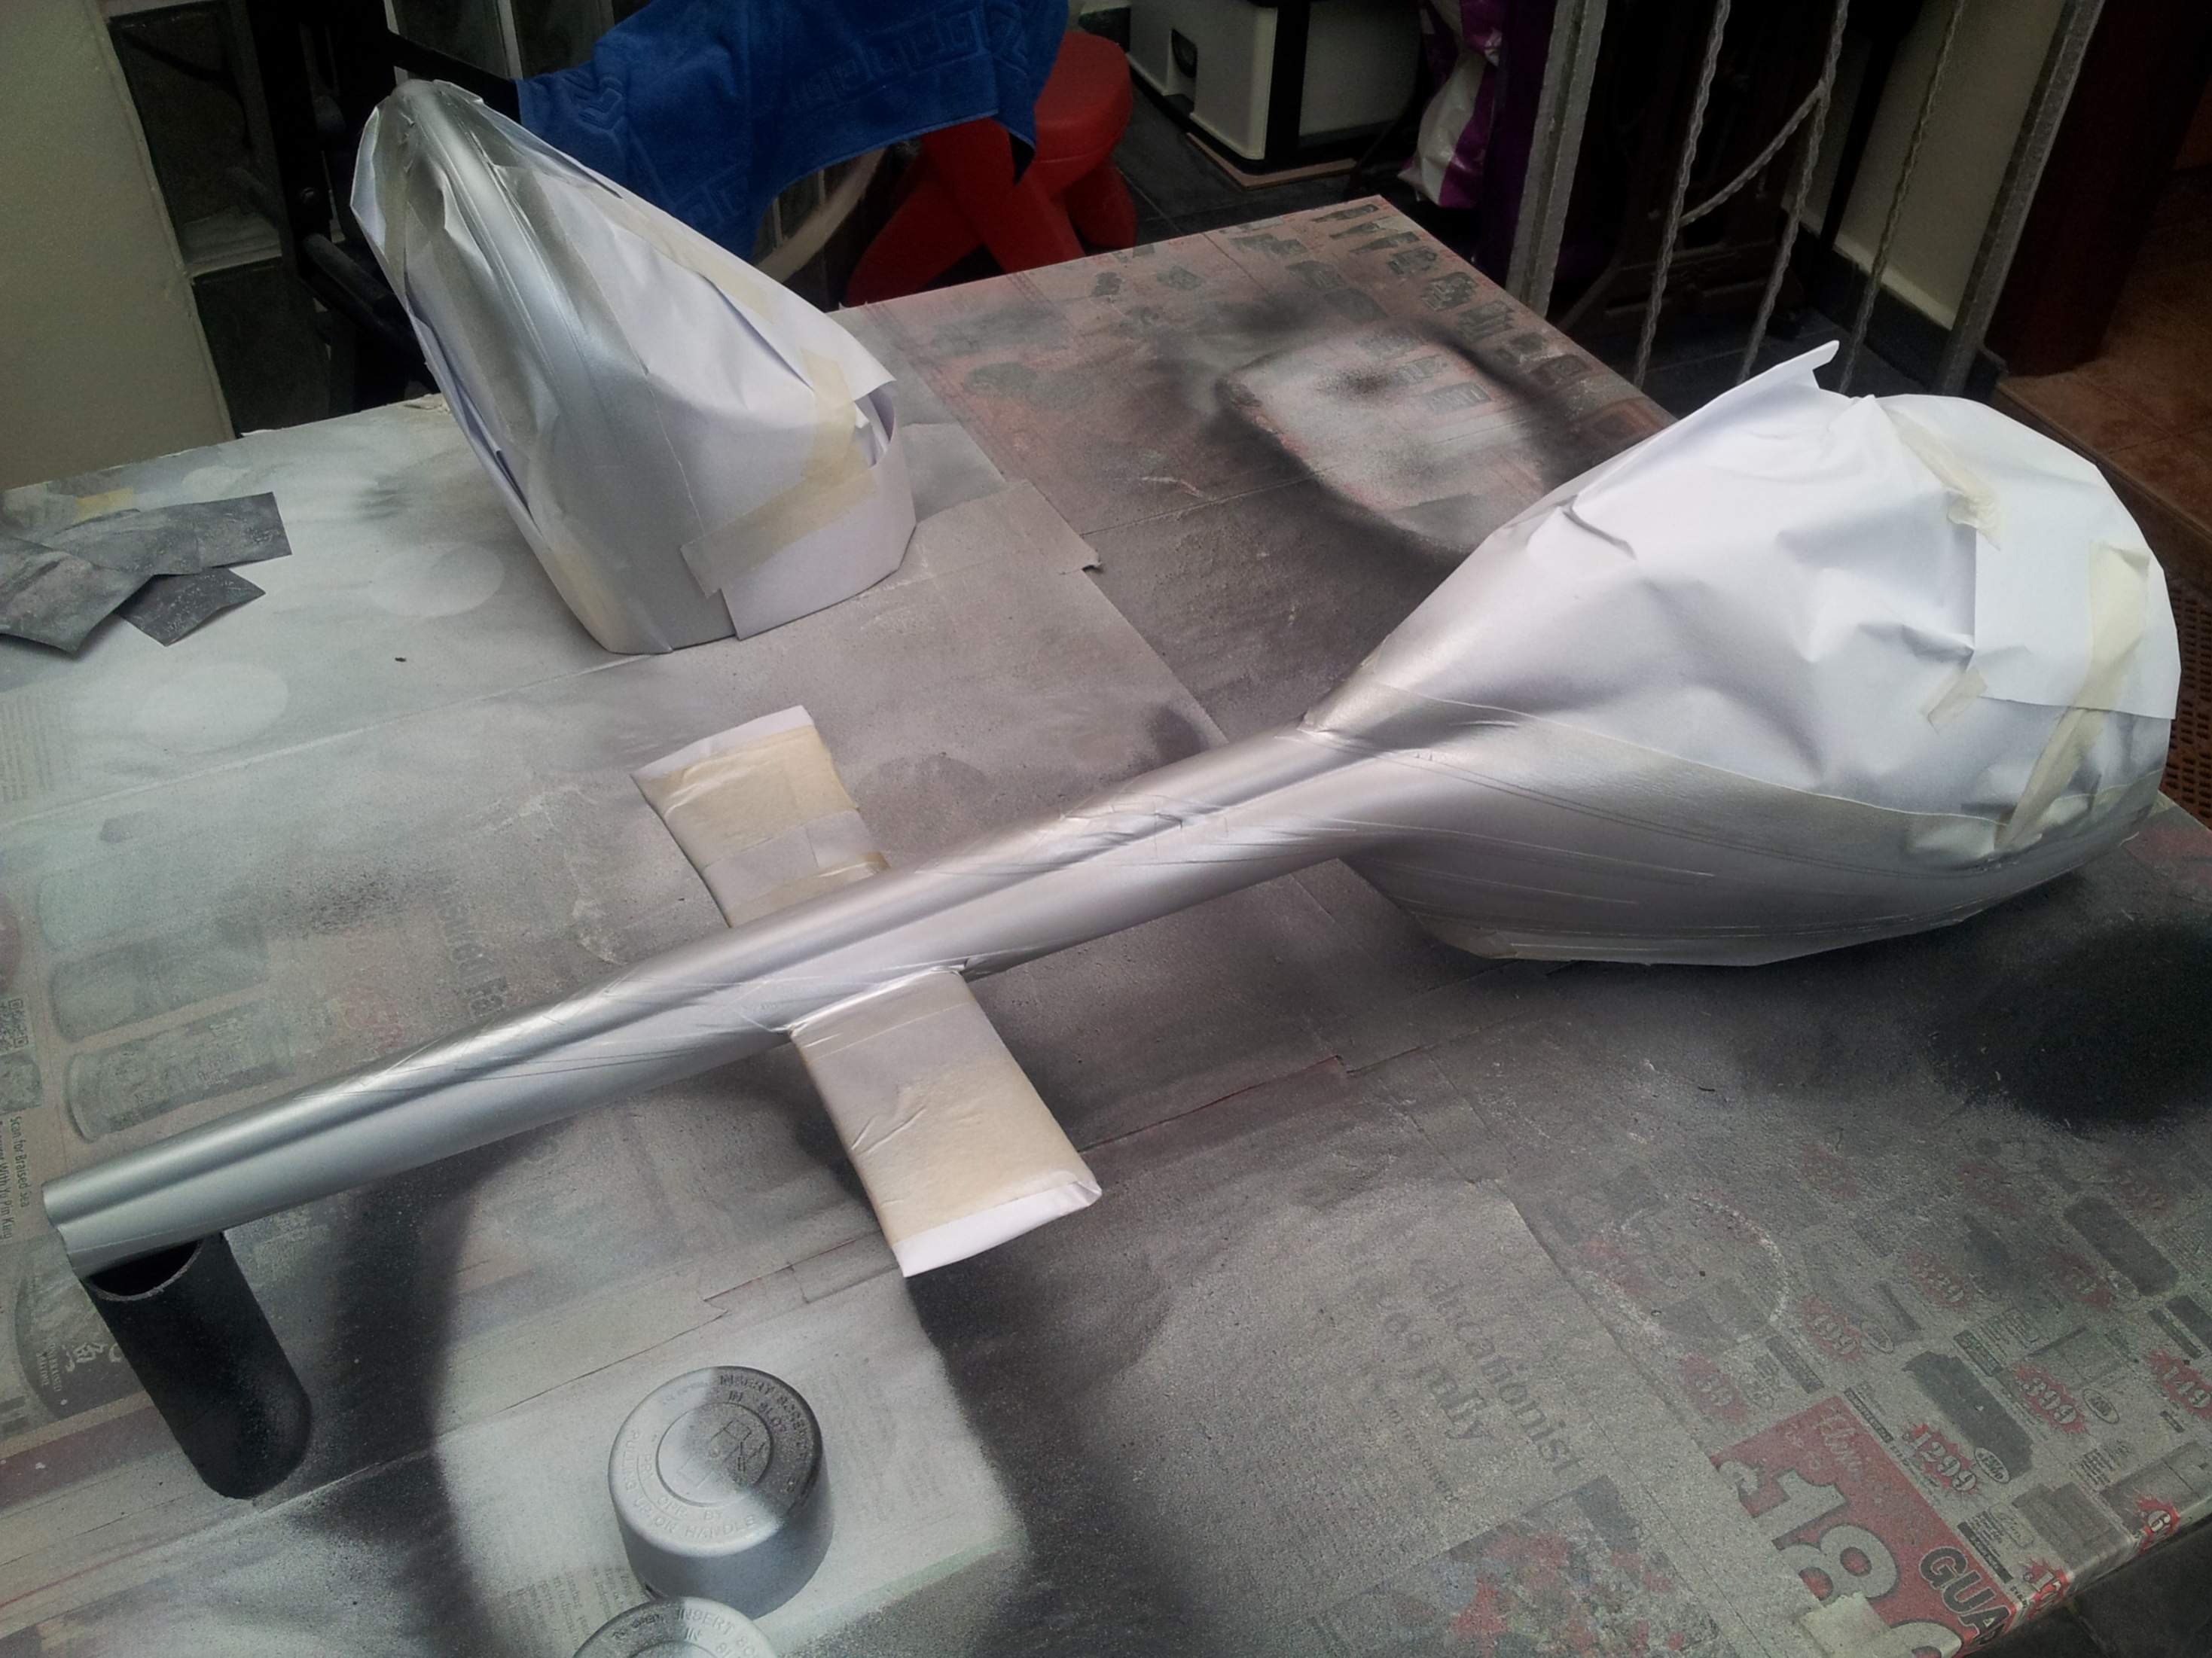
The rest of pics are the finished results for the main section of fuse using above method. All prepared for Painting!! Yeah!!

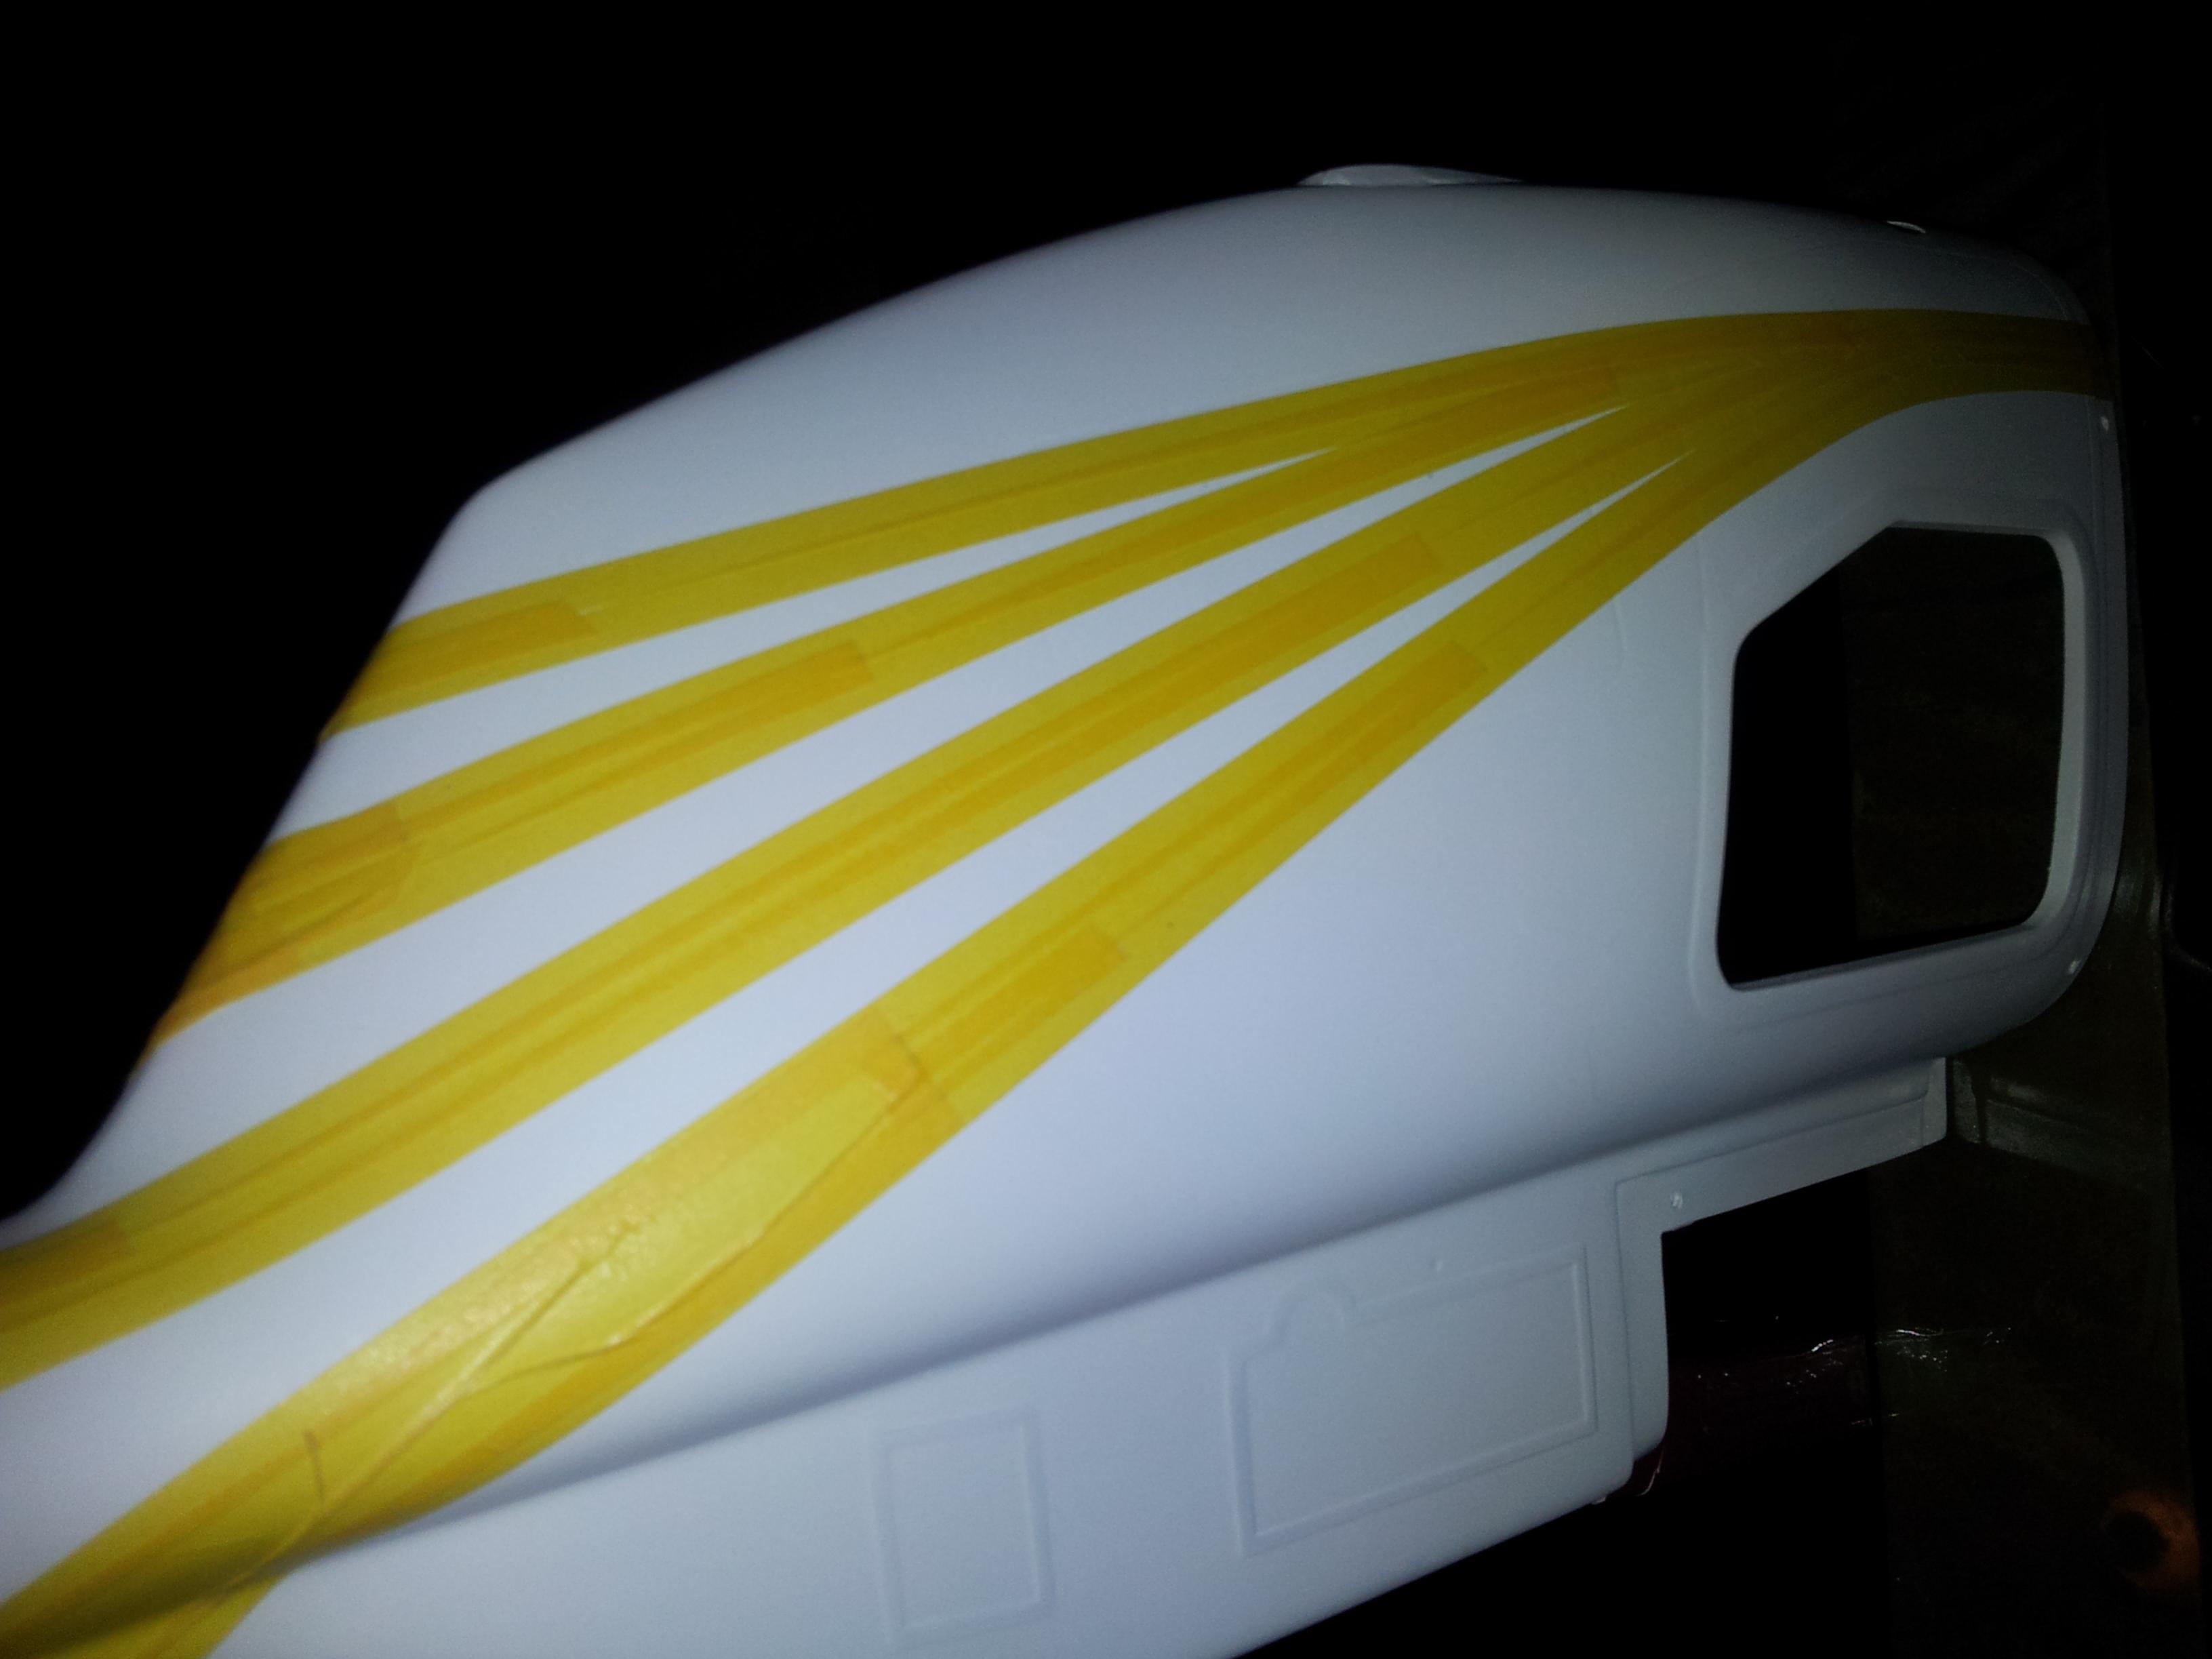
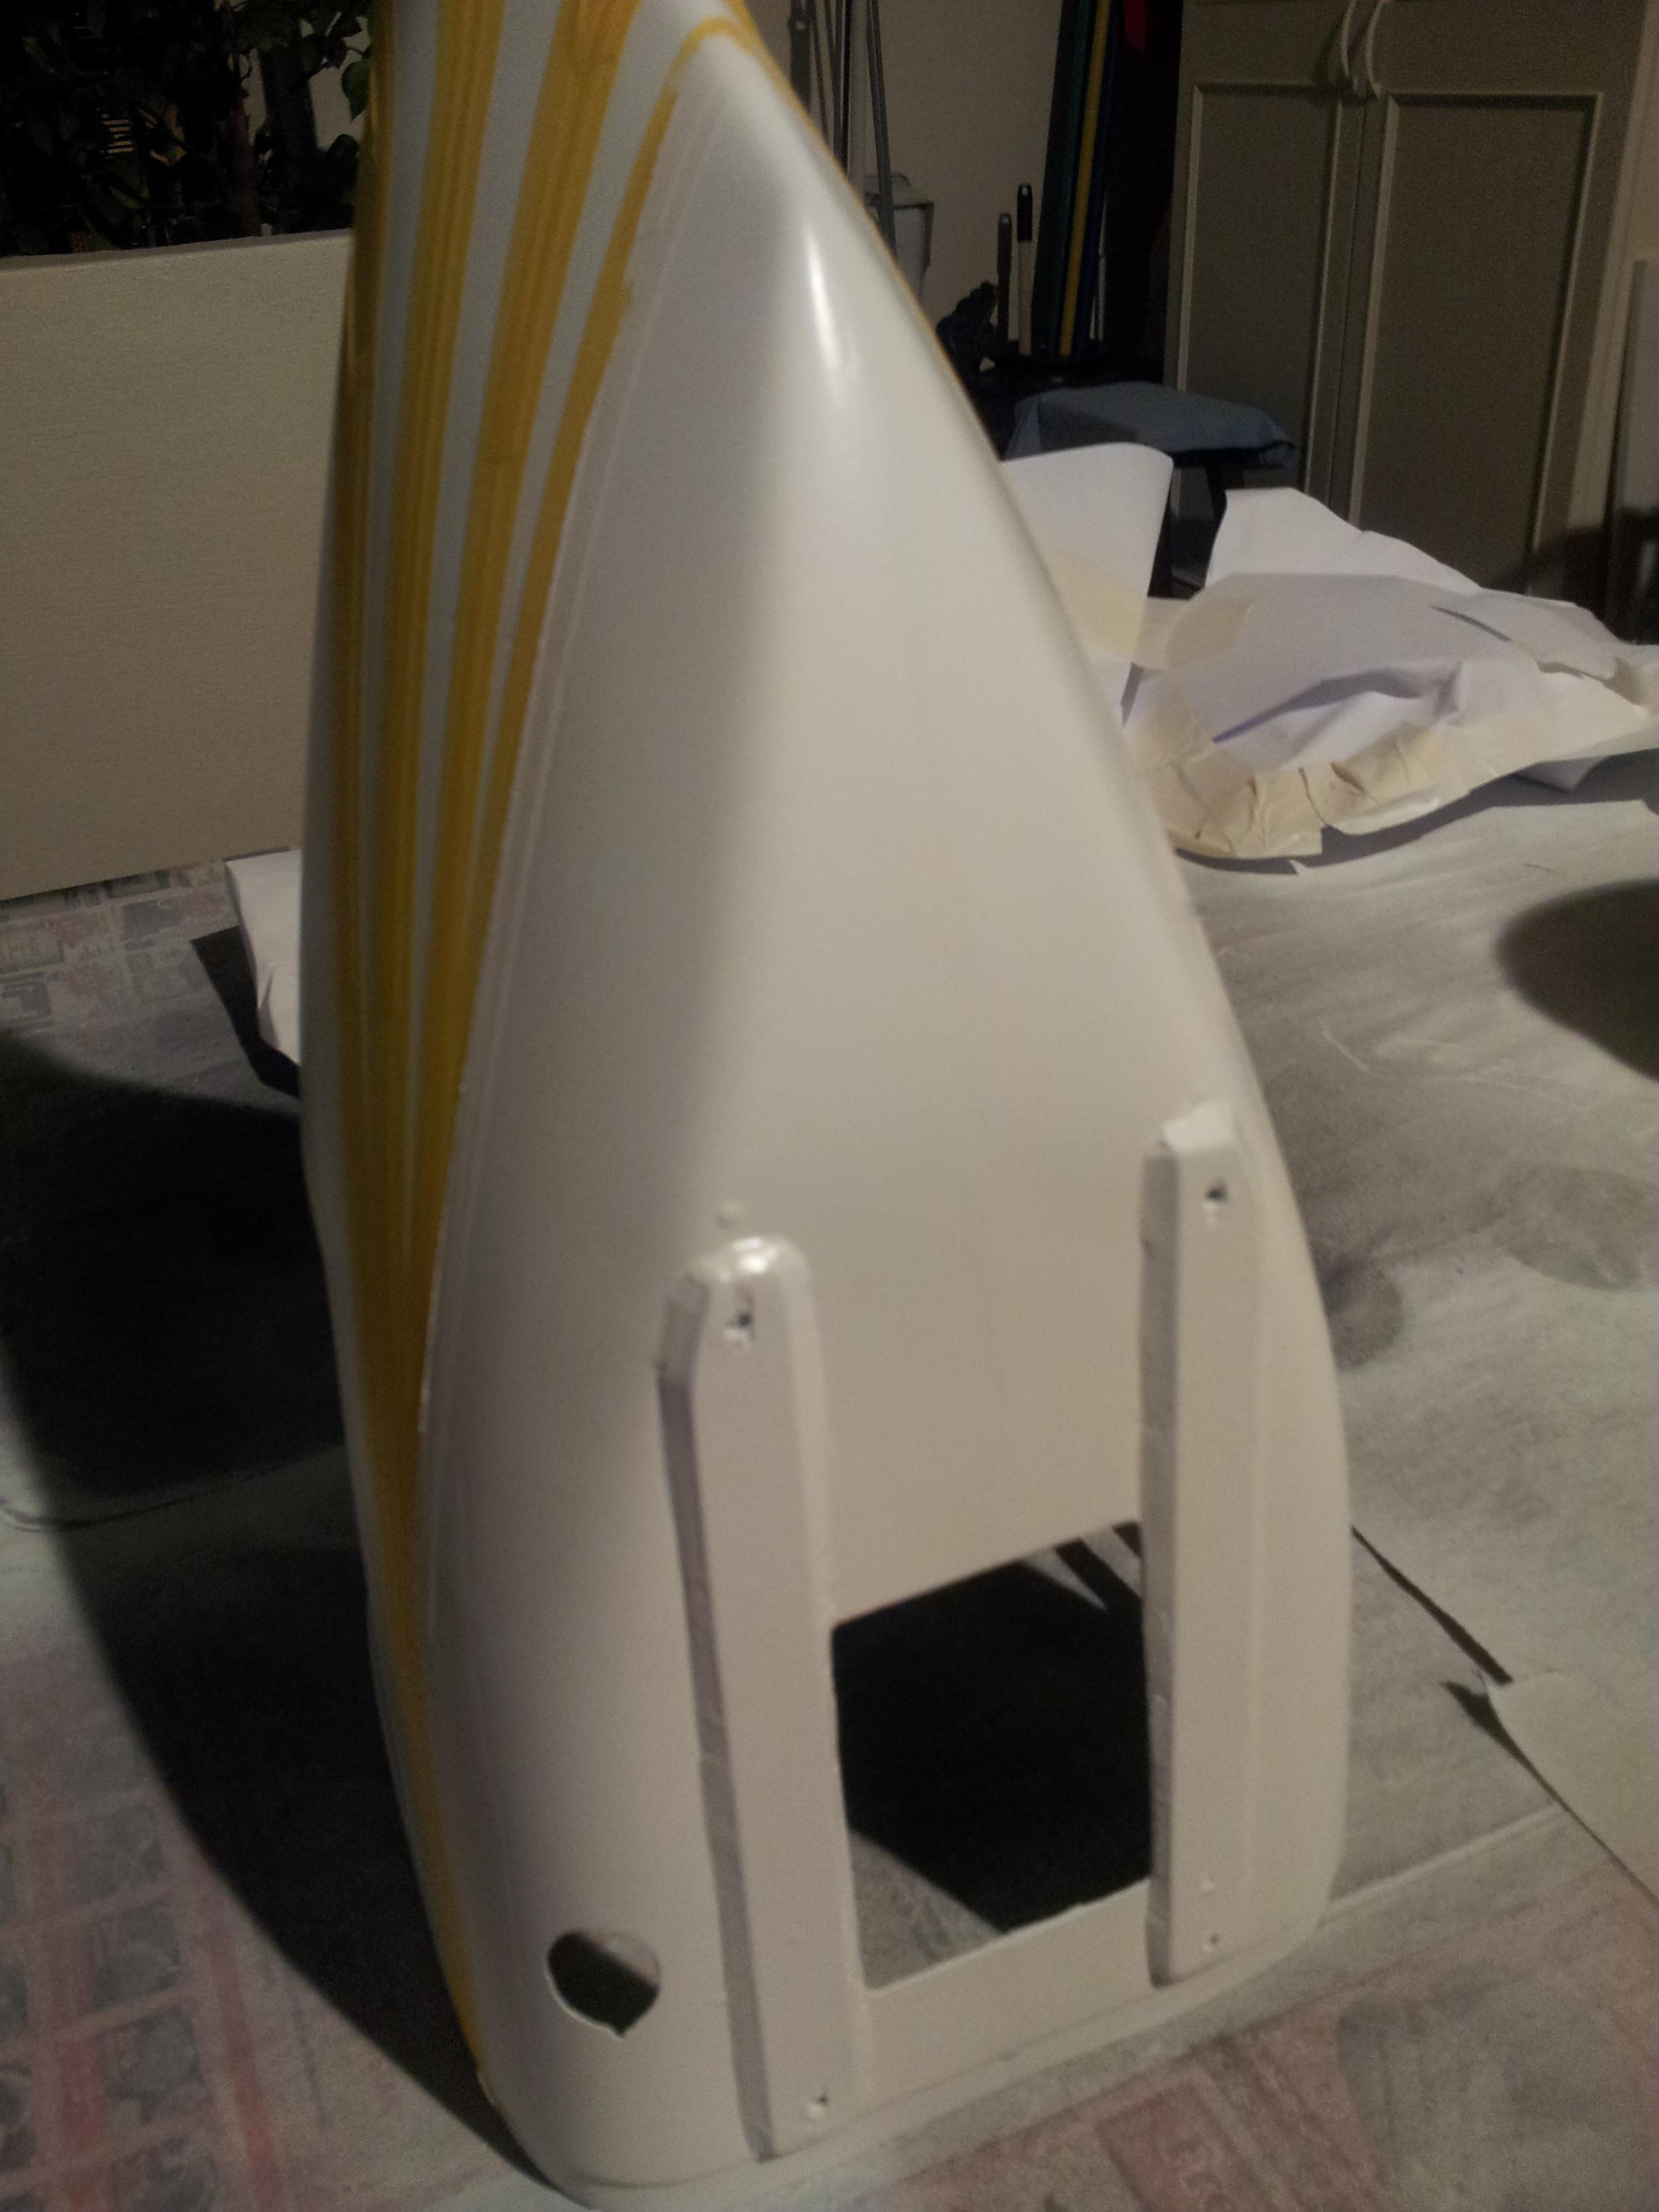
Here you can clearly see how all the ugly joint marks/defetcs are covered smooth & nice for painting..

Patience is KEY!! do up your base properly, dont do 'slip shot' 'shortcut' during this early steps.. Remember, how well & smooth you prepare your surface prior to painting; will be how nice and smooth your painted surface will be..


Sorry guys for the little delay in updating.. been busy..
Anyhow, here's the pictures after puttied and another thin layer of primer plus sanding down with 800 - 1000 grit..
In this pic, you can see the puttied and sand down parts.. the 'spotty' patch on the right is what happens when you accidentally spray to thick or when the before layer is not completely dried.. As mentioned earlier, stop, and sand down again. Over here, I've also puttied the dried bubbled holes..
This is after I puttied, sand (800 grit), Prime thin layer over and sand down with 1000 grit.. you can see most defects covered up from previous pic.. basically this will be the surface for painting thereafter.. so ensure all is smooth at touch and dimple/defects free..
The Stabs are also puttied and sanded down, but as putty was thick, I used 600 grit here..
You can see that the wood grains and low spots from initial pics are all covered up.. I also try best to putty a 'joining shape' for the part where the satbs joins the fuse..
This is after I primed a thin layer over and sanded down (1000 grit). This pic is angled to try to show how smooth it can end up using this method (Carved Balsa to shape => Prime thin 'tact' coat => putty on => sand down => Prime & finish sand)
The rest of pics are the finished results for the main section of fuse using above method. All prepared for Painting!! Yeah!!
Here you can clearly see how all the ugly joint marks/defetcs are covered smooth & nice for painting..
Patience is KEY!! do up your base properly, dont do 'slip shot' 'shortcut' during this early steps.. Remember, how well & smooth you prepare your surface prior to painting; will be how nice and smooth your painted surface will be..
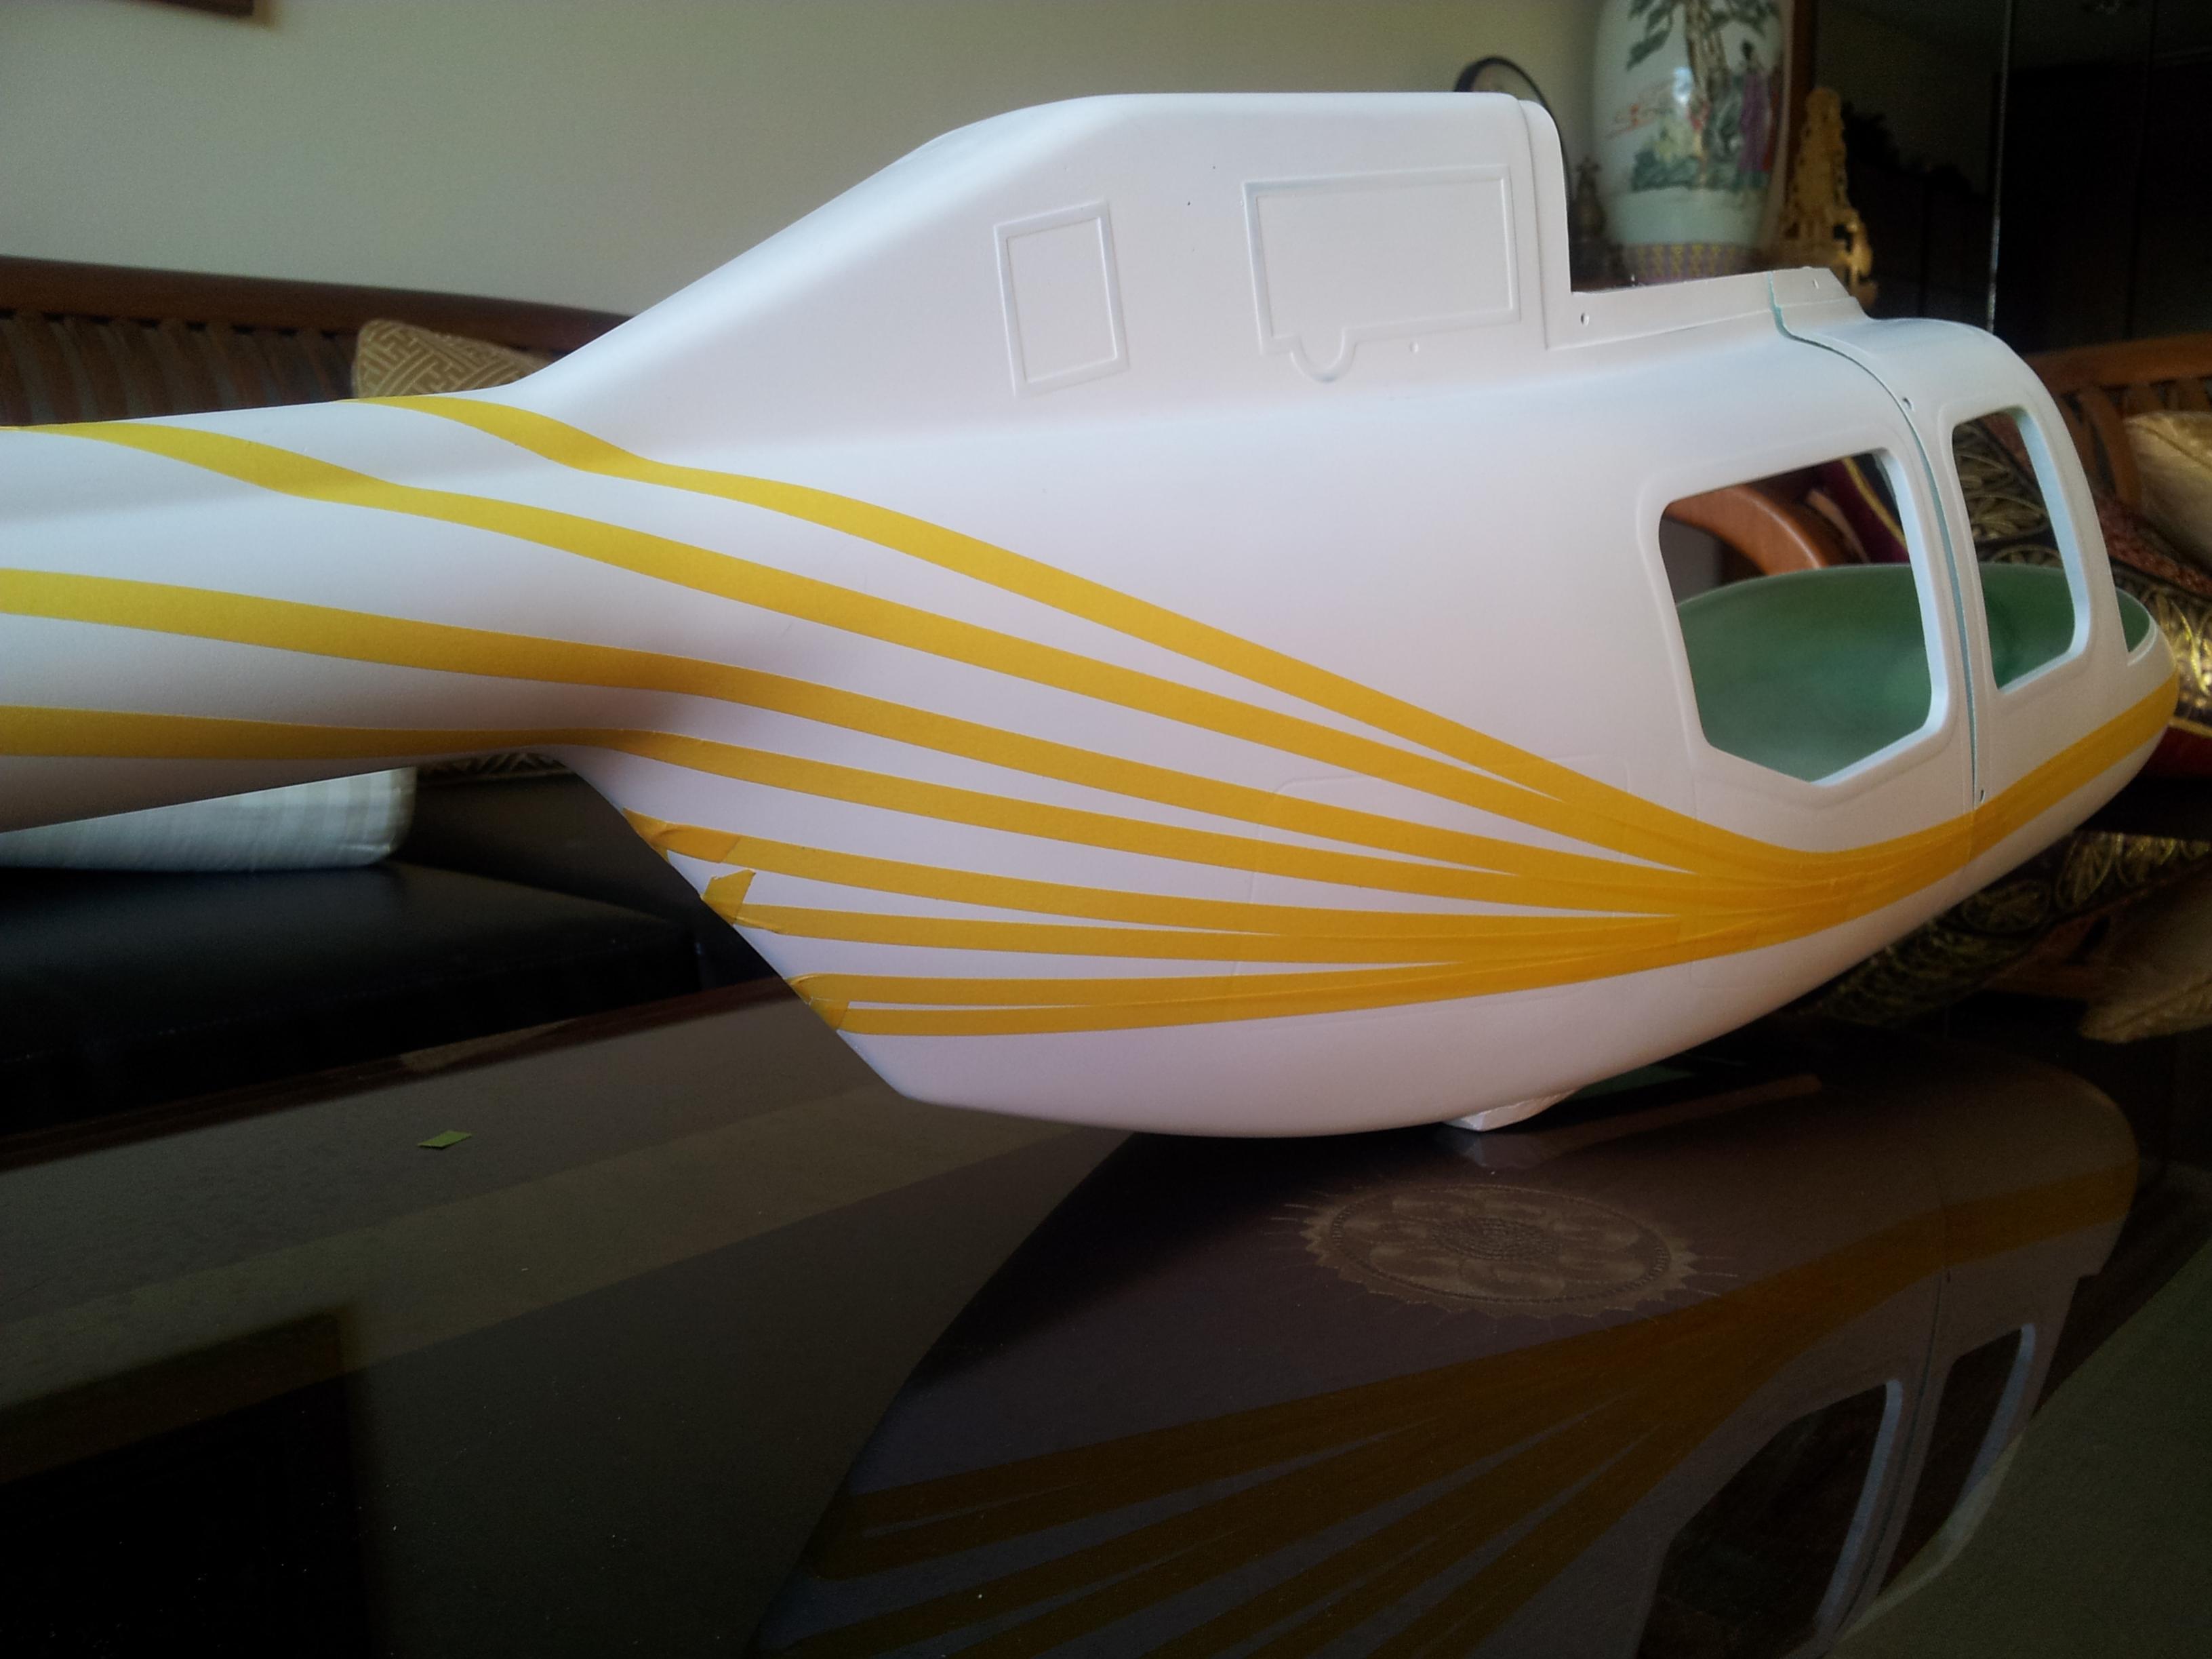
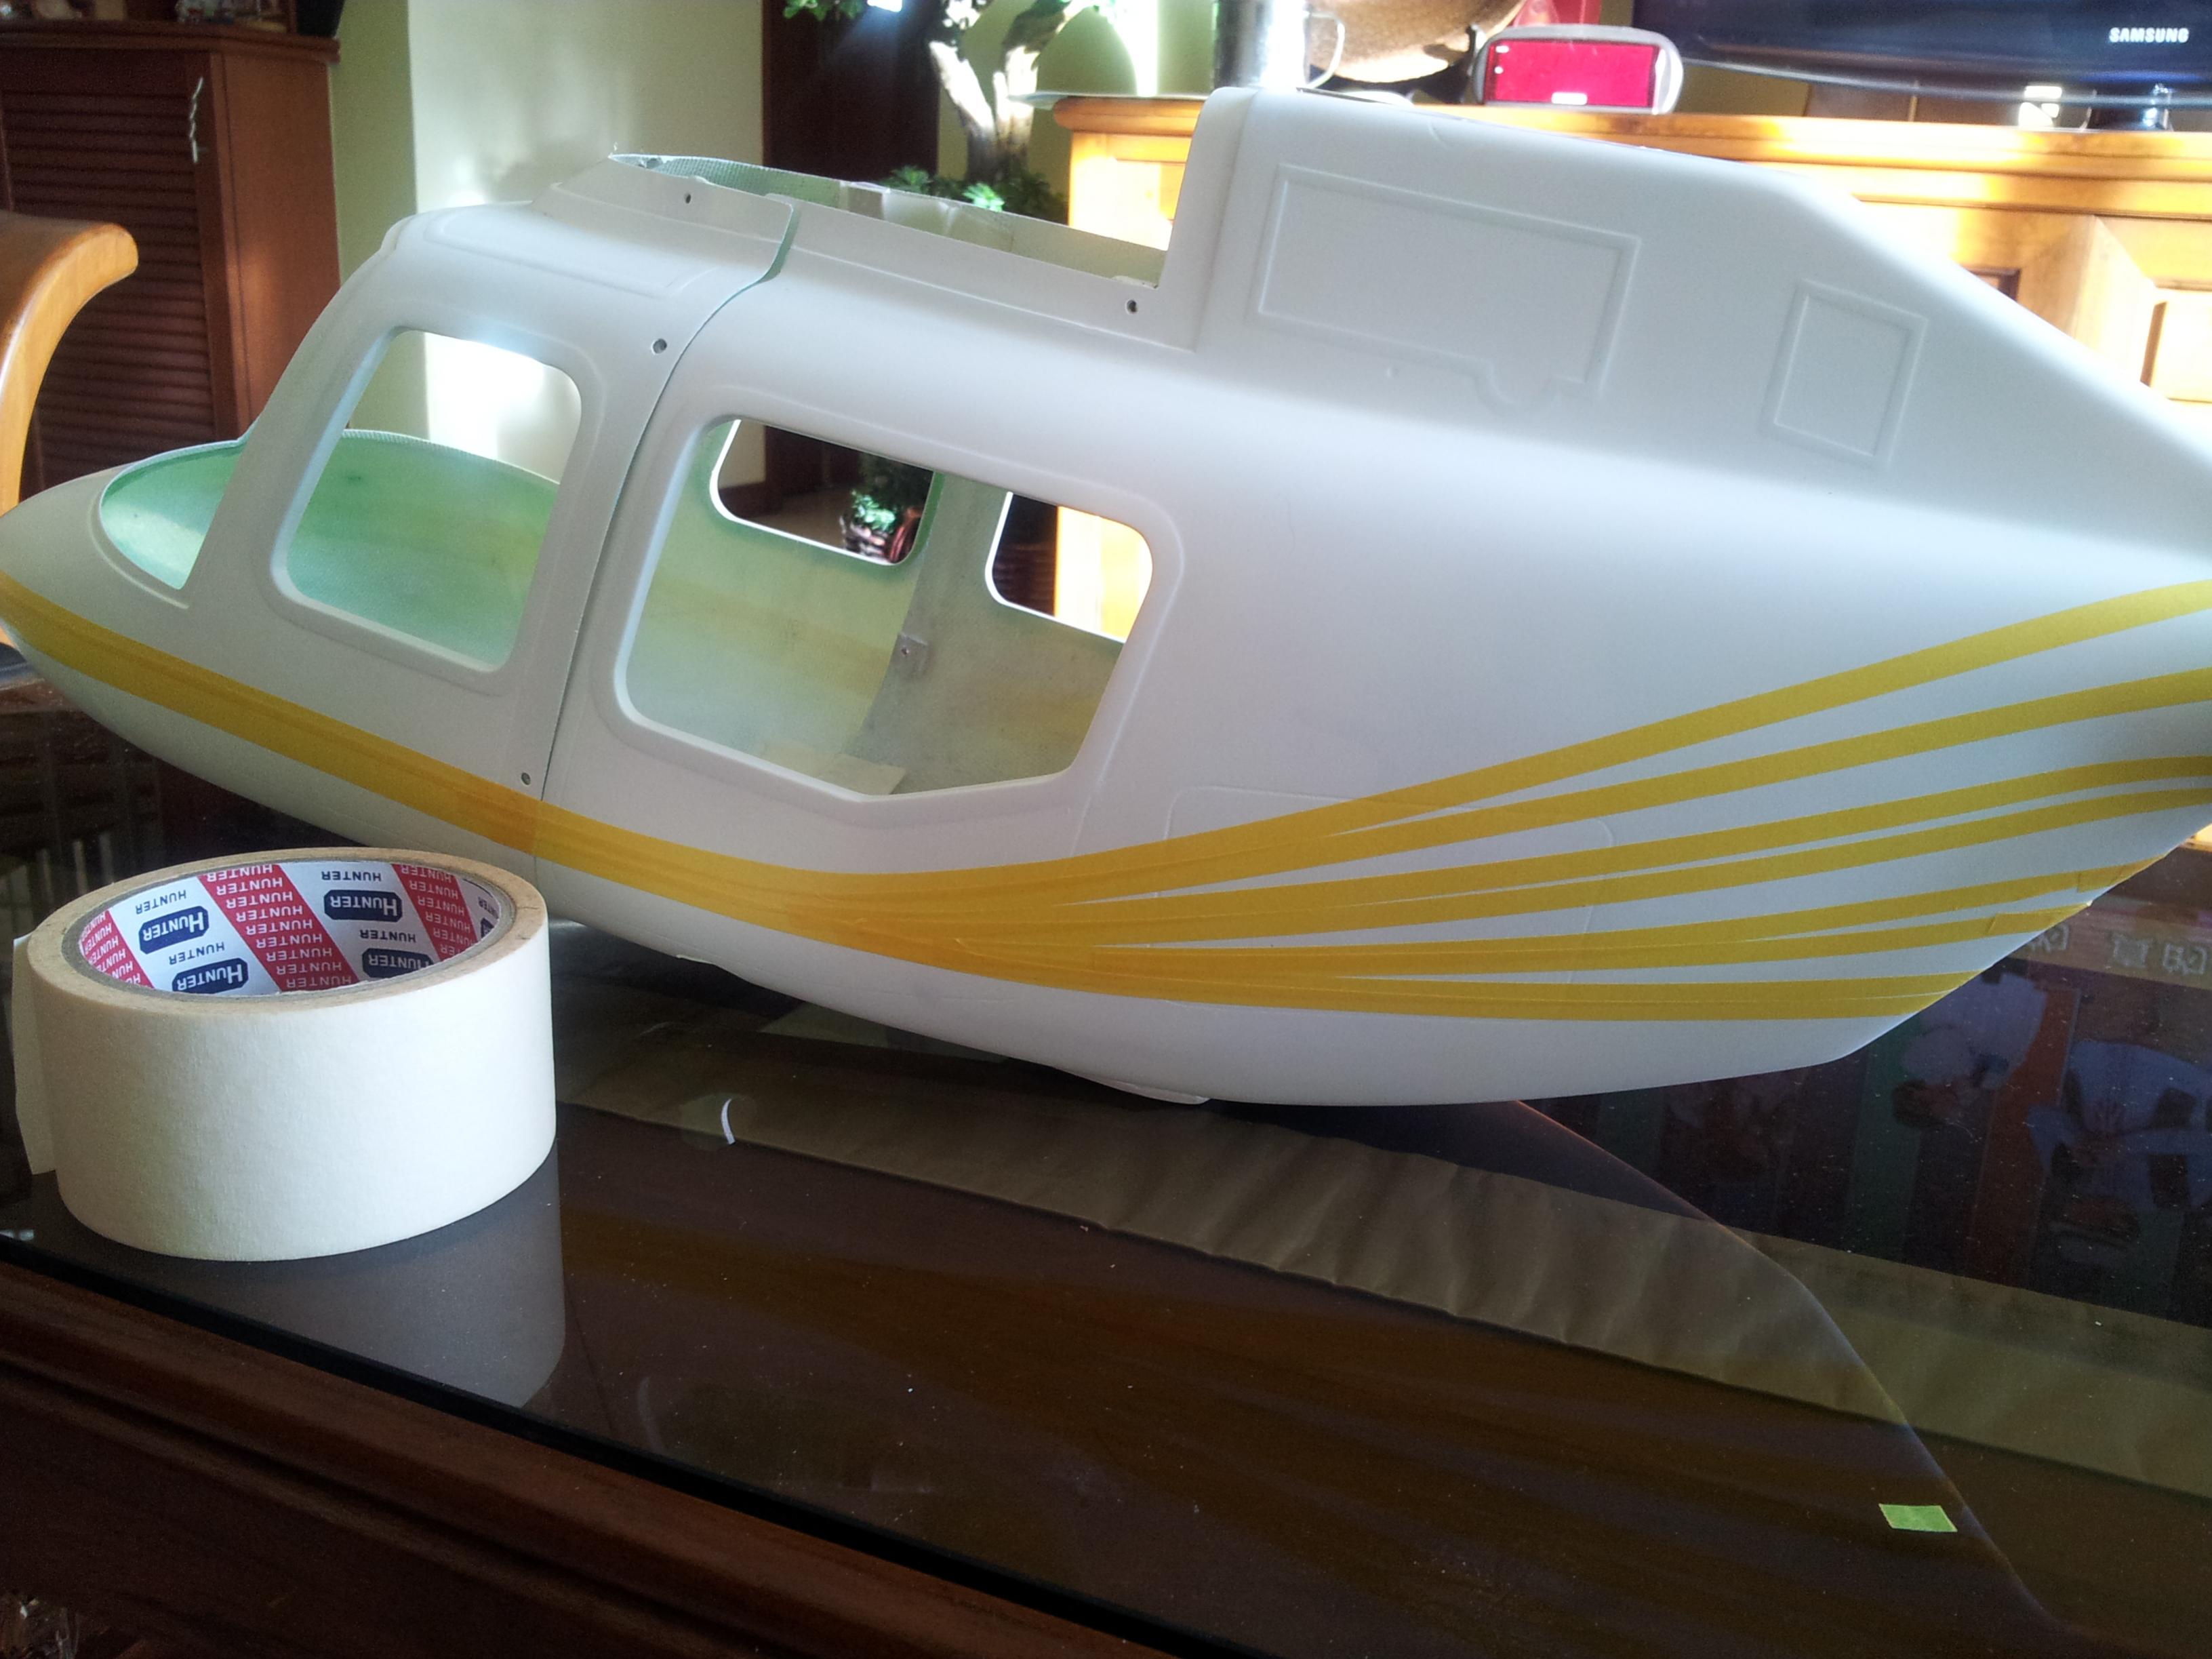
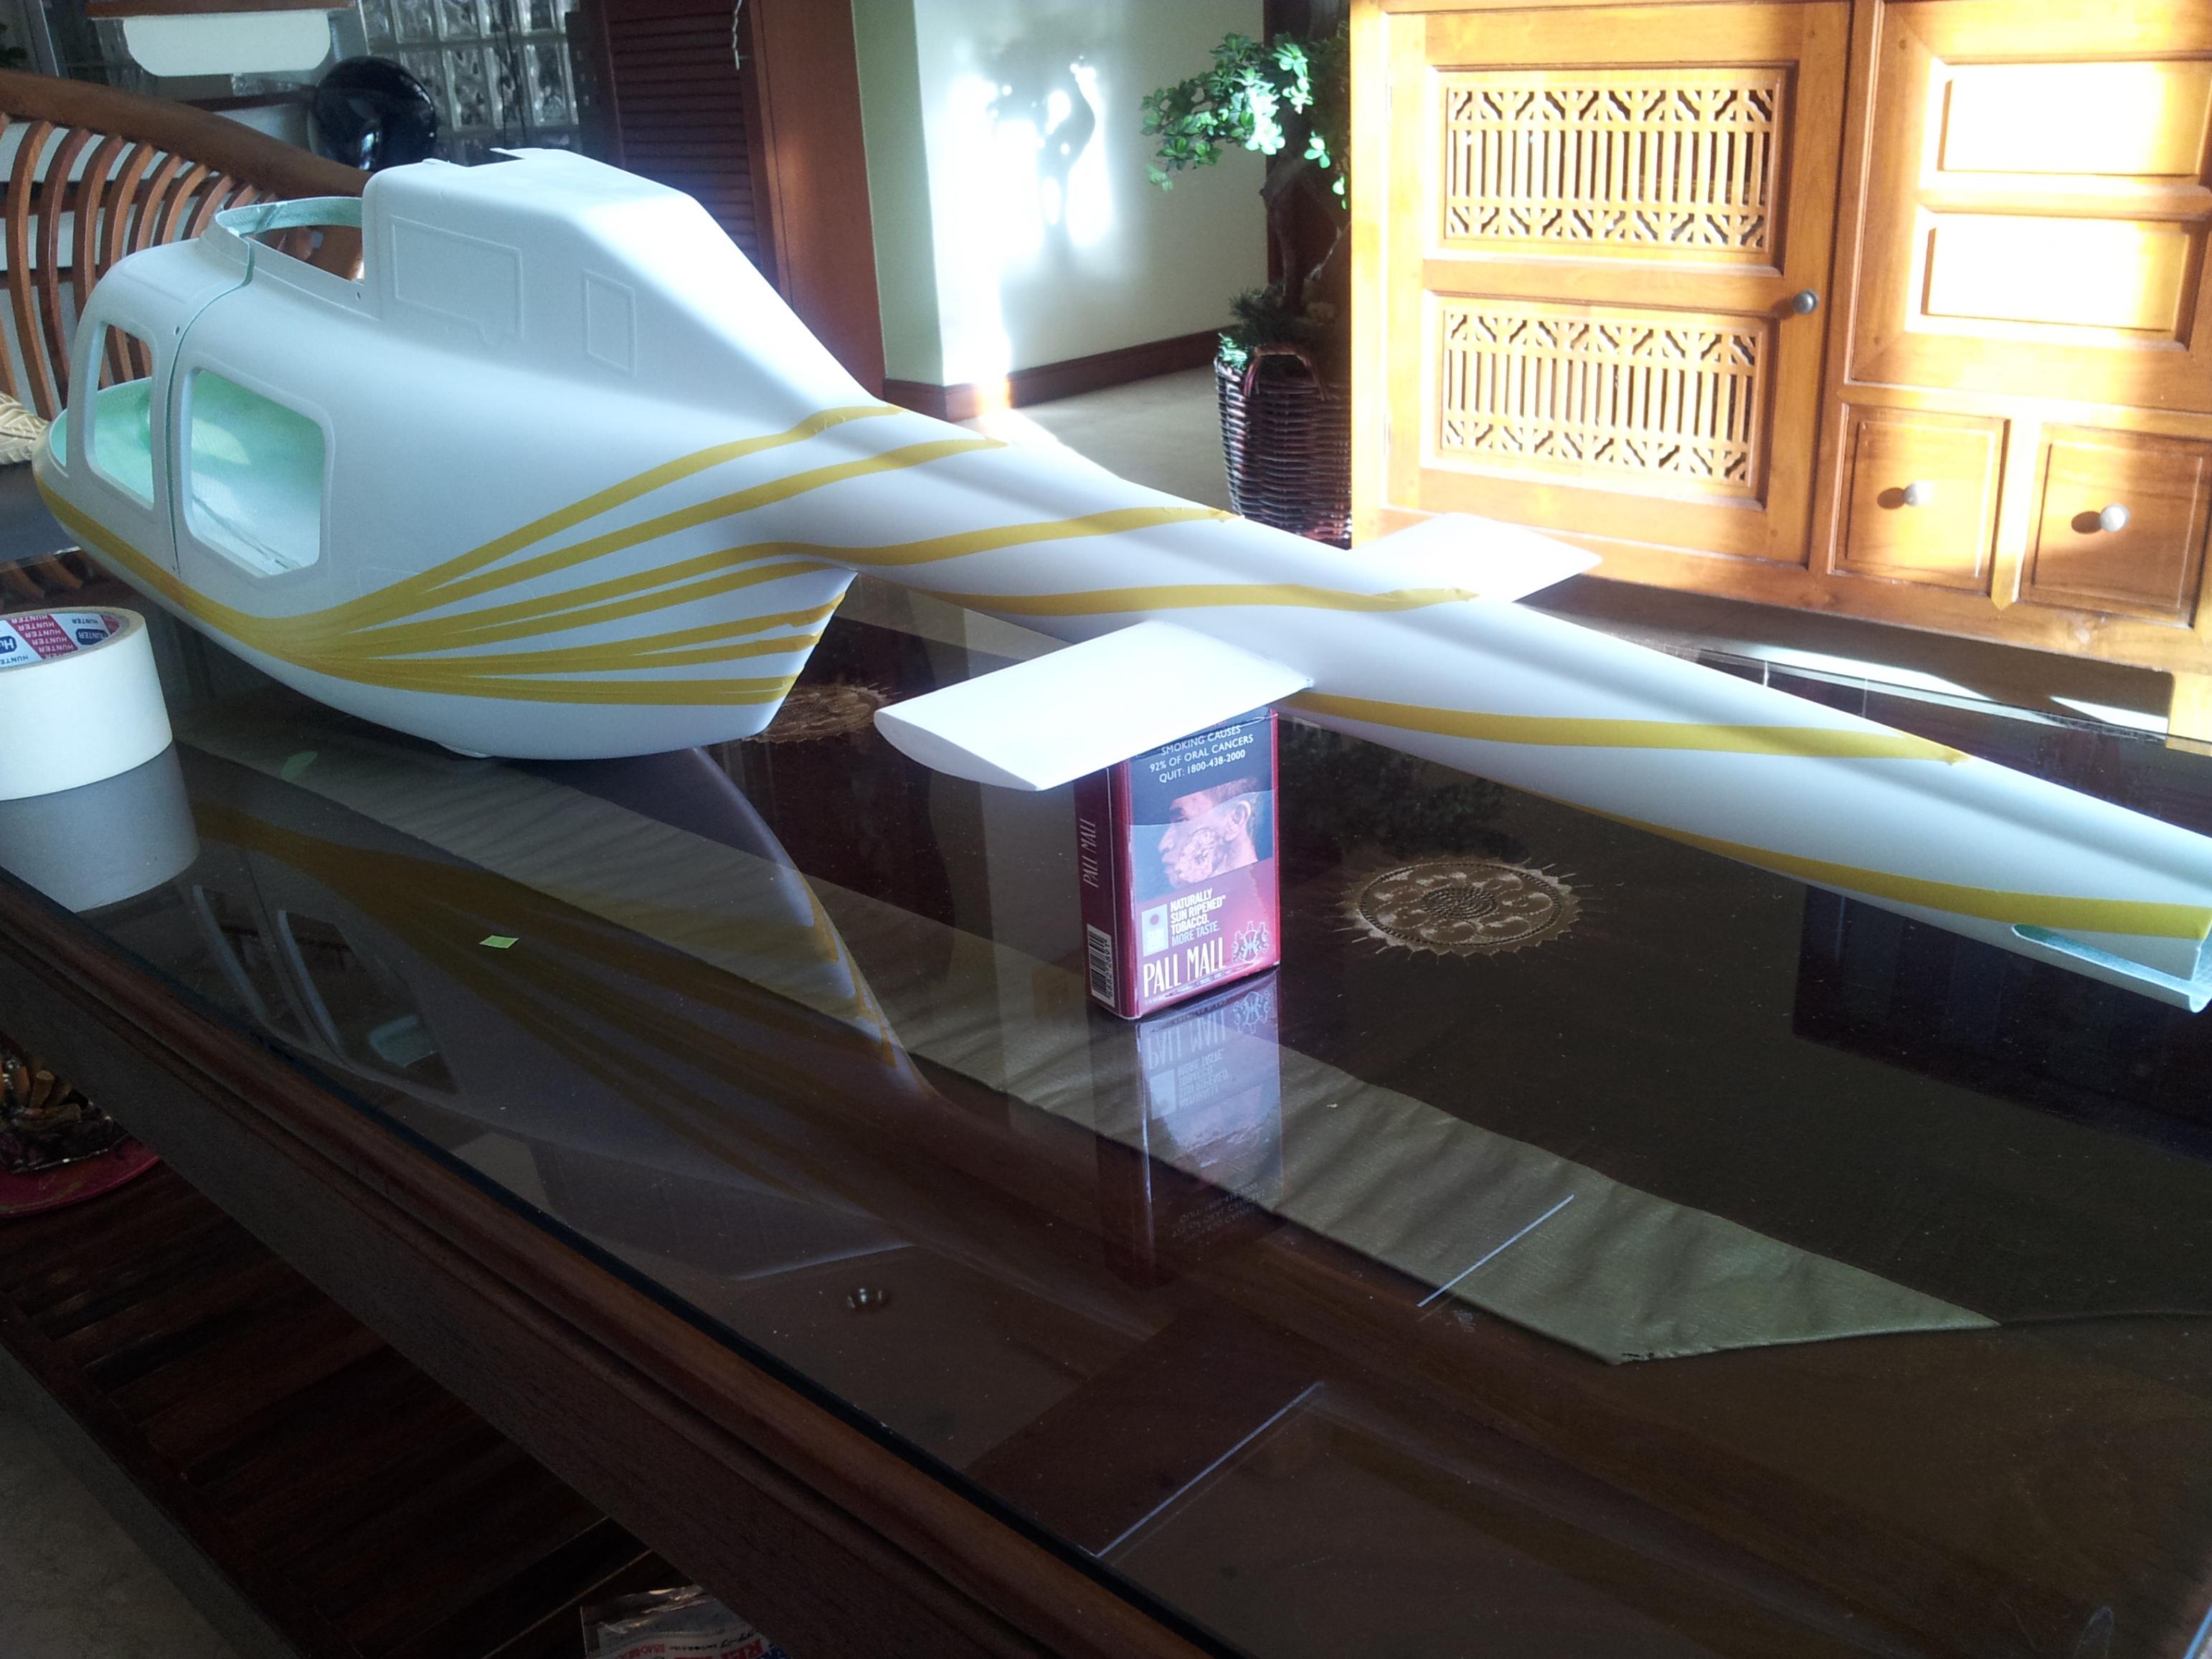
 :
: ). Ask a custom paint/custom airbrush spray shop(e.g. harleys spray shop or custom airbrush or higher end custom auto shop that sprays candy 2 tones colours)
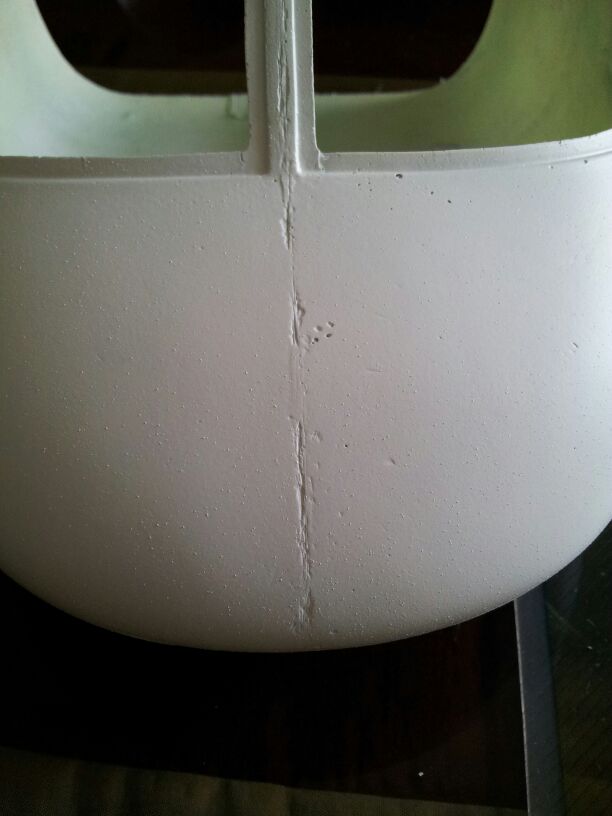


Comment