hi all i have been building this model for a few times now and had made many mistakes at beginning.GWS planes are good and can last you very long if you do a proper build some instructions in the manual will make you crash trust me i have experienced it all.so to save you the $$$ and time i will like to post on how i built mine.i will not post a full build guide as there is a colorful instruction detail enough for you to follow i am only providing tips and guide lines.
btw i will recommend anyone to build and fly this plane it is simply fun and beautiful worth all your effort and you will be proud of your build at the end of the day.anyway great trainer if you are looking for a first plane to start with.super stable and crash proof to some extents, anyways also super easy fixings!
ok lets move on!
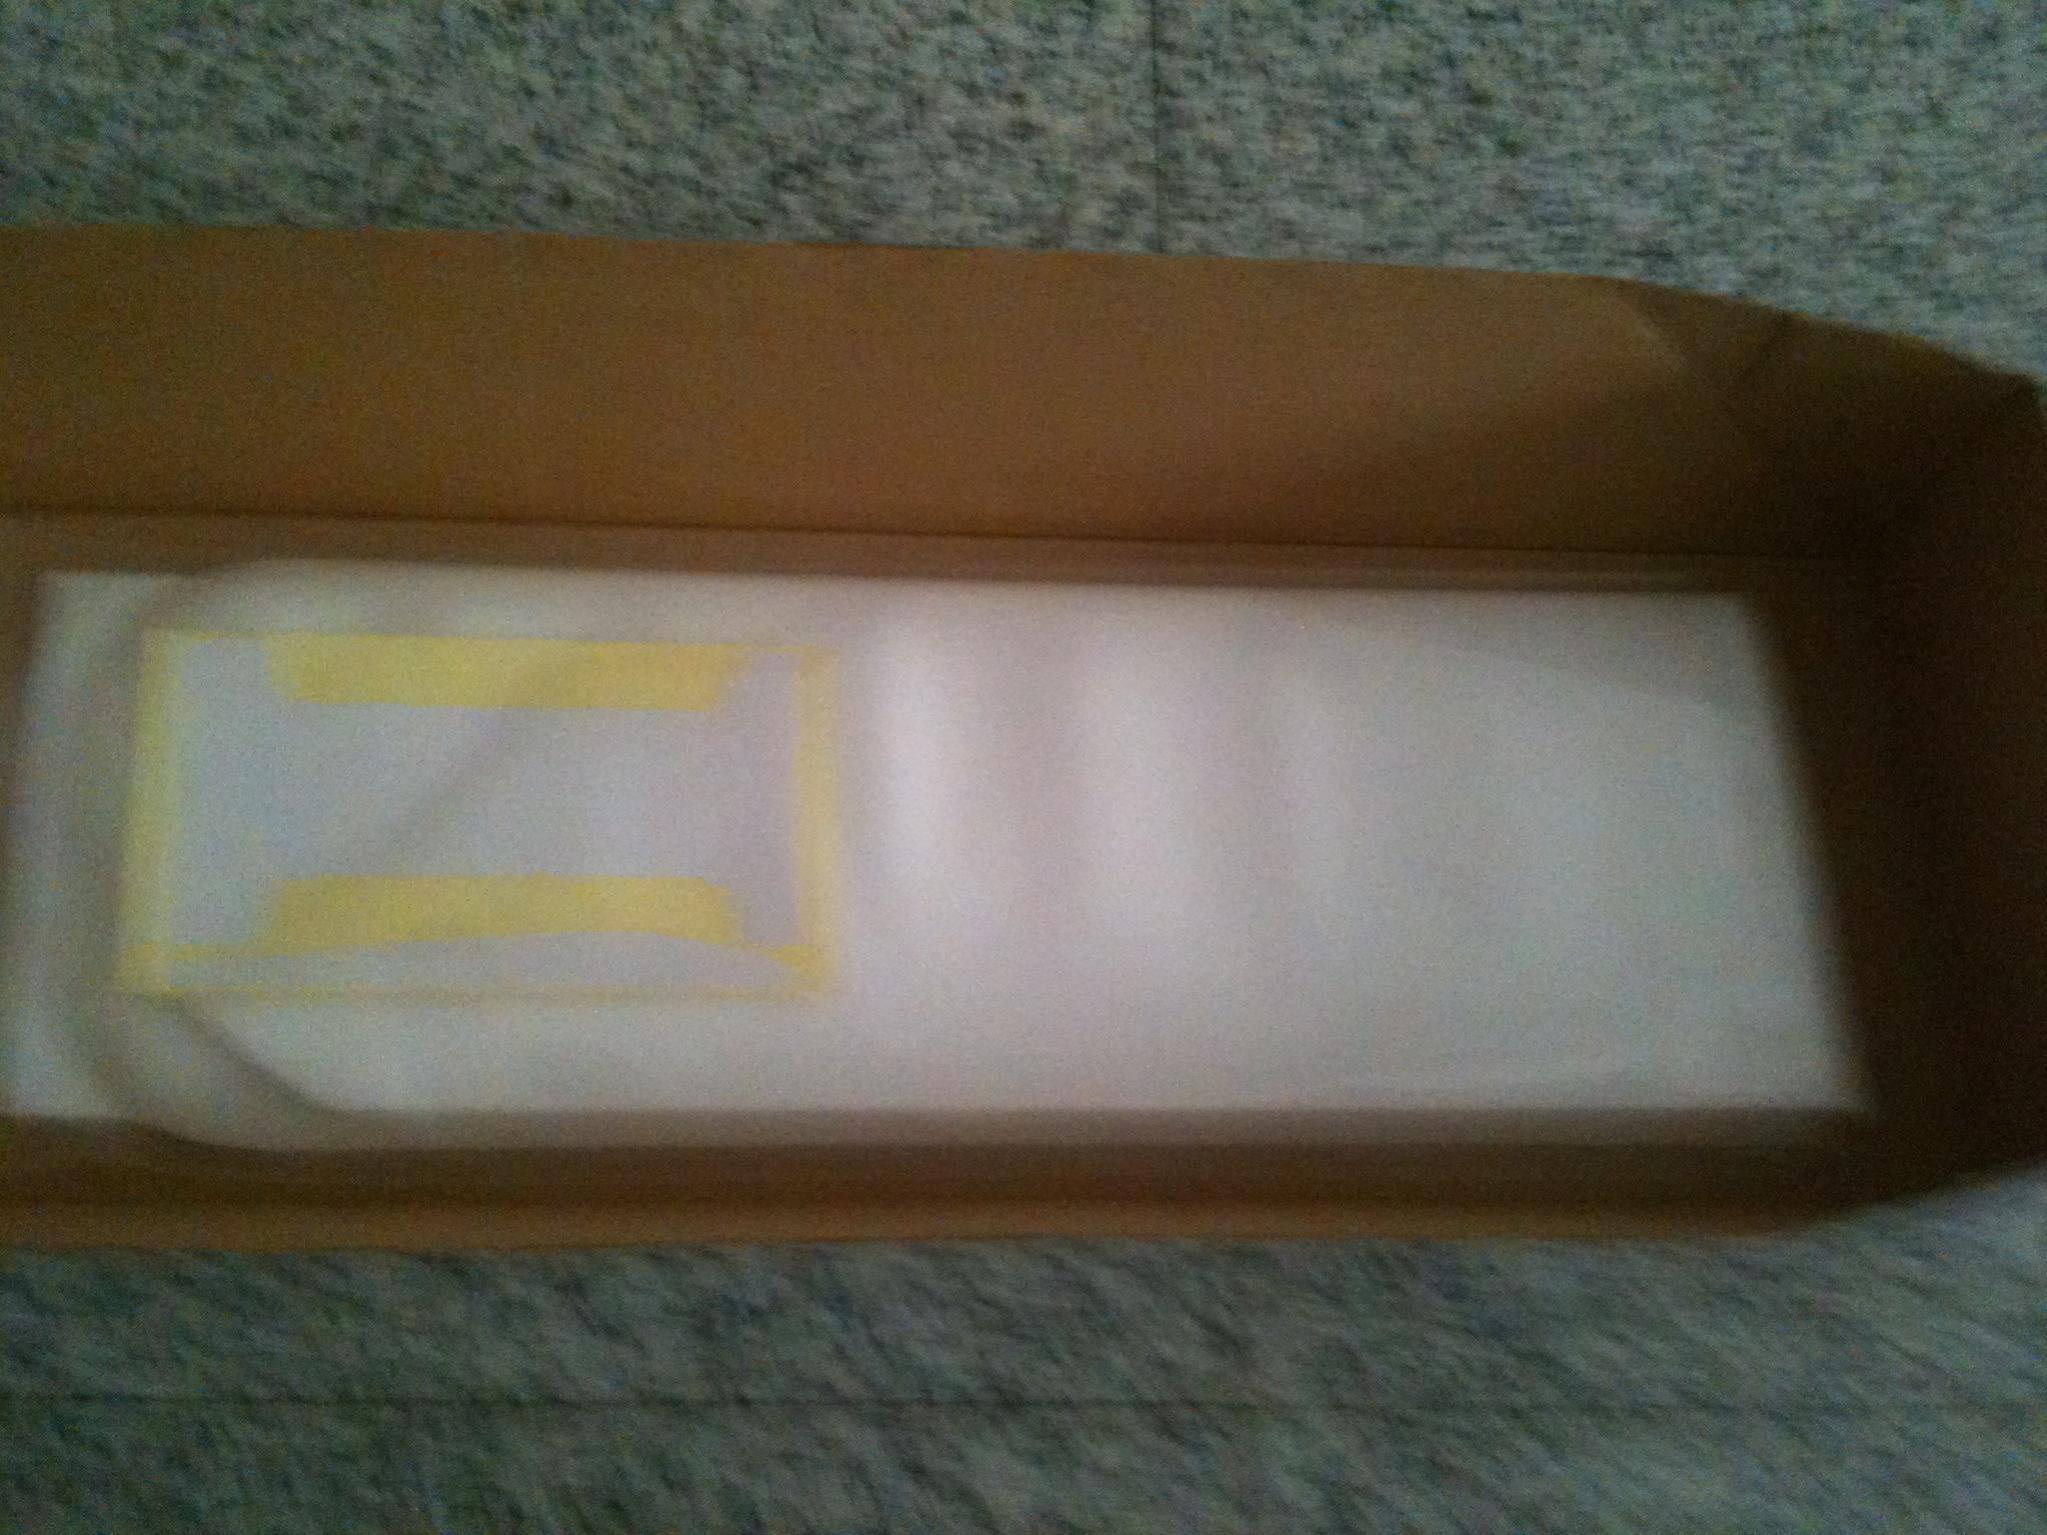
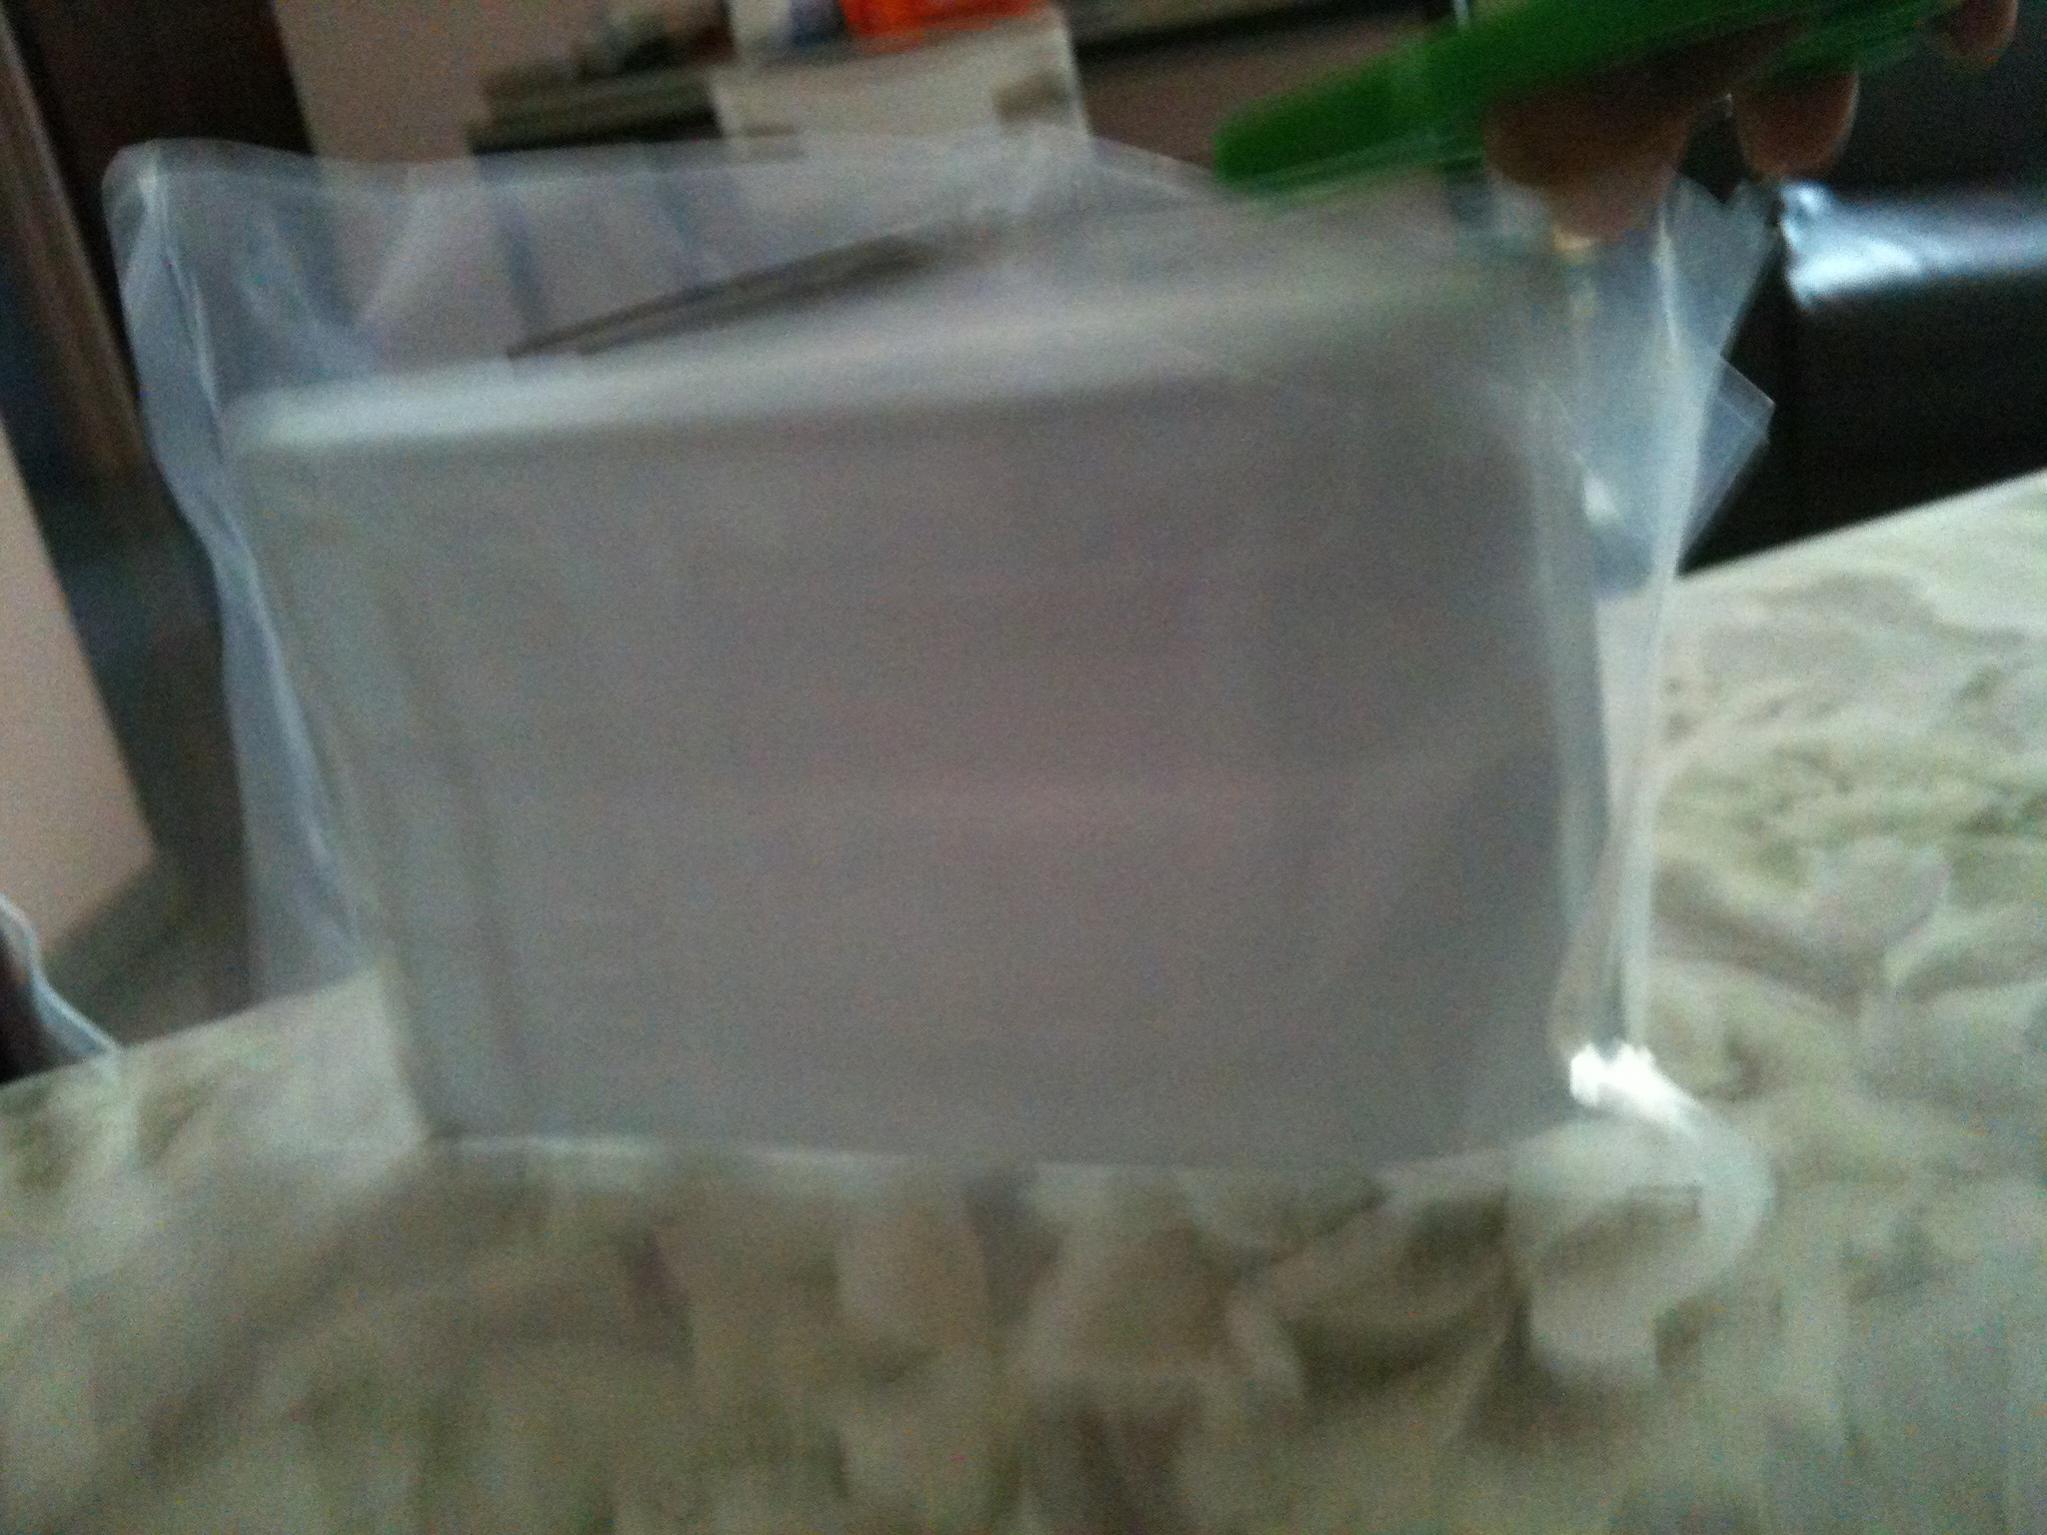
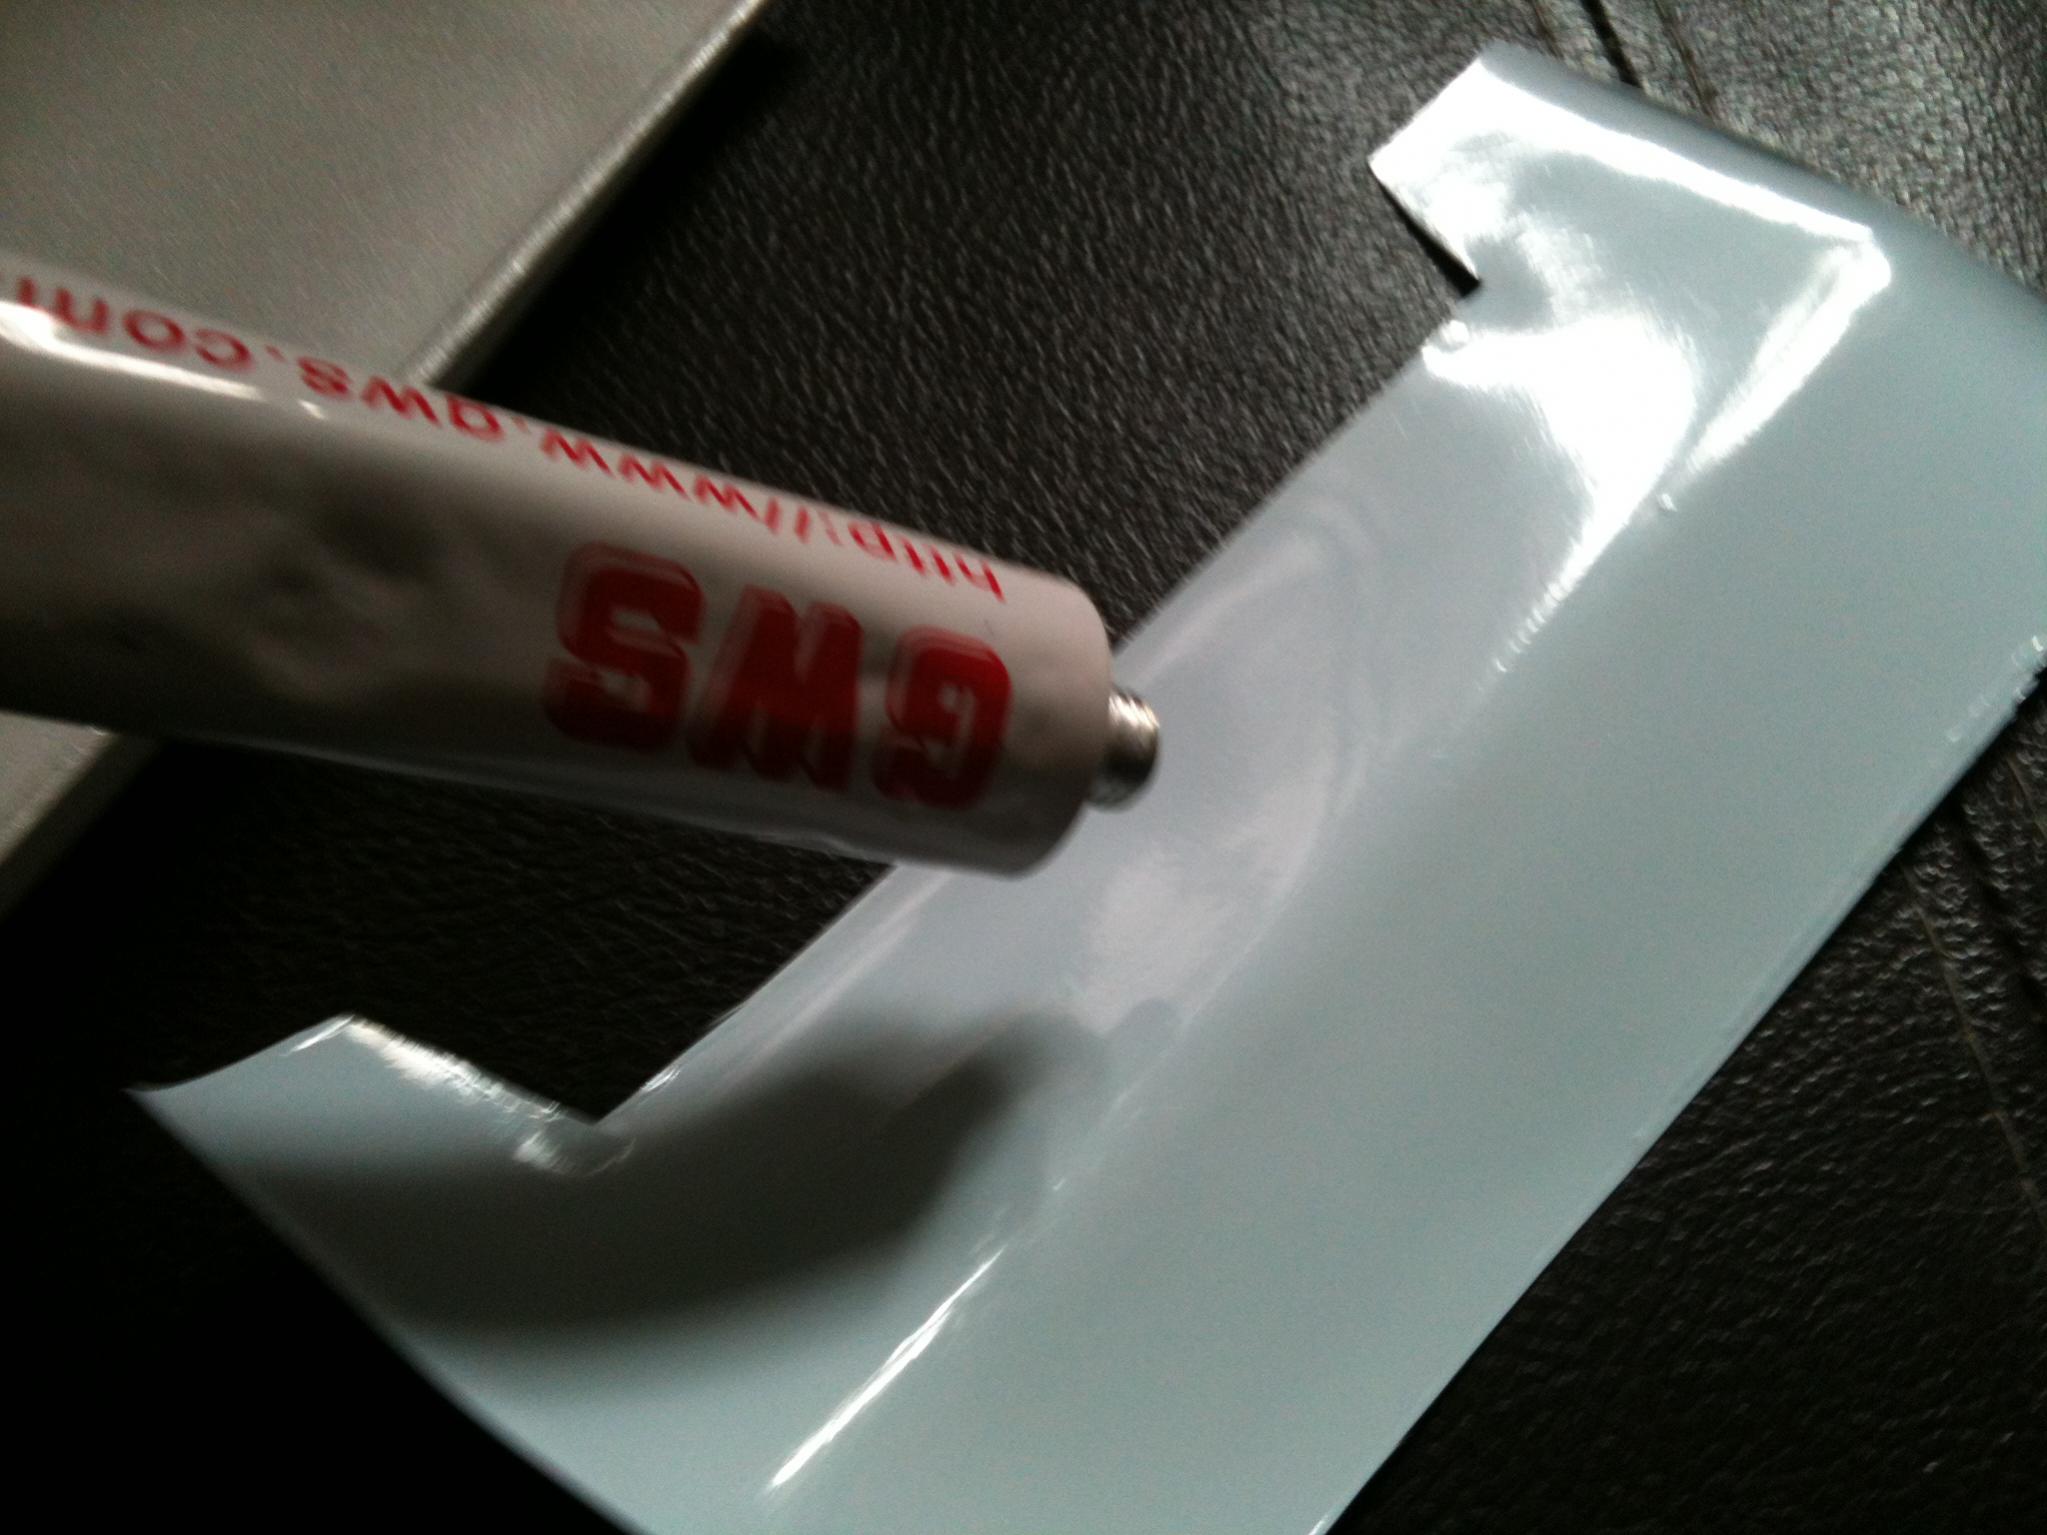
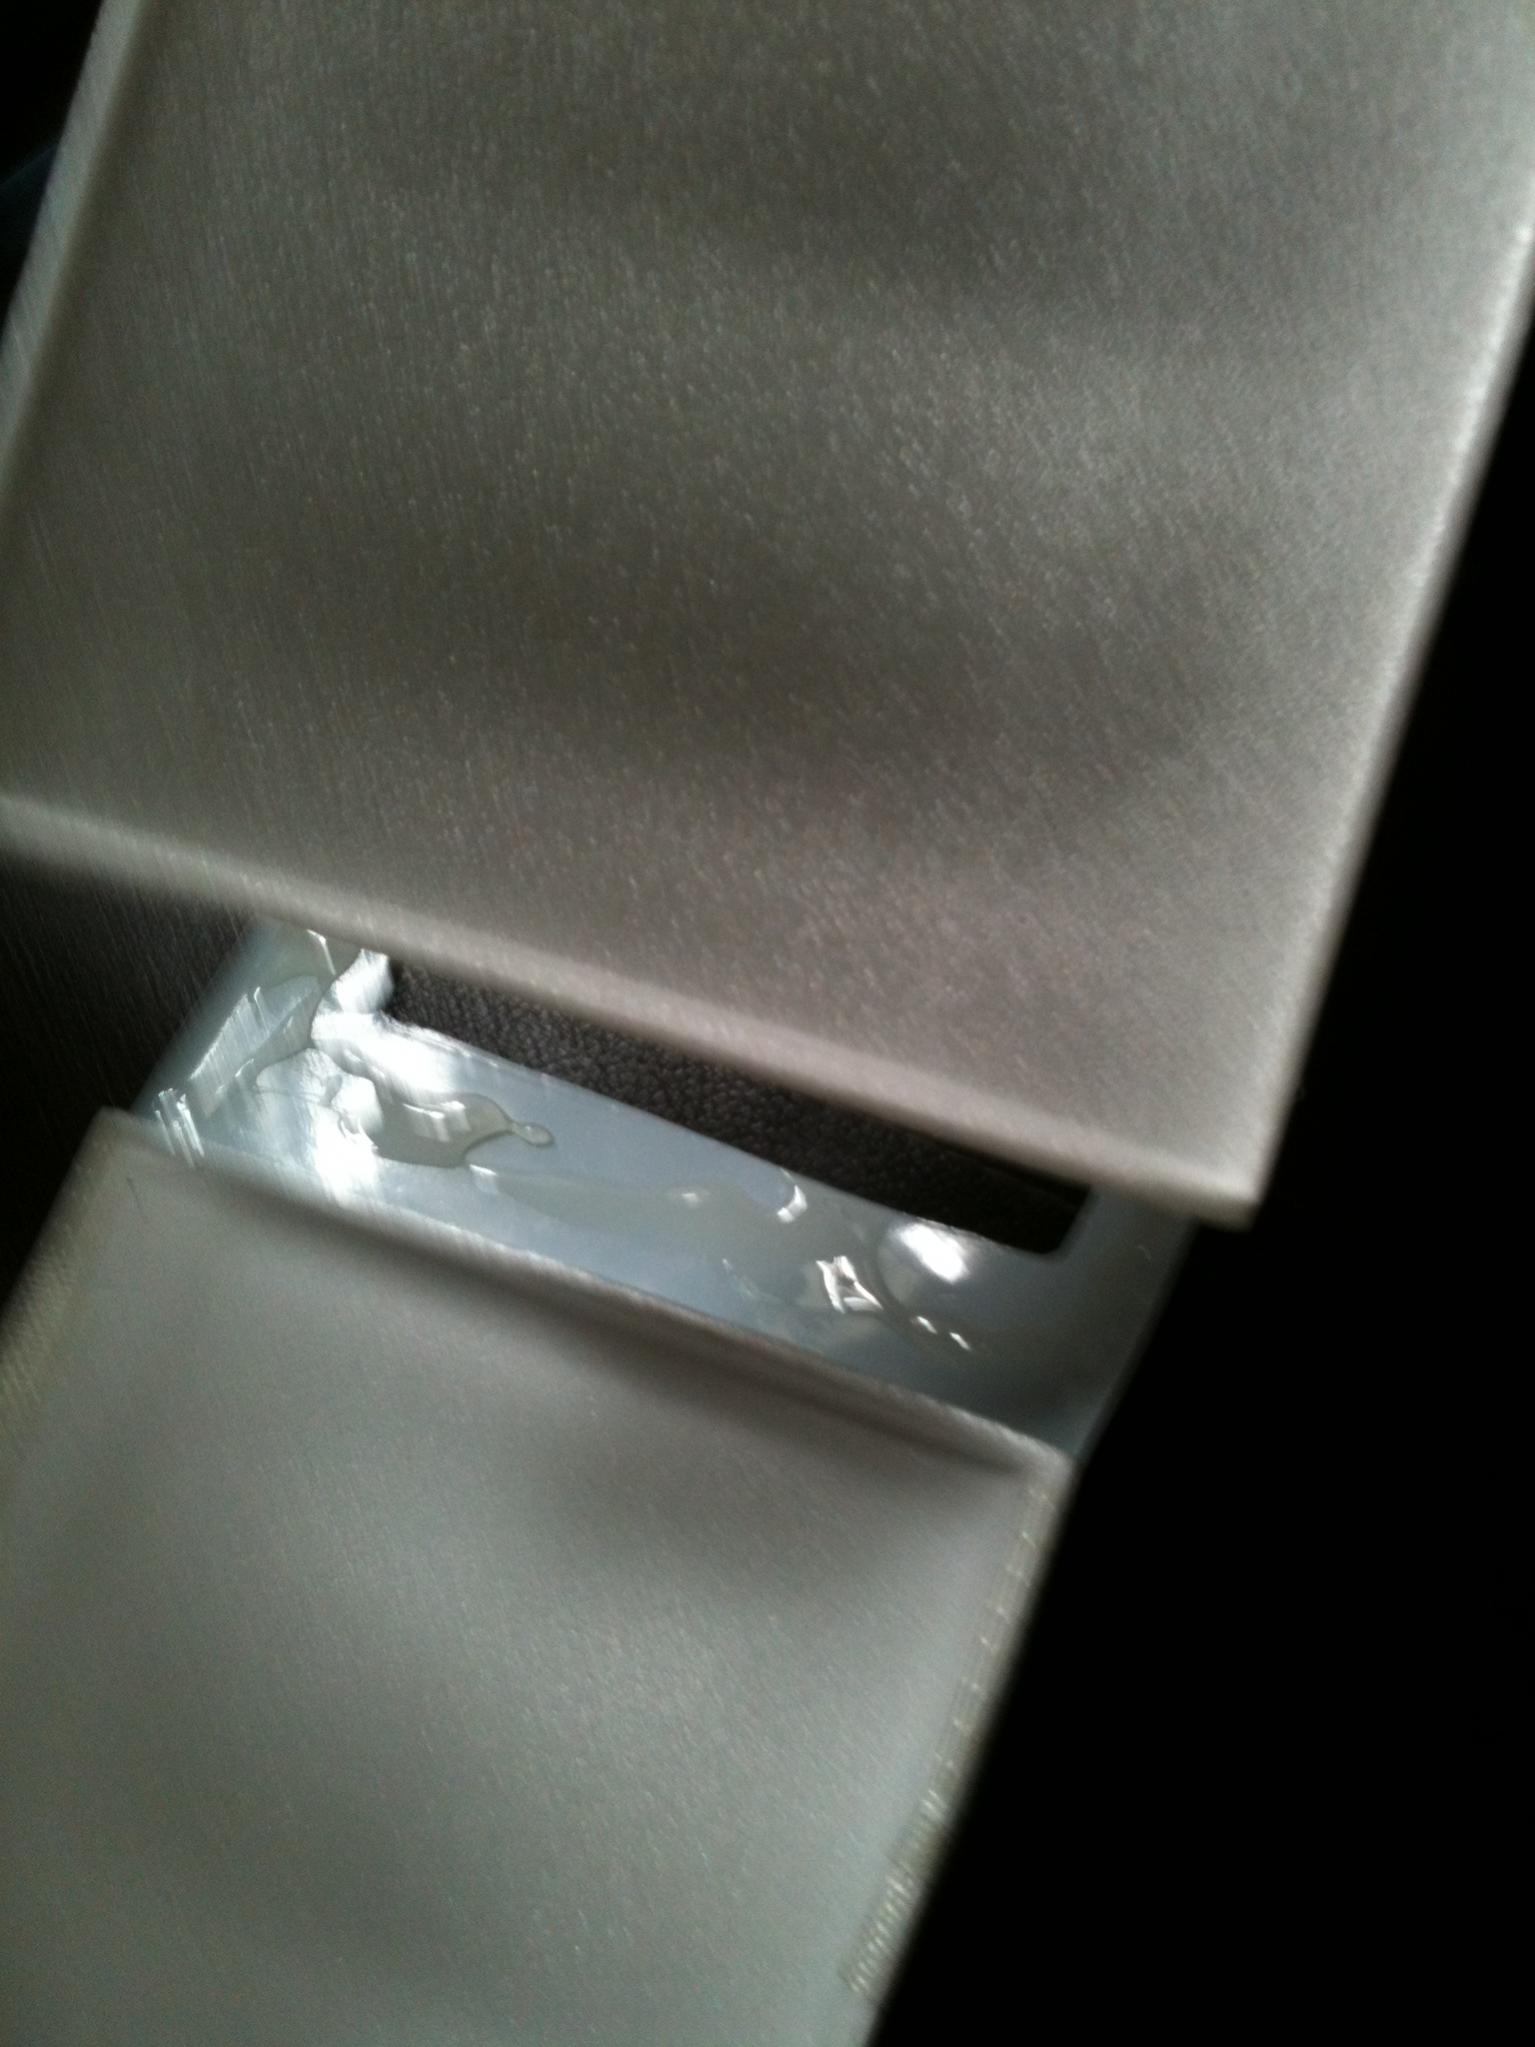
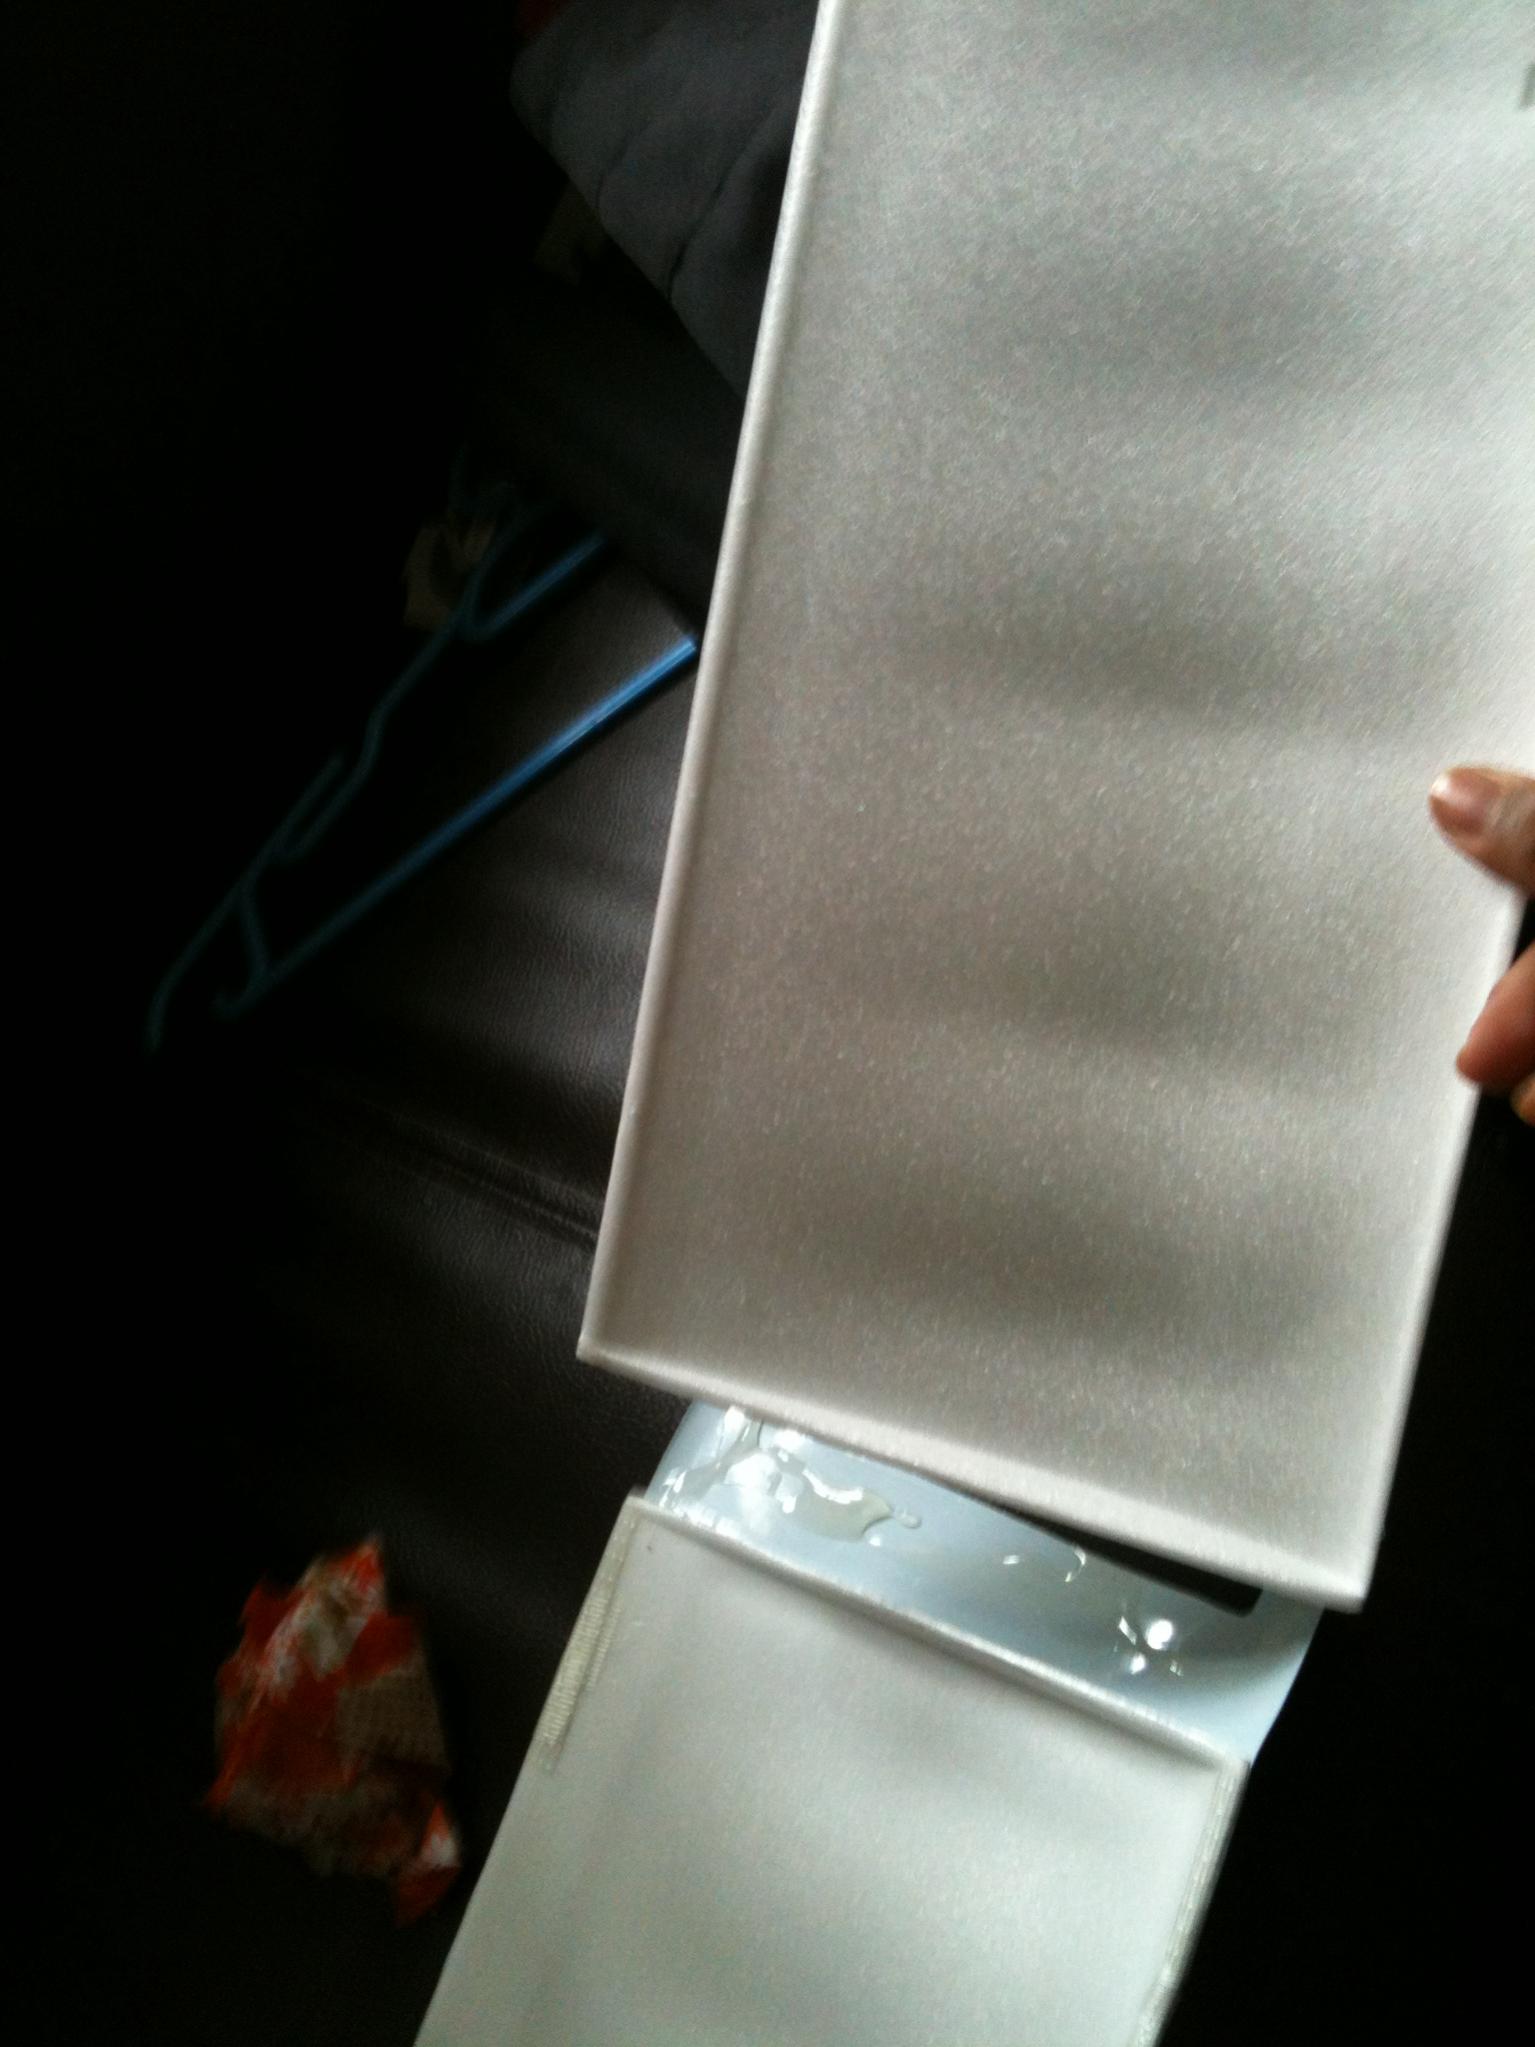
this is what will look like when you open up the box take out the accessories pack which contains a plastic formed "plate looking thing"


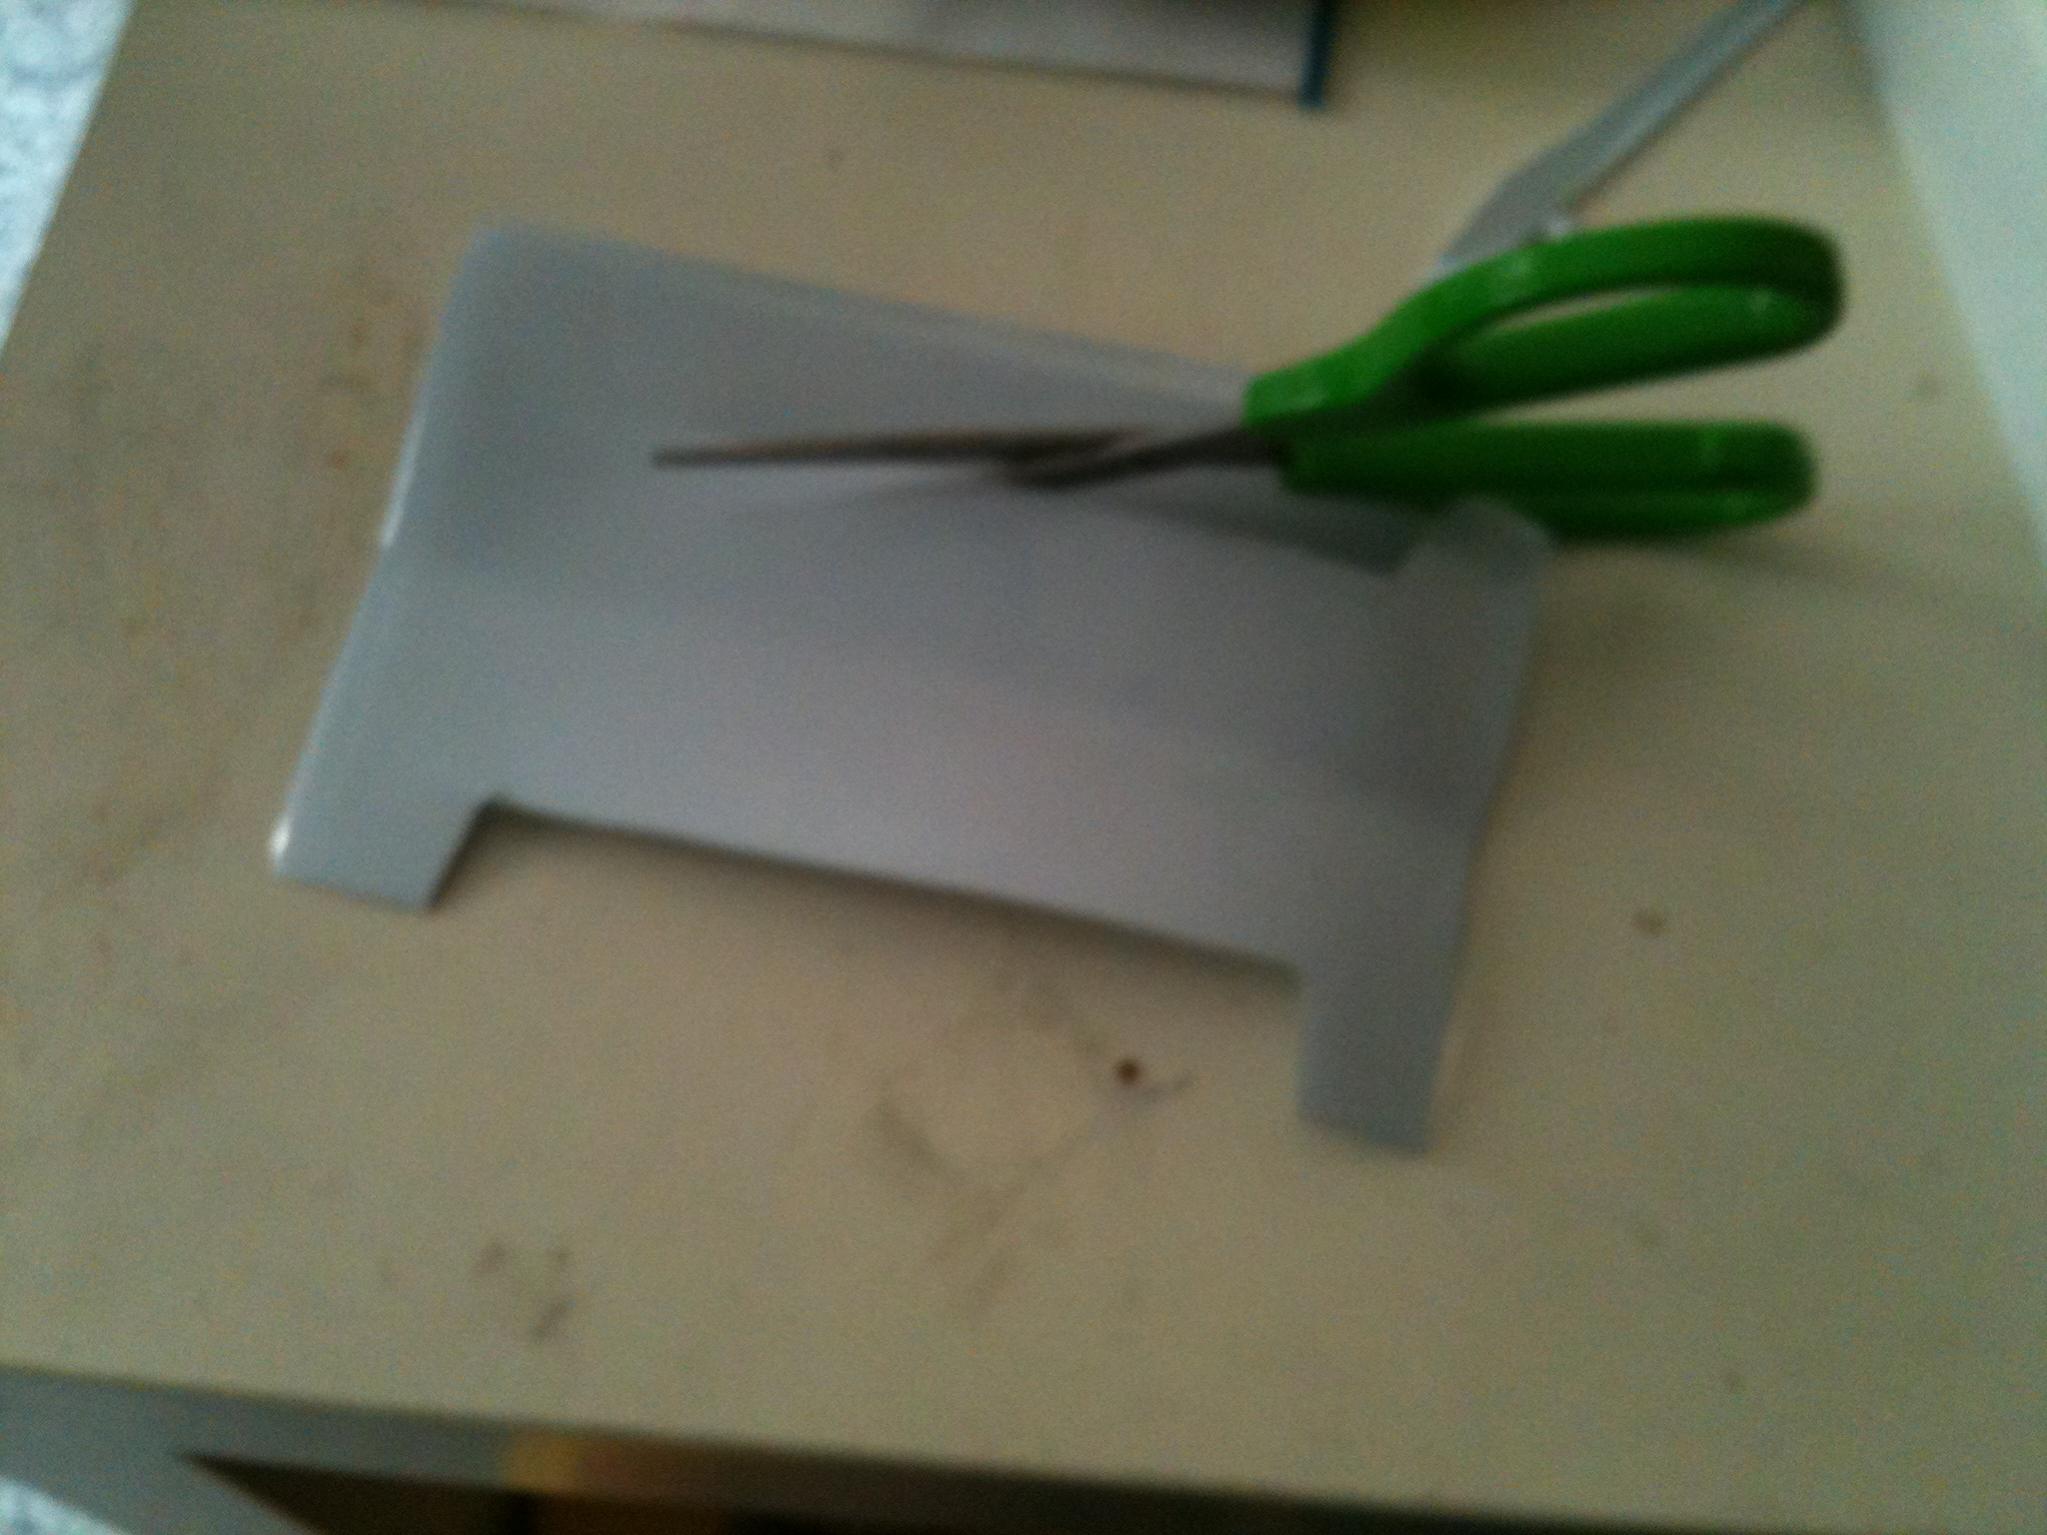
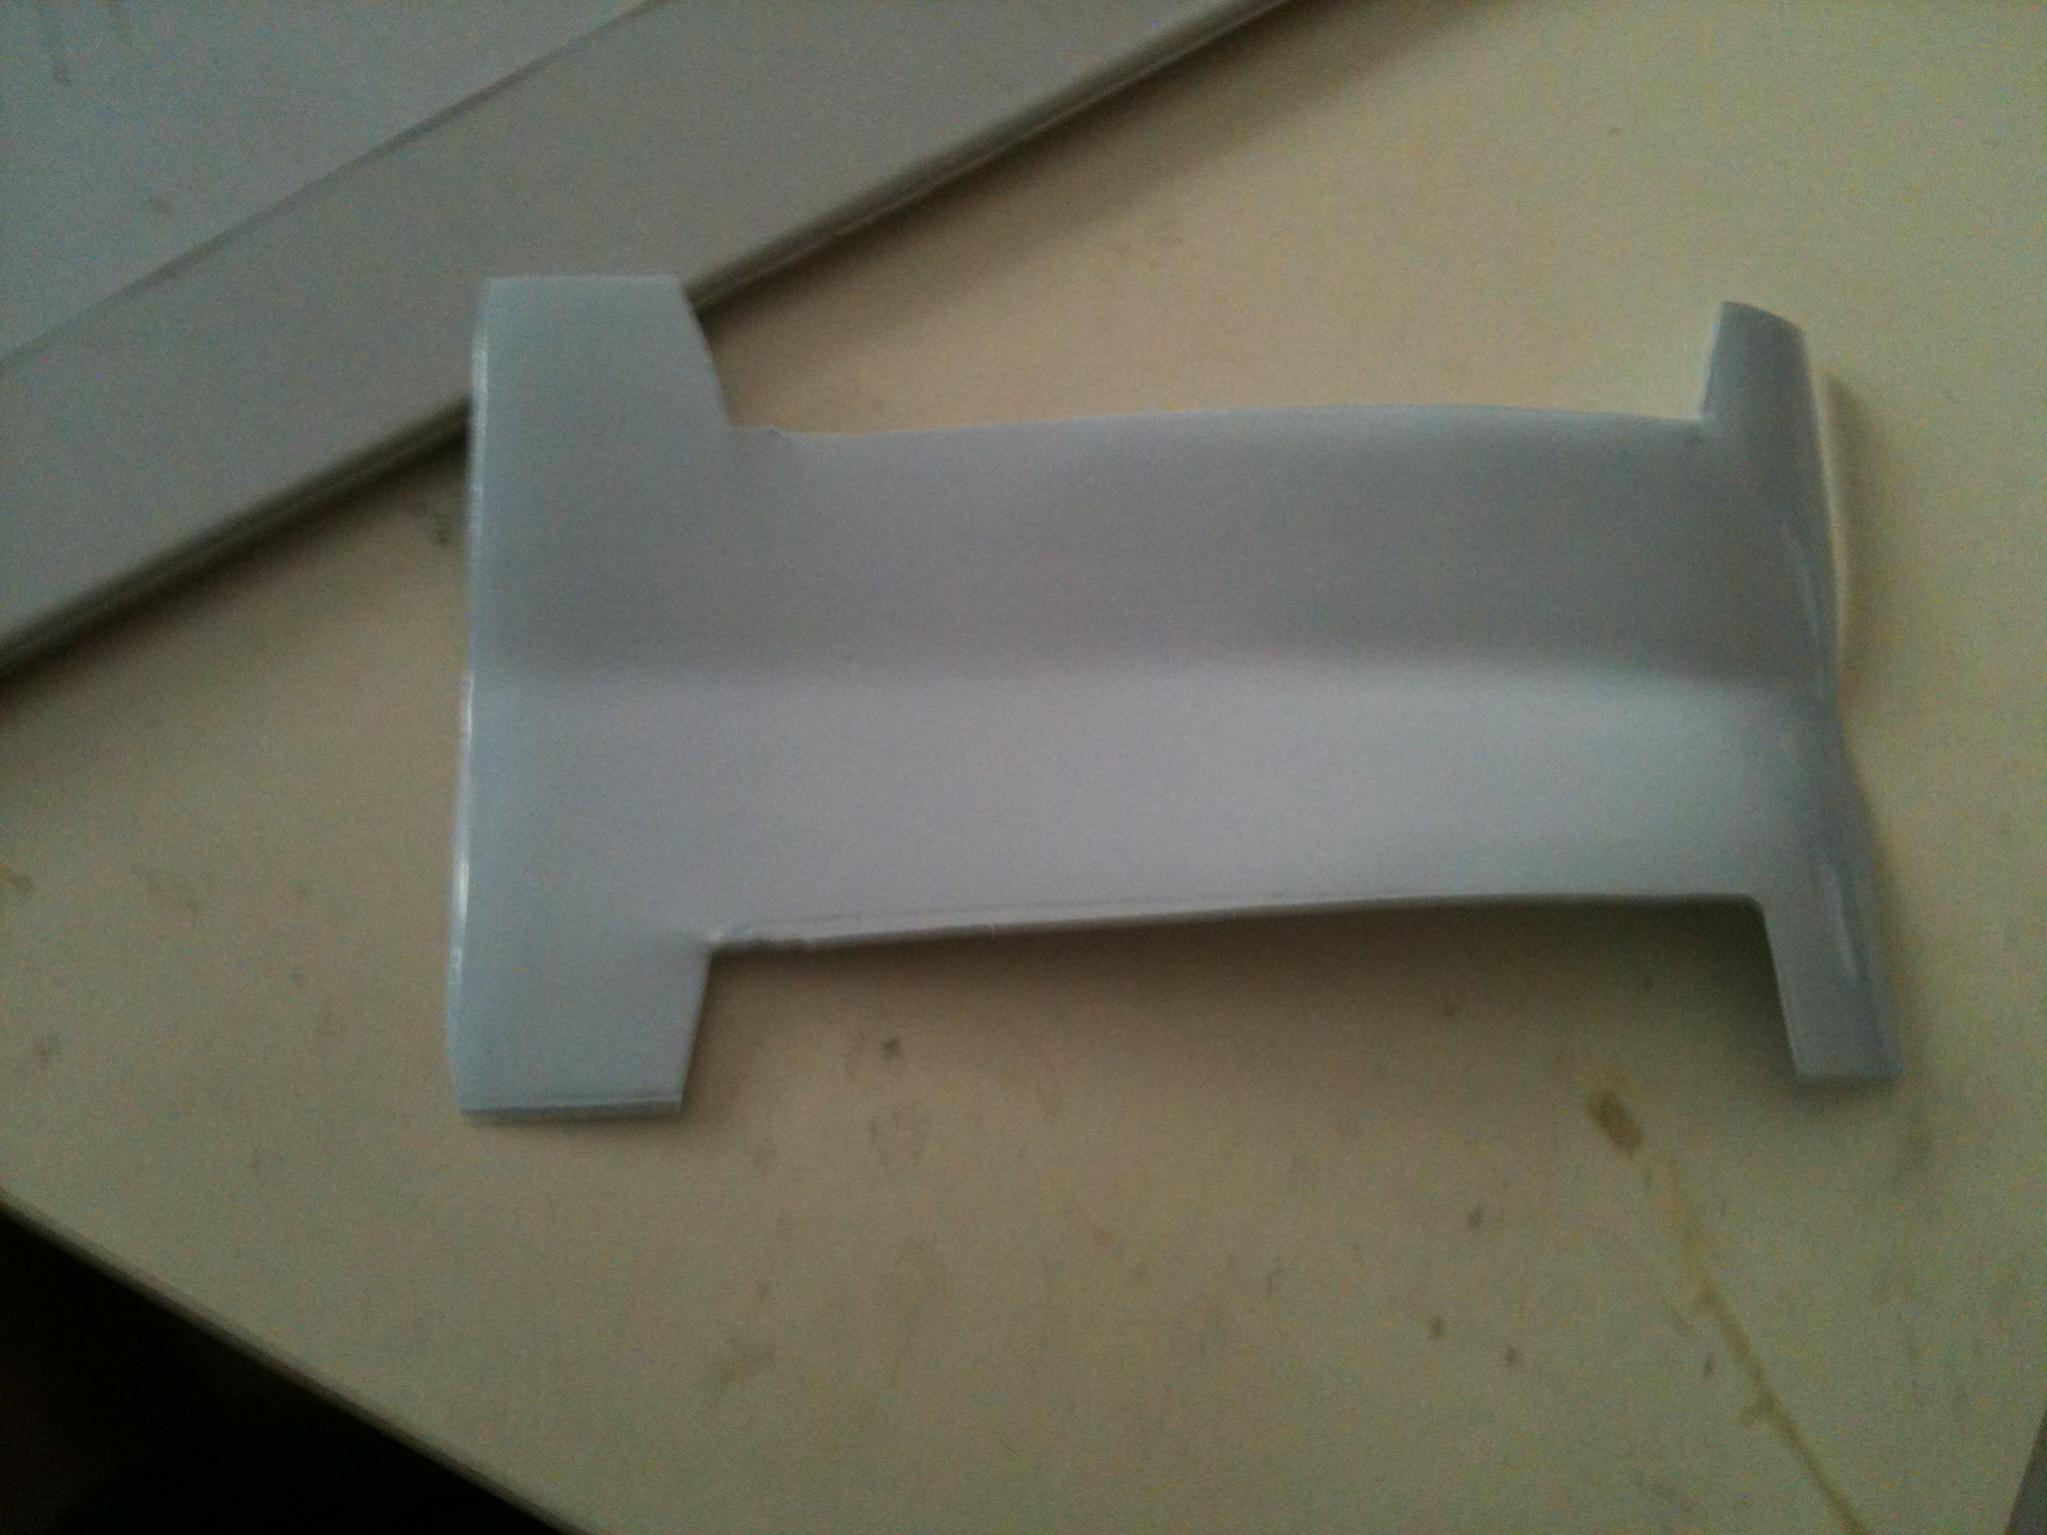
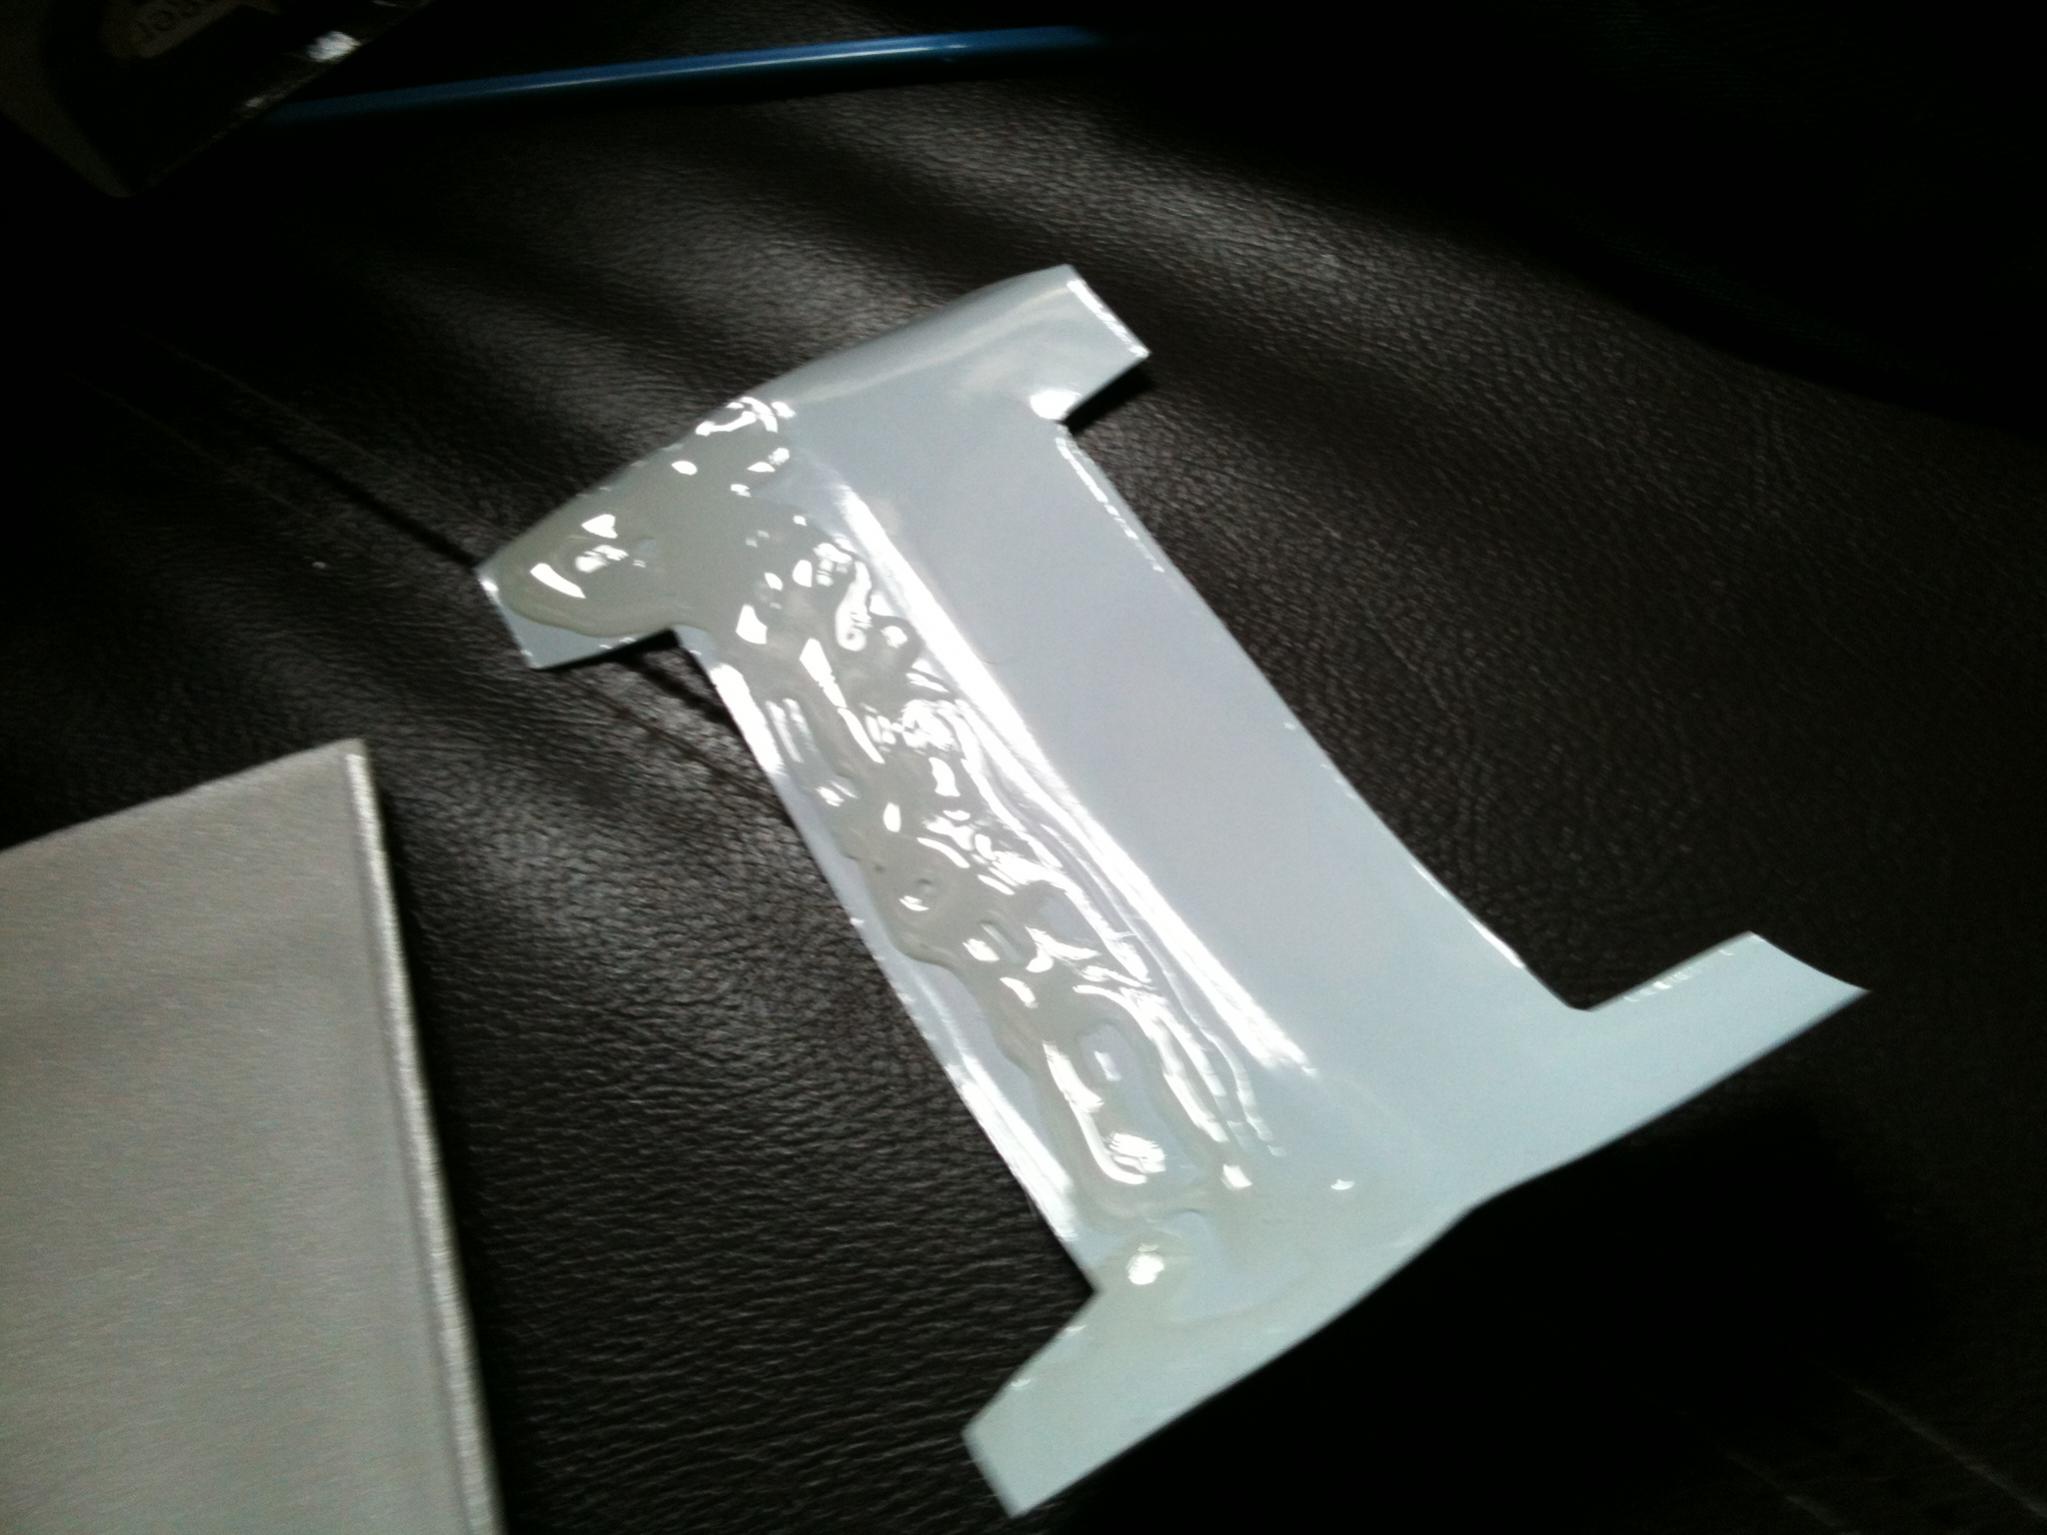
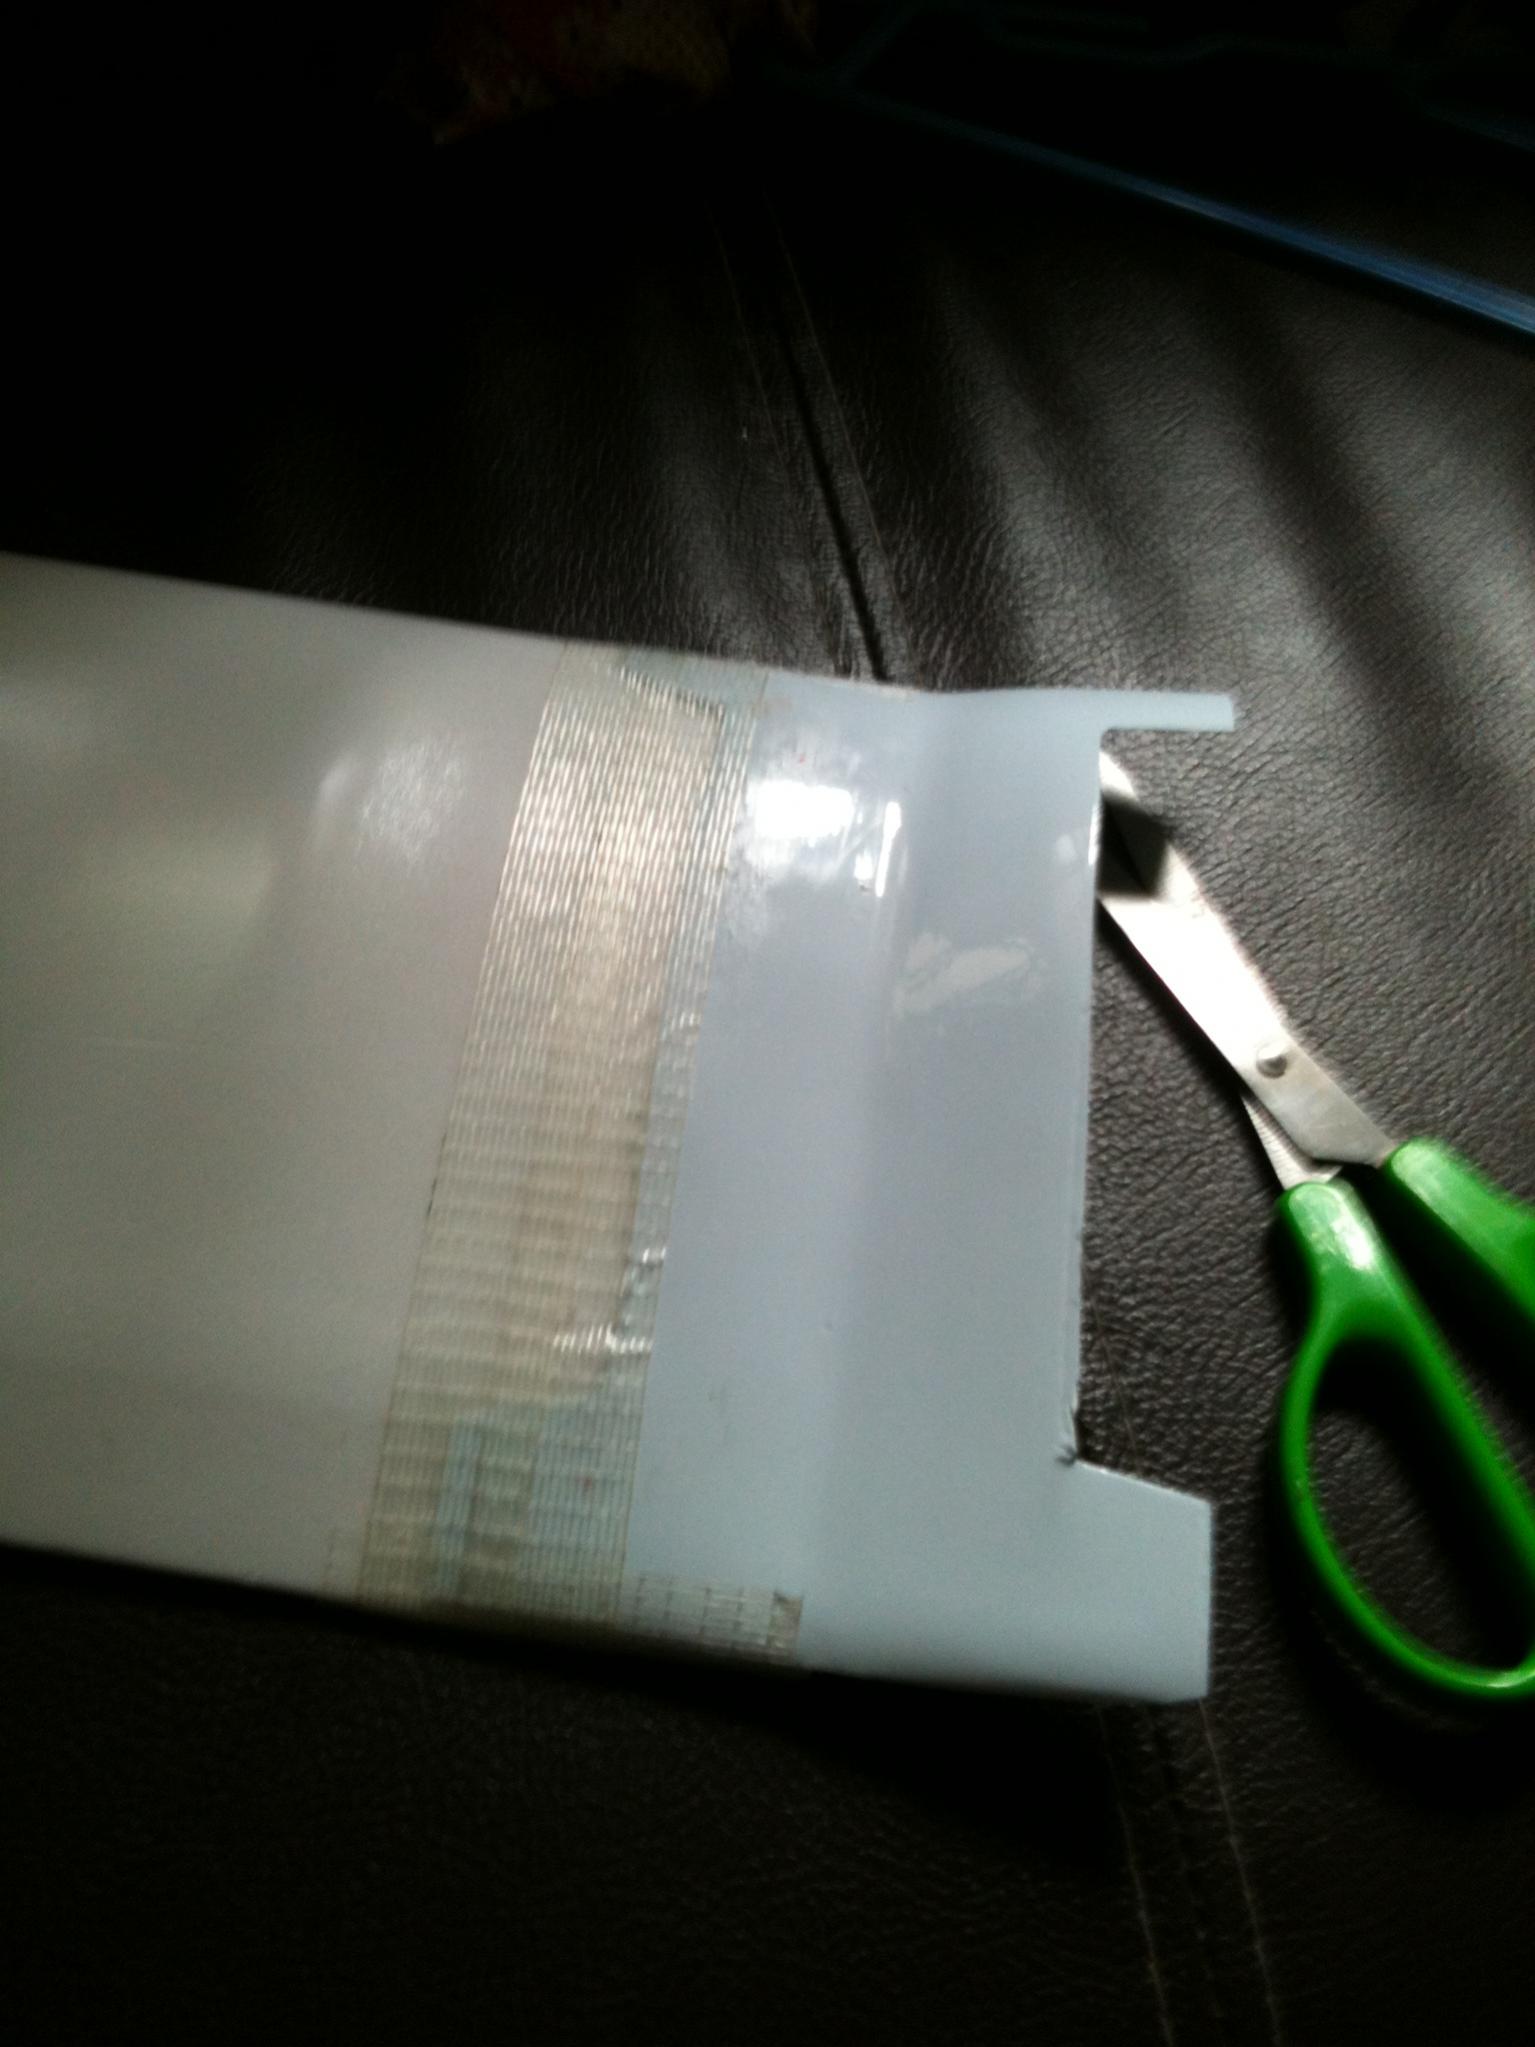
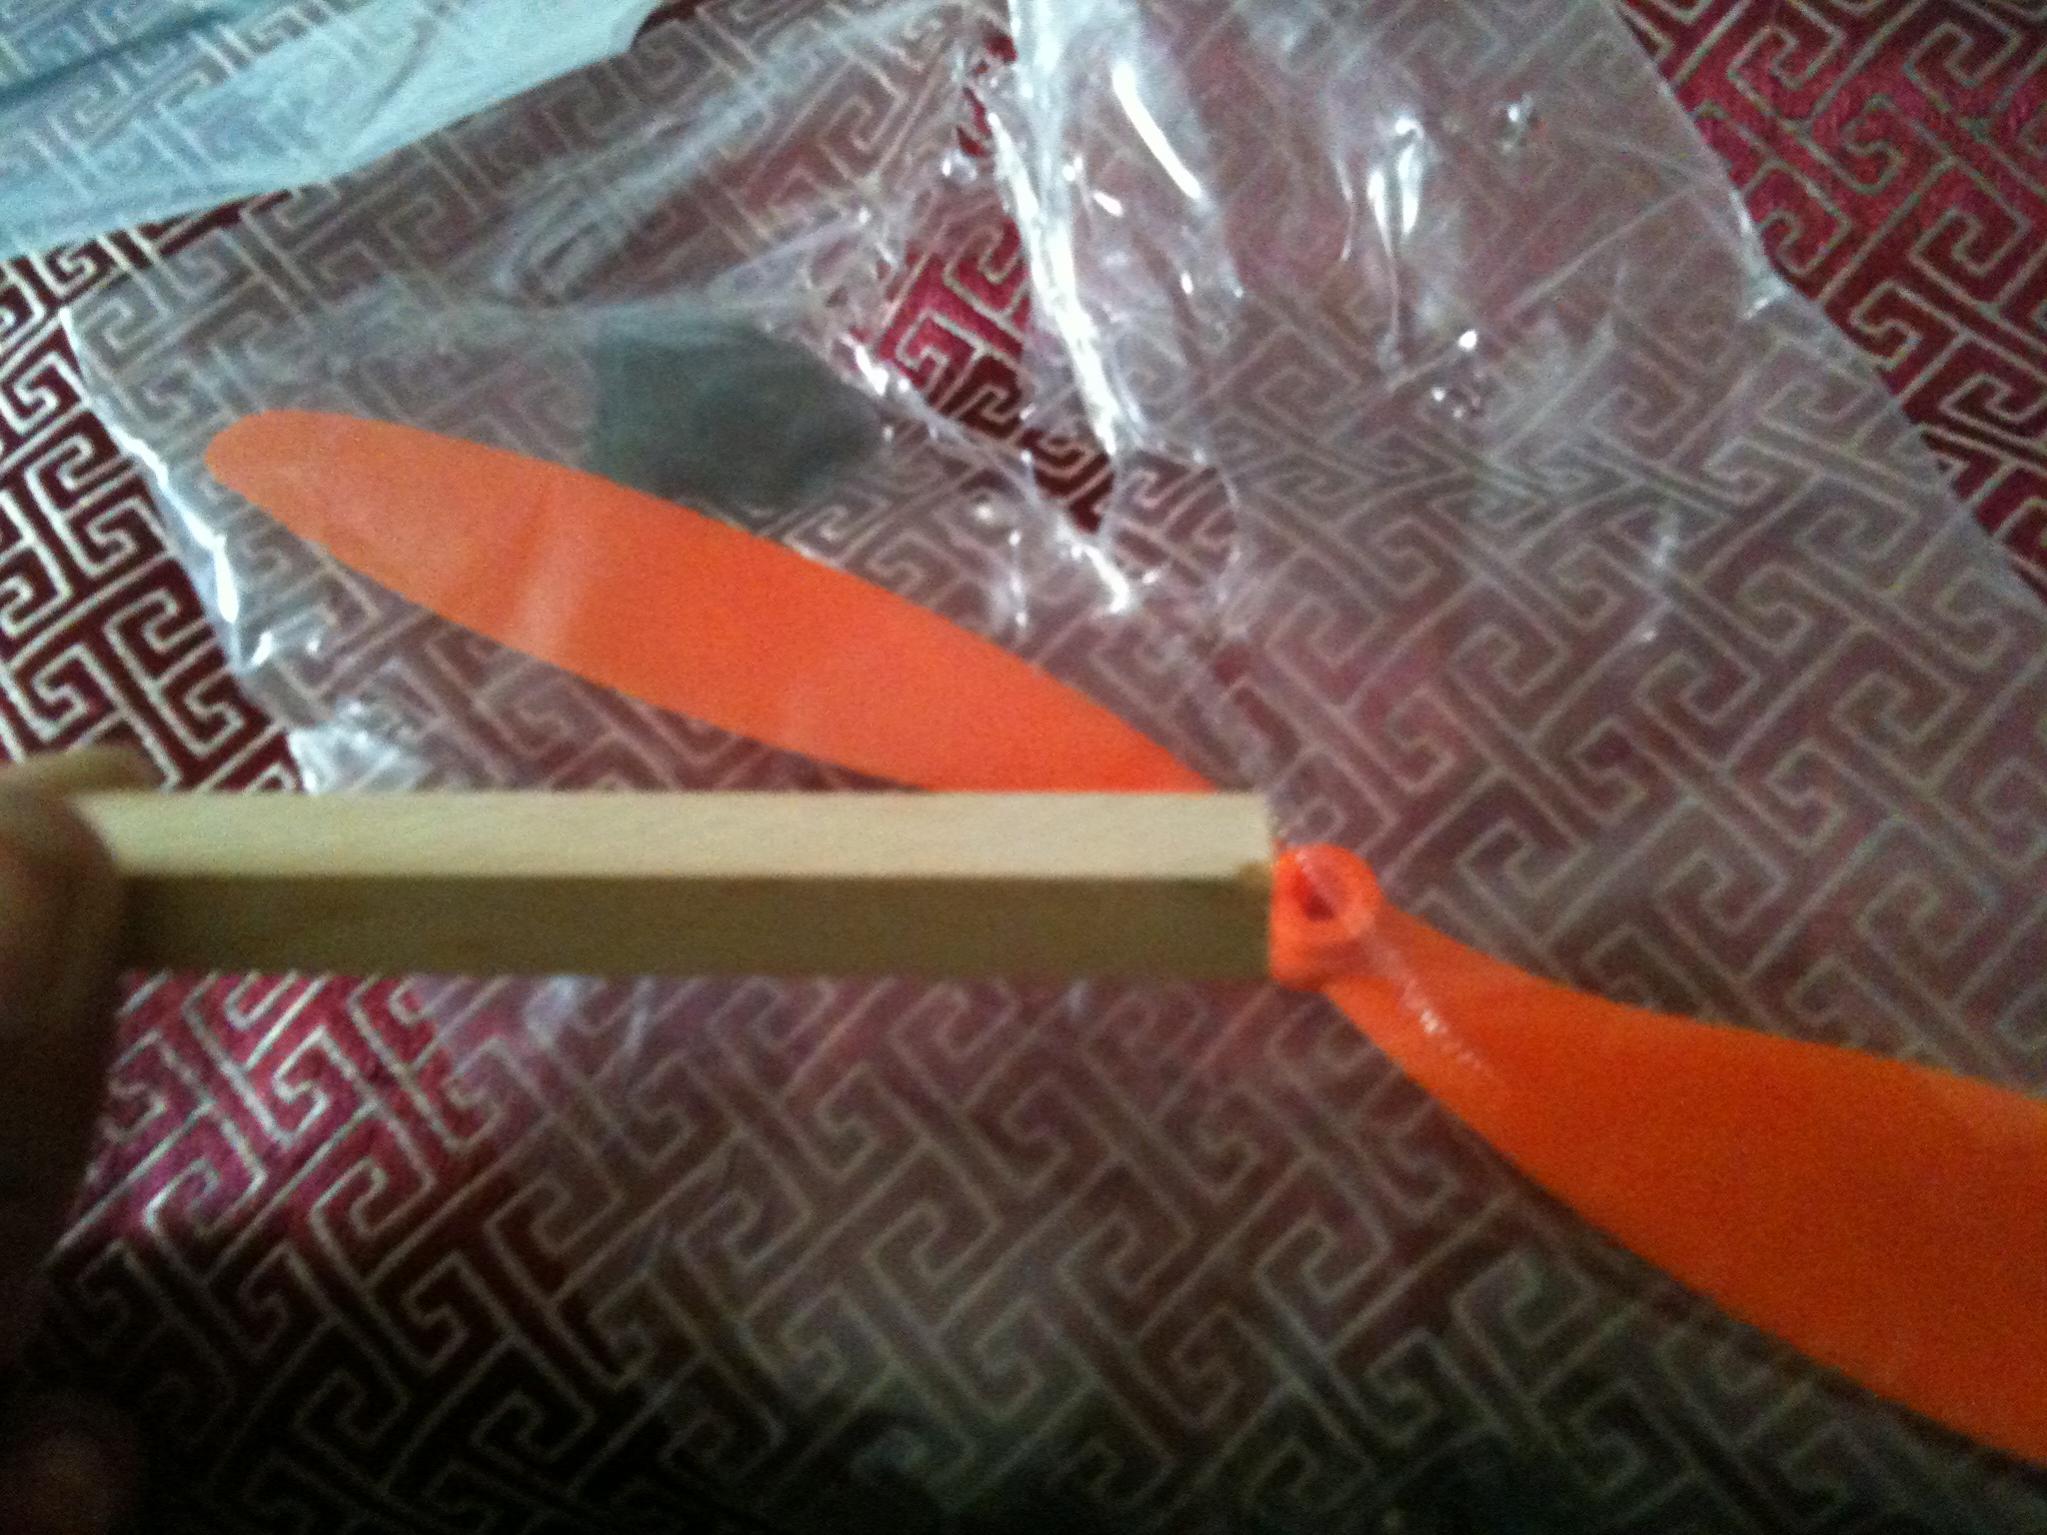
next cut it out as marked on the plate with sharp hobby knife(recommended) or scissors do it accurately as the wing part build is where every one gets it wrong and they will regret flying it cause it will cause alot of problem very annoying follow me care fully get this once and for all right!and you will get something looking like mine or even better don't over-cut do it nicely.


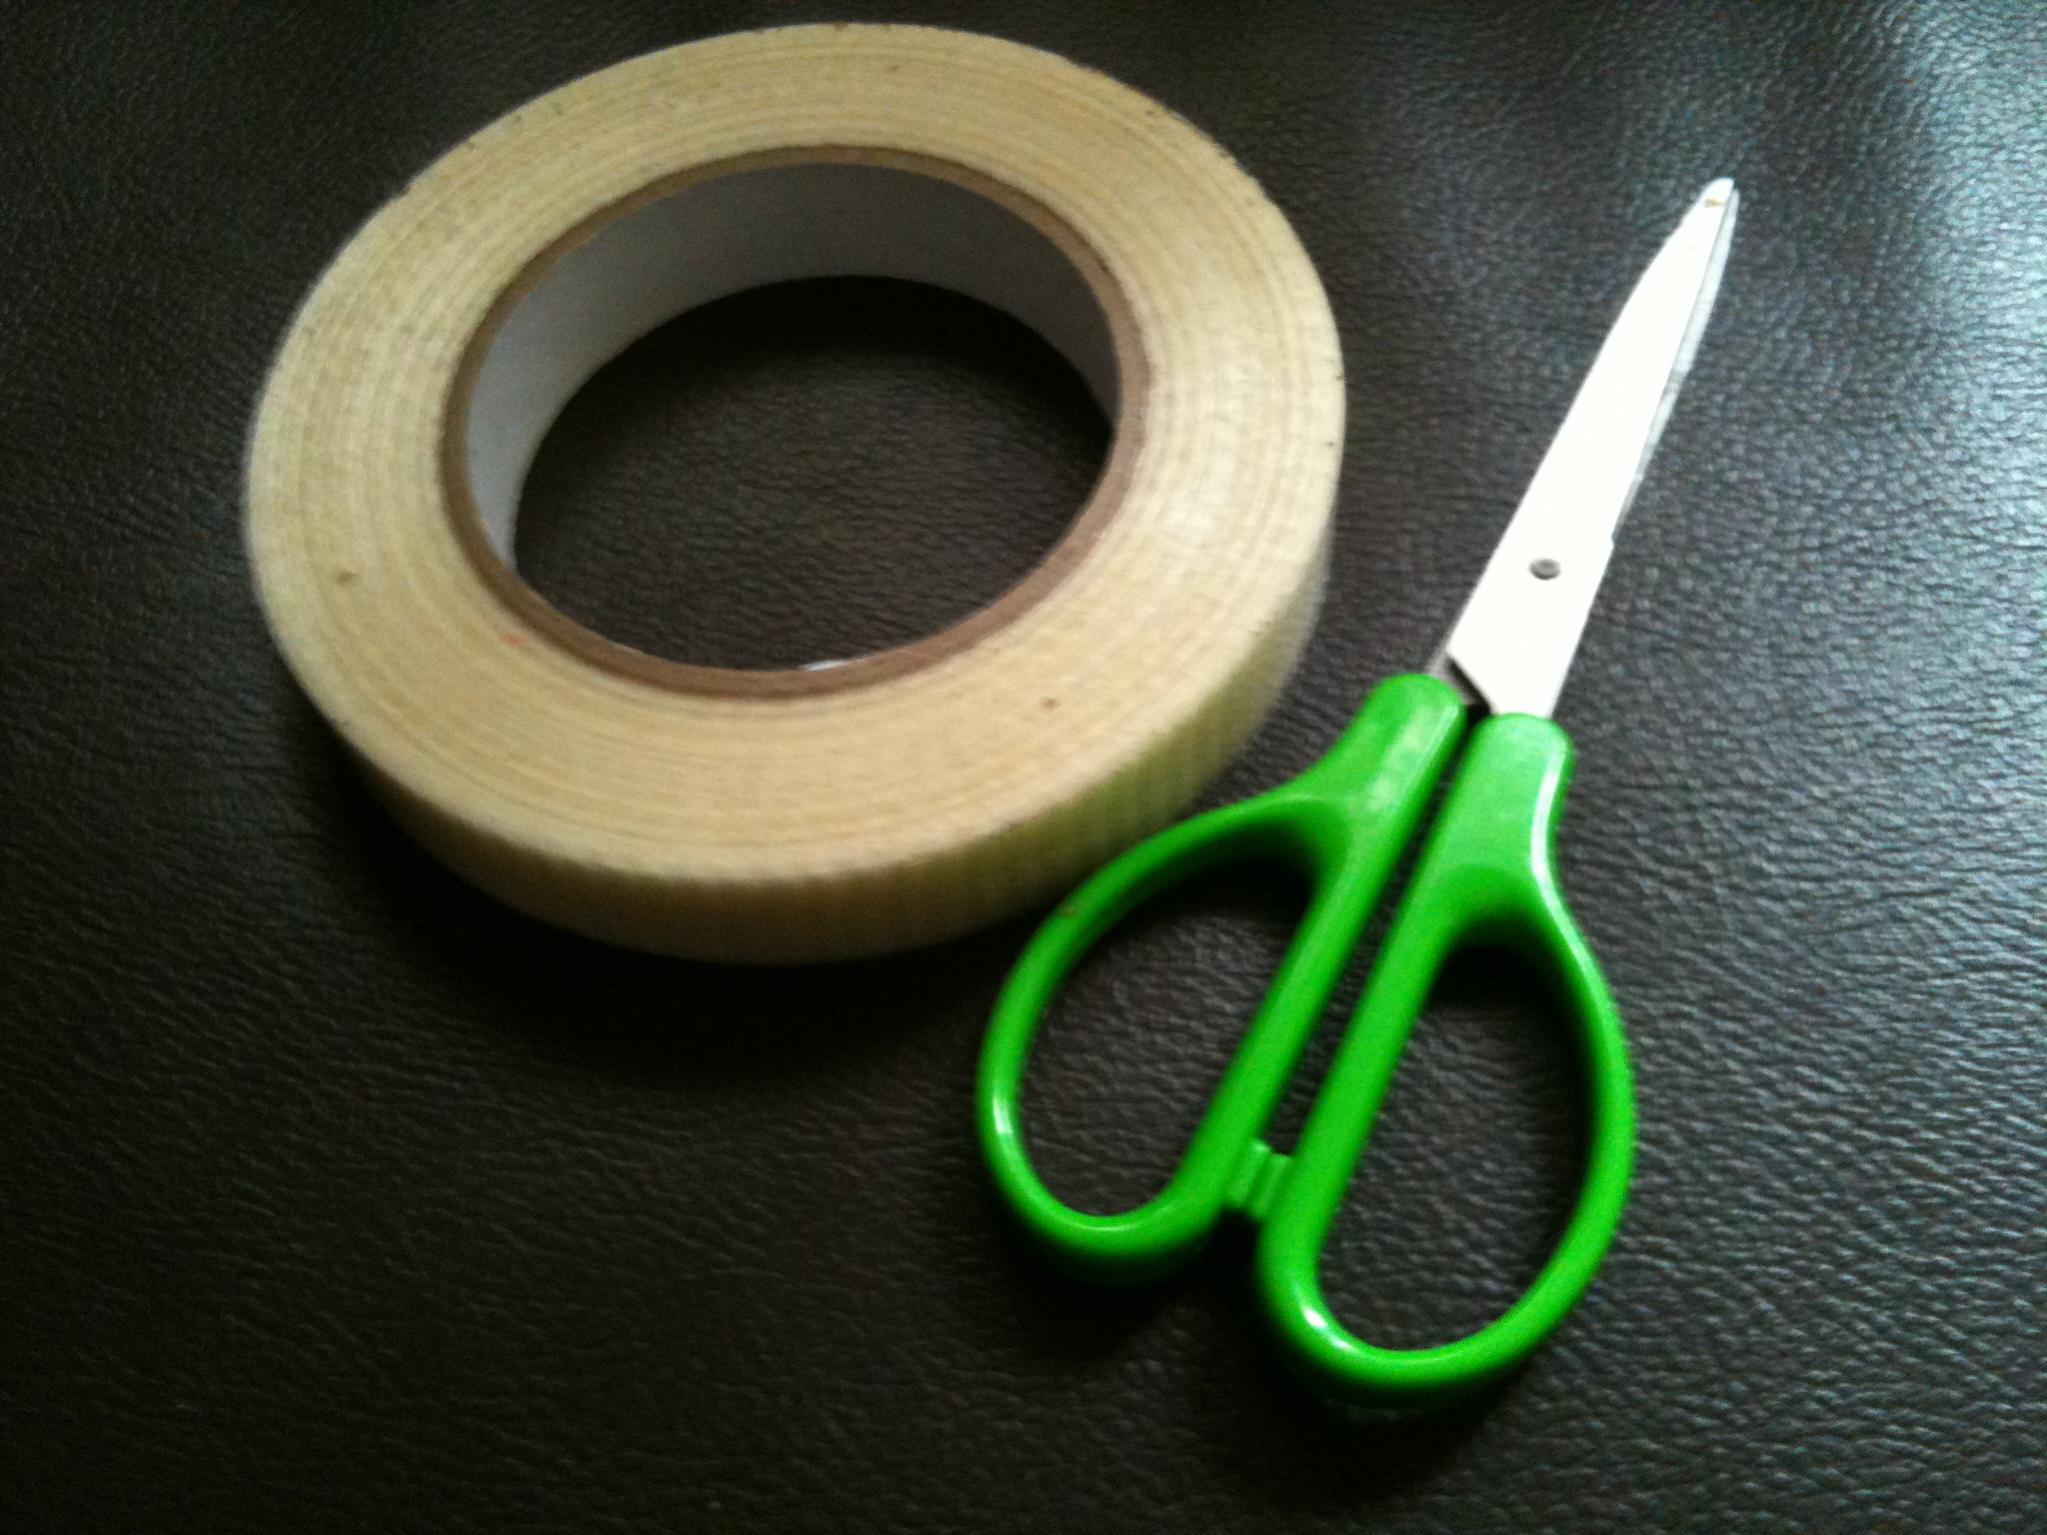
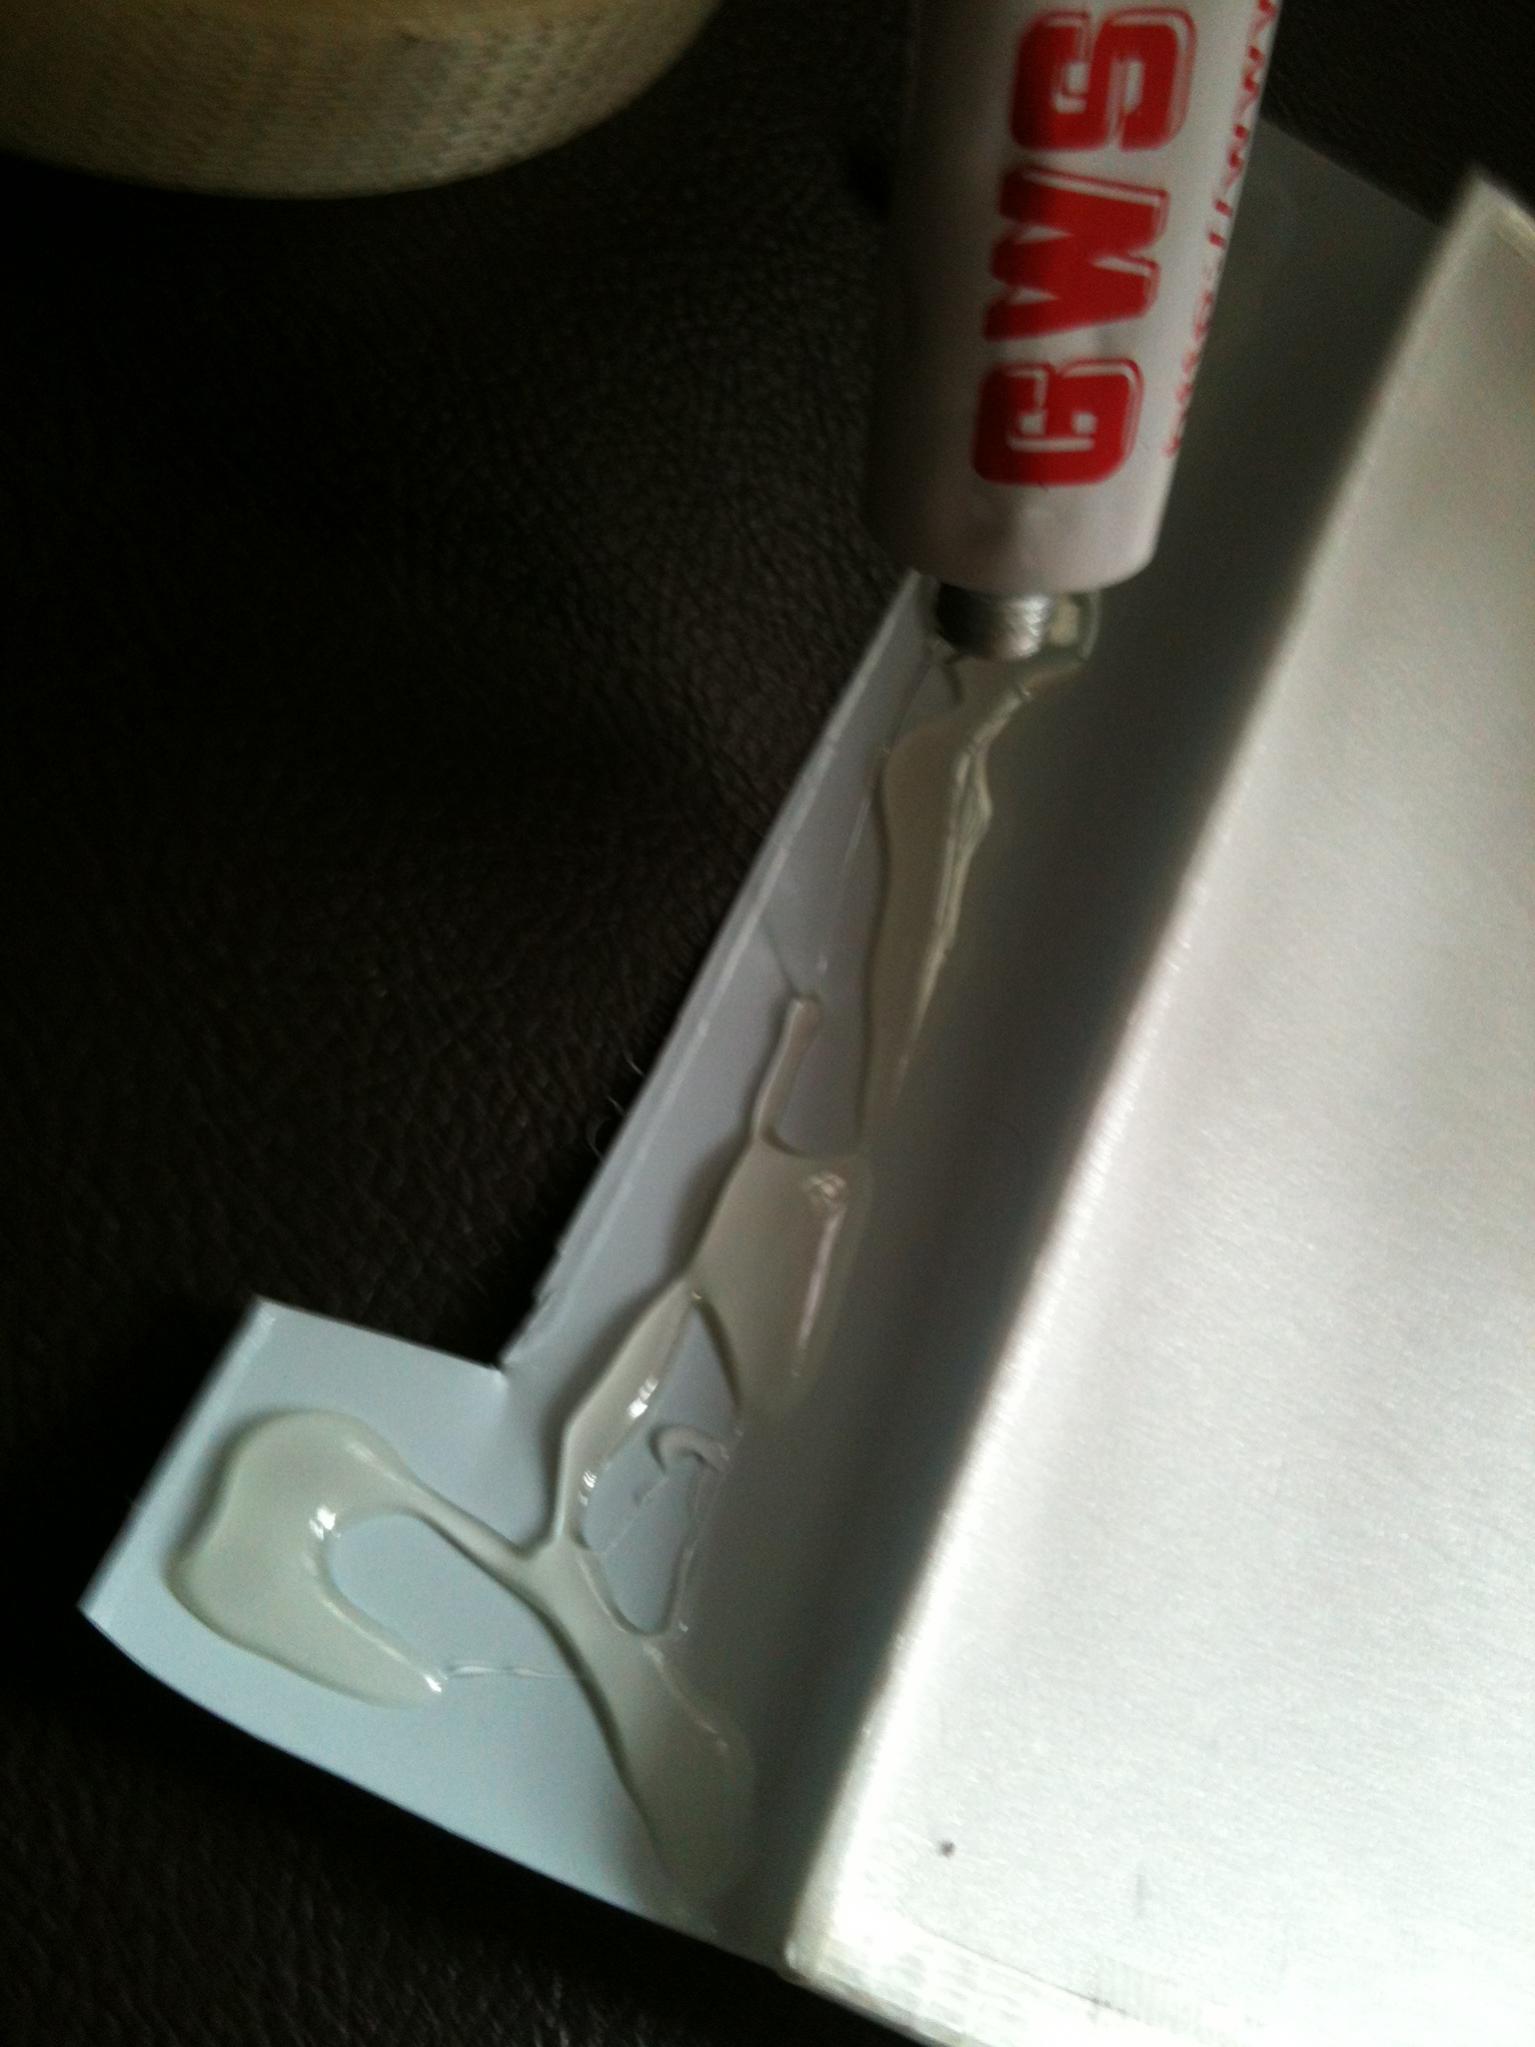
and after that is done use GWS GLUE only! do not use epoxy or ca or hot glue gun as this will ruin all your efforts tried all it in my last 5 builds the gws contact cement works the best.anyways many people dont know how to use gws glue or contact cement.even i did not know.i thought just squeez out the glue and join.but my smart flying buddy told me that contact cement works a different way.the right way to use it is apply it on the surface to be joined and wait 10-15 minutes patiently.also have some fiber tape and scissors on standby for joining the wings
*NOTE:throw away the double side tape they provided for you to secure the wing to the plate cause it will never stick and will never work!it is simply shit.follow this advise or you may have your wing breaking up in mid air!


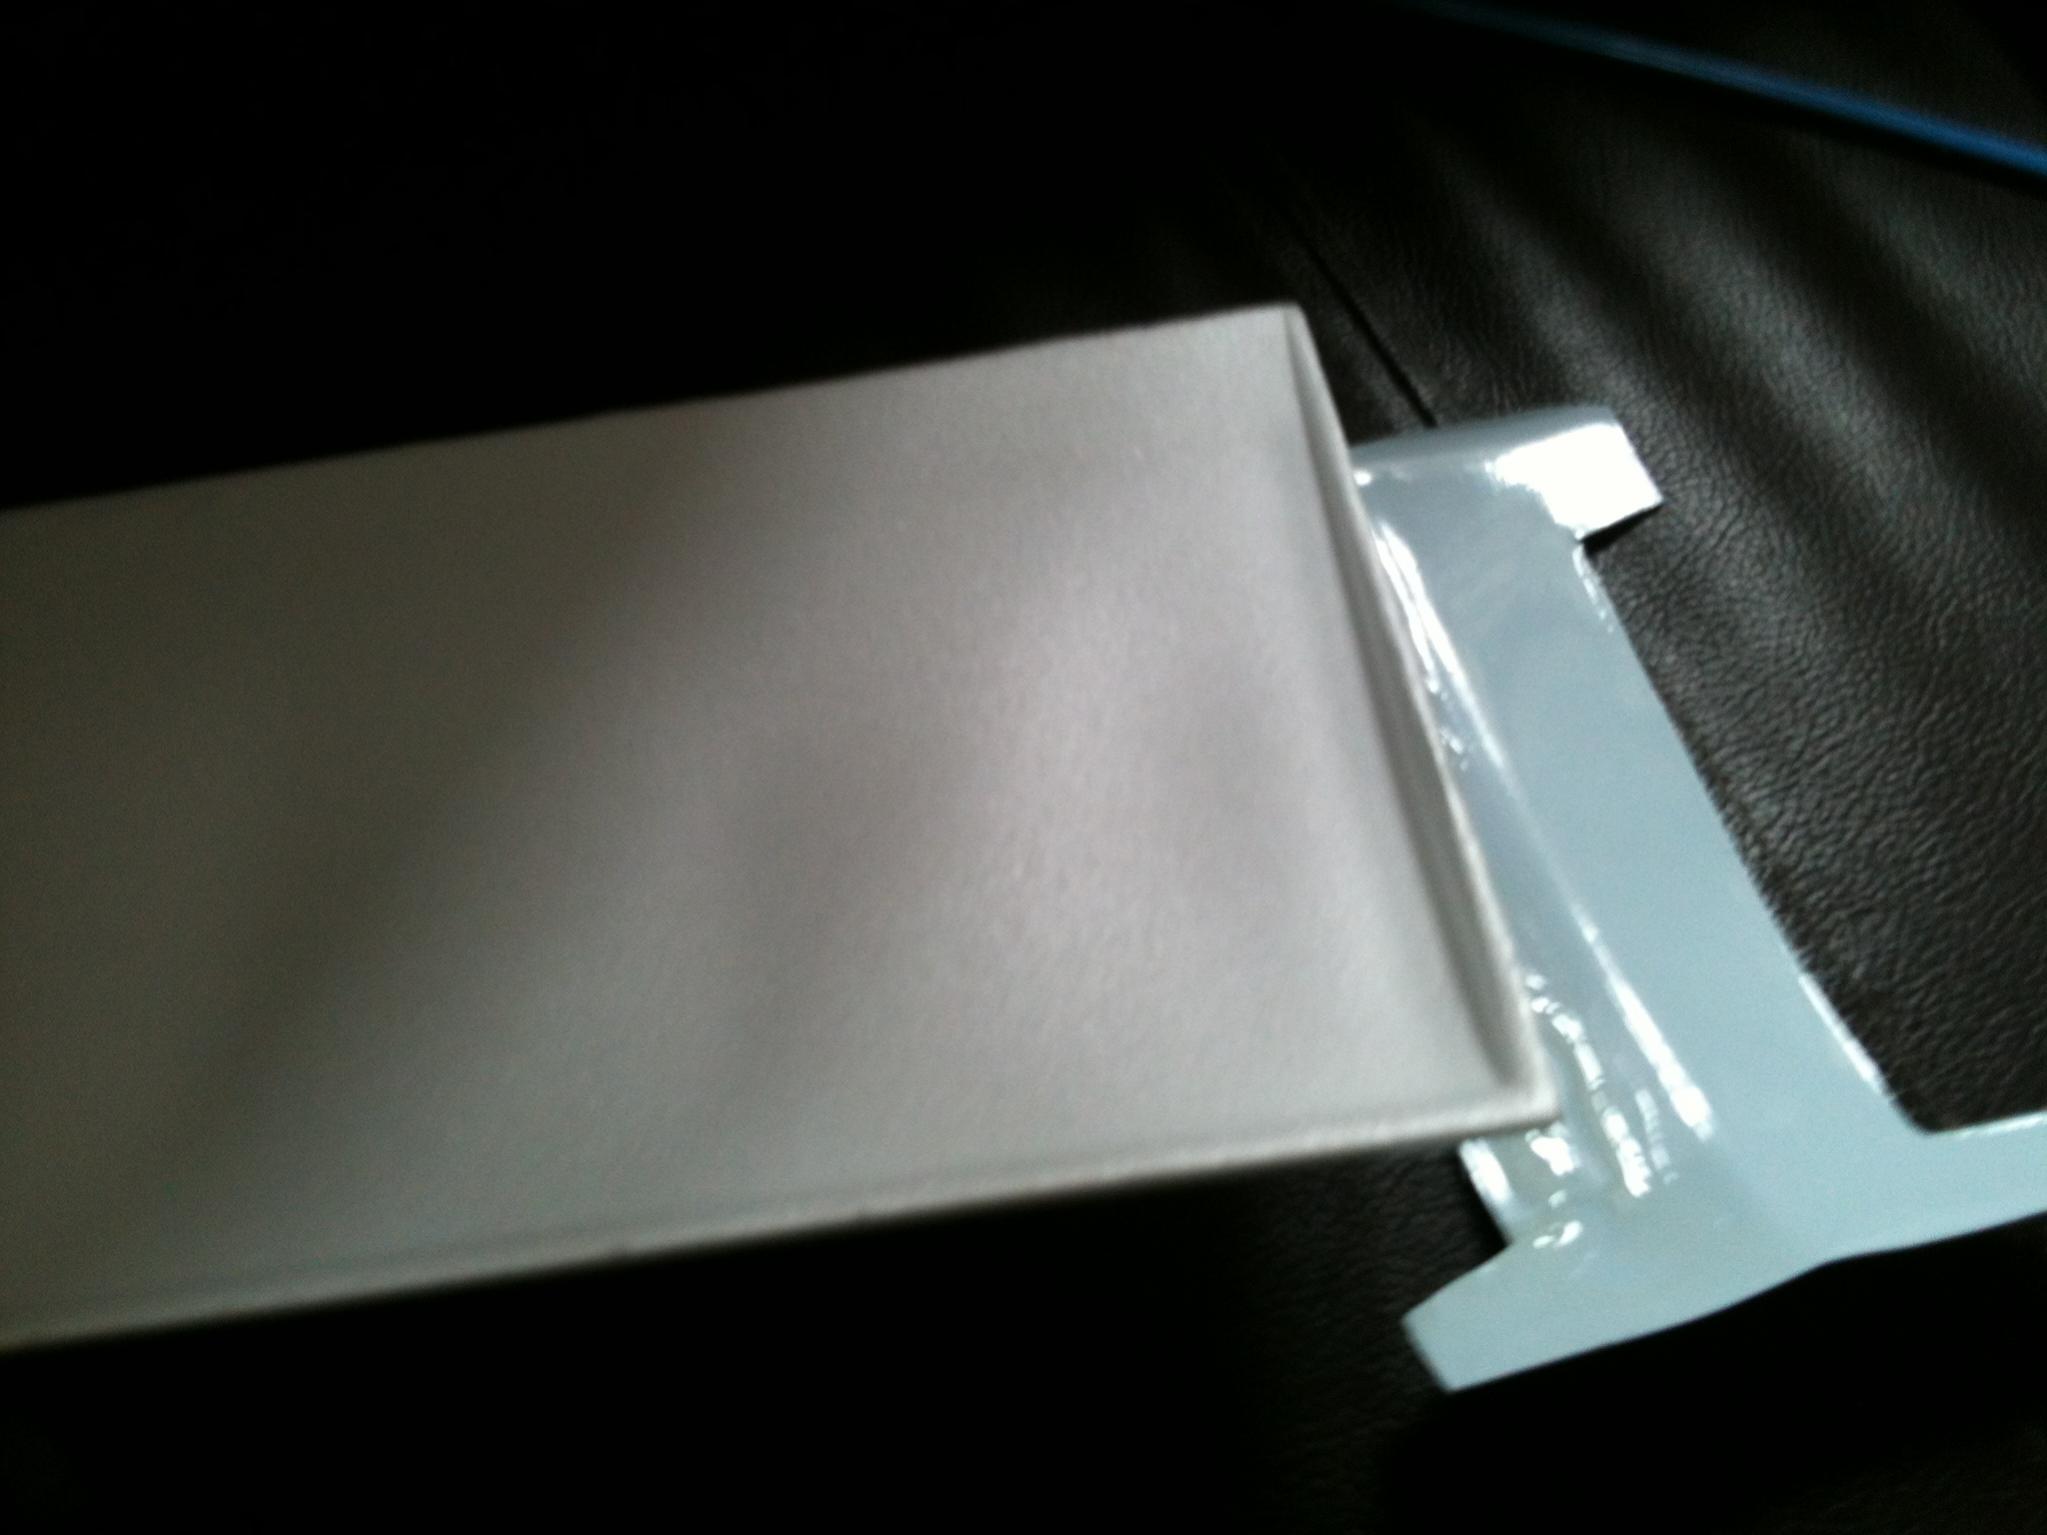
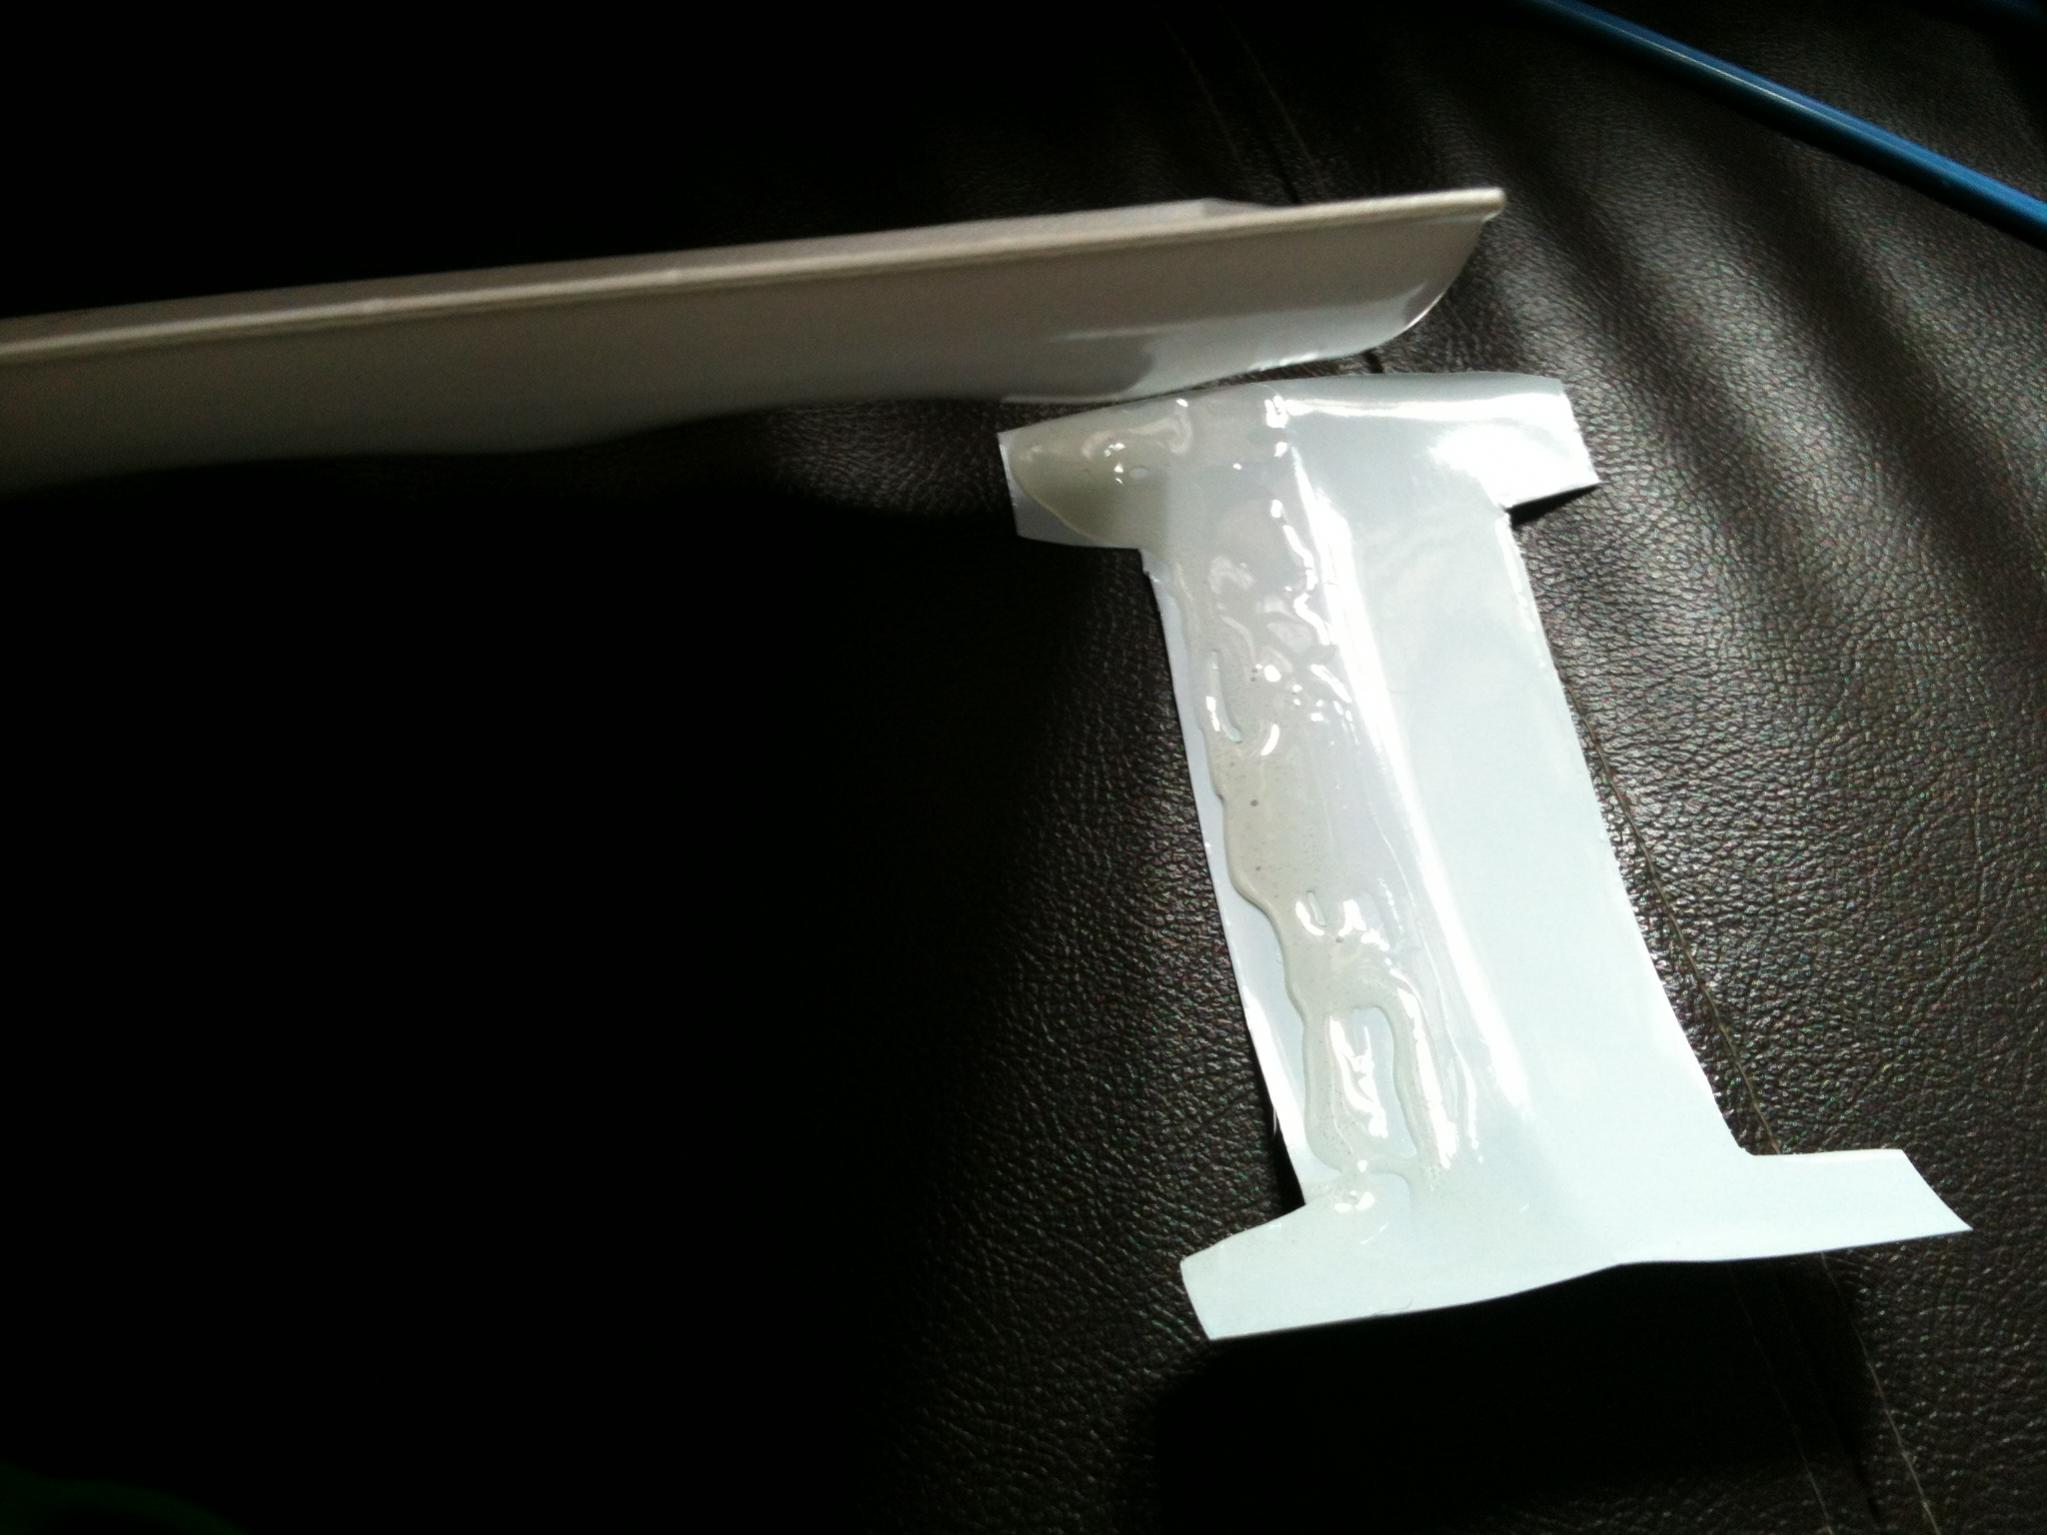
after 15 minutes take one piece of the wing make sure right wing side got 2 sides and left and right wing don't get it wrong.see center point on the plate we cut out just now and place it on half of the divided side slowly and use paper towels to wipe off excces glue which pours out after joining down the wing.


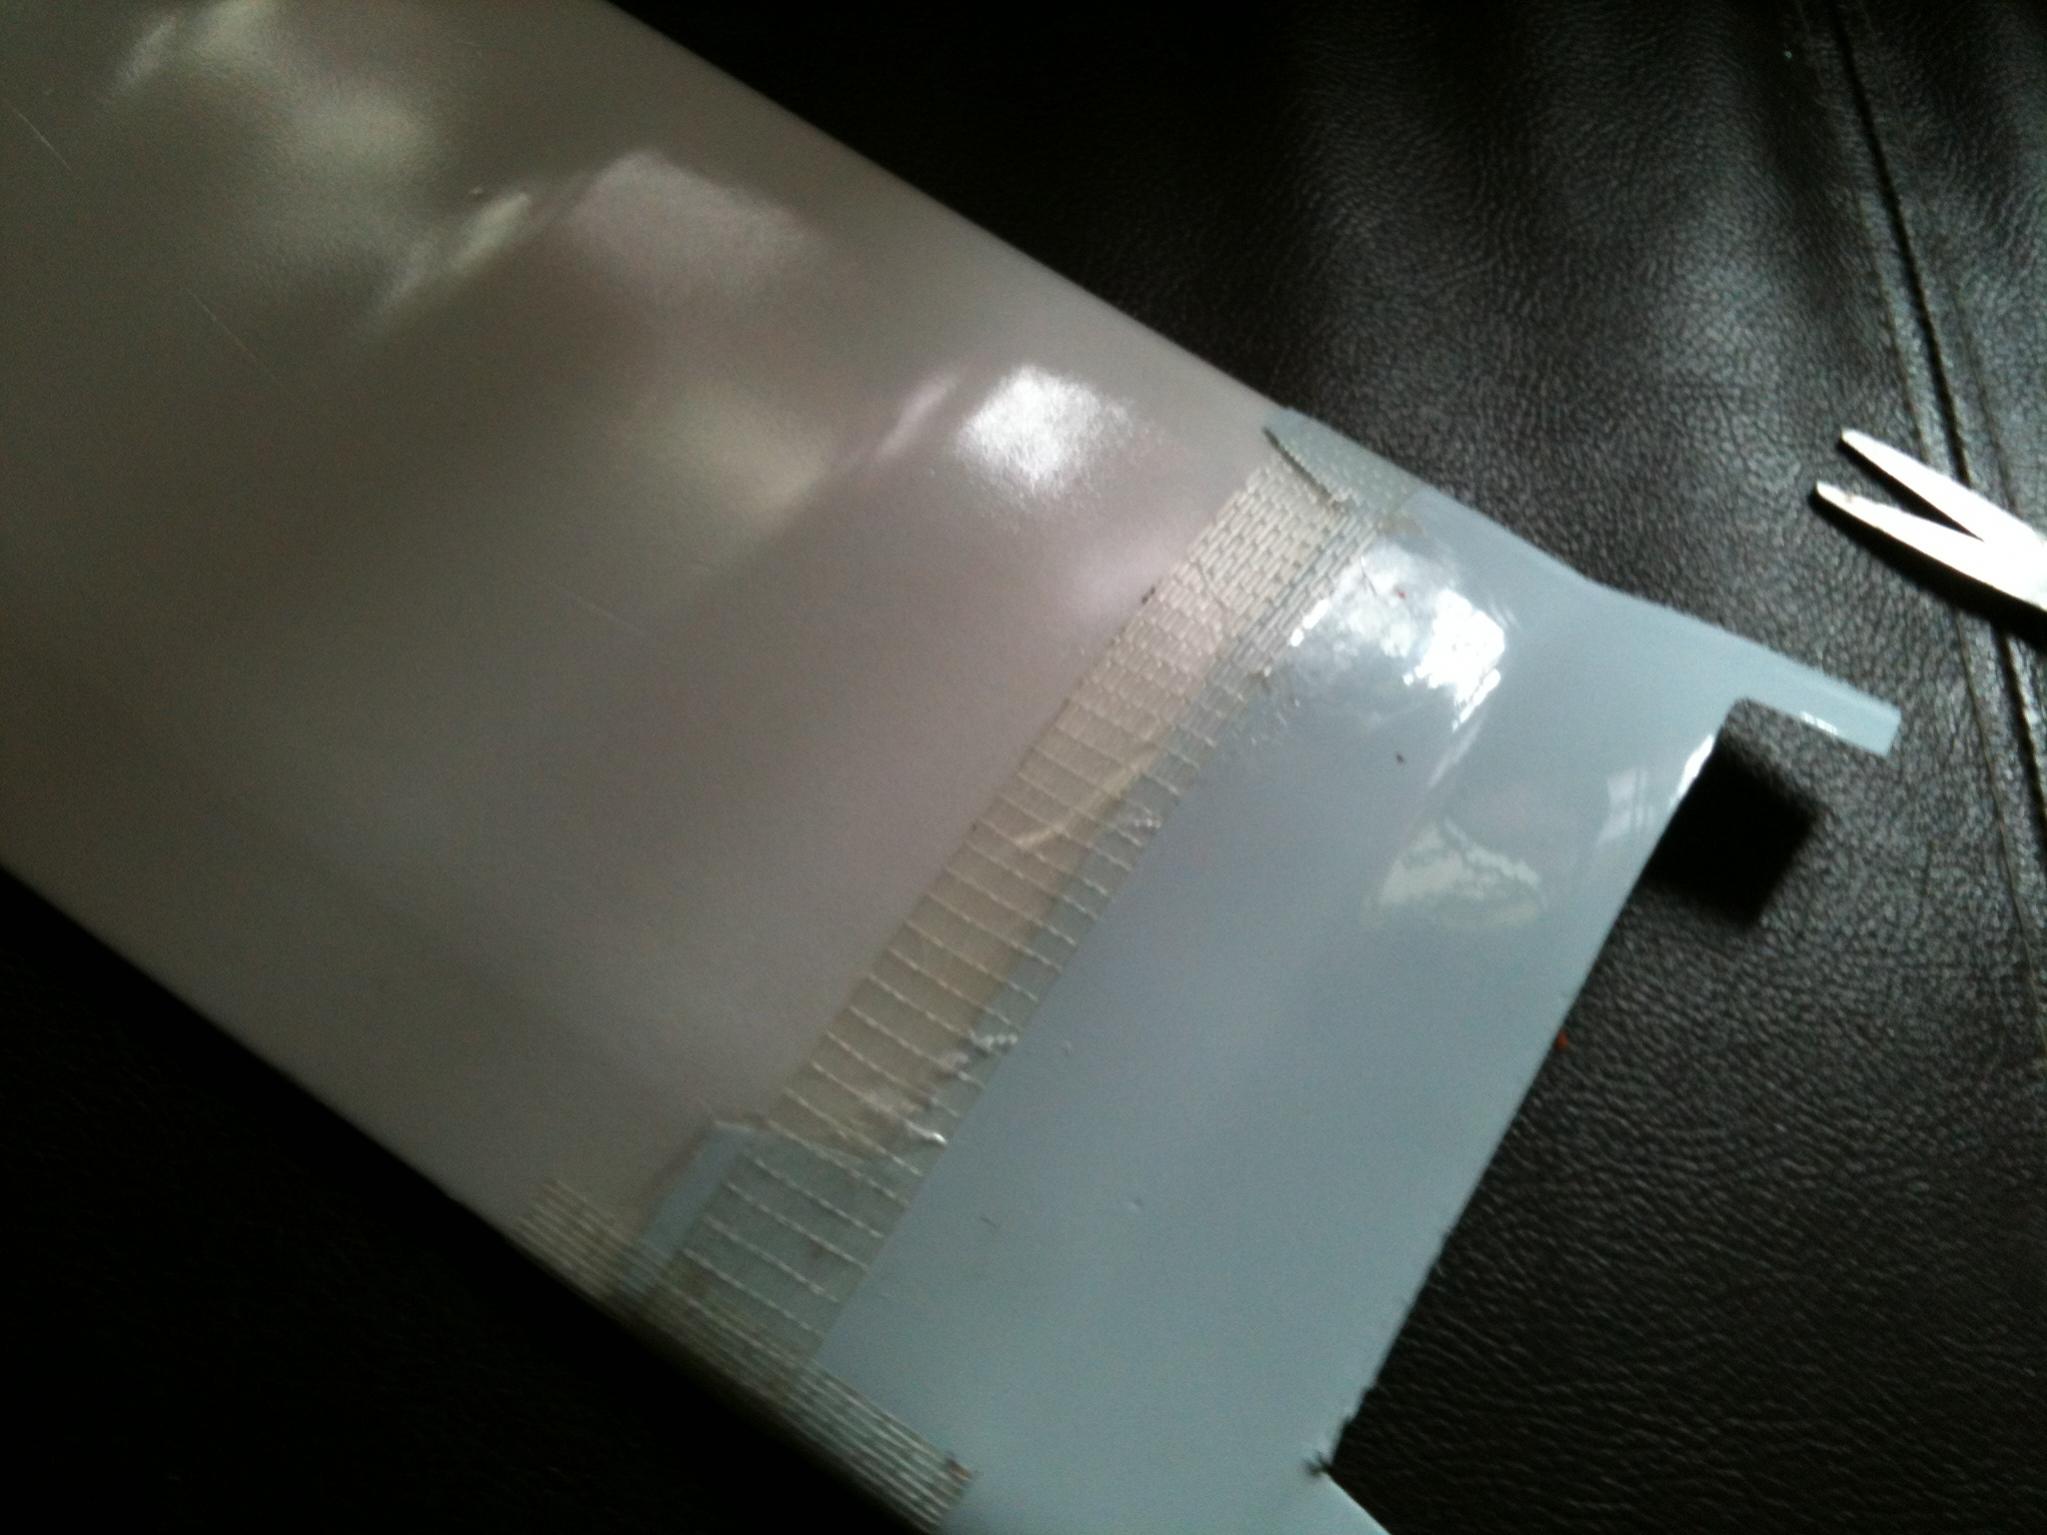
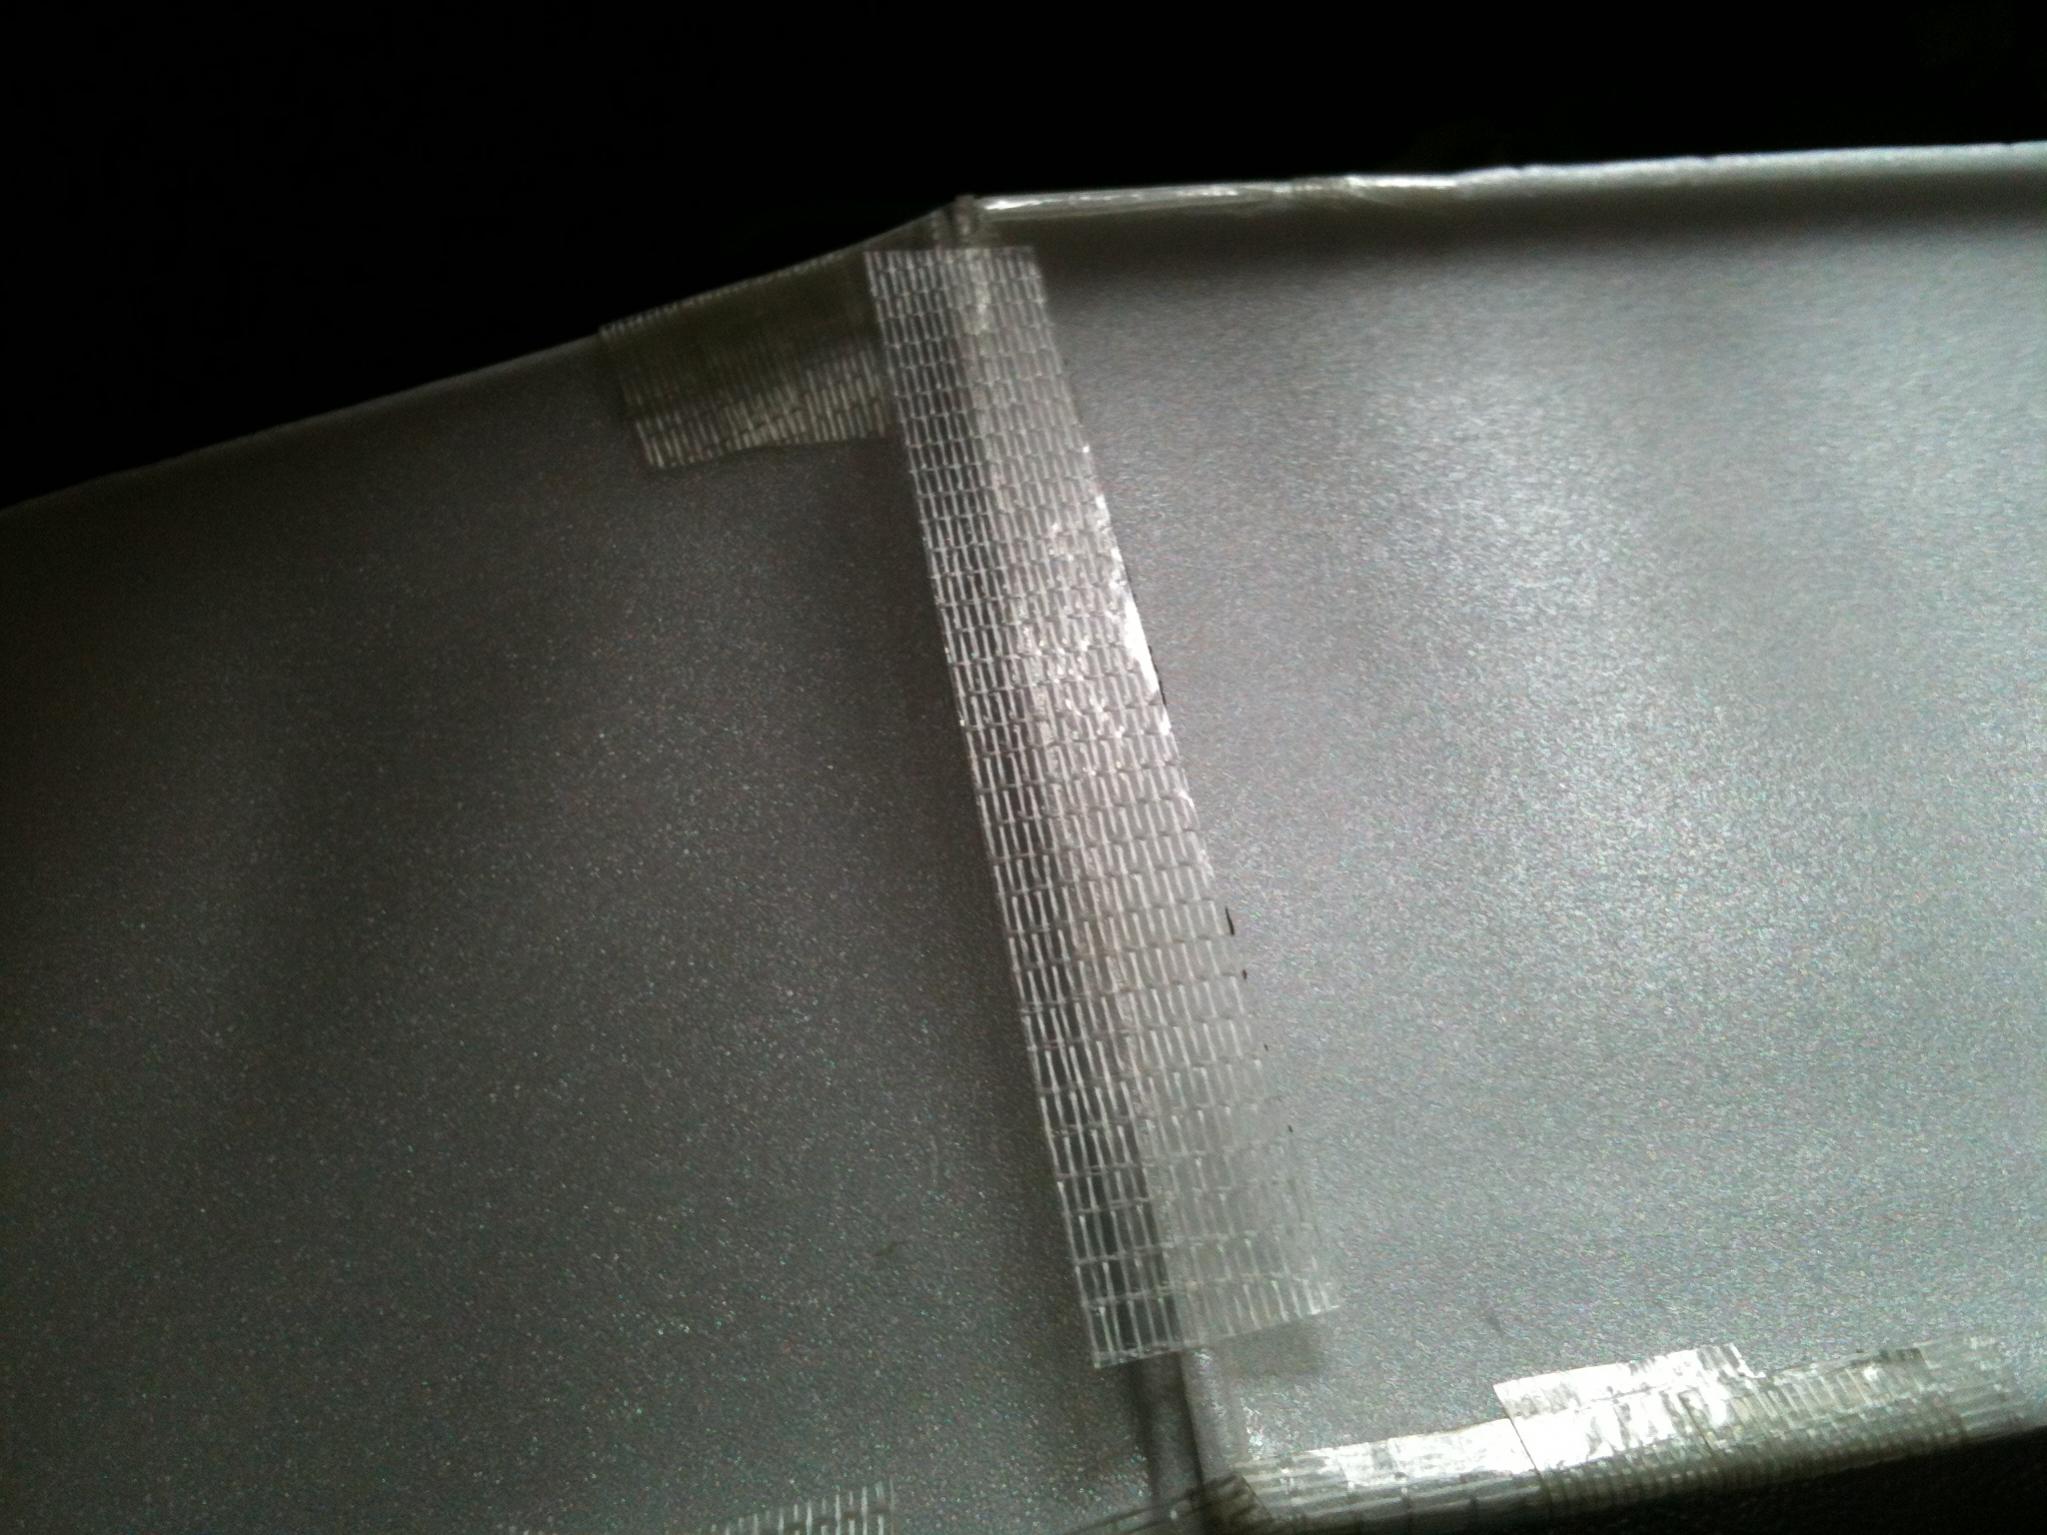
and immediately tape it down securrley with reasonable amount of fiber tape to keep it fixed do it nicely as this strengthens the plate angling your wing refer to the pics.


and follow by that glue the other part of the plate and wait 15 minutes again.then do the same step place it down fiber tape it,at the end you should get a a very wide v shape angled wing.see the pics.and at the under side fiber tape the 2 parts in the middle so they maintain the angle as shown in the last pic.


well now that you are done with the wing store it away and leave it alone for 24 hours for the cement to take full effect.this is just part 1.
-part 2 now setting up and installing electronics
first installing your motor.*dont use the shit brush motor they provide you with.
find a suitable size and kv motor
i recommend 2408-2215 size
and 900-1400 kv.
for slow and steady beaver setup go for towerpro or any other good brand 2410 600KV.this is a super slow setup flies as slow s the champ on 1160 gws propeller!
i recommend tower pro as they provide you with stick motor mounts which goes good on all gws planes.if u want a nice slightly fast like normal speed where can take off like a trainer i recommend tower pro 2408/2410, 1530 kv/1400 kv
if you want to know where to get it you can pm me.
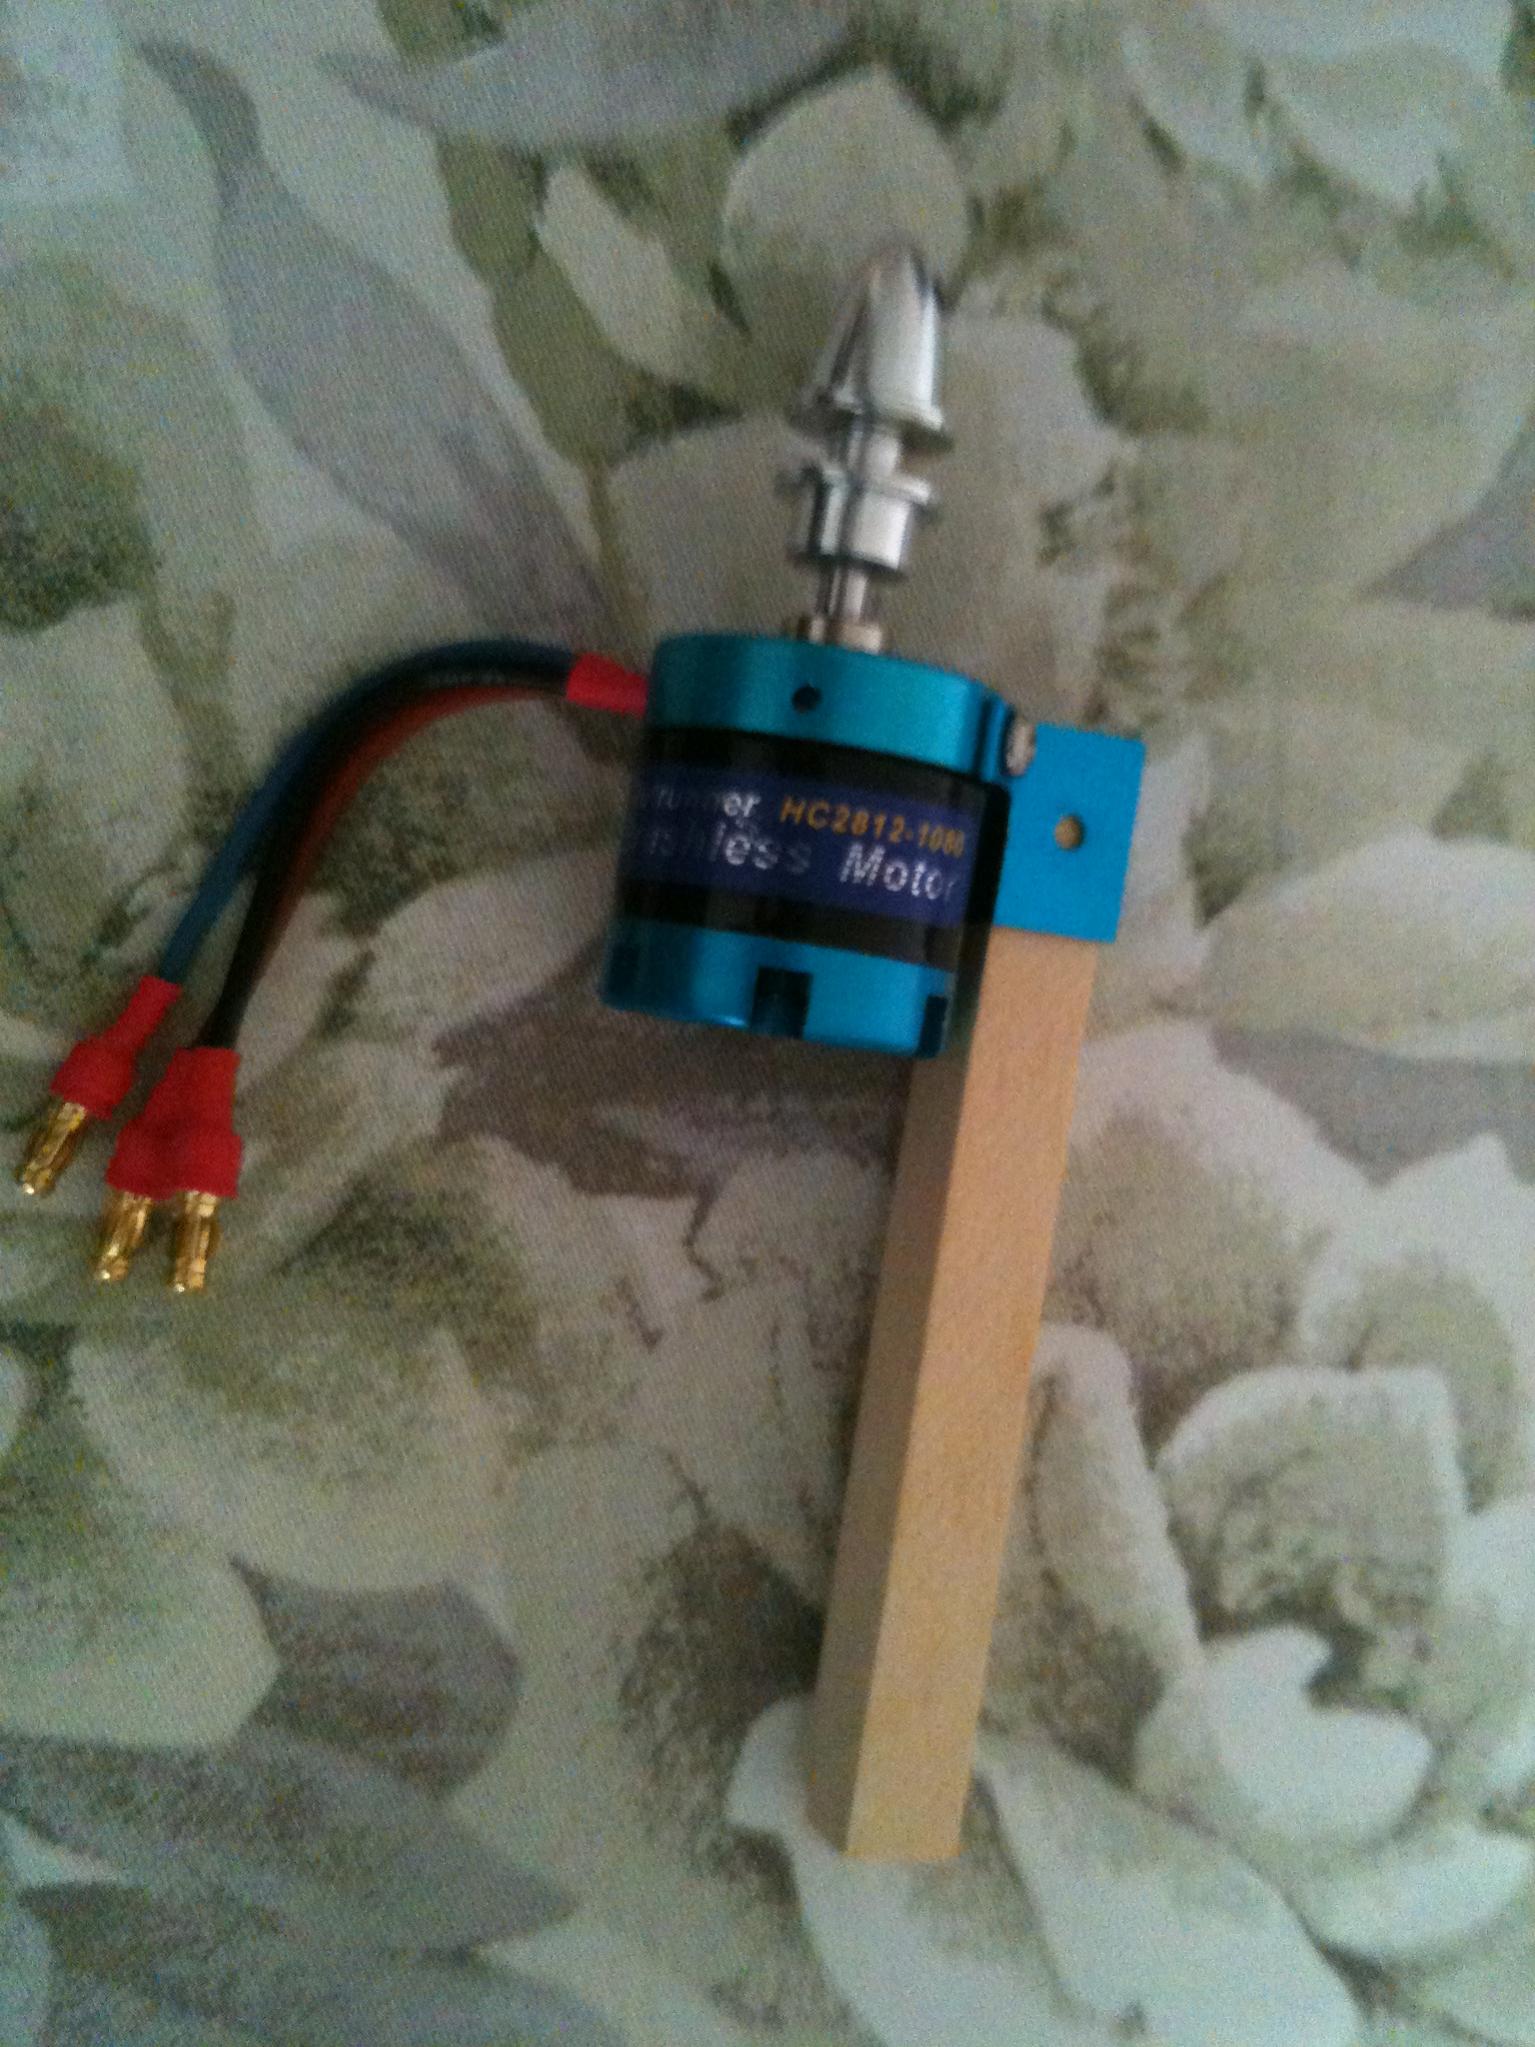
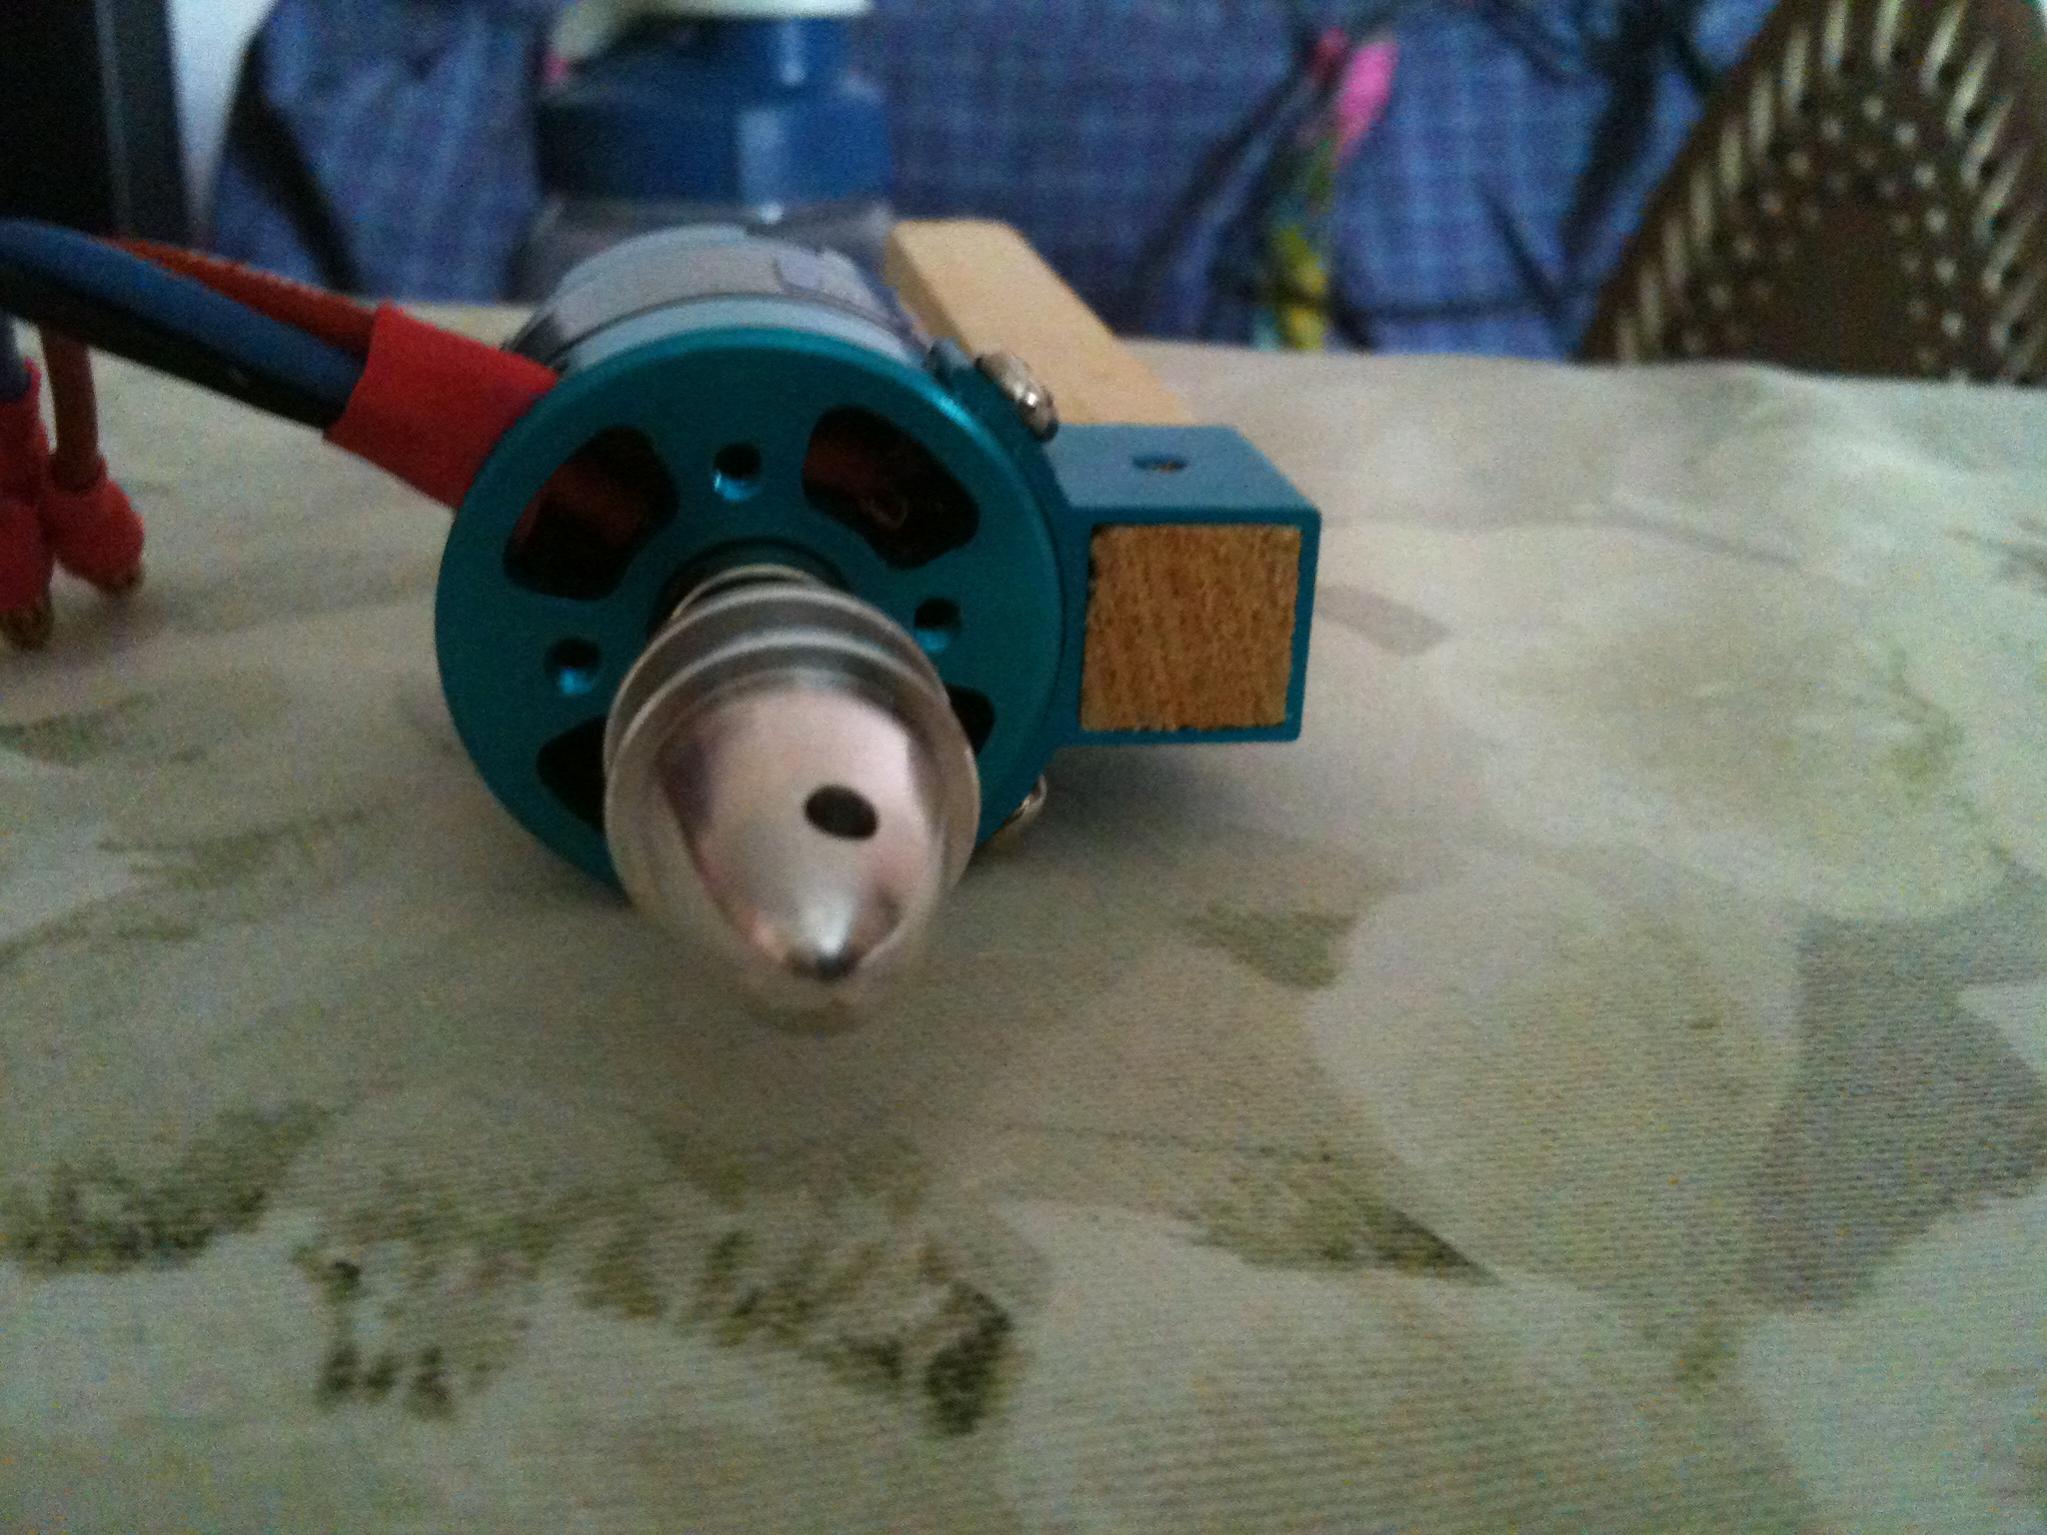
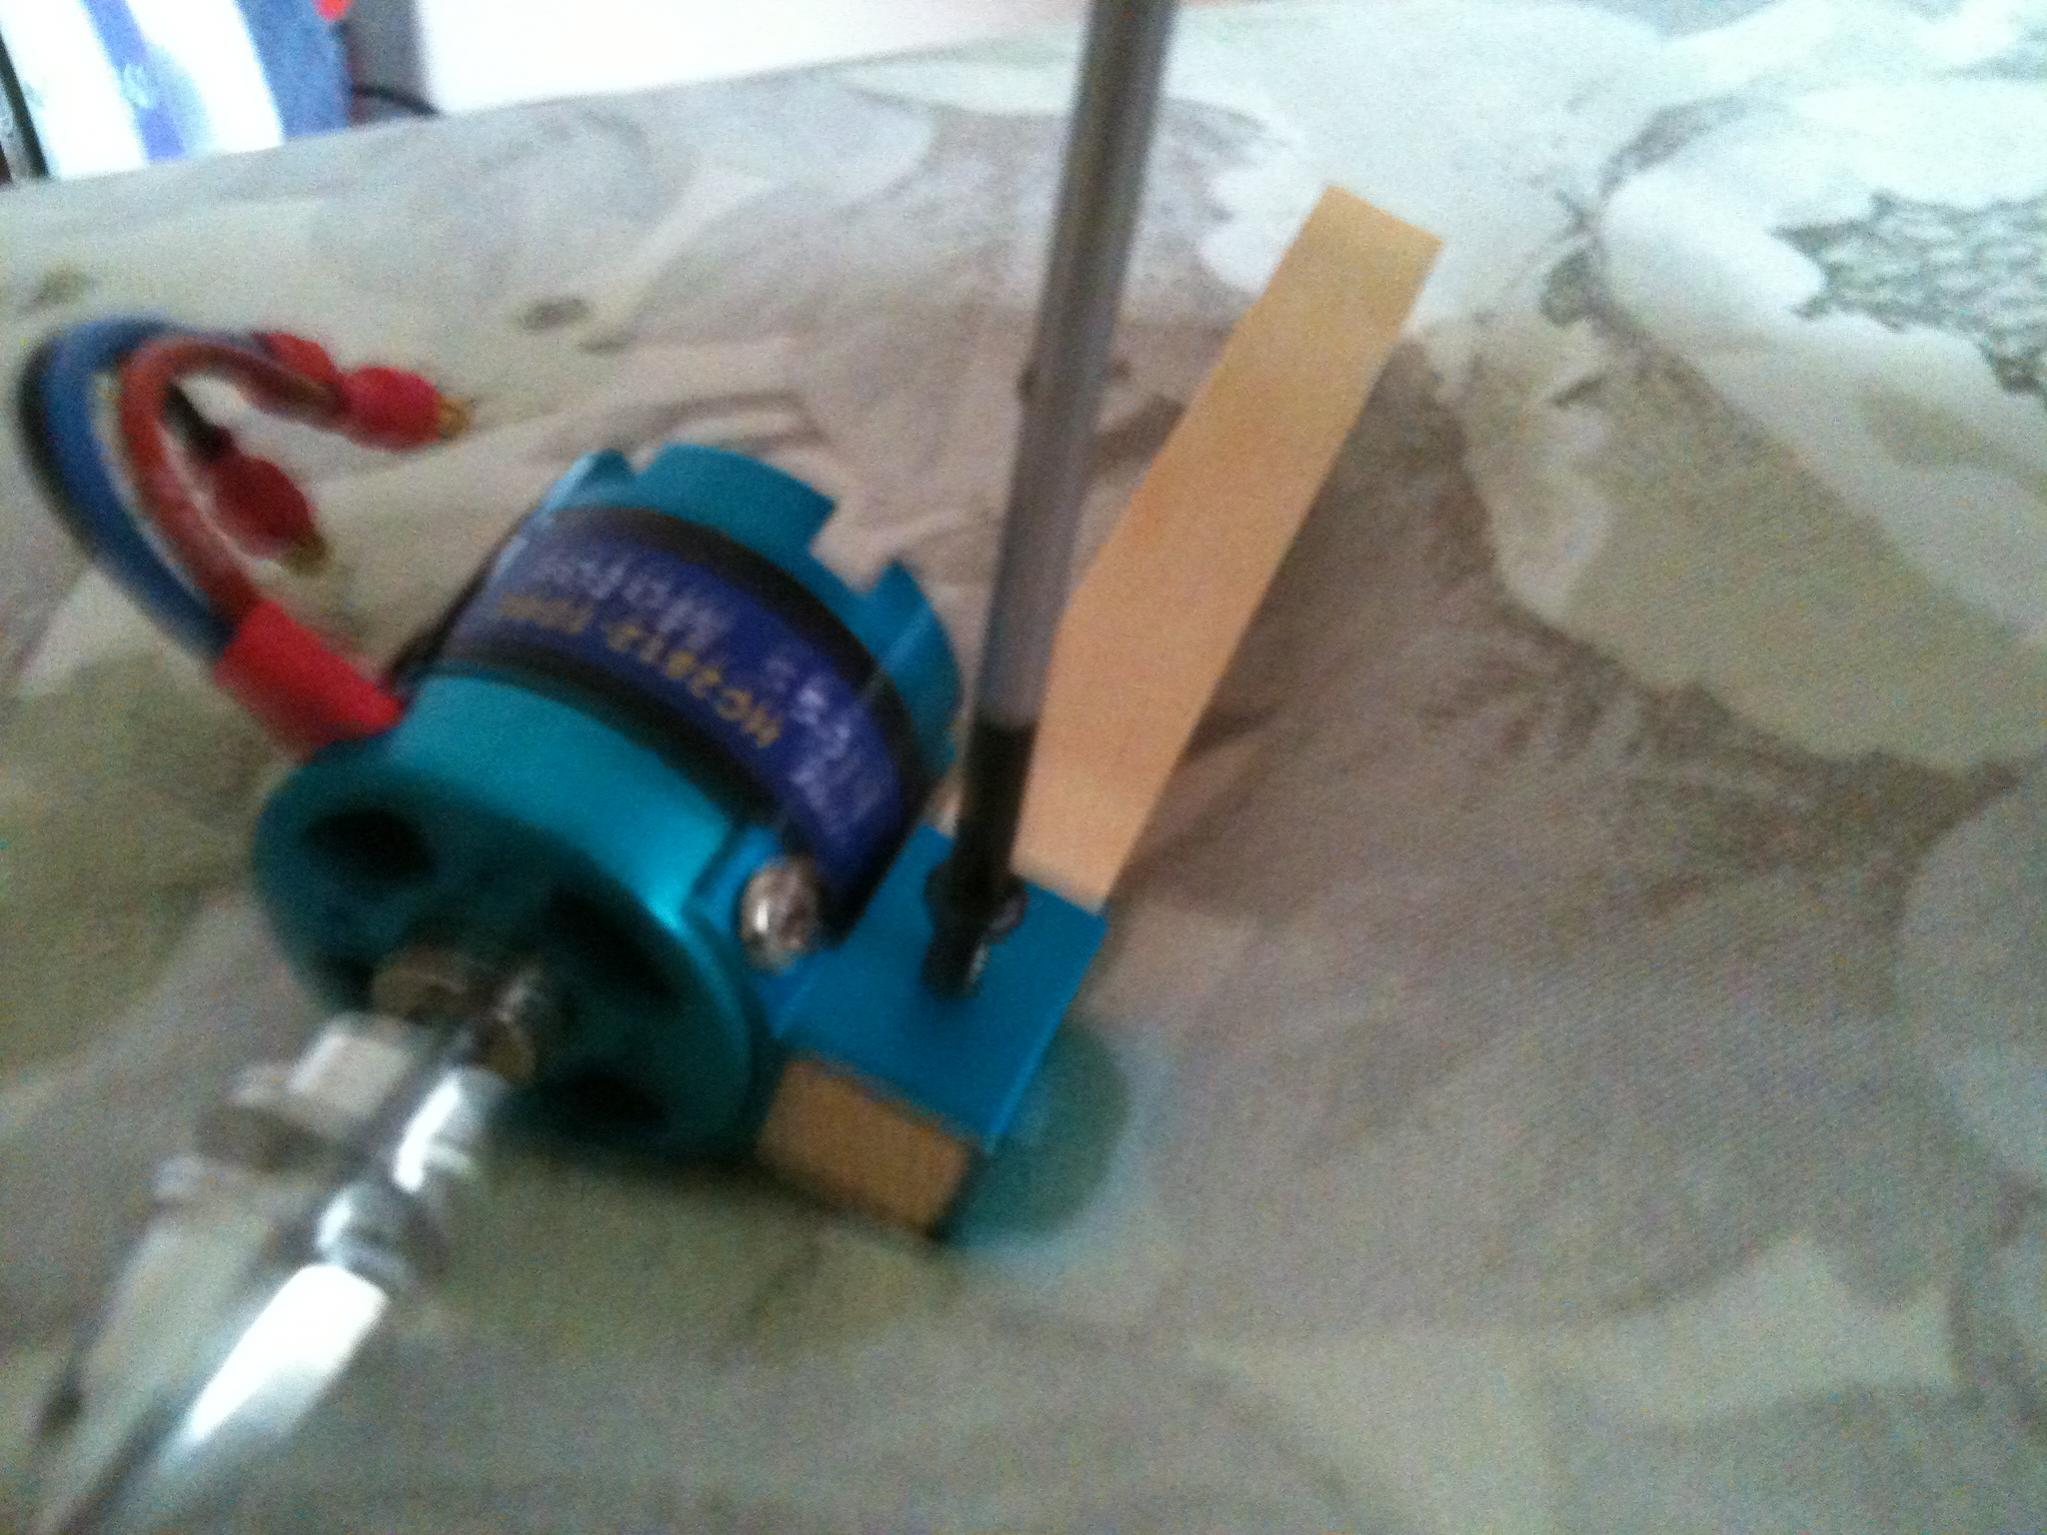
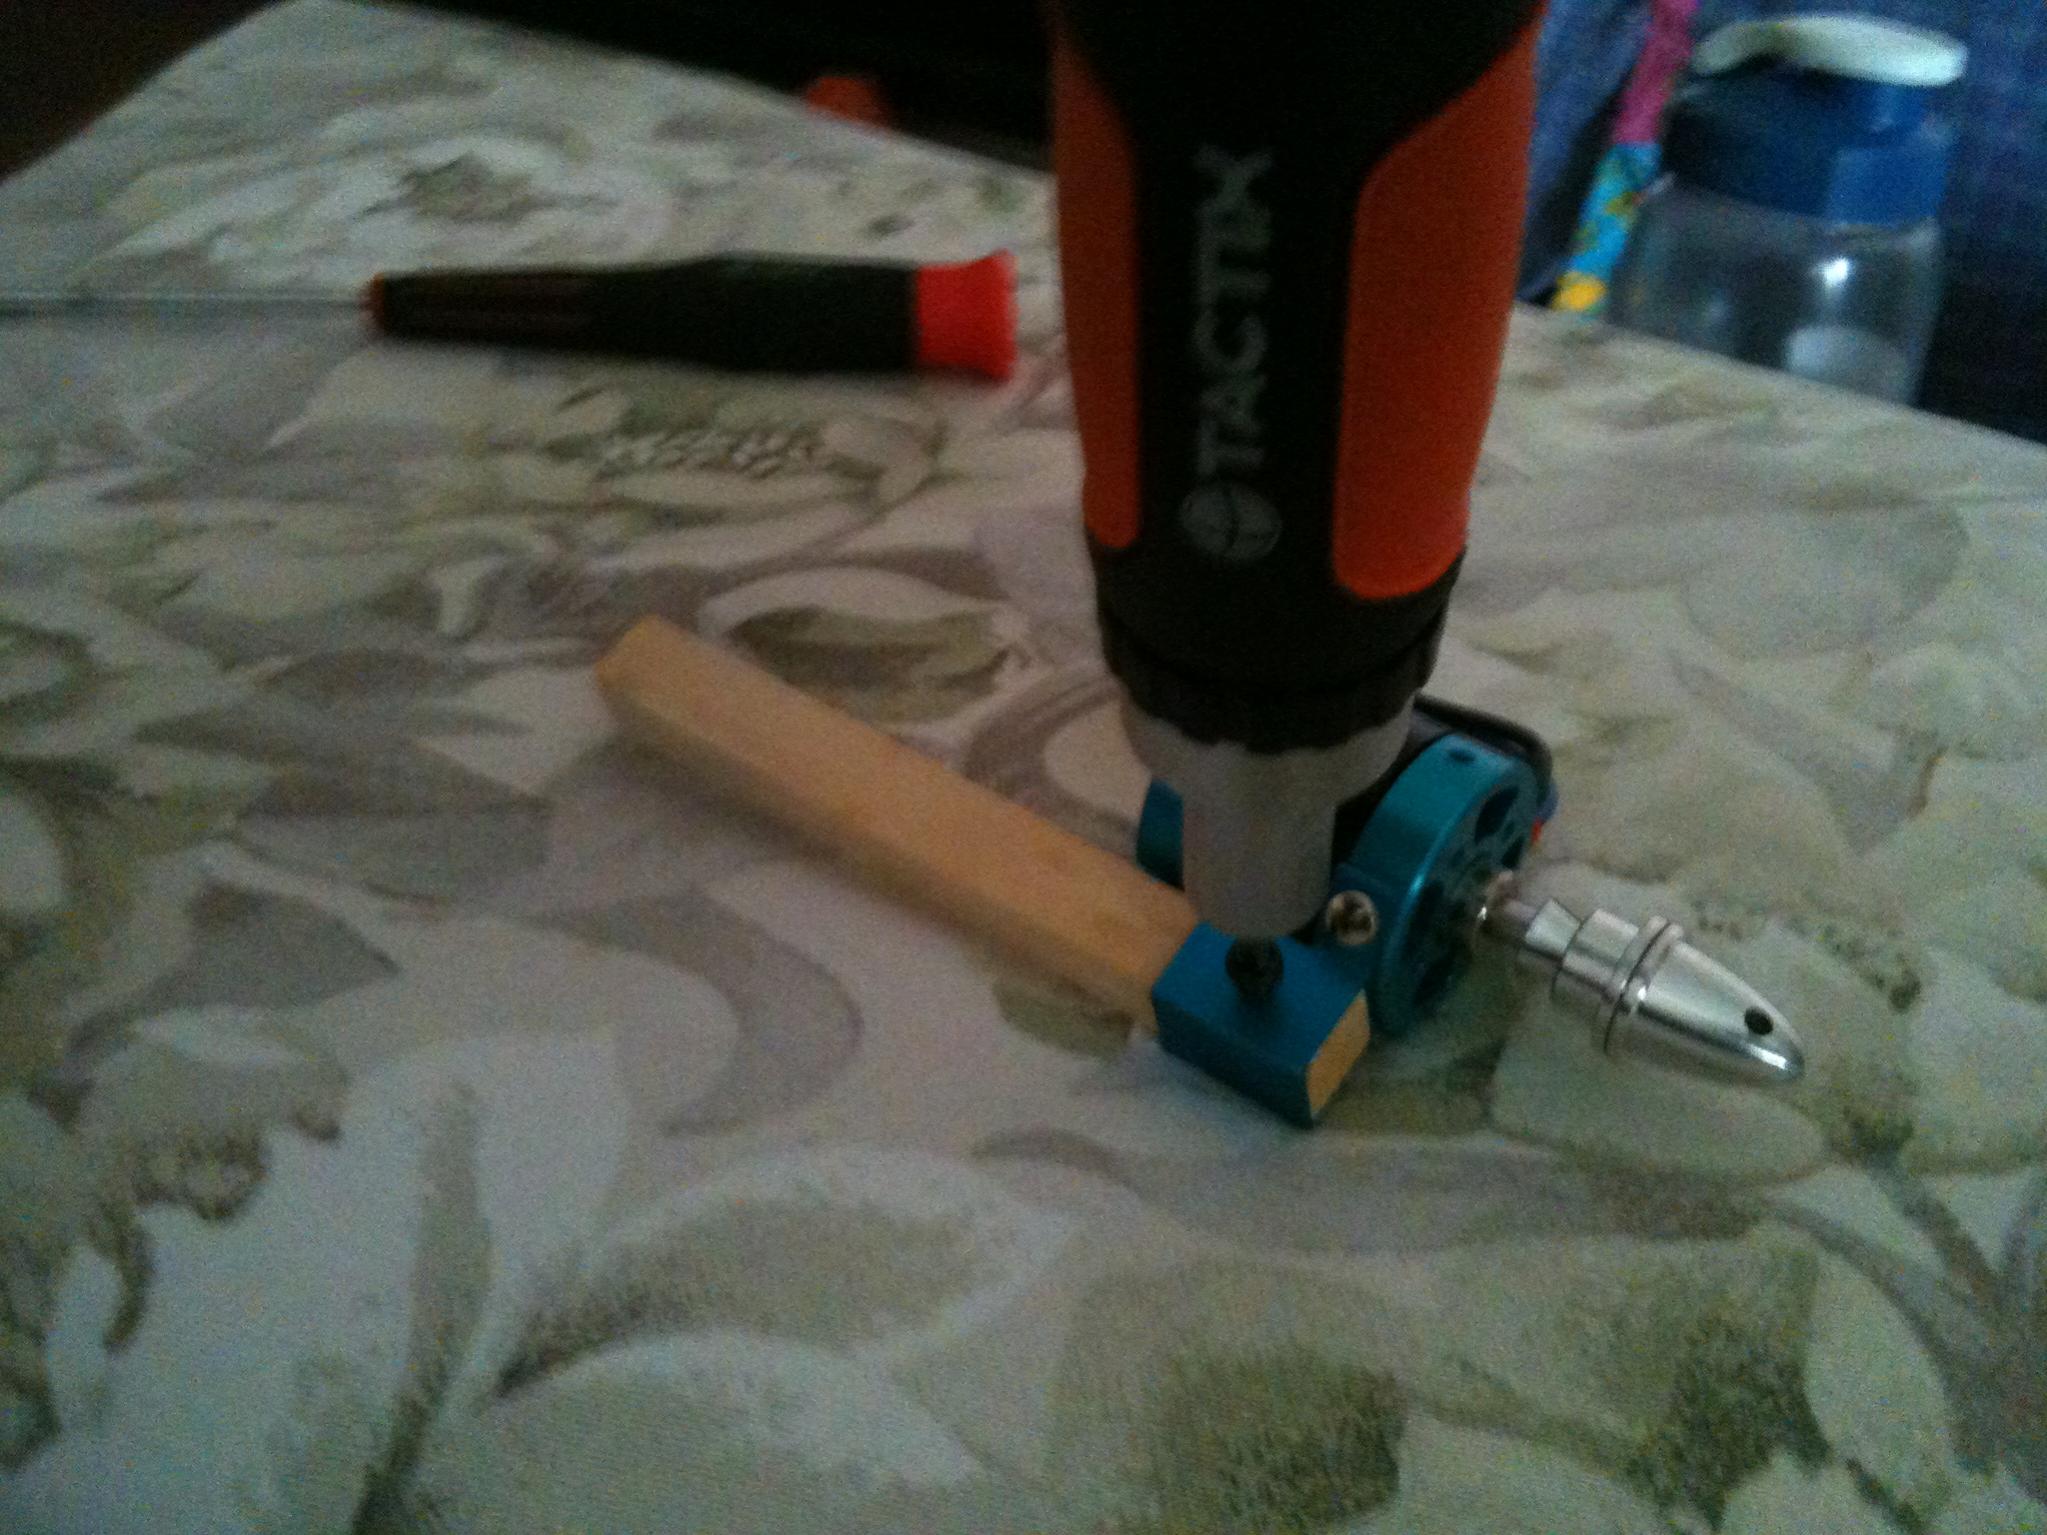
ok now i am using a very good hitmax powerfull setup out runner forgot the specs but know it was a fast motor for the beaver.they come with a stick mount too but different way of securing to the 10mm*10mm wood stick.usually tower pro mounts u can just epoxy it but for this hitmax you got to insert 2 self taping screws thru the side and also firmly epoxy slightly on the sides to make sure it is firmly mounted on the stick.i recommend since you are in ths hobby to get good product tools as they will help you alot and get the job done faster have it organised too like mine below.


ok next part installing the servos.
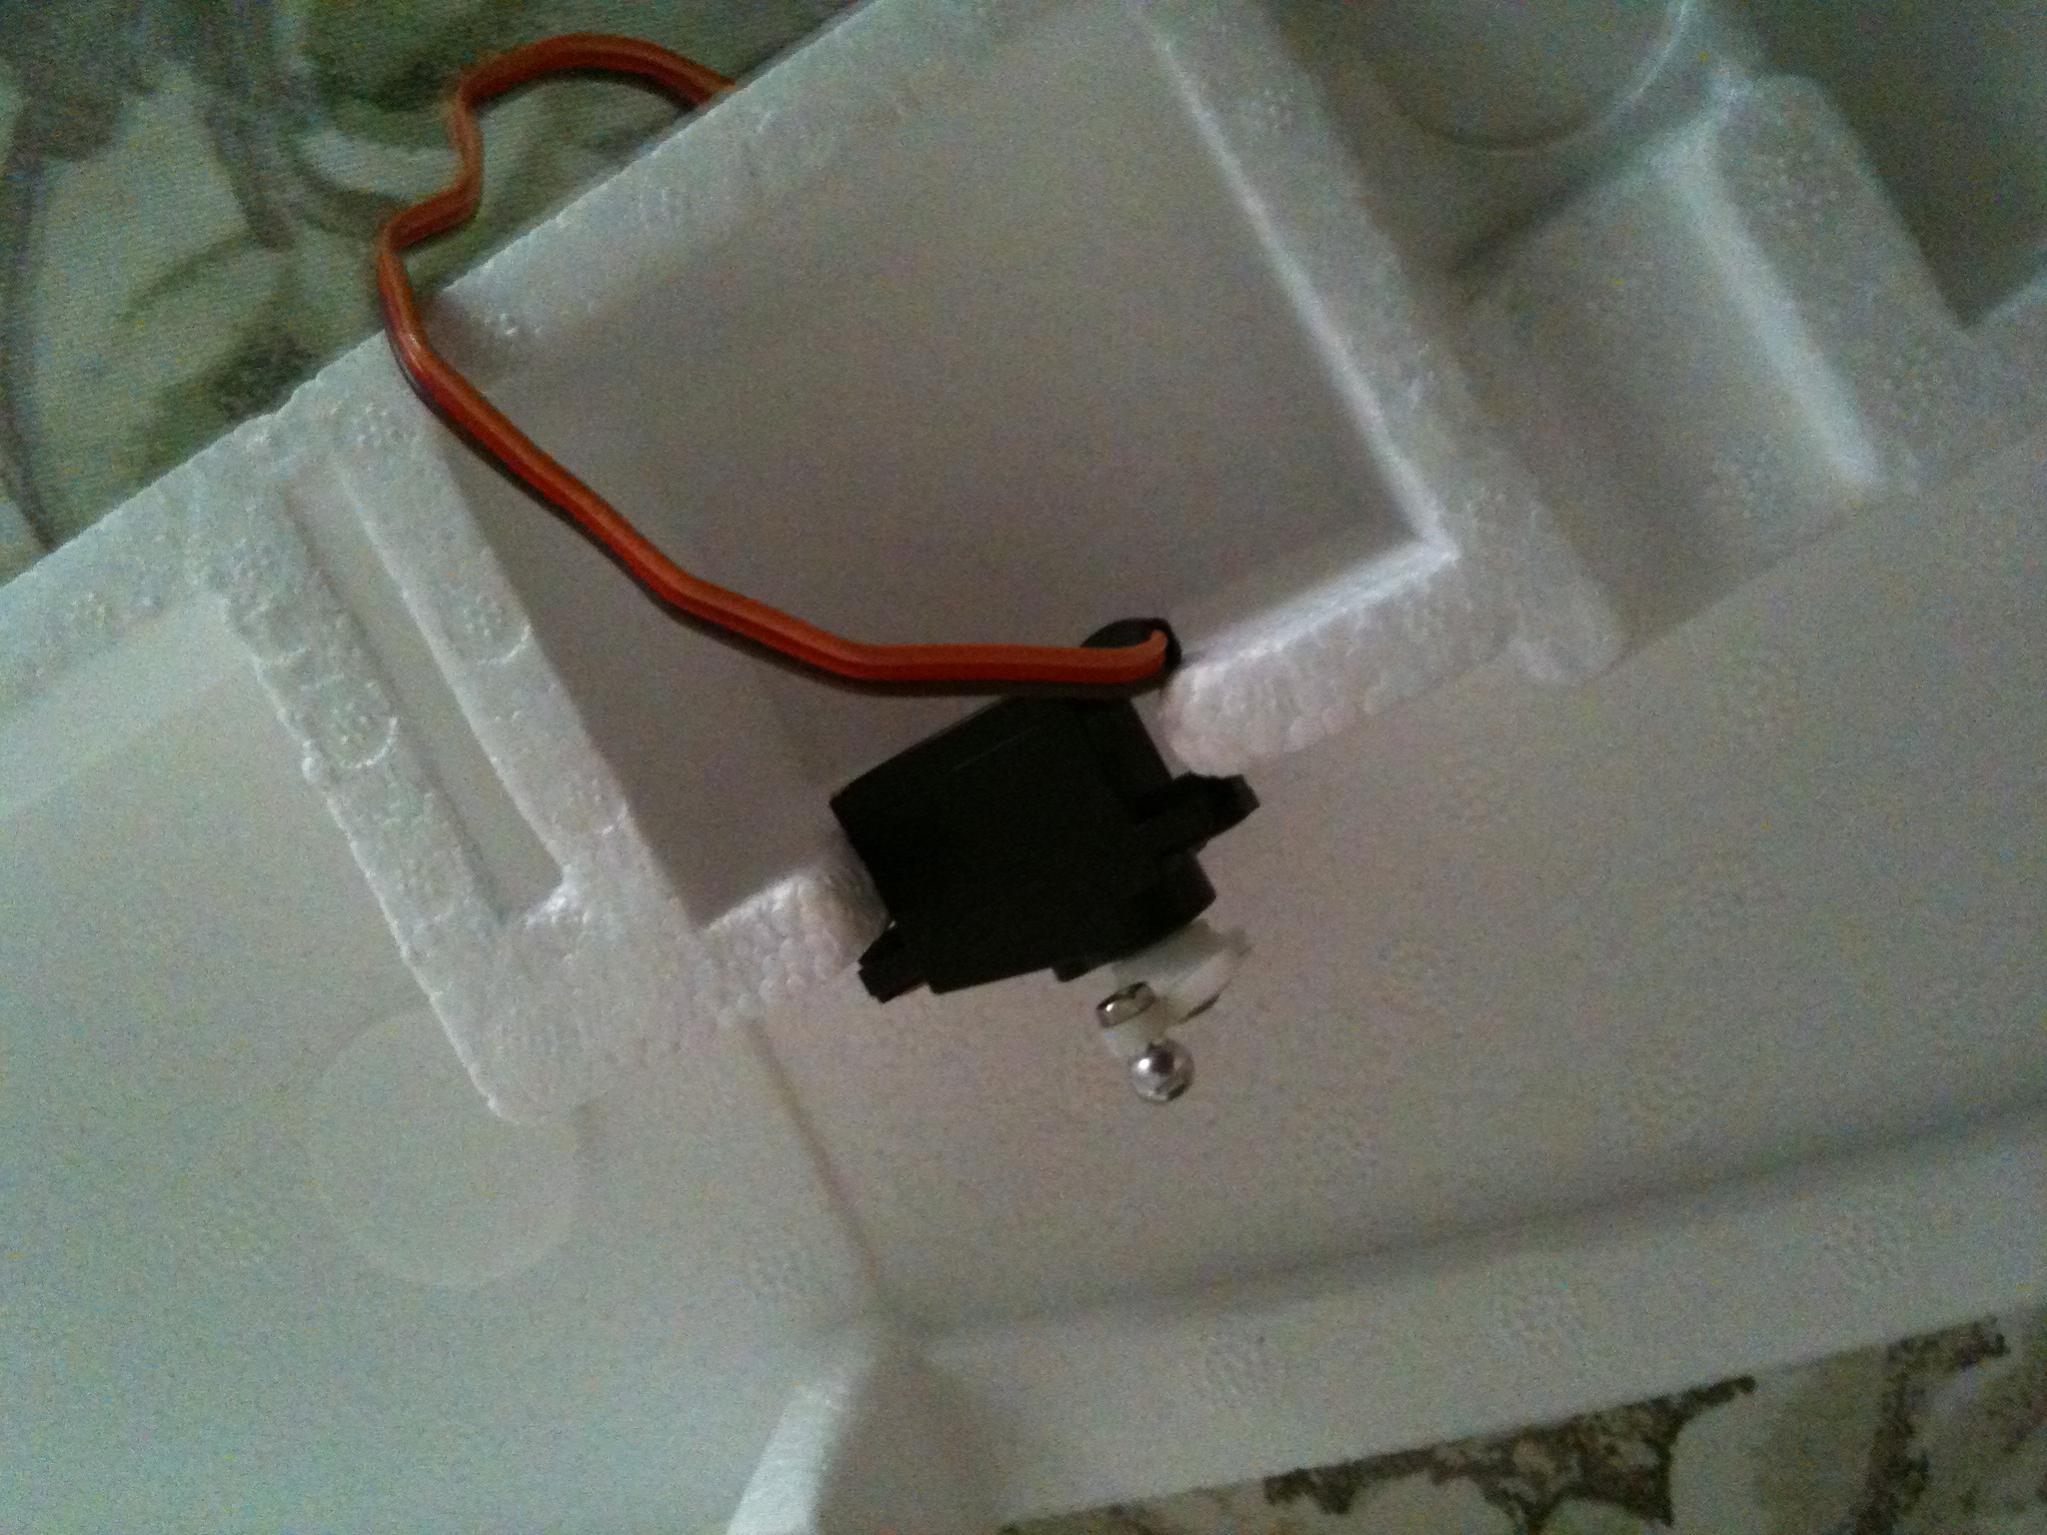
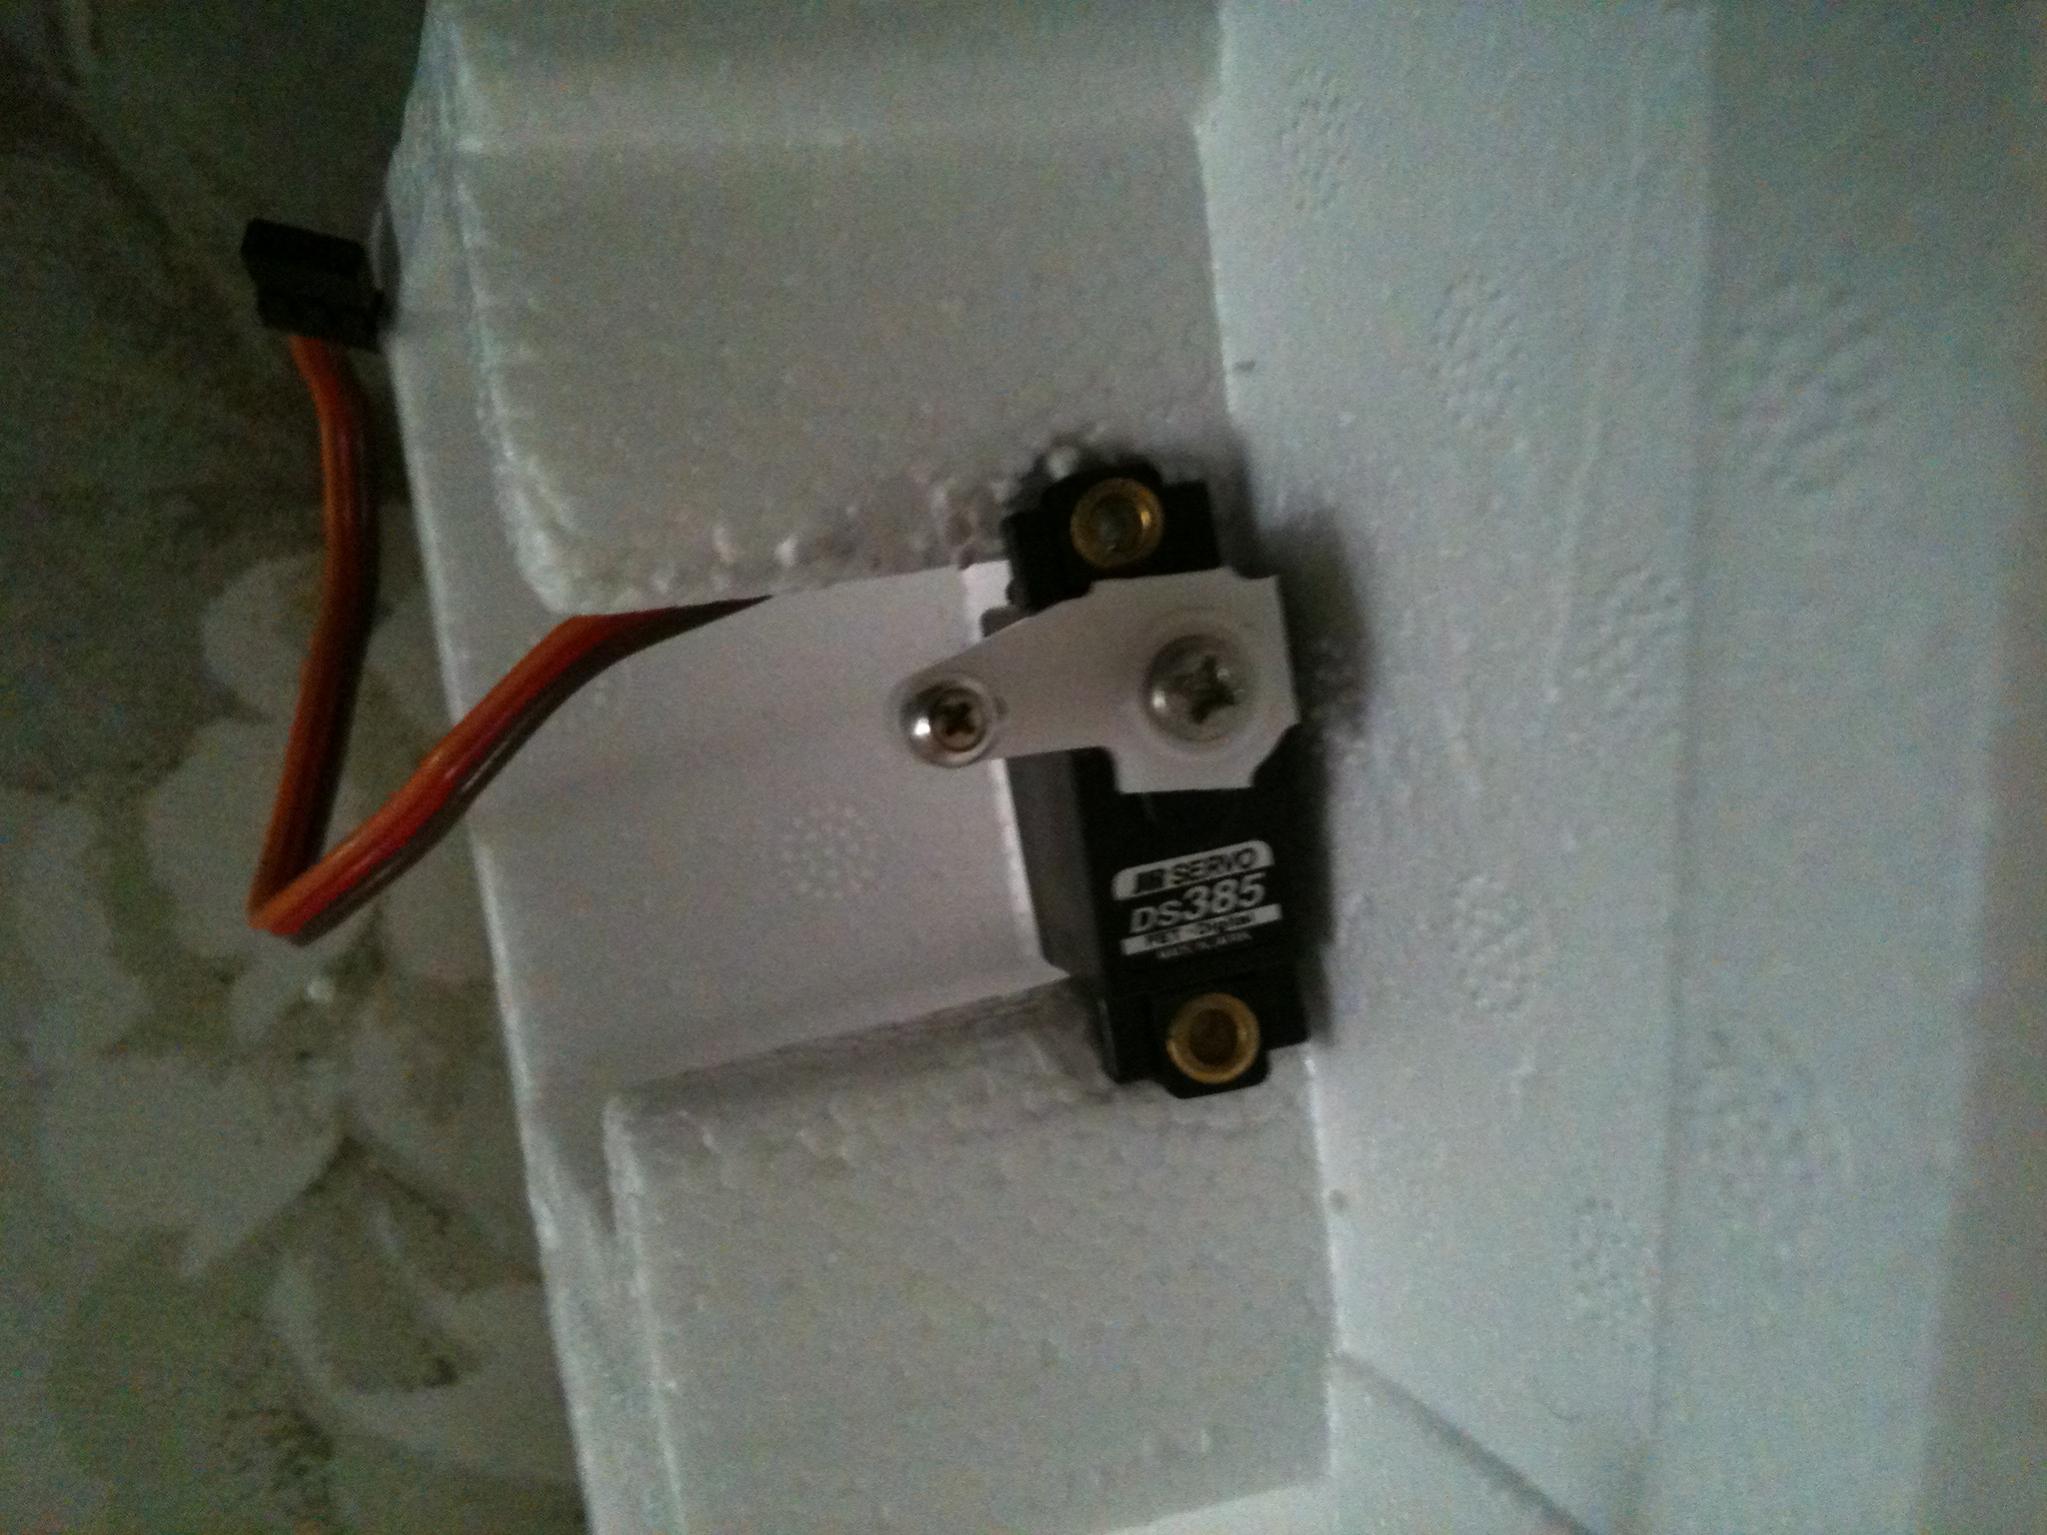
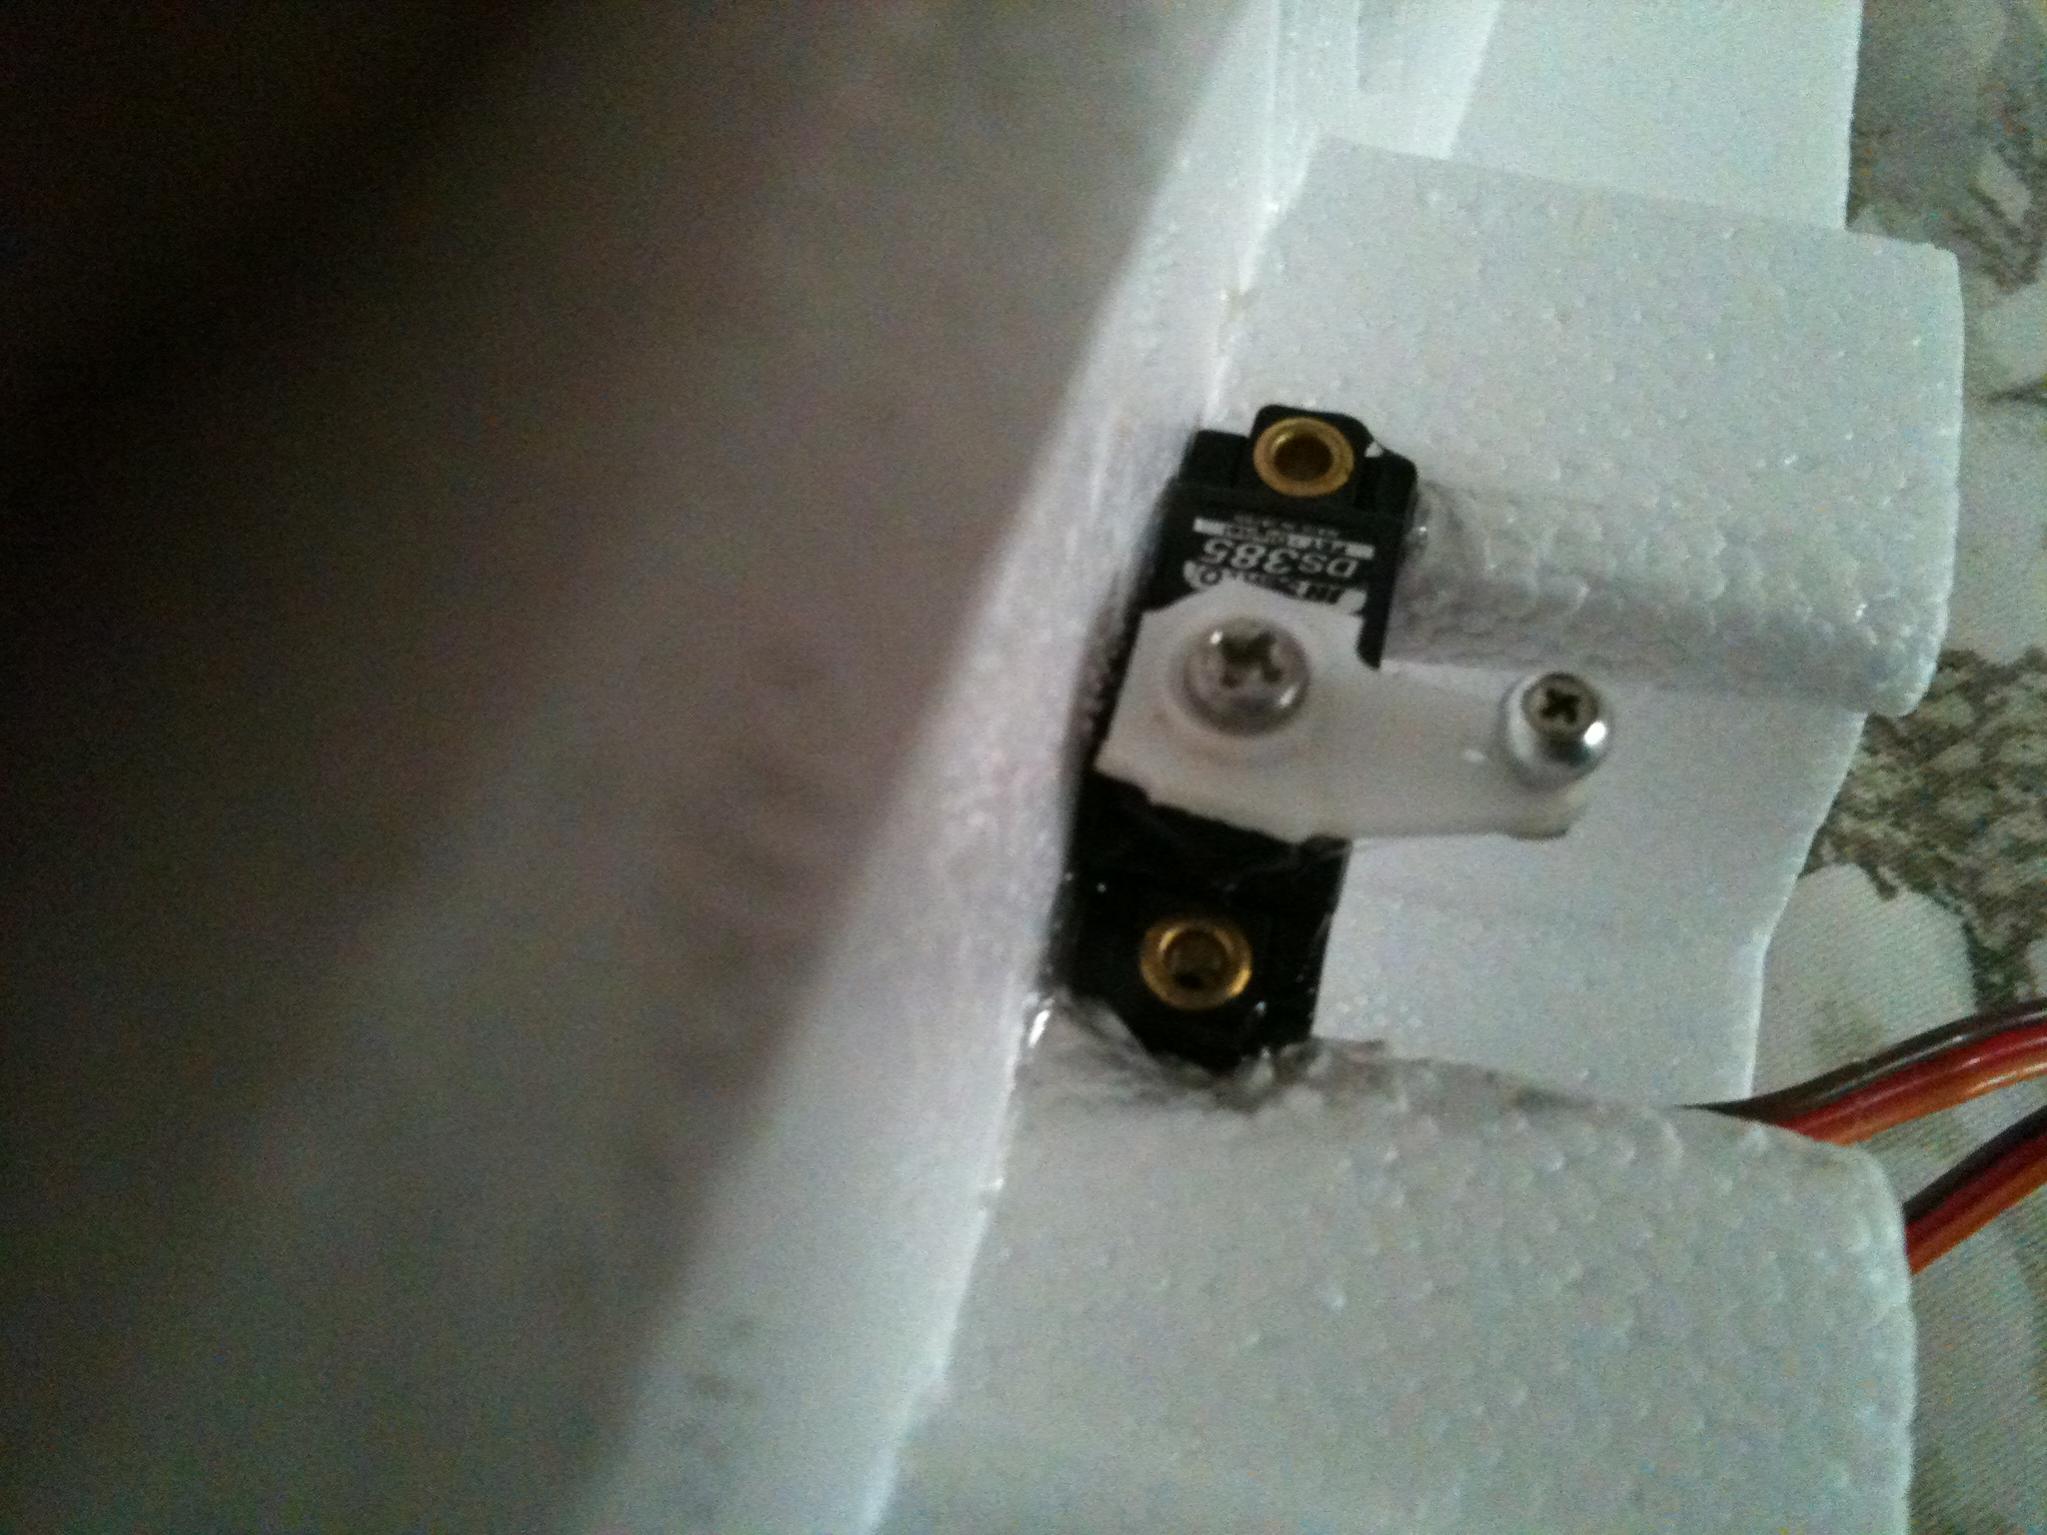
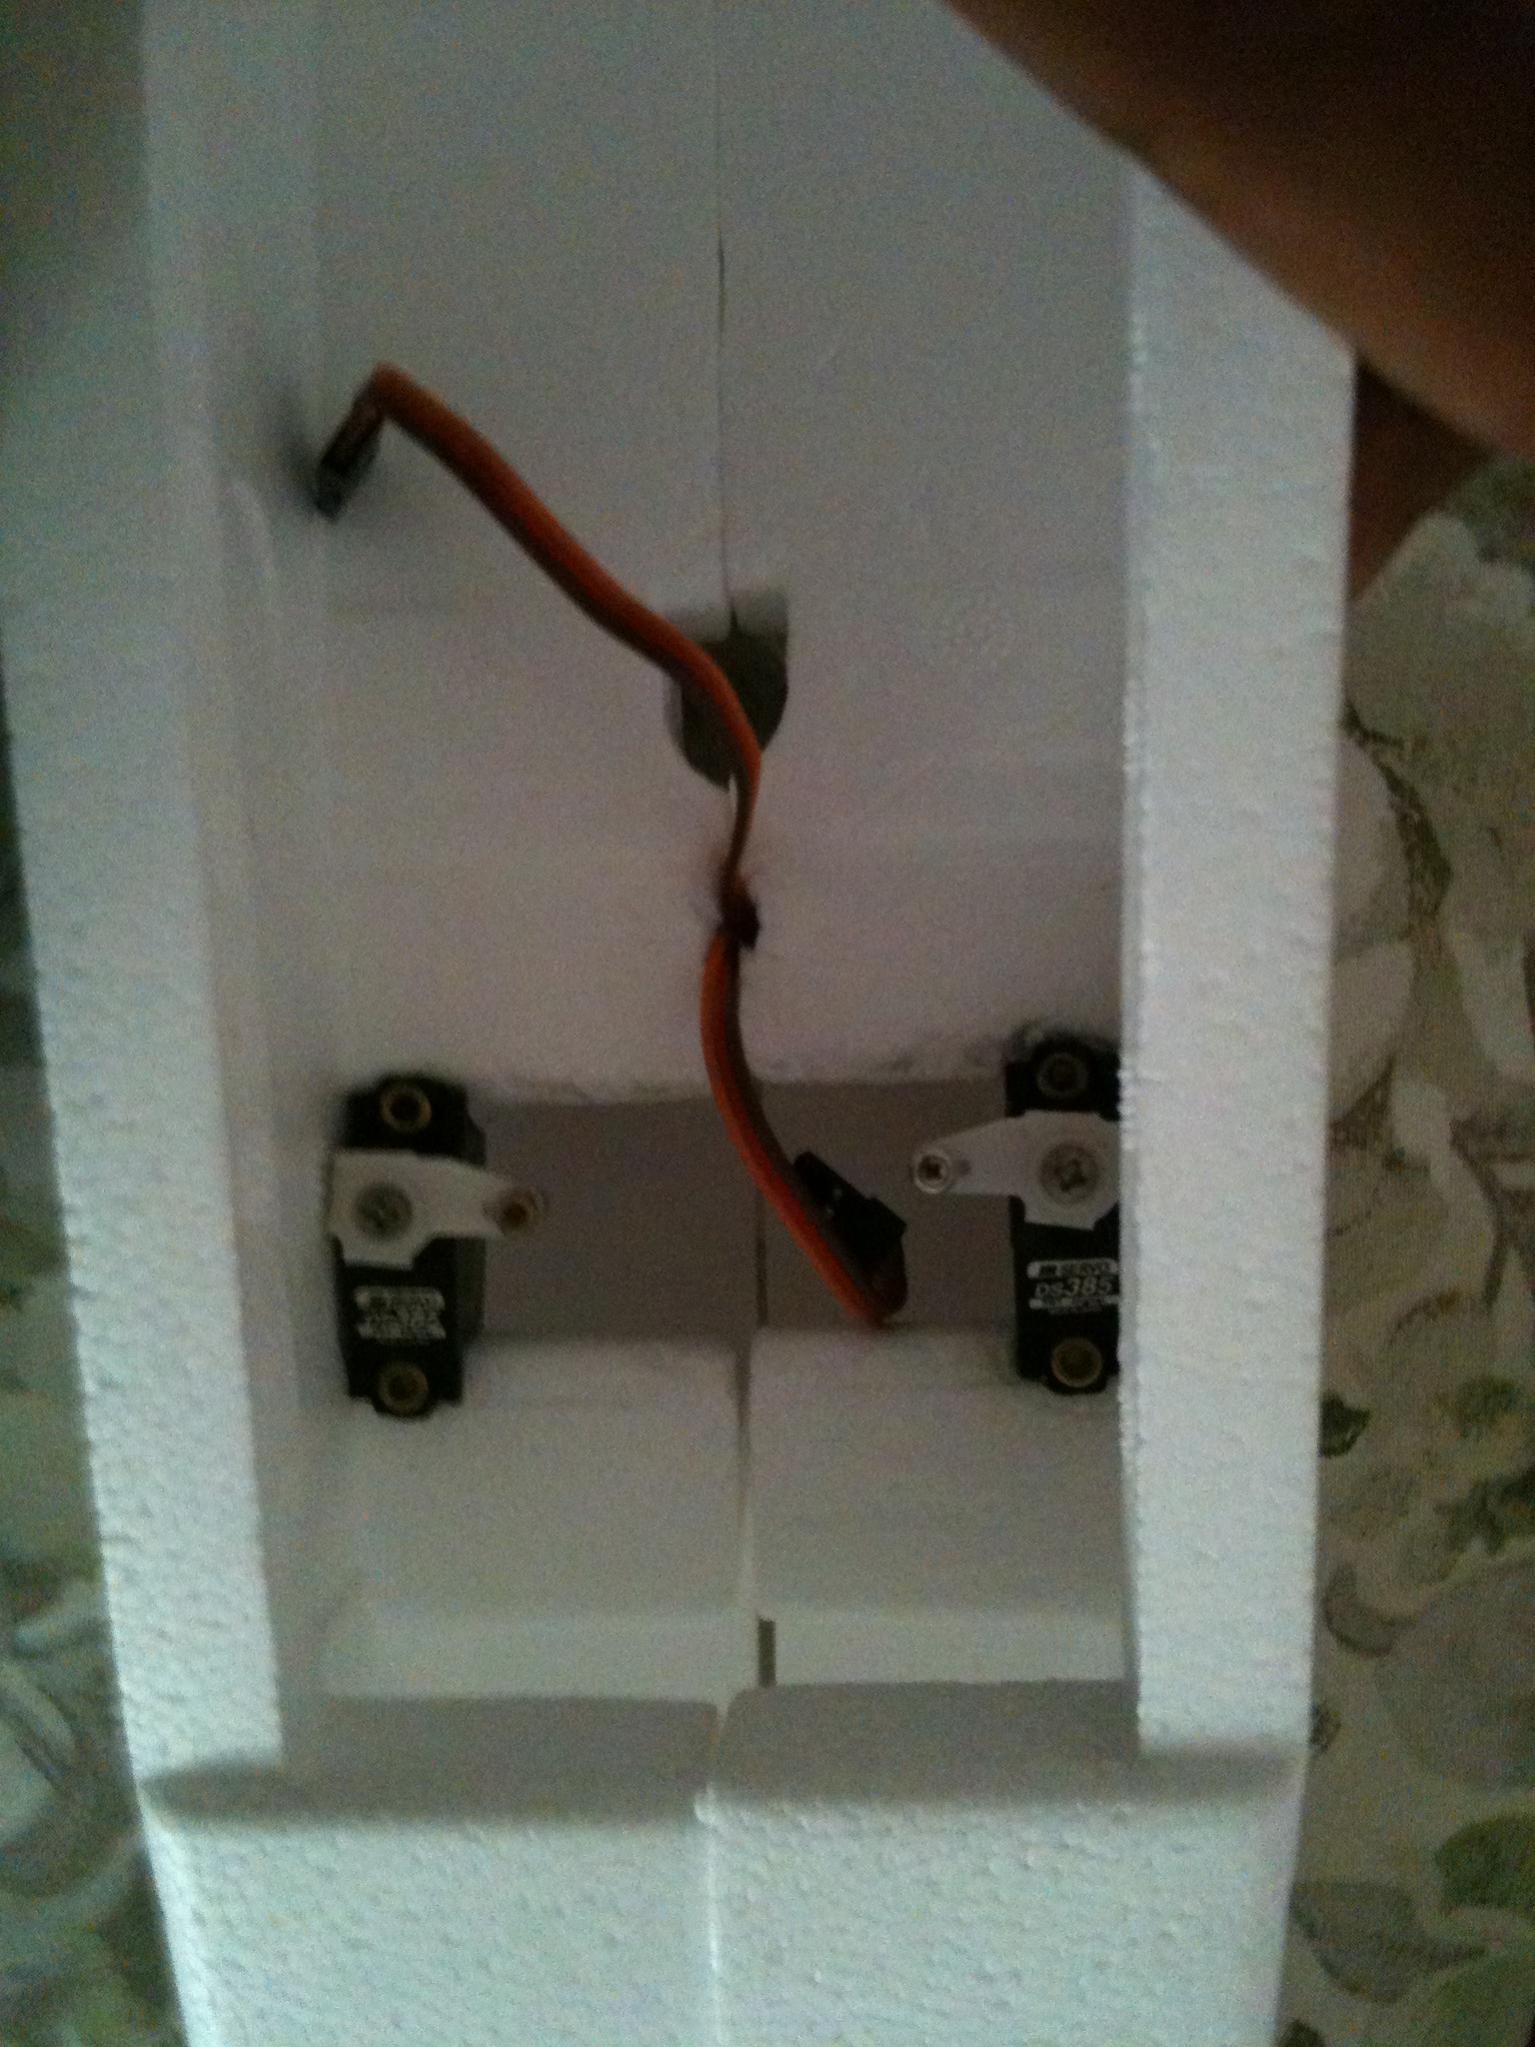
remove the servo arms always at first.then you power it up via your receiver to find its mid point accurately and then place it back on at 90 degree angle as shown in the picture this is important step.
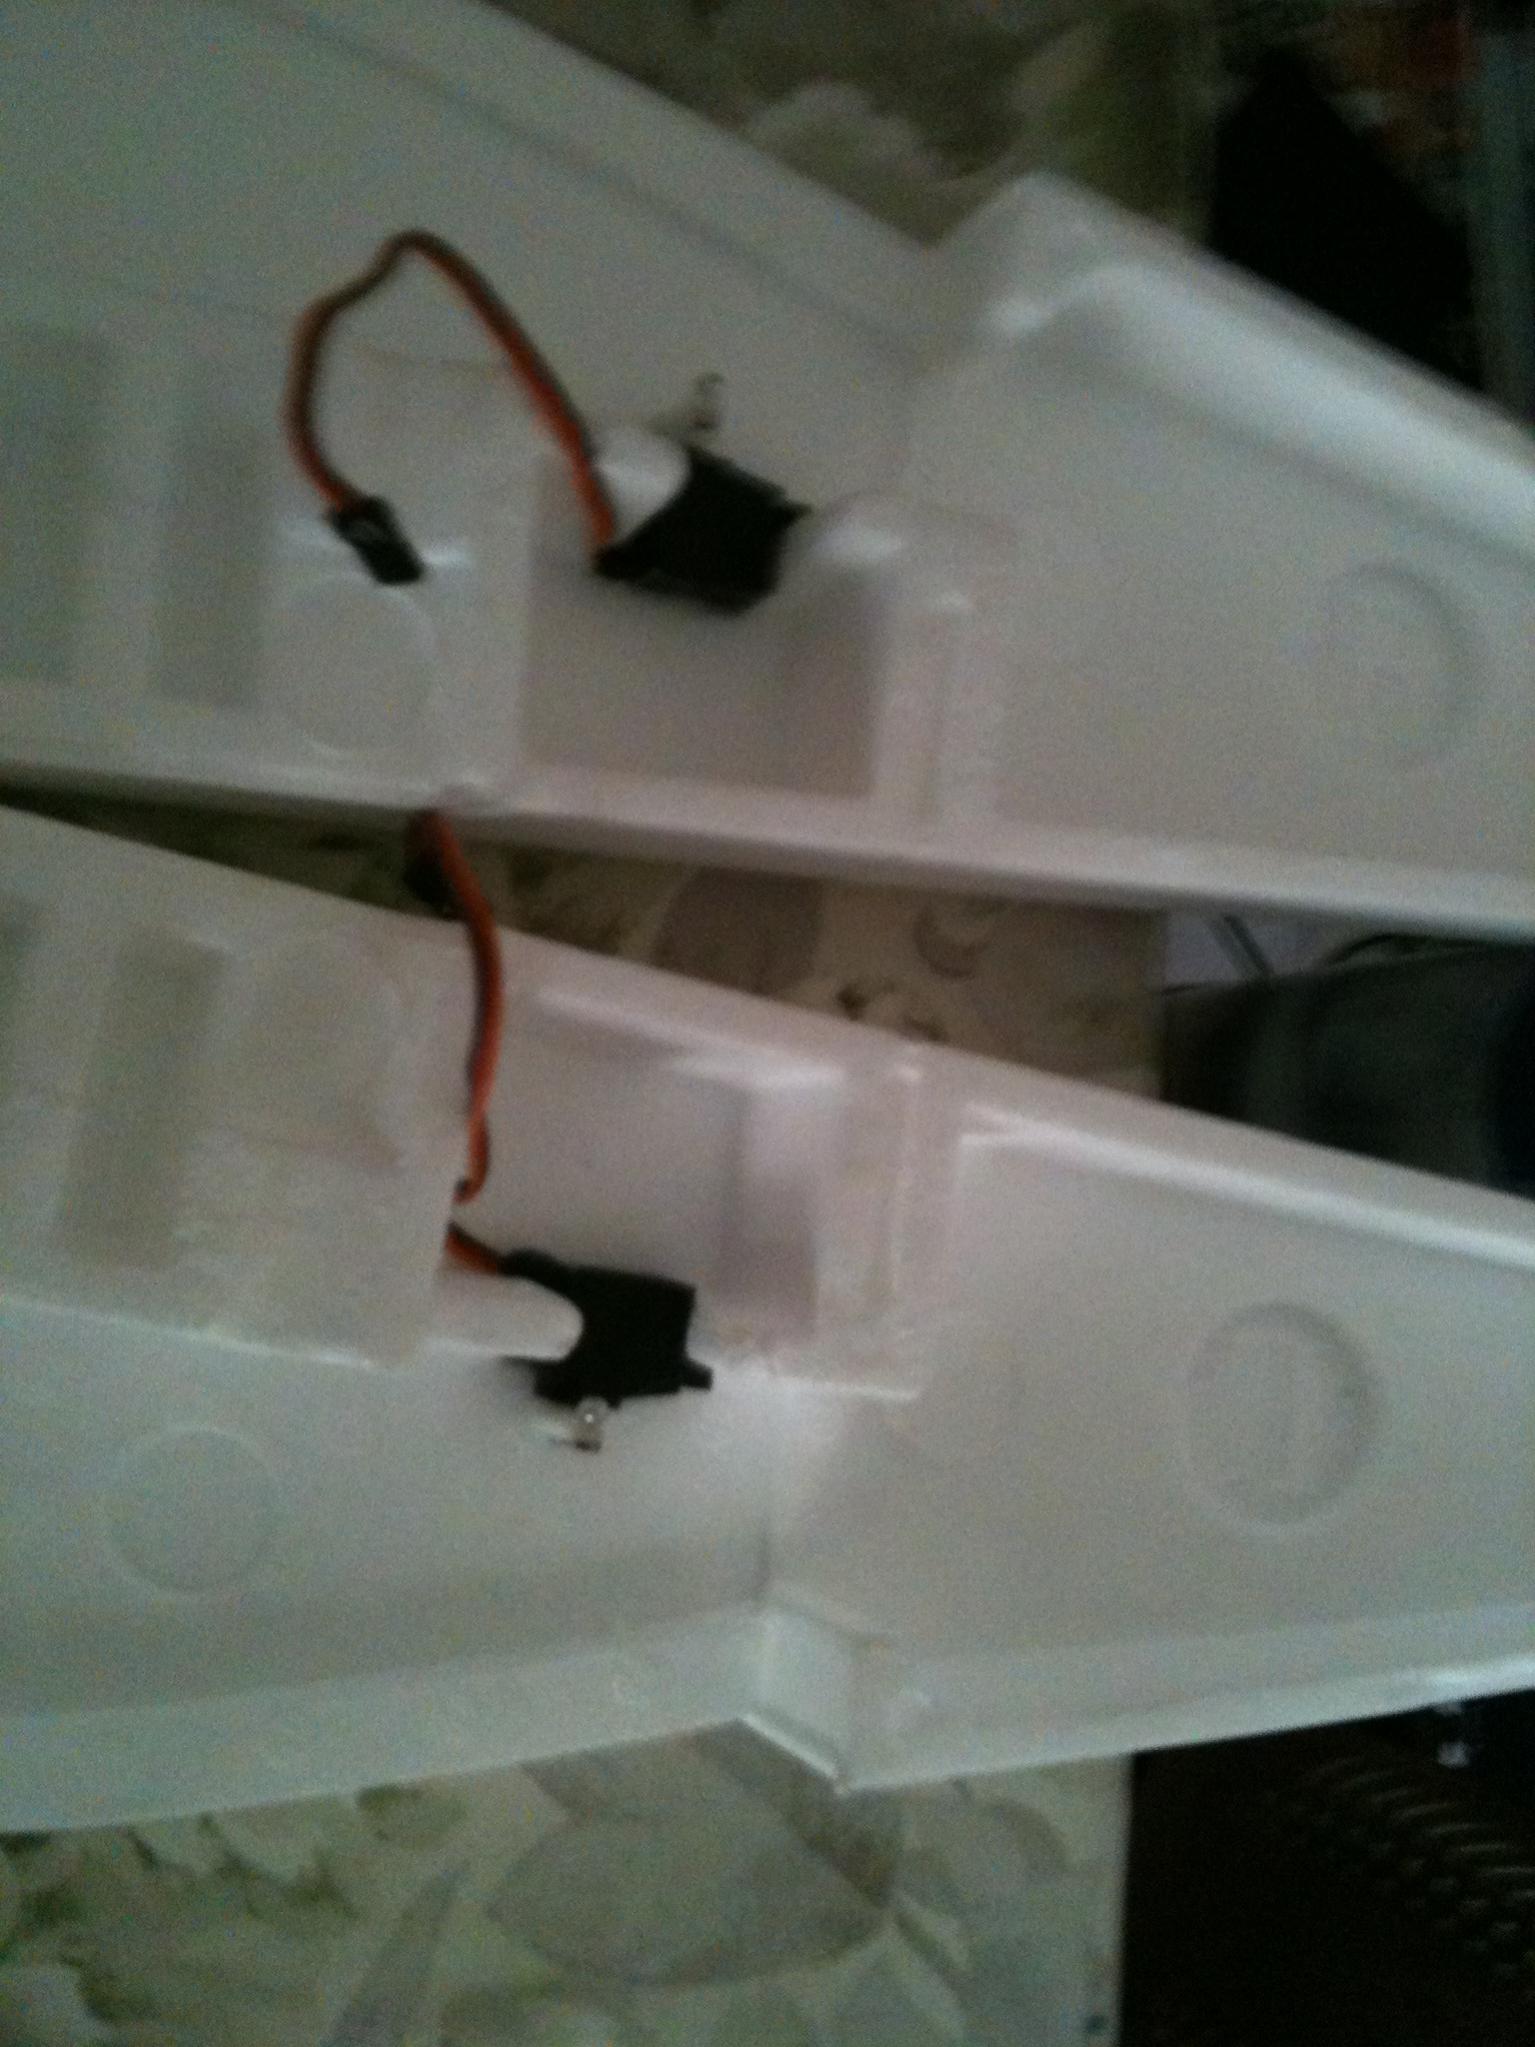
-once u got the 90 degree servo operational use some contact cement or epoxy and gently apply the on the back and the sided of the servo only refer to pics.then press it down to the wall were the area is located for you to mount it and let it to dry do same thing for the other servo.use 9 g servos.any brand servo will do.


next get your 20-30 amp BRUSHLESS esc not brush know the difference. we will be using it next>>
to be continued tomorrow......{anyways please pm me any suggestions or feedback on how i should post in way or something.. your feedback will be deeply appriciated}


btw i will recommend anyone to build and fly this plane it is simply fun and beautiful worth all your effort and you will be proud of your build at the end of the day.anyway great trainer if you are looking for a first plane to start with.super stable and crash proof to some extents, anyways also super easy fixings!
ok lets move on!
this is what will look like when you open up the box take out the accessories pack which contains a plastic formed "plate looking thing"
next cut it out as marked on the plate with sharp hobby knife(recommended) or scissors do it accurately as the wing part build is where every one gets it wrong and they will regret flying it cause it will cause alot of problem very annoying follow me care fully get this once and for all right!and you will get something looking like mine or even better don't over-cut do it nicely.
and after that is done use GWS GLUE only! do not use epoxy or ca or hot glue gun as this will ruin all your efforts tried all it in my last 5 builds the gws contact cement works the best.anyways many people dont know how to use gws glue or contact cement.even i did not know.i thought just squeez out the glue and join.but my smart flying buddy told me that contact cement works a different way.the right way to use it is apply it on the surface to be joined and wait 10-15 minutes patiently.also have some fiber tape and scissors on standby for joining the wings
*NOTE:throw away the double side tape they provided for you to secure the wing to the plate cause it will never stick and will never work!it is simply shit.follow this advise or you may have your wing breaking up in mid air!
after 15 minutes take one piece of the wing make sure right wing side got 2 sides and left and right wing don't get it wrong.see center point on the plate we cut out just now and place it on half of the divided side slowly and use paper towels to wipe off excces glue which pours out after joining down the wing.
and immediately tape it down securrley with reasonable amount of fiber tape to keep it fixed do it nicely as this strengthens the plate angling your wing refer to the pics.
and follow by that glue the other part of the plate and wait 15 minutes again.then do the same step place it down fiber tape it,at the end you should get a a very wide v shape angled wing.see the pics.and at the under side fiber tape the 2 parts in the middle so they maintain the angle as shown in the last pic.
well now that you are done with the wing store it away and leave it alone for 24 hours for the cement to take full effect.this is just part 1.
-part 2 now setting up and installing electronics
first installing your motor.*dont use the shit brush motor they provide you with.
find a suitable size and kv motor
i recommend 2408-2215 size
and 900-1400 kv.
for slow and steady beaver setup go for towerpro or any other good brand 2410 600KV.this is a super slow setup flies as slow s the champ on 1160 gws propeller!
i recommend tower pro as they provide you with stick motor mounts which goes good on all gws planes.if u want a nice slightly fast like normal speed where can take off like a trainer i recommend tower pro 2408/2410, 1530 kv/1400 kv
if you want to know where to get it you can pm me.
ok now i am using a very good hitmax powerfull setup out runner forgot the specs but know it was a fast motor for the beaver.they come with a stick mount too but different way of securing to the 10mm*10mm wood stick.usually tower pro mounts u can just epoxy it but for this hitmax you got to insert 2 self taping screws thru the side and also firmly epoxy slightly on the sides to make sure it is firmly mounted on the stick.i recommend since you are in ths hobby to get good product tools as they will help you alot and get the job done faster have it organised too like mine below.
ok next part installing the servos.
remove the servo arms always at first.then you power it up via your receiver to find its mid point accurately and then place it back on at 90 degree angle as shown in the picture this is important step.
-once u got the 90 degree servo operational use some contact cement or epoxy and gently apply the on the back and the sided of the servo only refer to pics.then press it down to the wall were the area is located for you to mount it and let it to dry do same thing for the other servo.use 9 g servos.any brand servo will do.
next get your 20-30 amp BRUSHLESS esc not brush know the difference. we will be using it next>>
to be continued tomorrow......{anyways please pm me any suggestions or feedback on how i should post in way or something.. your feedback will be deeply appriciated}