Announcement

Collapse
No announcement yet.

Topsky 3 D box Disser DLG Build

Collapse

Zenm Tech Pte Ltd

Collapse

Visit Zenmtech at rc.zenmtech.com

X
 
  • Filter
  • Time
  • Show
Clear All
new posts

    Topsky 3 D box Disser DLG Build

    It has been some time since I did a build log. Recently, I was given the opportunity to build a pre-production Topsky 3 DLG. I'm always up for new models to build.

    Topsky has impressed me as they have improved their line of DLGs rather rapidly. The quality has improved dramatically from their very first batch and the most recent one, the Topsky 3 looks rather impressive.

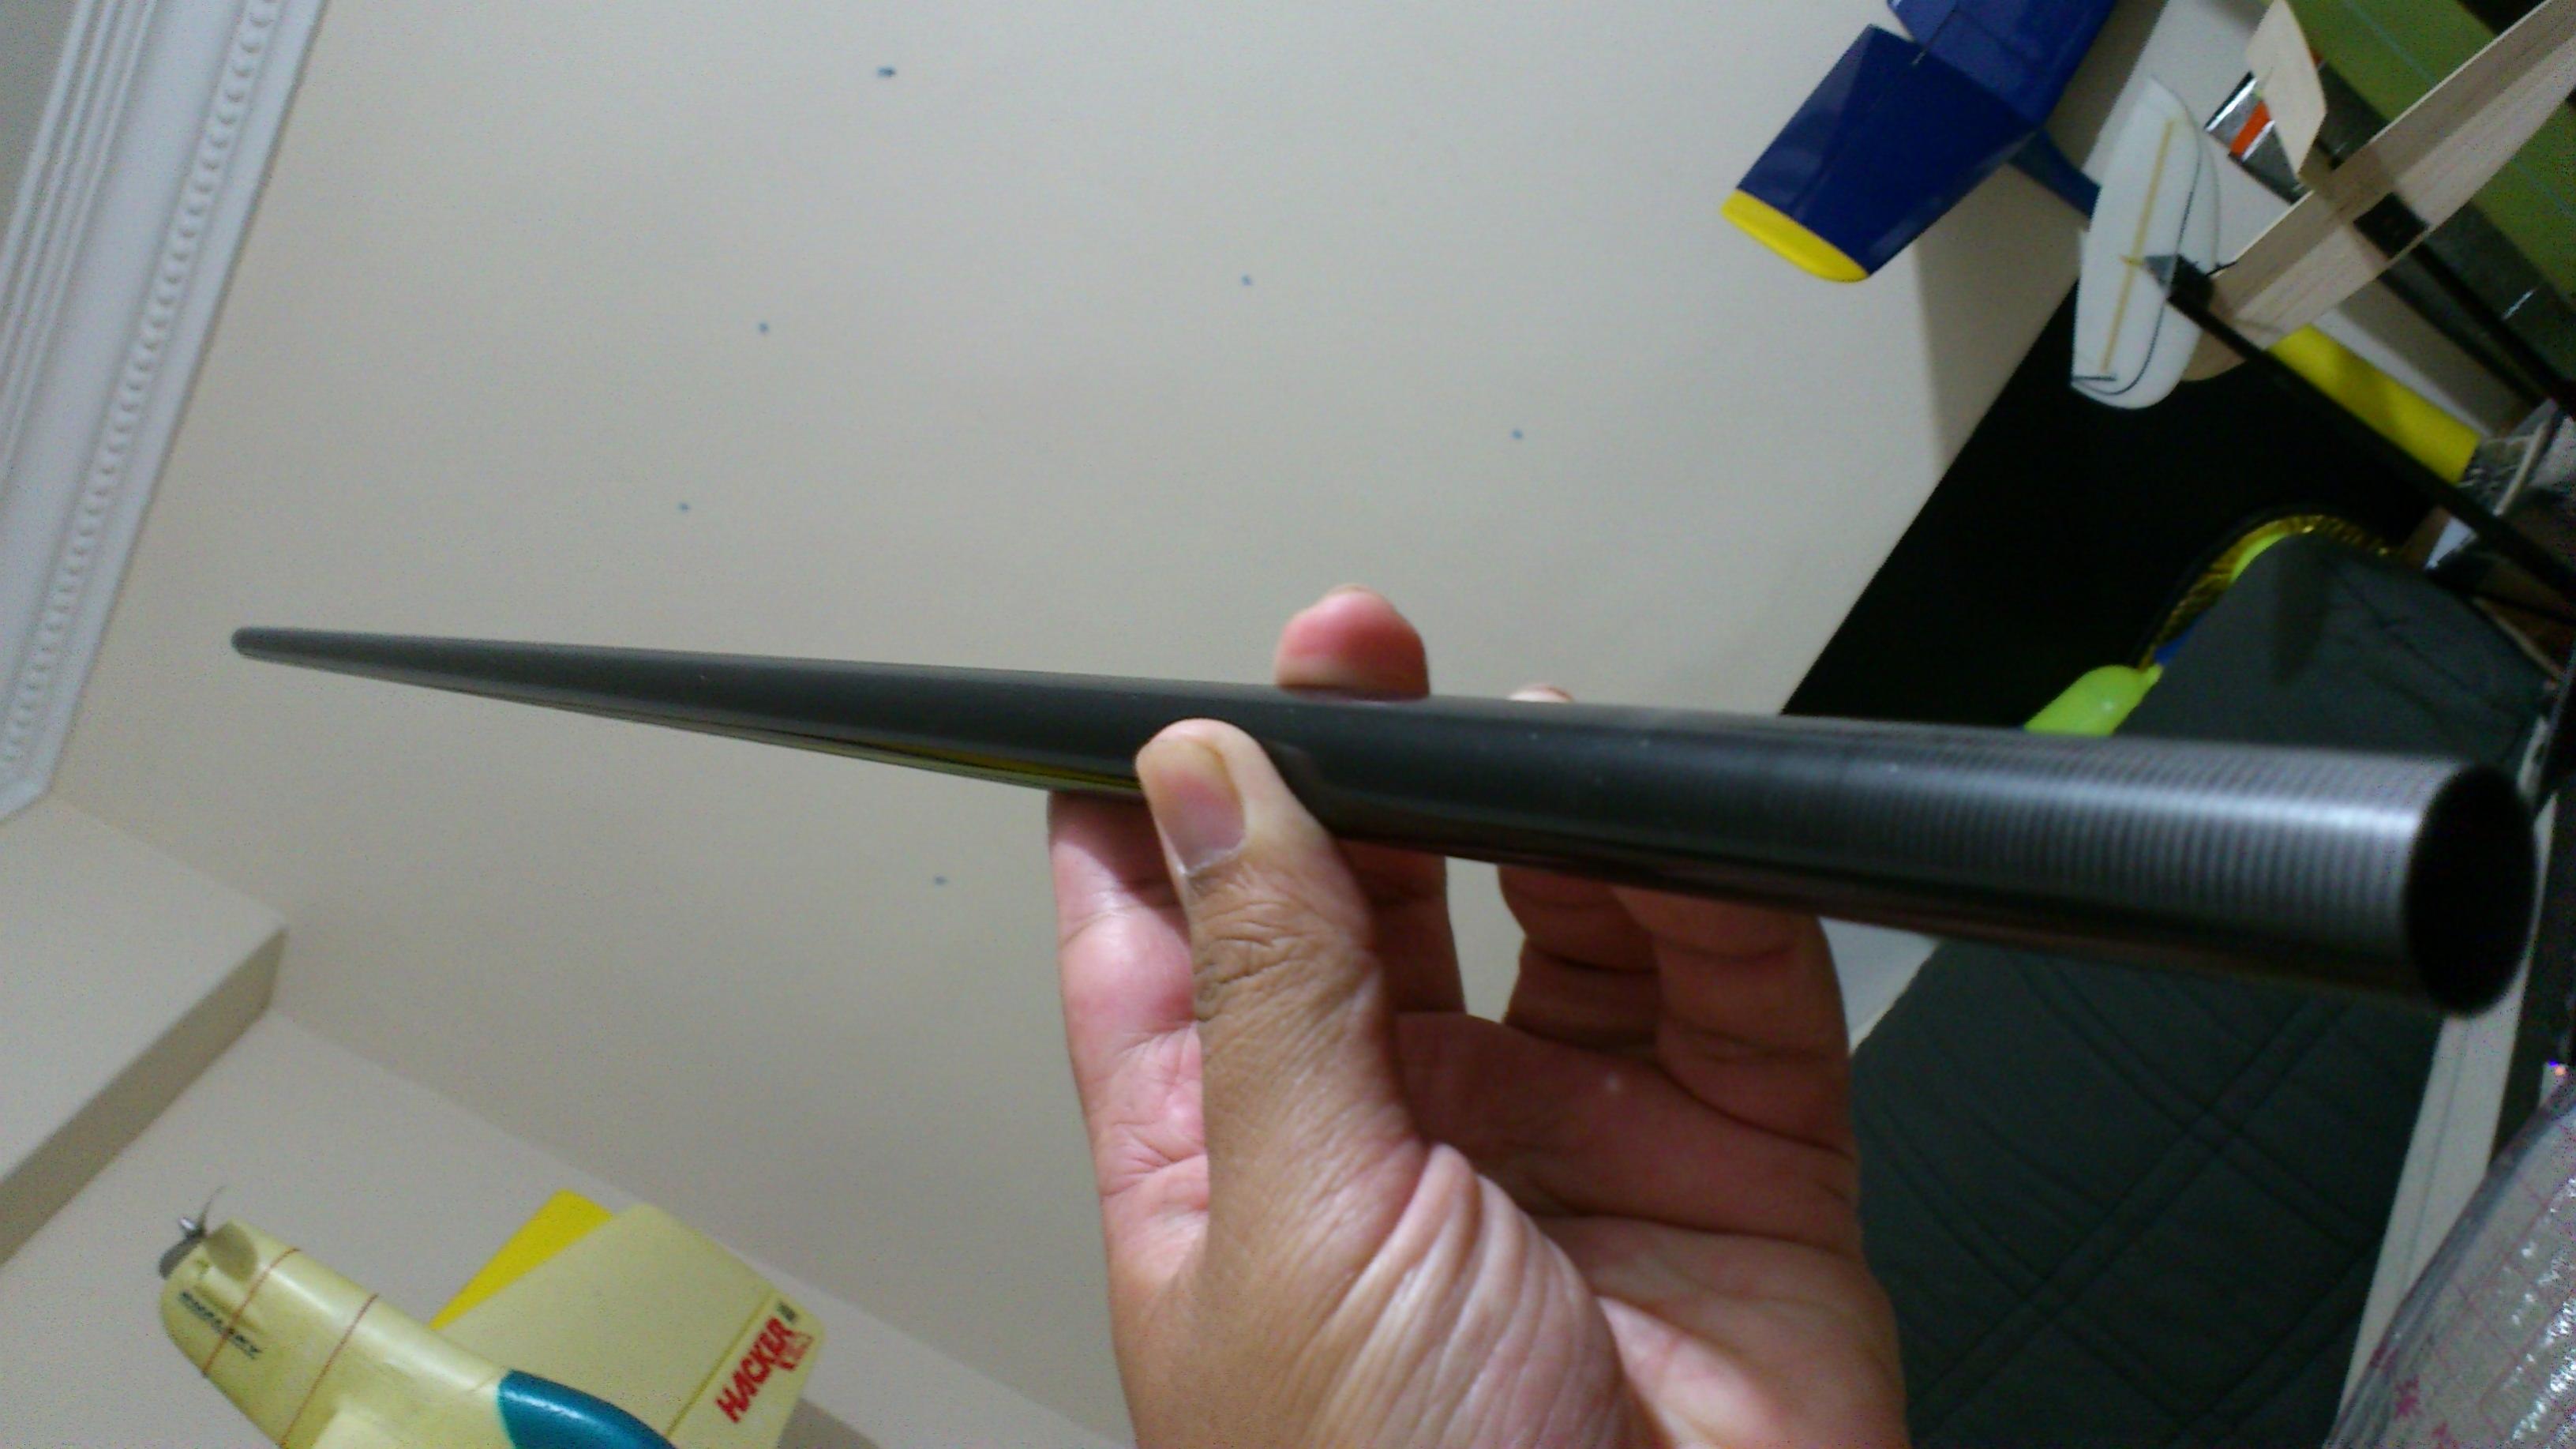
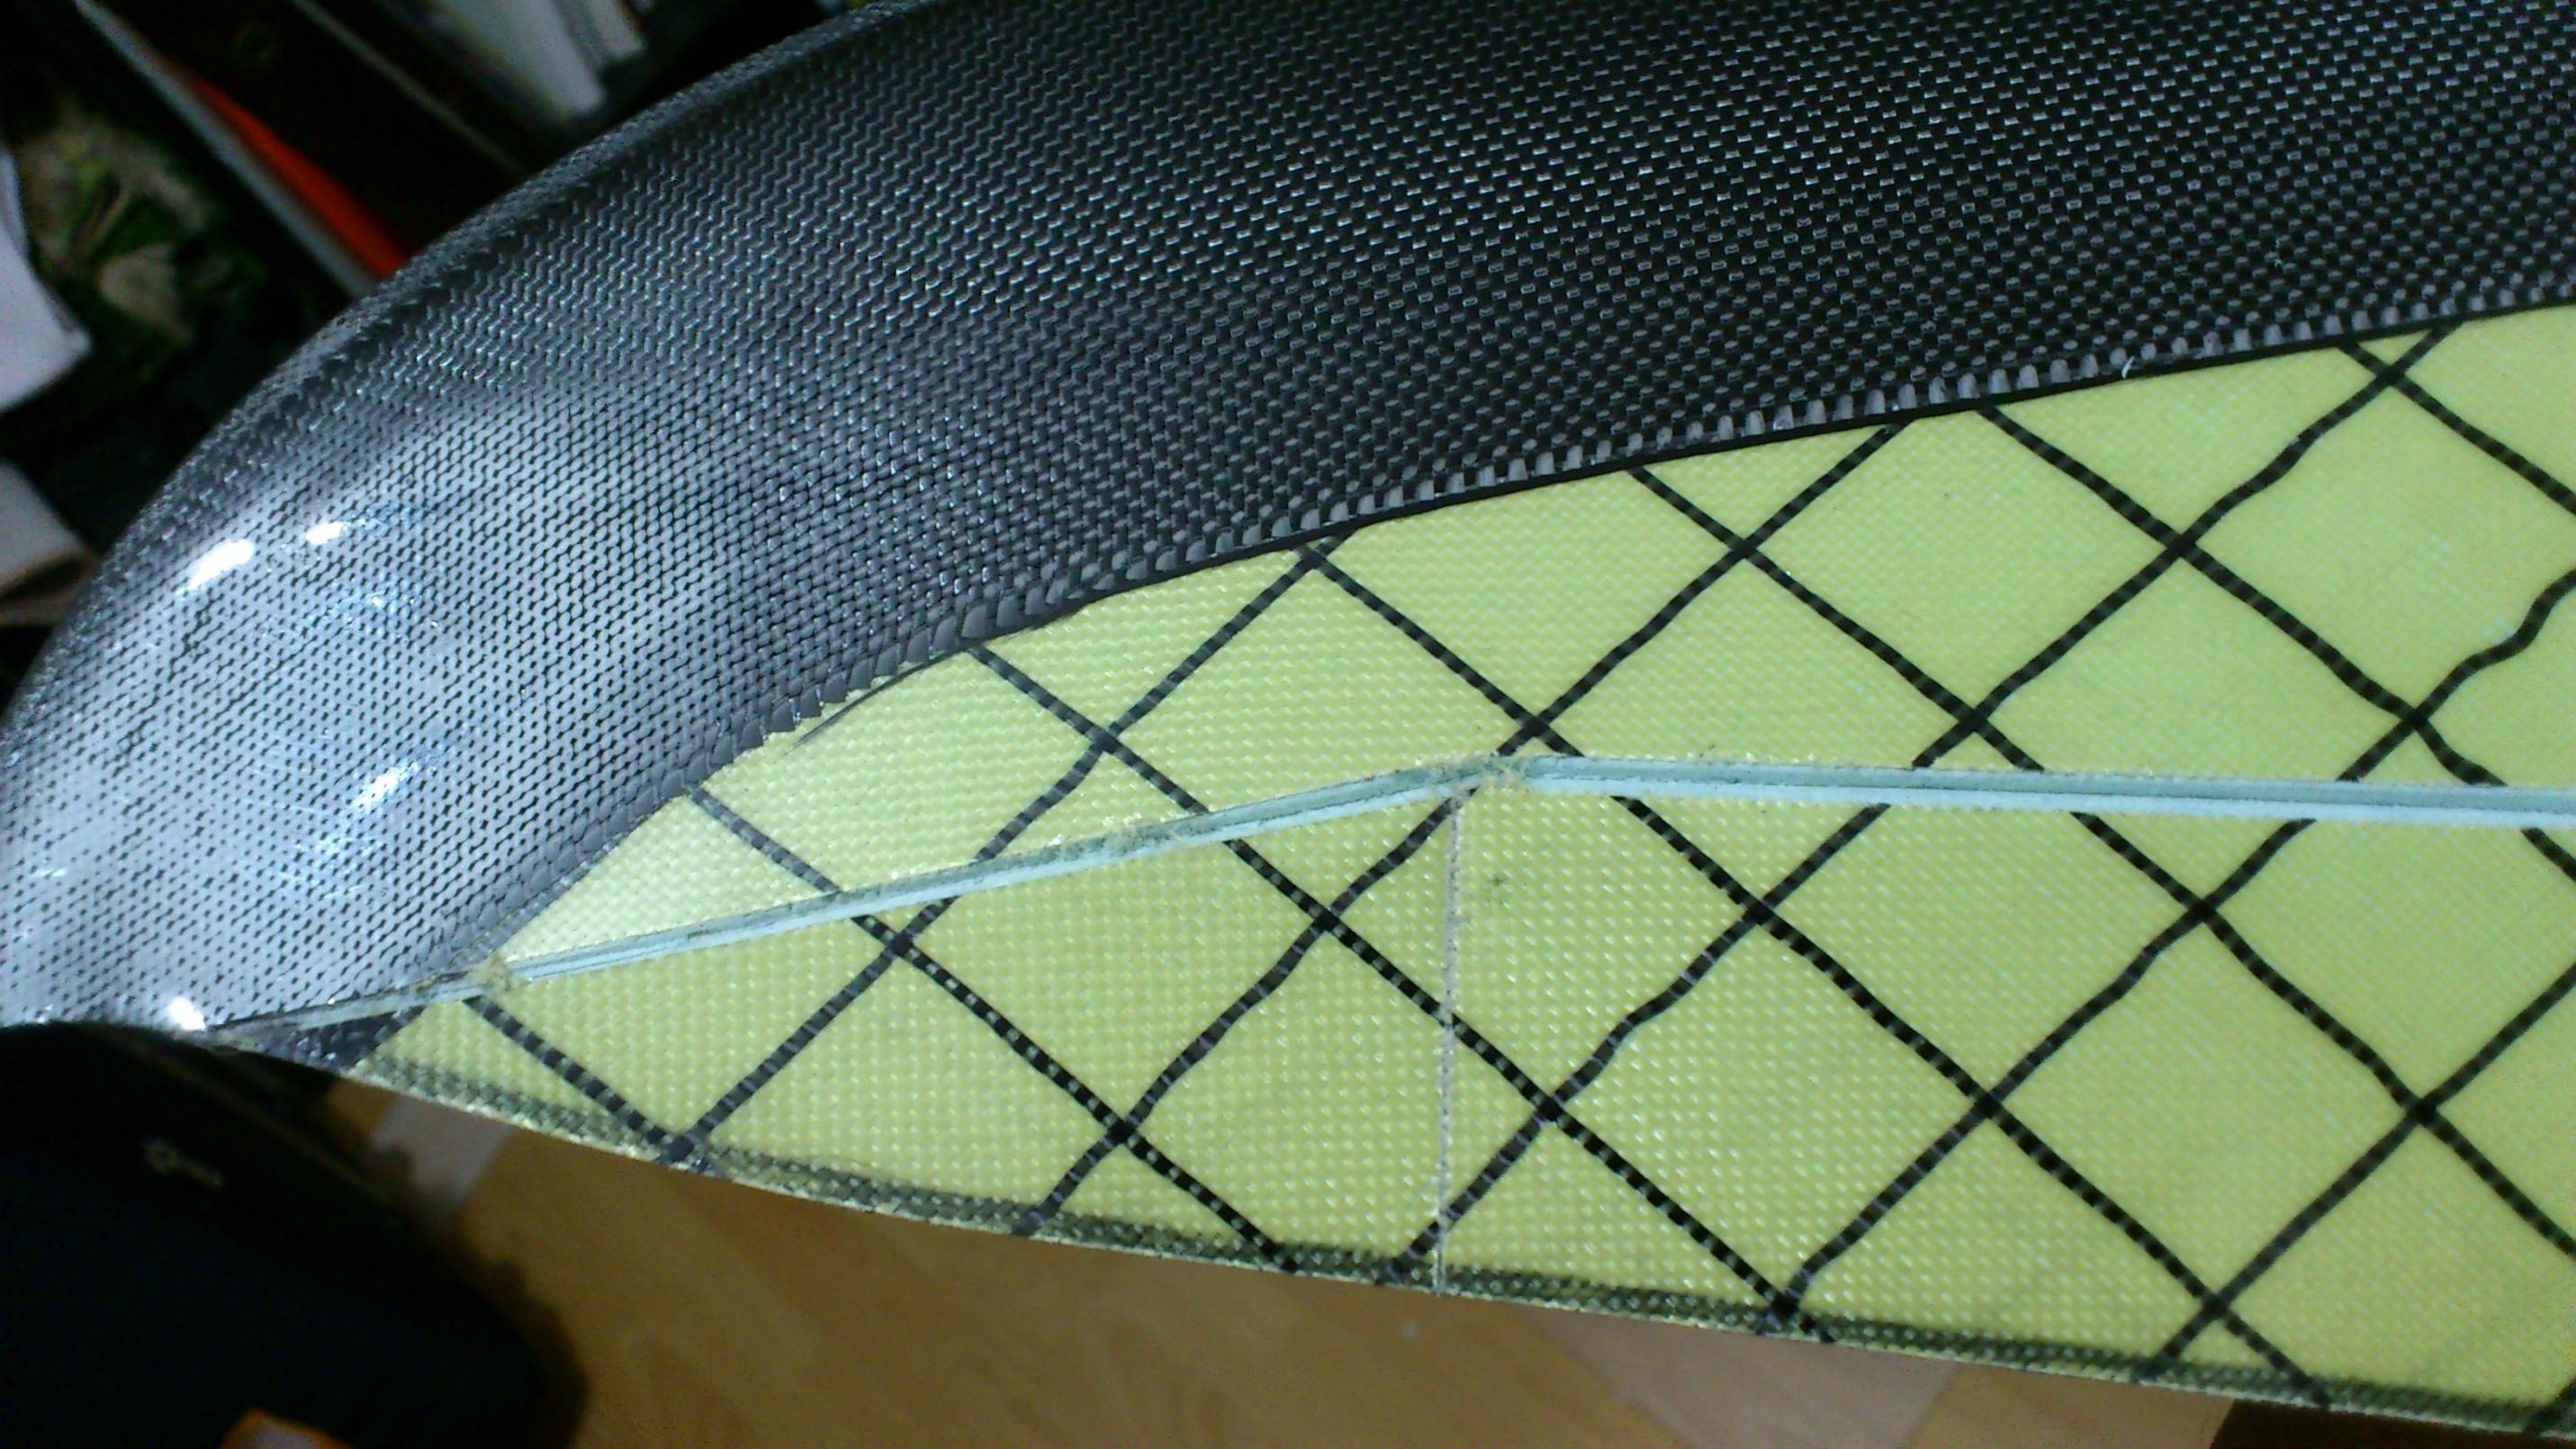
    Here are some shots of the parts out of the box.

    Attached Files
    Take what you've got and fly with it - Jim Henson
    ... no plane will allow a pilot to recover from stupid. You still have to do those piloty things... - Joe Wurts
    Electric things run on smoke. Let the smoke out and they won't work.


    sigpic

    #2
    Most of the parts look very similar to the Super Topsky 2 series of DLGs. The main differences are the wings, the launch blade and the vertical stabiliser.

    The wings, as mentioned earlier, seems be made up of 4 panels. One more panel than the Super TS2. I think this gives better blending of the airfoil from root to tip, I could be mistaken. The wings also come with trilerons. This is supposed to help with tip-stalling at slower speeds IIRC. Personally, I think they're a hassle to set up and could be a source of flutter for hard launches. I like my planes simple. 
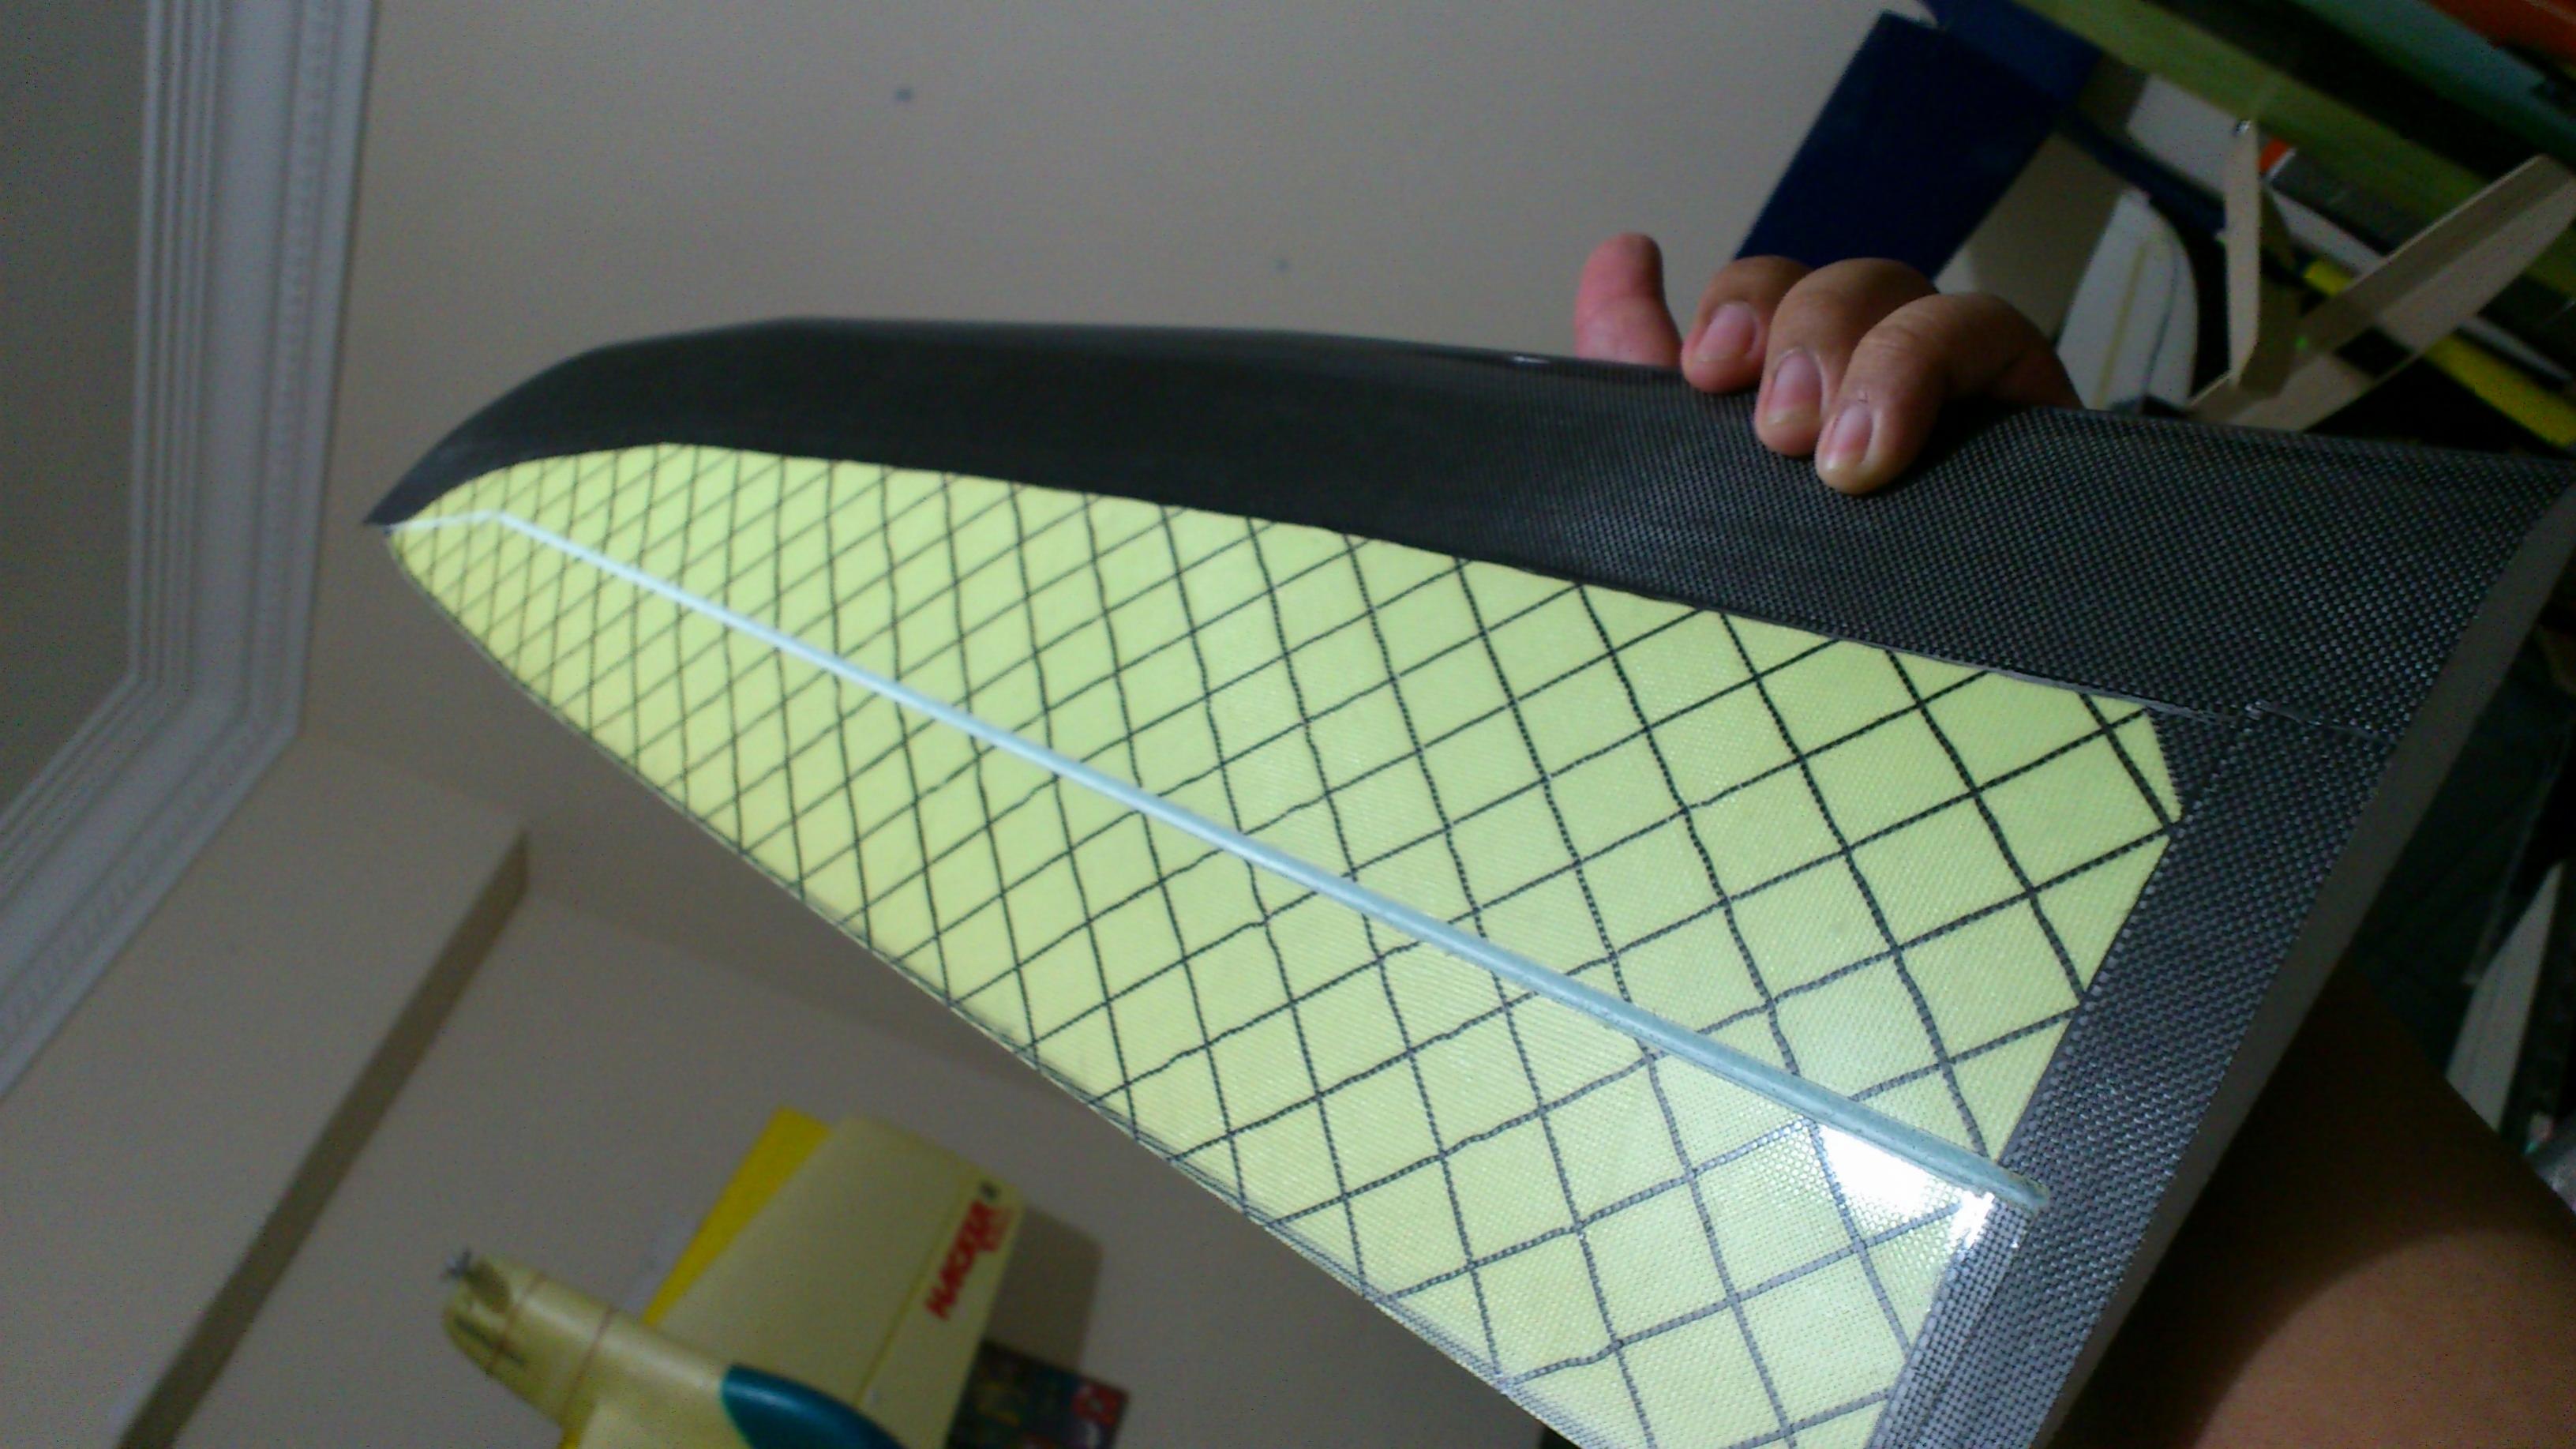
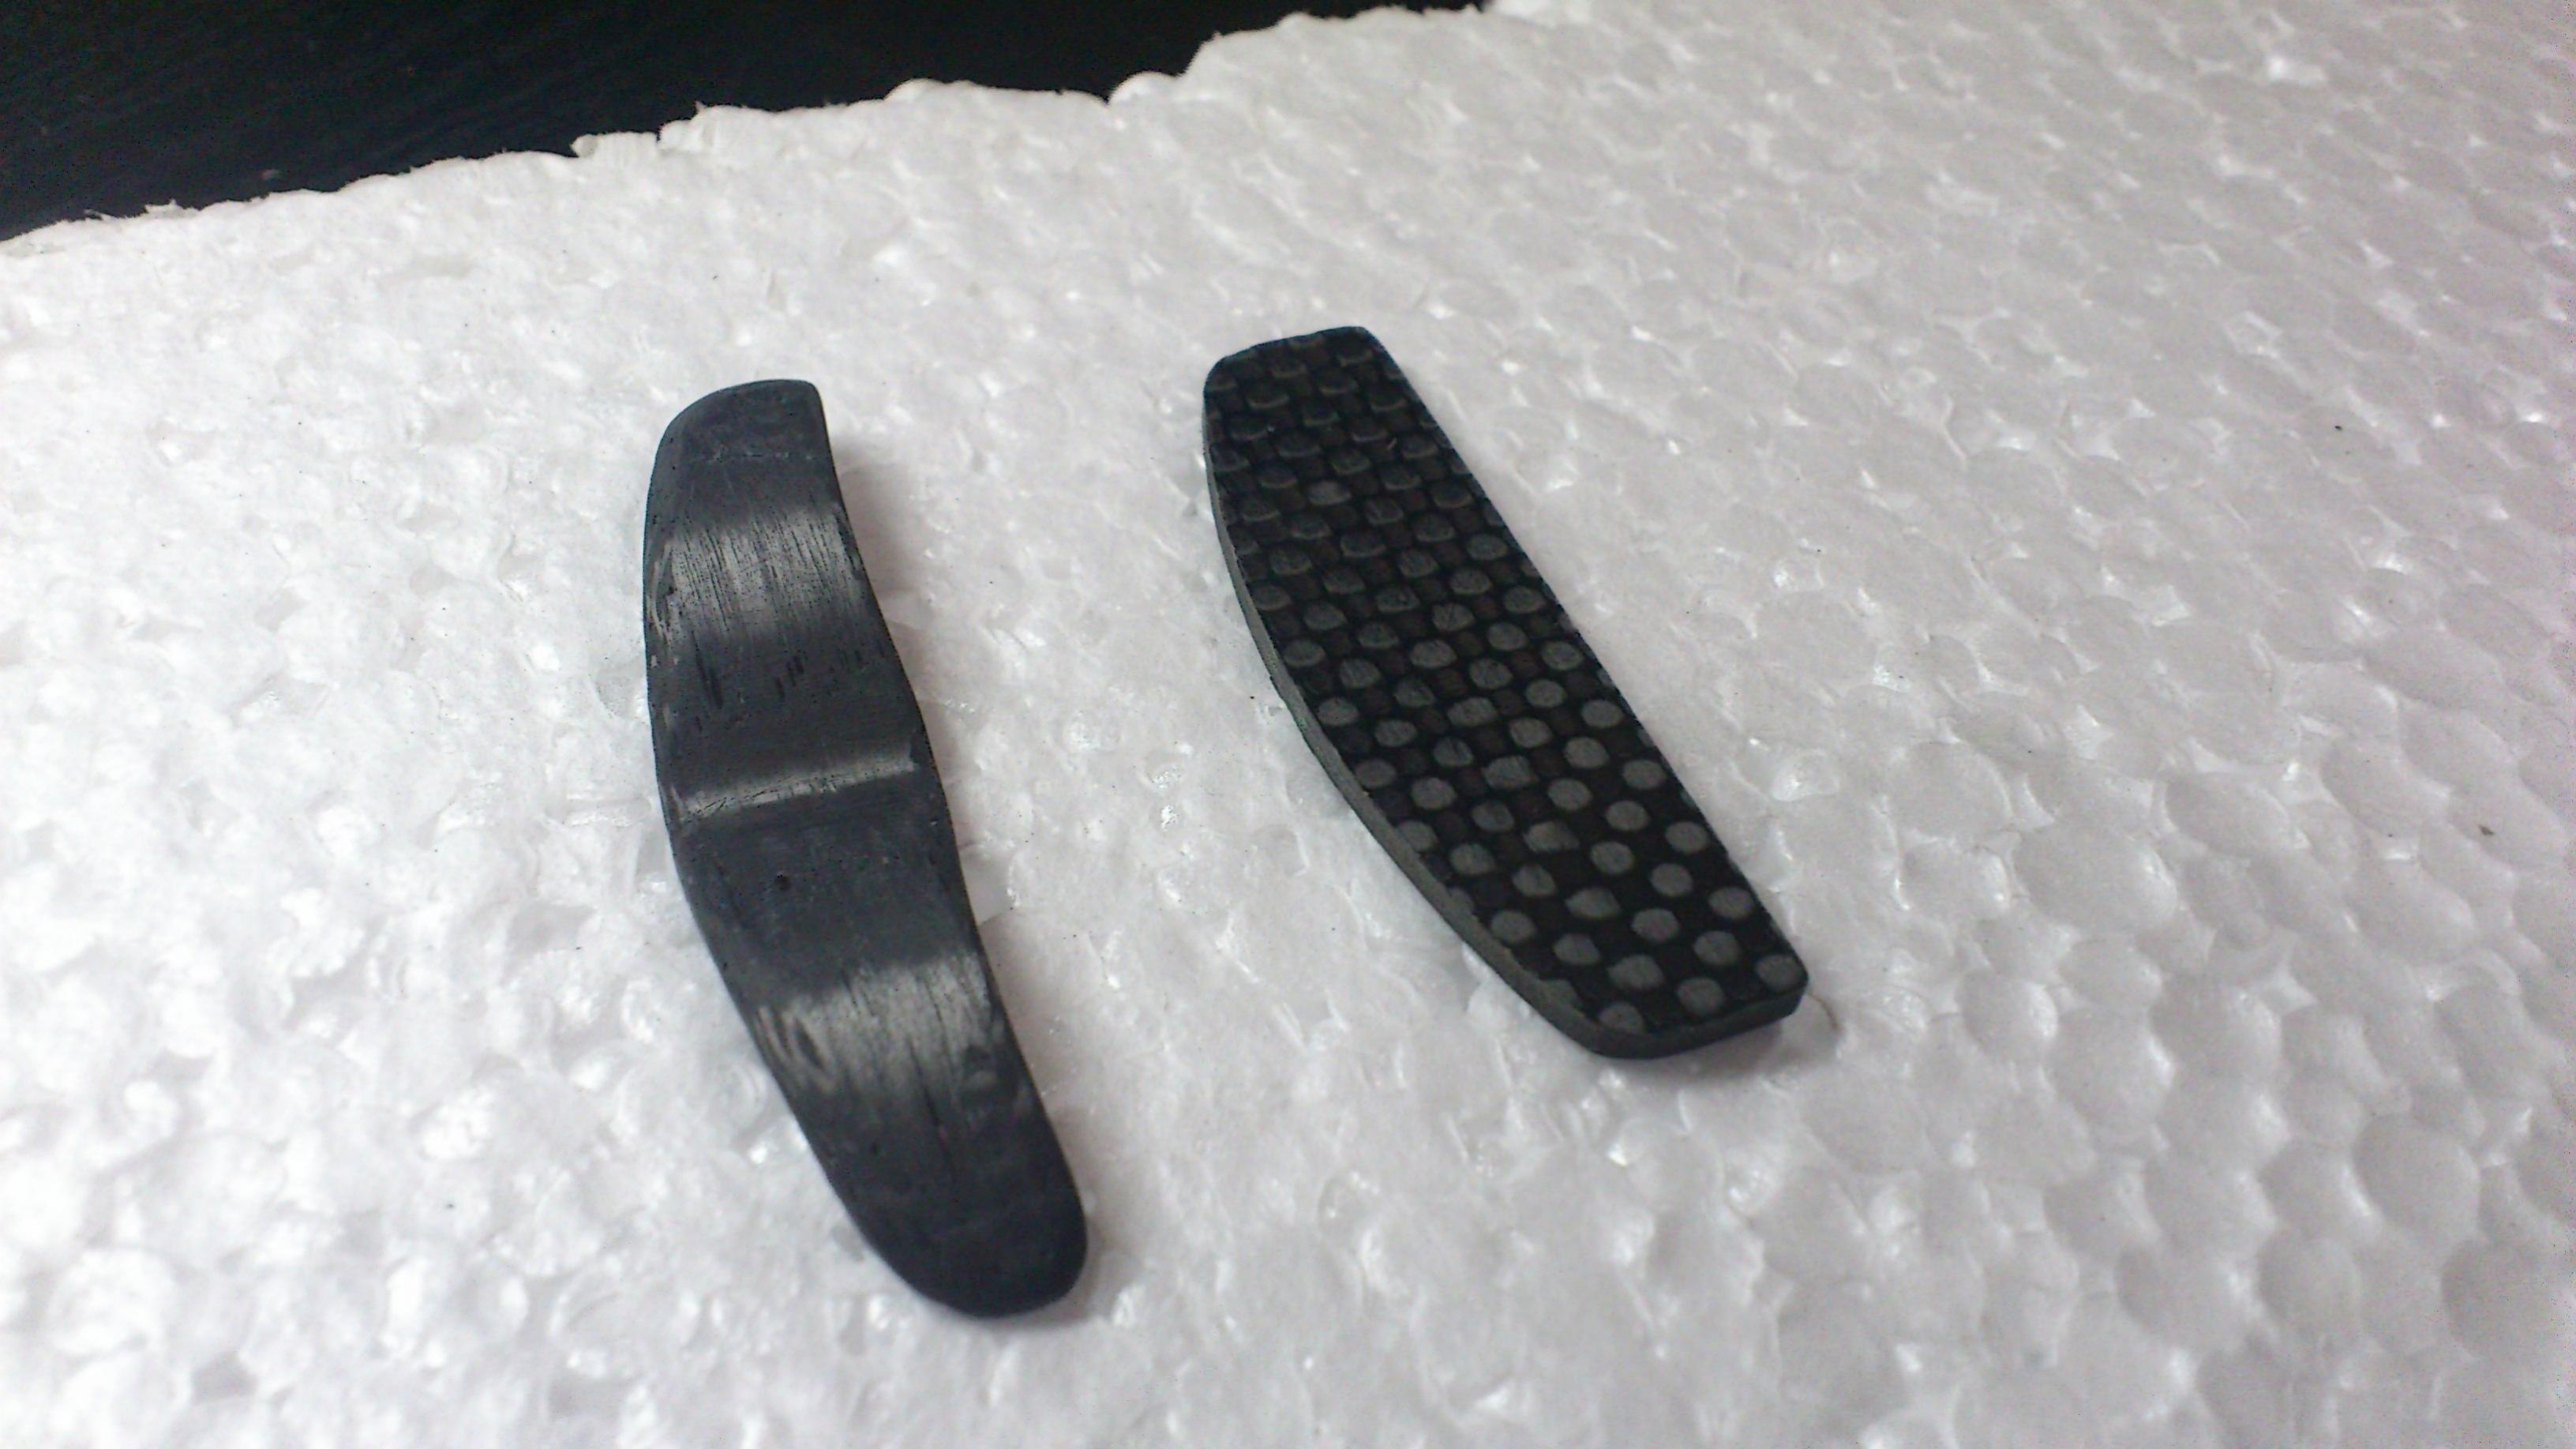
The shape at the wing tips bother me too. They seem sharp and I feel that it might cut the webbing in between my fingers on launch. I ended up sanding the tips on the launch blade side and now it has more than enough room to rotate all the way. I'm not to sure about the production runs of the TS3, but this one comes with a tough reflective wing bag.
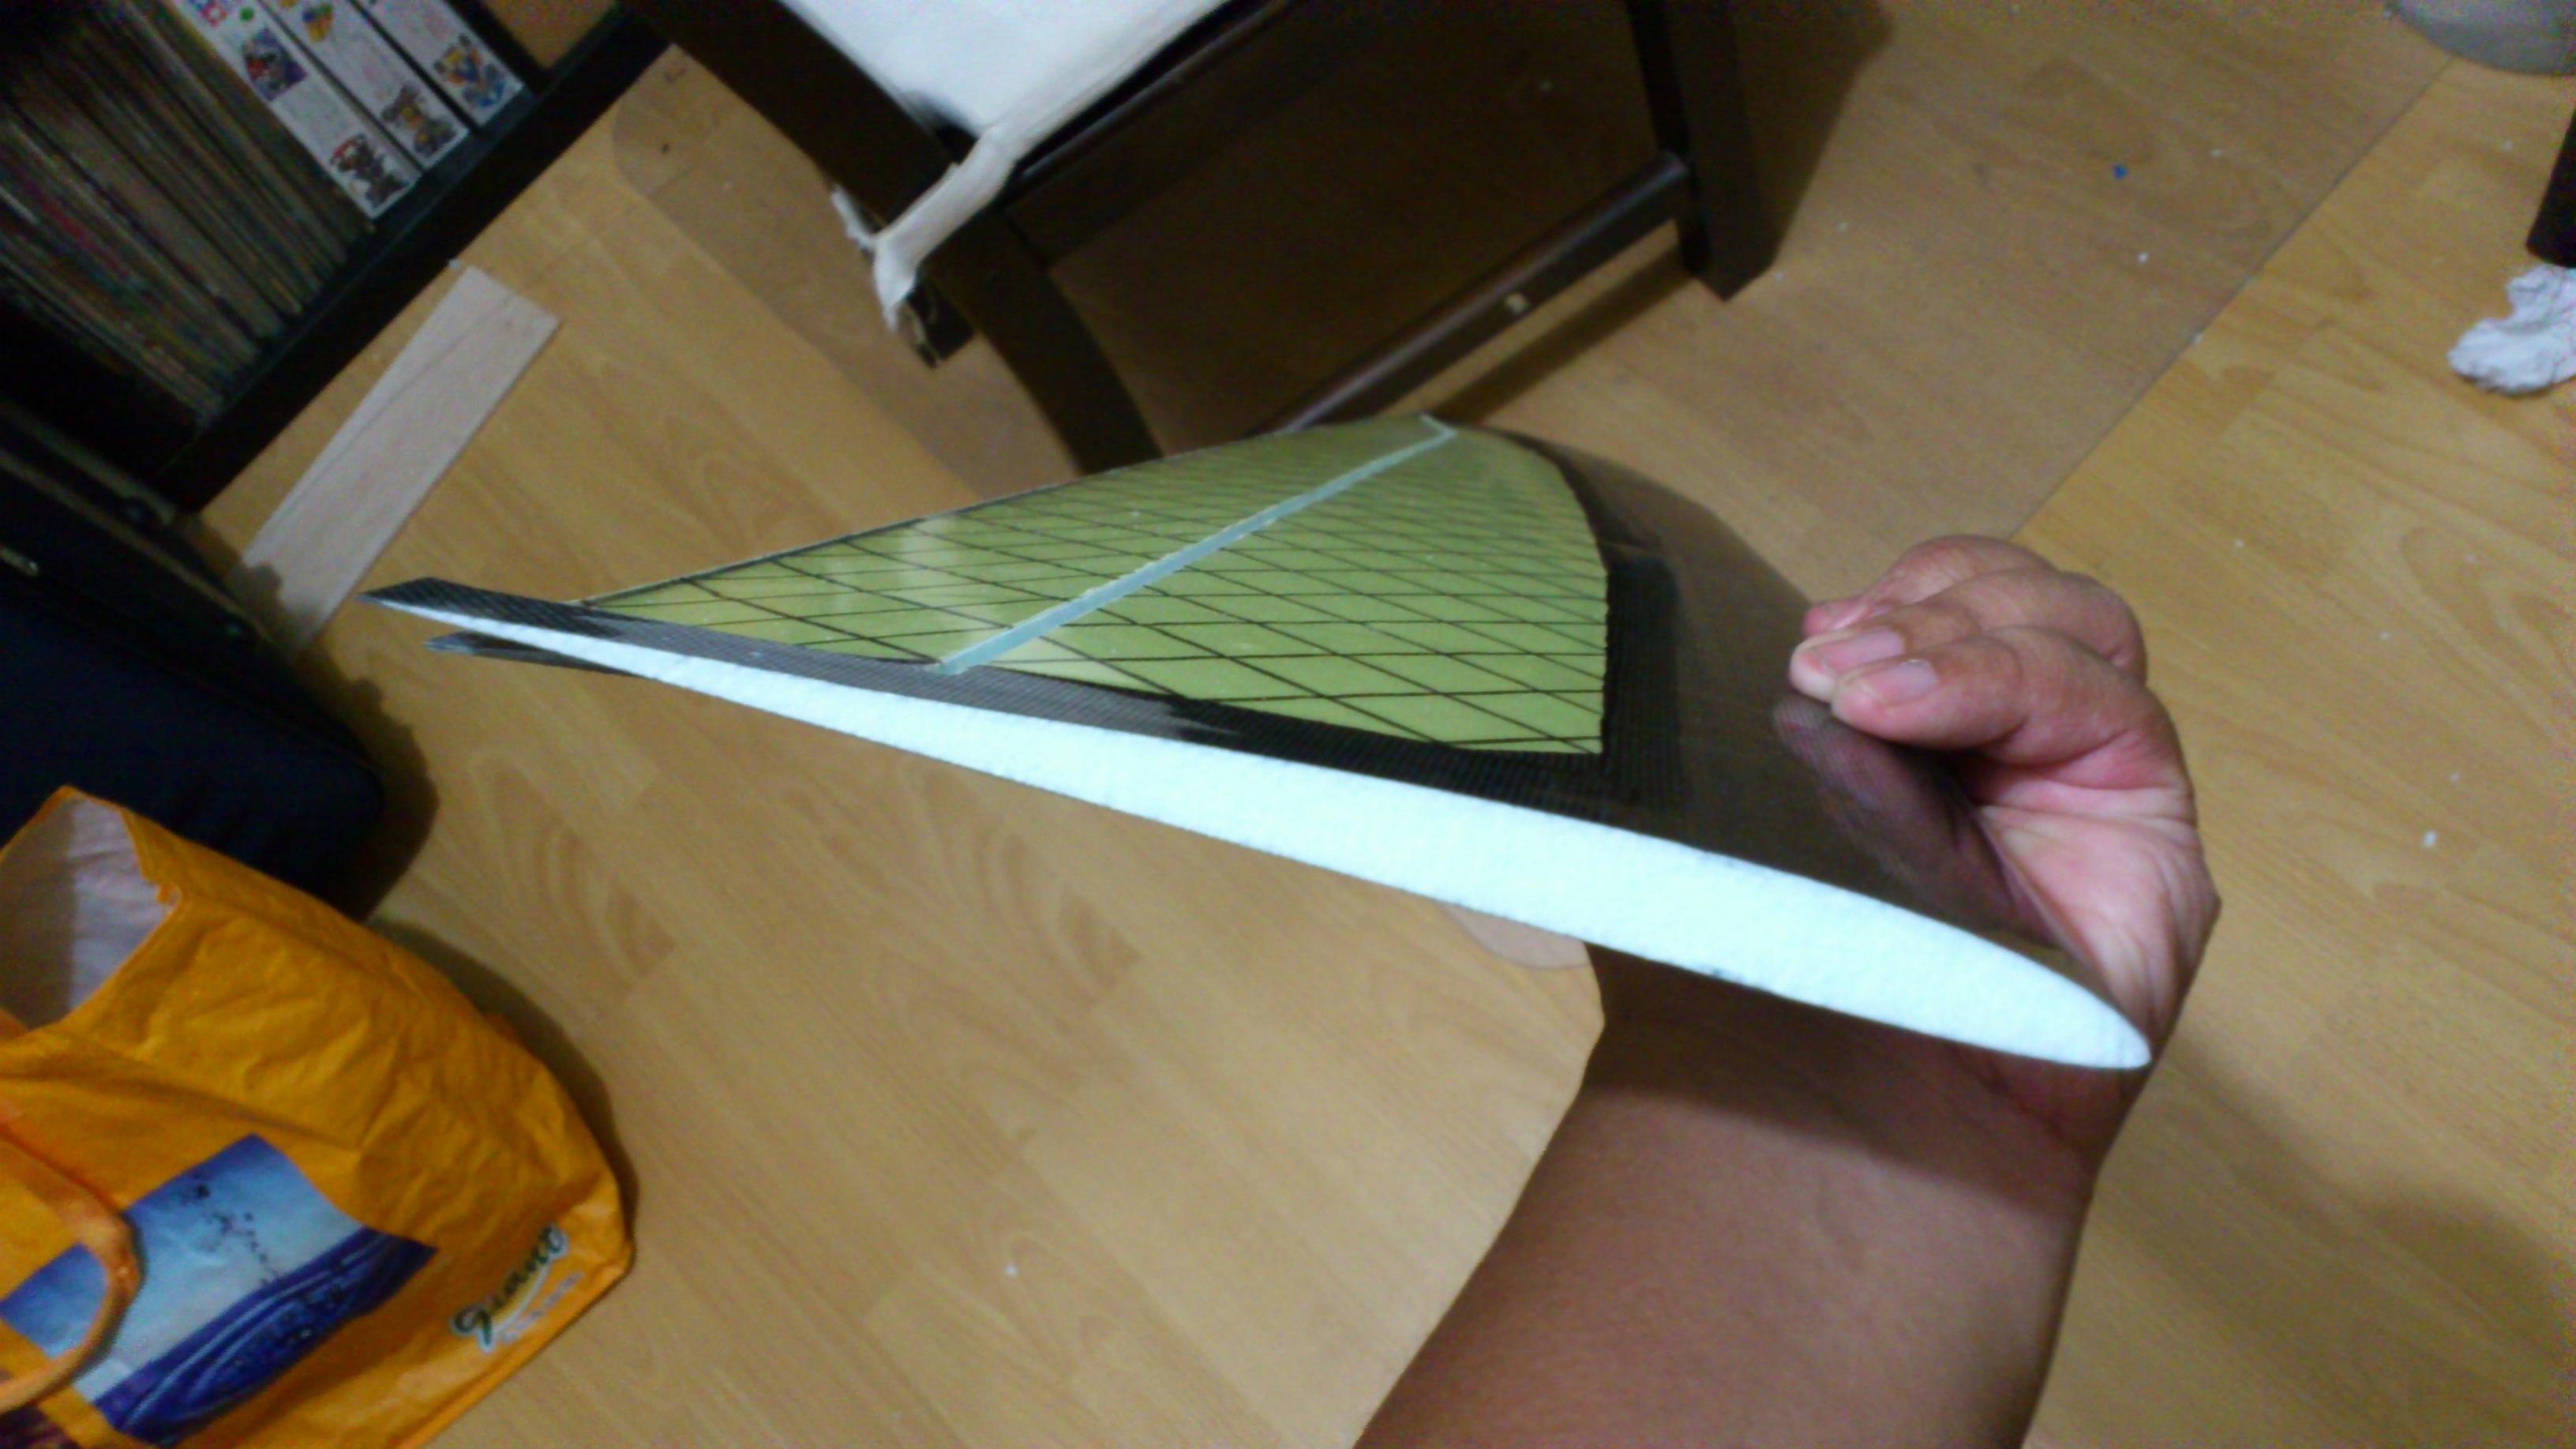
    The launch blade is much nicer now too. It has much less surface area and comes already shaped. All you need to do is sand in the airfoil and you're done. Also it has a "gull wing" profile which provides better grip and allows you to mount it deeper in the wings where there's more material.

    The vertical stabiliser is a tad bigger than the TS2. I ended up cutting the rudder and re-attaching it after sanding in a bevel on the opposite side. This is to facilitate the pull spring installation.

    Attached Files
    Take what you've got and fly with it - Jim Henson
    ... no plane will allow a pilot to recover from stupid. You still have to do those piloty things... - Joe Wurts
    Electric things run on smoke. Let the smoke out and they won't work.


    sigpic

    Comment


      #3
      I usually prep the small bits before starting work on the air frame. First up are the servos. For the TS3, I have Futaba 3114 for the tails and Tahmazo d6011 for the flaperons. This is the same servo config as the one I have on my Stobel, so I don't expect any major issues. Before working on the servos I will give them a thorough workout with my servo tester and once I feel that they are reliable centre them. Once that's done I remove the "ears" from the 6011 and wrap them in blue tape. The 3114s were then screwed onto the supplied servo tray.

      Attached Files
      Take what you've got and fly with it - Jim Henson
      ... no plane will allow a pilot to recover from stupid. You still have to do those piloty things... - Joe Wurts
      Electric things run on smoke. Let the smoke out and they won't work.


      sigpic

      Comment


        #4
        Now on to the wings. First I marked out the servo pots onto painter's tape on the wings. I like painters tape as they're low tack and leave no residue. Once I'm happy with measurements, I make the always nerve-wrecking step of cutting into the wing skins. Once they're removed, I dremel out the servo pots. I find that I get cleaner holes when I dremel the servo pots out as compared to digging them with my pen knife.

        Once that's done, I create the channel for the servo wires with a heated brass rod through the foam. This is my first time using the heated pole method, and you could imagine how nervous I was. The heated rod went through the foam so easily. I suggest doing a few dry runs before doing it for real.

        I then removed some foam on the wing roots for the wing mounts hard points. The cavity will then be filled with an epoxy and micro-balloons splooge. The wing mounts will eventually have hollow carbon fibre rods, making for a rock solid mount.

        Attached Files
        Take what you've got and fly with it - Jim Henson
        ... no plane will allow a pilot to recover from stupid. You still have to do those piloty things... - Joe Wurts
        Electric things run on smoke. Let the smoke out and they won't work.


        sigpic

        Comment


          #5
          After drilling out the channels for the wing mount screws, I joined the wings together with some epoxy micro balloons splooge. Once cured, I proceeded to strengthen the wing joints with the included carbon fibre cloth and fibre glass. I applied the the cf and glass cloth at the bottom and top of the wing joint. Poured finishing epoxy onto the cloth and removed the excess epoxy with a kitchen towel. I cannot stress this enough, the strength comes from the cloth, any excess epoxy is just added weight.

          While waiting for the epoxy to dry I started to work on the boom. I removed around 5 cm from it and cut in a notch to fit in the vertical stab.

          I have always found that the stock pylon, too short length-wise to provide adequate space for screws if you want to make the horizontal stab removable. So I decided to make my own with balsa. This option makes for a lighter tail compared to filling up the original carbon fibre pylon with splooge and also makes it easier as I will be using self tapping screws to mount the stab. I then proceeded to wrap the balsa with CF Cloth for strength and to make it look better.

          Attached Files
          Take what you've got and fly with it - Jim Henson
          ... no plane will allow a pilot to recover from stupid. You still have to do those piloty things... - Joe Wurts
          Electric things run on smoke. Let the smoke out and they won't work.


          sigpic

          Comment


            #6
            Hey, Adnan,

            Update leh....


            SG Fr3ak League : www.facebook.com/#!/groups/SG.Fr3aK.League
            BR Slopers : www.facebook.com/groups/BRslopers

            Comment


              #7
              was enjoying this build. Did it ever get finished and documented? I need to start a similar build soon

              Comment


                #8
                Hi Cirrus,

                There's another build that I did on the TS3 Carbon. They are similar if you need some reference.

                http://www.daddyhobby.com/forum/showthread.php?t=74835


                SG Fr3ak League : www.facebook.com/#!/groups/SG.Fr3aK.League
                BR Slopers : www.facebook.com/groups/BRslopers

                Comment


                  #9
                  Originally posted by sherchoo View Post
                  Hi Cirrus,

                  There's another build that I did on the TS3 Carbon. They are similar if you need some reference.

                  http://www.daddyhobby.com/forum/showthread.php?t=74835
                  yup - read that - great post thanks

                  Comment

                  Working...
                  X