Announcement

Collapse
No announcement yet.

Mini Hotwiring guide

Collapse

Zenm Tech Pte Ltd

Collapse

Visit Zenmtech at rc.zenmtech.com

X
 
  • Filter
  • Time
  • Show
Clear All
new posts

    Mini Hotwiring guide

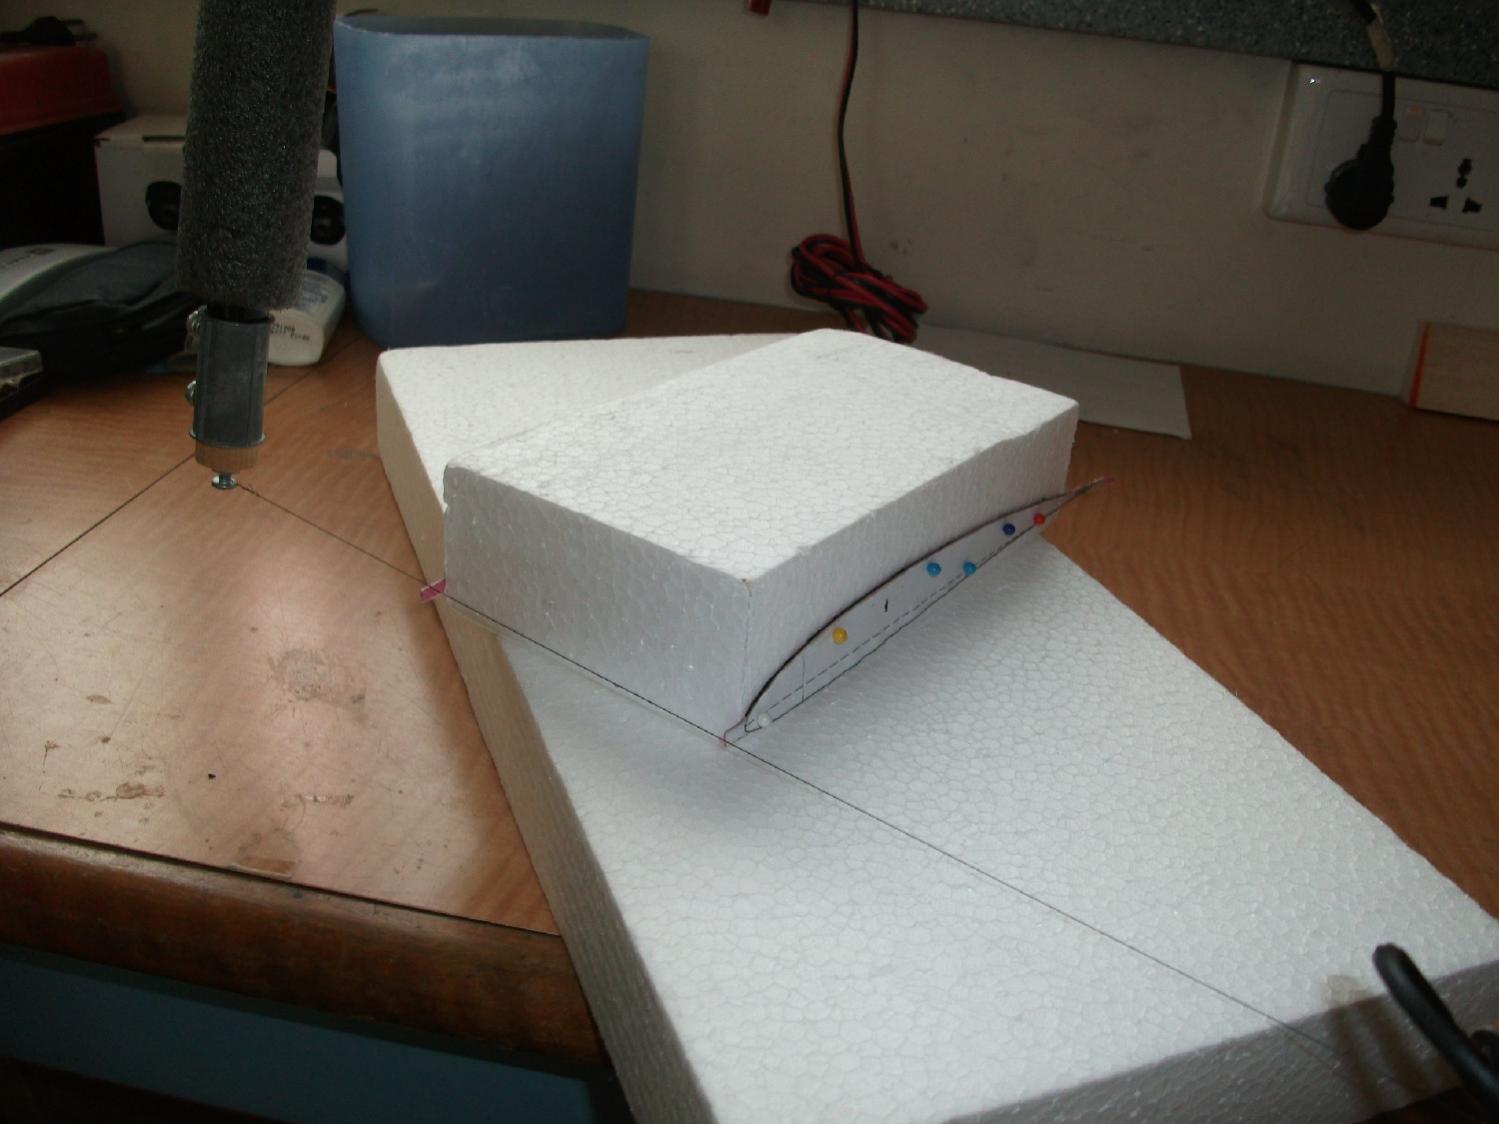
    Due to some numerous response to how to use the Hotwire, I'm going to write not a comprehensive, but a simple mini guide with basic instructions how to use the hotwire to cut out foam parts. For starters, i shall began with "how to cut out a foam wing".


    First up, for those who want to DIY their own hot wire cutter, refer to the picture below. All you need is:

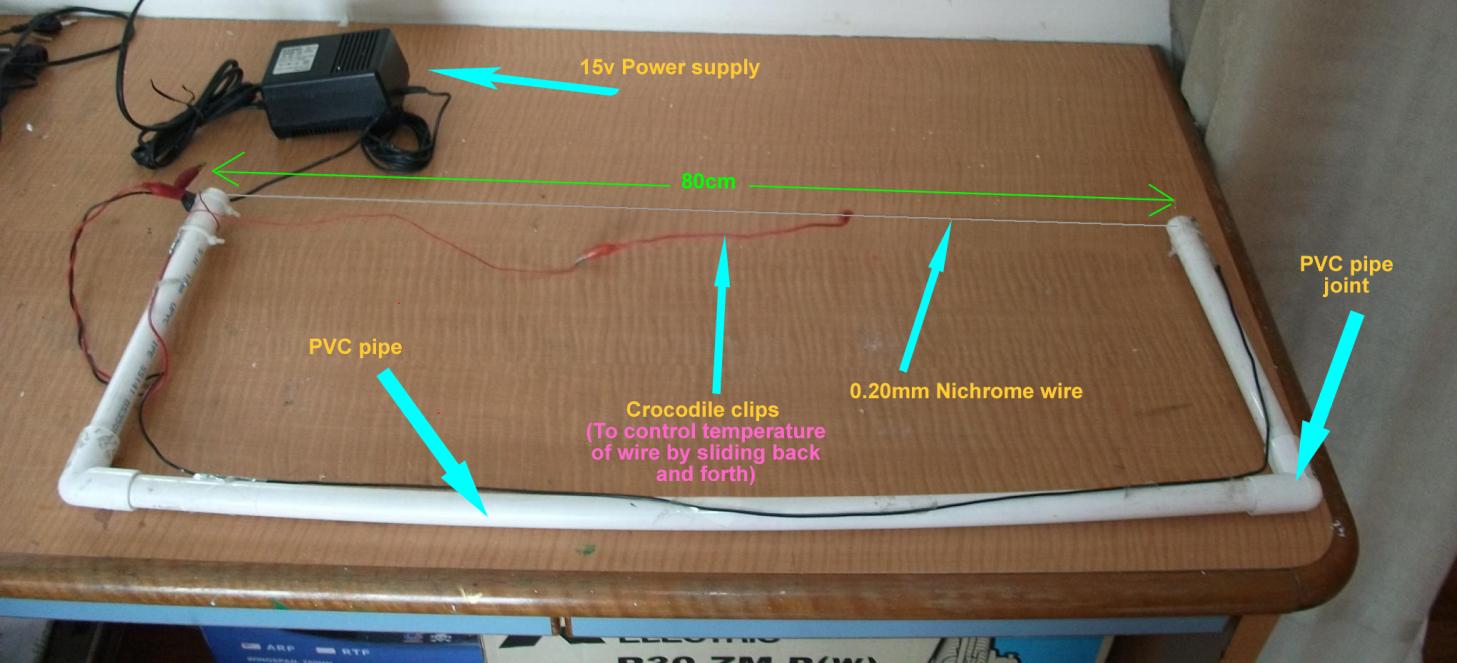
    1)PVC pipe ,buy at least a 2m long pipe at your local hardware store for a few dollars. Diameter dosen't really matter, of course thicker the stiffer it is
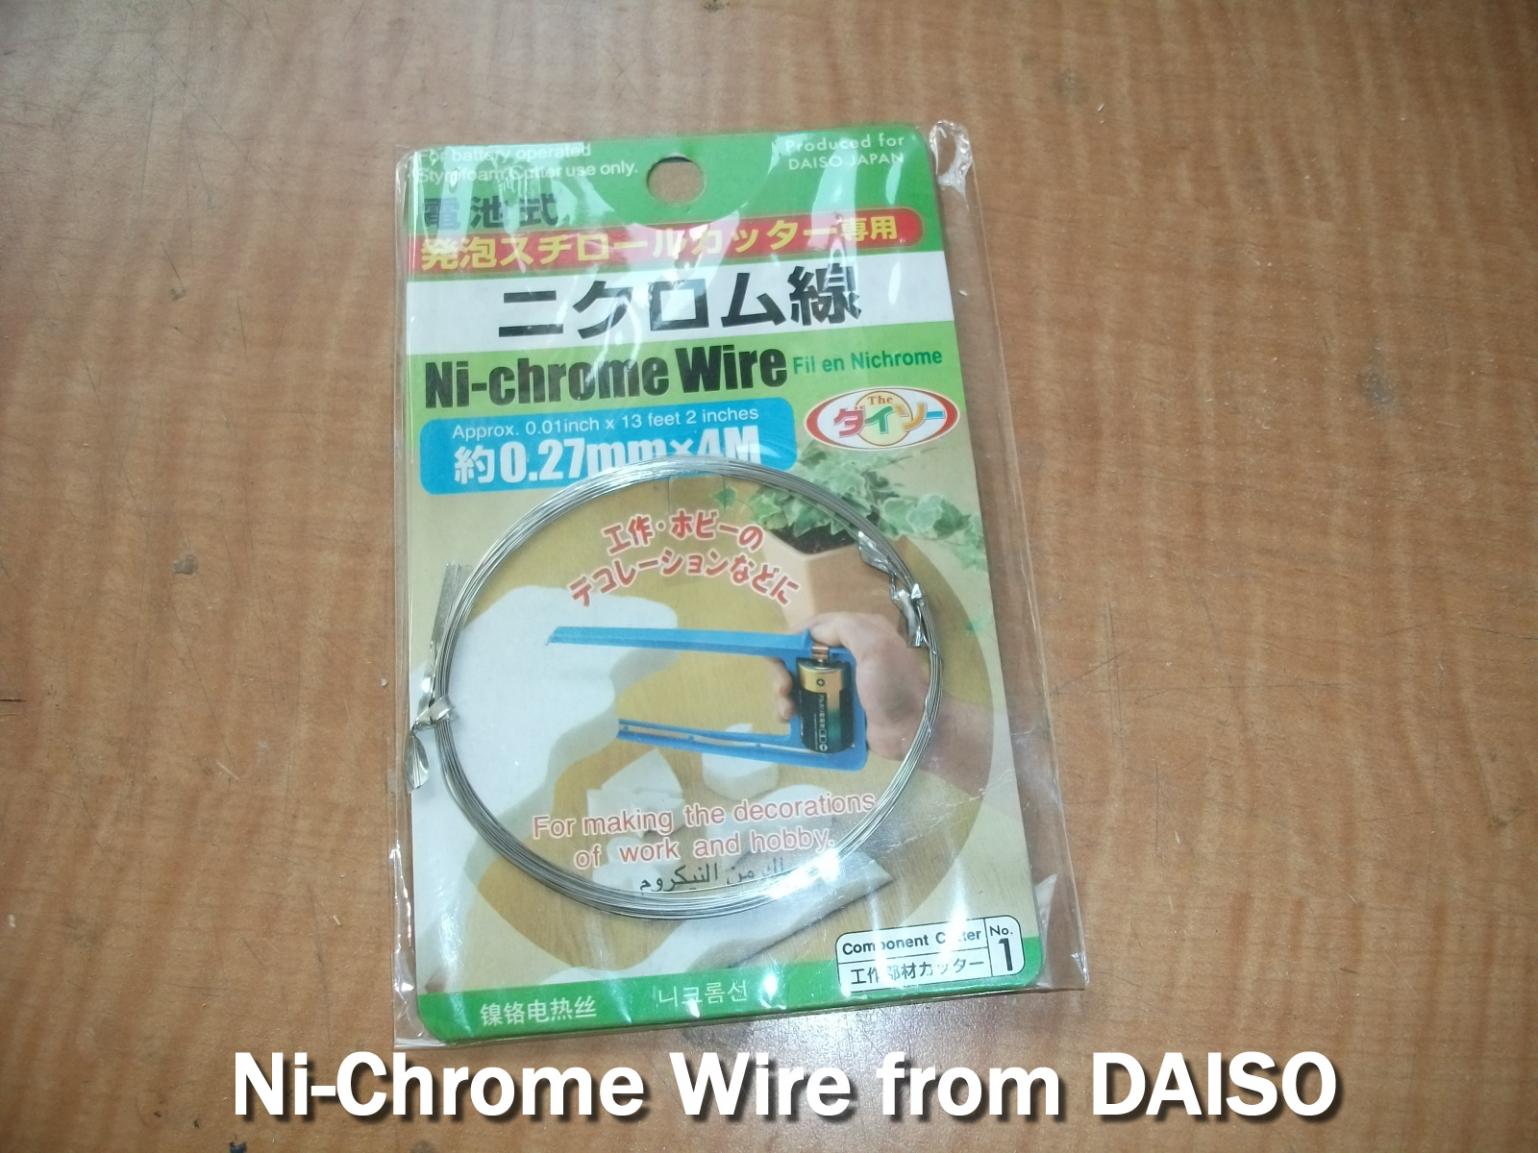
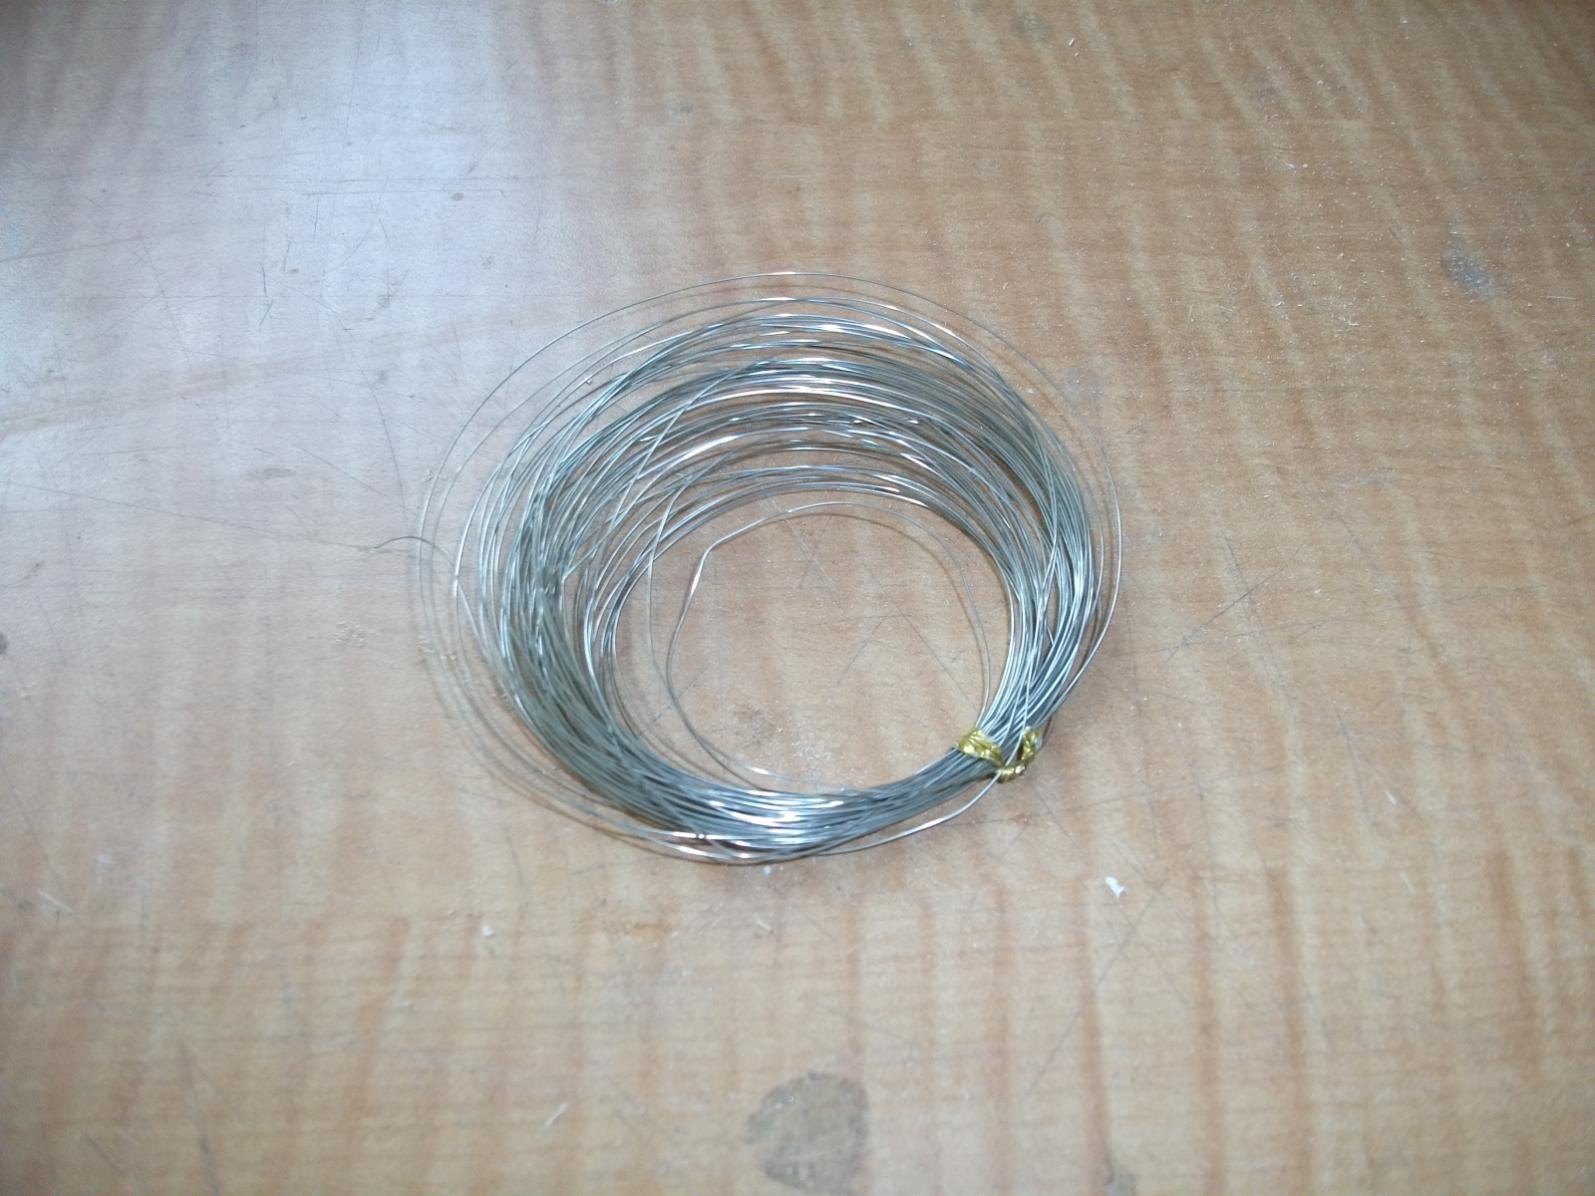
    2)Nichrome wire, That will be your heating element, bought from diaso for $2!
    3)22-16AWG wires, remember,the thinner the wire the higher the voltage drop! And you'll get no heat out of your nichrome wire if the wires are too thin. Infact,your copperwire will be the one producing heat instead!
    4)Crocodile clips, optional but useful to use as a temperature control for non-variable powersupply. The clip can be slide back and forth on the nichrome wire to vary the temperature.

    *Note, the temperature depends on 3 things, the temperature will be hotter if:
    1)The wire is thinner
    2)The wire is shorter
    3)More current is flowing through the wire

    Similary, if you want to achieve colder temperature, do the opposite.

    The dimension of your hotwire depends totally on you. You could build a small cute 50cm long ones or a giant 2m hotwire. But an ideal size would be 100cm long as foam suppliers from artfriend supply common blocks of foam in size of 3ft (91.5cm) x 2ft (61cm) x 2inch (5cm).

    Right below is a picture of my DIY hotwire ,not very stylish but it has lasted me for 2years now and still working fine (well,its just some pipes and wires anyways what could go wrong!) The details are in the picture.

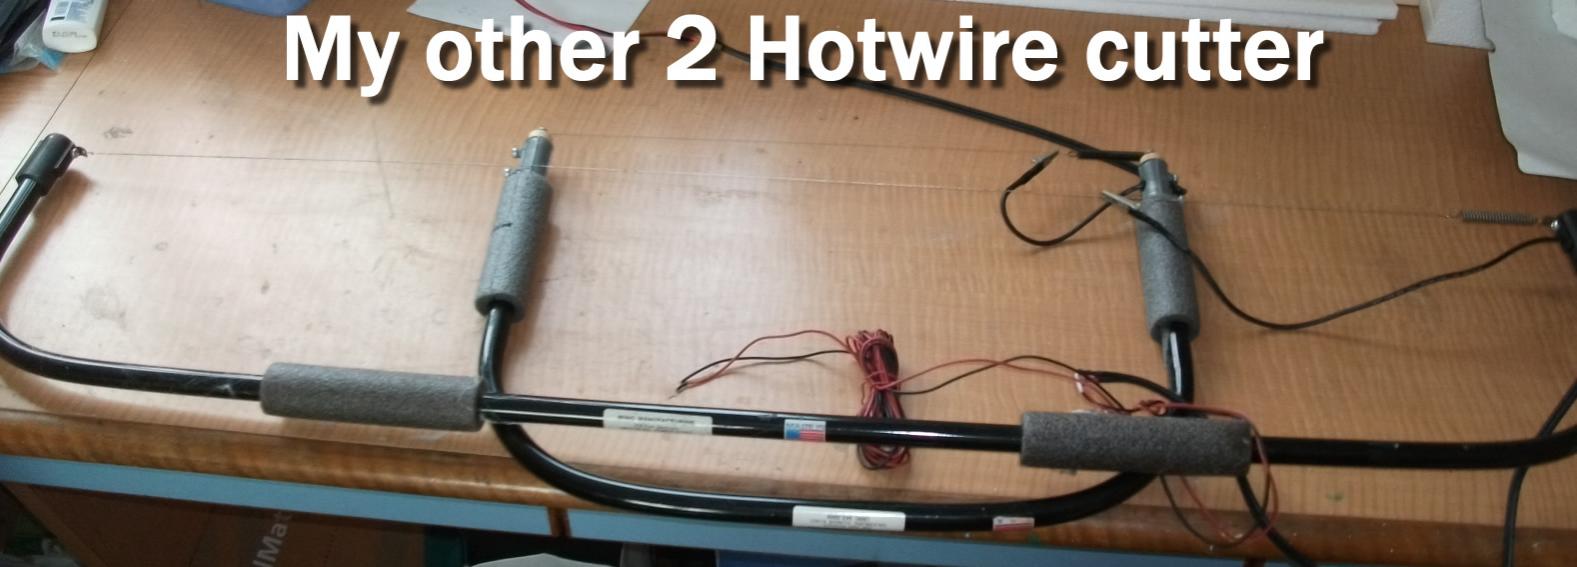
    I own another 2 other hotwire cutter made of aluminium rods, one longer one (3ft) and short one (1ft). For small detail works i'll use the smaller ones, for general cutting like slicing off huge chuck of foam,the large one will be the preferable choice.

    Build it
    Fly it
    Crash it
    Fix it

    #2
    Chosing your Power supply

    You could get any power supply from your:
    1)Old computer
    2)Laptop adapter
    3)Xbox360 adapter
    4)Handphone charger
    Any adapter,powersupply that can produce a minimum of 12volts,2amps you are good to go!
    5)If you feel like being abit more professional, get a variable powersupply from your local electrical store if not SIMLIM square/tower. Those powersupply can range from 0v-30v producing up to 5A,10A,>30A. An ideal powersupply producing 24V up to 5A will be more than enough.

    How much voltage should i supply to my hotwire?
    There is a thumb of rule lying around somewhere which i manage to pick it up. It's said to be 6volts per ft. Well, thats generally true for a standard nichrome wire (Area approx 0.5mm sq) made for hotwiring. But if you consider the thickness of the wire and the material of the wire. The voltage could be anywhere from 2v/ft to 10v/ft so it is best to play around make sure the temperature is not so high till the wire glows red hot! I have snapped many wires that way before.

    Below are the pictures of powersupplies i used. One is a typical adapter for my Casio electric Keyboard (On the label it states 12V 1500mA). The other will be the variable 15V 15A powersupply. I have stop using the adapter ever since i got the powersupply! But of course, the adapter have never failed me before just that i like the idea of controlling the temperature via the knob on the variable powersupply instead of sliding the crocodile clip back and forth the nichrome wire when using my 12V adapter.

    Build it
    Fly it
    Crash it
    Fix it

    Comment


      #3
      To prepare the templates:
      1) Select which airfoil best suits your application. Could be a MH60 for flying wing, SD series for sailplanes and so on..
      2) Print out the airfoil shape using microsoft word or which ever photo software you are best at. Lets say you want to print an airfoil 20cm long, you'll need a software that is able to print out that specific length.
      3)Get a solid template materail, anything that is hard and can be cut out by siccors easily. For me i'll use vanguard sheet, no specific reasons but i find it easy to cut all sorts of templates easily and works pretty well.
      4)Put vanguard sheet into printer and print out your airfoil! For printing larger airfoil, you'll need to divide the airfoil into parts ,print them up seperately and join them up later on.

      Below are the examples:
      Pic 1: vanguard sheet, Roughly 80cm x 50cm for 40cents!
      Pic 2: Airfoil printed out on the vanguard sheet
      Pic 3: Airfoil templates cut out from the sheet

      Build it
      Fly it
      Crash it
      Fix it

      Comment


        #4
        Cutting a foam wing with airfoil part #1

        With everything in place. Check that you have your Hotwire bow, powersupply,templates.

        Now you'll need some pins or 3M77 spray glue. Those are for sticking the templates onto the foam later on. I'll prefer pins because the spray glue is really messy! unless your templates is huge and there is not enough pins to go around to pin the template up.

        I'll be cutting out a 20cm chord,10cm length, SD7032 airfoil wing for demostration purposes.

        Pic 1) Get a piece of foam block, measure up the size of the intended length and width you want to cut. I want to cut a 10cm wingspan,using a 20cm chord airfoil. So i'll precut a block of foam 10cm x 20cm x 2inch. (the 2 inch is the thickness of the block i bought from artfriend)
        Pic 2) Pin the airfoil template up on the foam block.
        Pic 3) Pin on the other side of the foam block. Make sure that the template on the other side is orientated the same way as the first template.
        Pic 4) Note that template has a protrusion at the leading edge and trailing edge. This is to guide the hotwire before it even touches the foam, to prevent miss alignment and accidental cuts.
        Pic 5) Pull the hotwire through the block of foam, let it glide gently and don't force as it'll creat ripples in the middle. This is the best time to play around with your temperature to achieve the best cutting speed without damaging the foam. You could go slow and take a long time or go fast and leave burn some marks on the foam. The optimum temperature will be the one when you feel that you are going fast enough yet not leaving any burn,cutting marks behind.

        Build it
        Fly it
        Crash it
        Fix it

        Comment


          #5
          Cutting a foam wing with airfoil part #2

          Pic 1)After pulling the hotwire through the top part, remove the piece it to check for damages. Oh dear, i have made a tiny protrusion right in the middle. That can be solved later on with a sanding block
          Pic 2)Put back the negative template block of foam and flip it around to cut the underside of the airfoil
          Pic 3)The airfoil have been cut out from the block of foam,time to seperate the pieces
          Pic 4)Not too pretty looking, Time to sand off those rough surfaces!
          Pic 5)Use a 400gritt-600gritt sanding block to sand off the rough surfaces. Never use your hand to sand! it'll make matters worst as the pressure on your fingers and thumbs will creat dents into the foam. A sanding block is to evenly spread out the pressure to creat a flat smooth surface finish.
          Remember to sand the leading edge to give a rounder finish too!

          Build it
          Fly it
          Crash it
          Fix it

          Comment


            #6
            Ta-da!

            A foamy piece of airfoiled wing is made!

            This is a simple illustration to cut a wing with no taper on it, just for a normal straight wing.

            Hotwiring is fantastic skill as it can cut complex shapes like delta wings, tapered wings , wings with wash in and wash out, you could even cut one wing with Airfoil #1 on the root and Airfoil #2 at the tip. I won't be explaining these steps here but you could do some research on google to or even figure out yourself how to make one! Trial and error is the Key! It is very unlikely to get things right the first round of hotwiring.

            Build it
            Fly it
            Crash it
            Fix it

            Comment


              #7
              *End of the guide*
              Hope you guys learn something from my mini guide on how to use a hotwire bow! And of course anyone can feel free to add on to this guide,showing your skills and techniques.

              Some pictures of my works to share around.

              Pic1) This is my F-16, 3years ago before i find out about hotwiring. I frustratingly trying to shape the plane using just a penknife and a sandpaper!Not very pretty isn't it?
              Pic2) This is my F-16 blackknights 2years ago, after learning how to hotwire.
              Pic3) This is my F-16 1year ago, trying to be funny..wanna cut something something large and scale. This plane didn't fly though and i sold it off to someone for static display after doing a paintjob.
              Pic4)Mirage2000 EDF, Made of blue and white foam.
              Pic5)Mirage2000 ready for takeoff!

              Build it
              Fly it
              Crash it
              Fix it

              Comment


                #8
                Pic6) Boeing777 , plans is in DXF by joeyap
                Pic7) Boeing787 , fuselage being hotwired out
                Pic8) Boeing787 , attaching the bluefoam wings
                Pic9 Boeing787 ,Finished after paintjob
                Pic10) Last but not least, my first ever foam Boeing777 i build in year2007 , the plane that got me started into scratch building.Without this, i don't think i could have started the enthusiasm in foam cutting and hotwiring. After this model was built,i got the urge to creat many many many more planes out of foam!

                Shall end my post here. Questions?

                Build it
                Fly it
                Crash it
                Fix it

                Comment


                  #9
                  Outstanding... Thanks for sharing.

                  Comment


                    #10
                    Sorry for bumping up an old thread. But is there suppose to be current flowing through the nichrome wire? Cos i put my testpen on the nichrome wire and the bulb inside the testpen lighted up.

                    Comment


                      #11
                      Originally posted by shoyn View Post
                      Sorry for bumping up an old thread. But is there suppose to be current flowing through the nichrome wire? Cos i put my testpen on the nichrome wire and the bulb inside the testpen lighted up.
                      Shoyn, there is definately a current on the wire. If not it just won't get hot... duh.

                      Anyway, if I were to do a very rough calcuation: the typical resistance for a 30AWG (0.01") nichrome wire is about 6.5ohm/ft at 20degC.

                      If, let say you use a 2ft wire with 12V dc supply, you'll probably will get about 0.9A. This is not necessary accurate as the resistance will decrease with the increase in temperature. So it could be higher. Anyway, the way to adjust the temperature is just simply adjusting the current.

                      I'm not exactly sure why you are asking this question. I'm guessing you are wondering whether can touch the bare wire or not?? I would so, try not to. There is current flowing and plus the wire at that point can be quite hot. Personally, I don't know how hot as I've never tried it before.

                      Hope this helps


                      SG Fr3ak League : www.facebook.com/#!/groups/SG.Fr3aK.League
                      BR Slopers : www.facebook.com/groups/BRslopers

                      Comment


                        #12
                        Yeah. Thanks alot!

                        Comment


                          #13
                          hmmm

                          thanx for sharing.... with reviving this old thread, i wont know that much bout hwiring. btw just a question,

                          is it possible if the wire is bent and not straight? bent like a u-shape? will it work? and is it possible to use 3s lipo 2200mah for the power?


                          romihensem " Back In Business "

                          Flying is all that matters...
                          sigpic

                          Comment


                            #14
                            Originally posted by romihensem View Post
                            thanx for sharing.... with reviving this old thread, i wont know that much bout hwiring. btw just a question,

                            is it possible if the wire is bent and not straight? bent like a u-shape? will it work? and is it possible to use 3s lipo 2200mah for the power?
                            i mean without reviving.... hehehe


                            romihensem " Back In Business "

                            Flying is all that matters...
                            sigpic

                            Comment


                              #15
                              Romi,

                              I'm just answering based on my imagination as I've no experience in cutting foam.

                              If you power up the wire, it will turn hot even if it's bent. However, I would imagine it wouldn't be able to cut well if the wire wasn't tensioned.


                              SG Fr3ak League : www.facebook.com/#!/groups/SG.Fr3aK.League
                              BR Slopers : www.facebook.com/groups/BRslopers

                              Comment

                              Working...
                              X