Announcement

Collapse
No announcement yet.

Deceiver/Swindler pylon racer build thread

Collapse

Zenm Tech Pte Ltd

Collapse

Visit Zenmtech at rc.zenmtech.com

X
 
  • Filter
  • Time
  • Show
Clear All
new posts

    Deceiver/Swindler pylon racer build thread

    With some showing interest in my old Deceiver pylon racer ;http://www.daddyhobby.com/forum/show...light=deceiver, I am starting this construction thread on my re-designed T-tailed version of the Deceiver, which I called it the "Swindler".

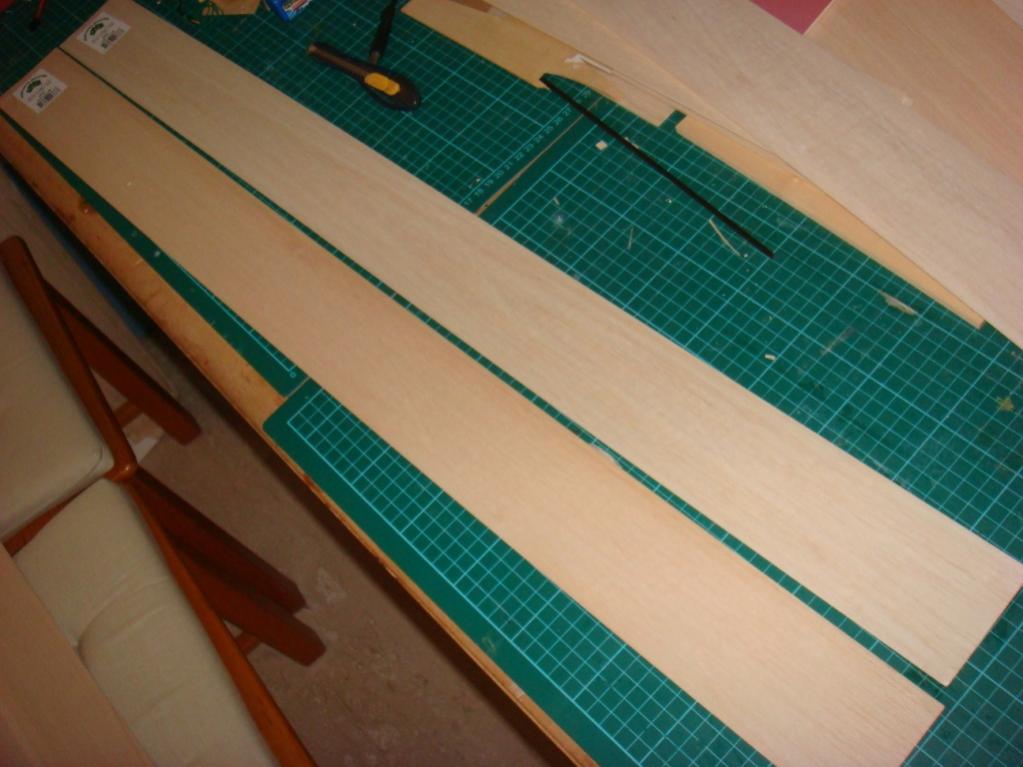
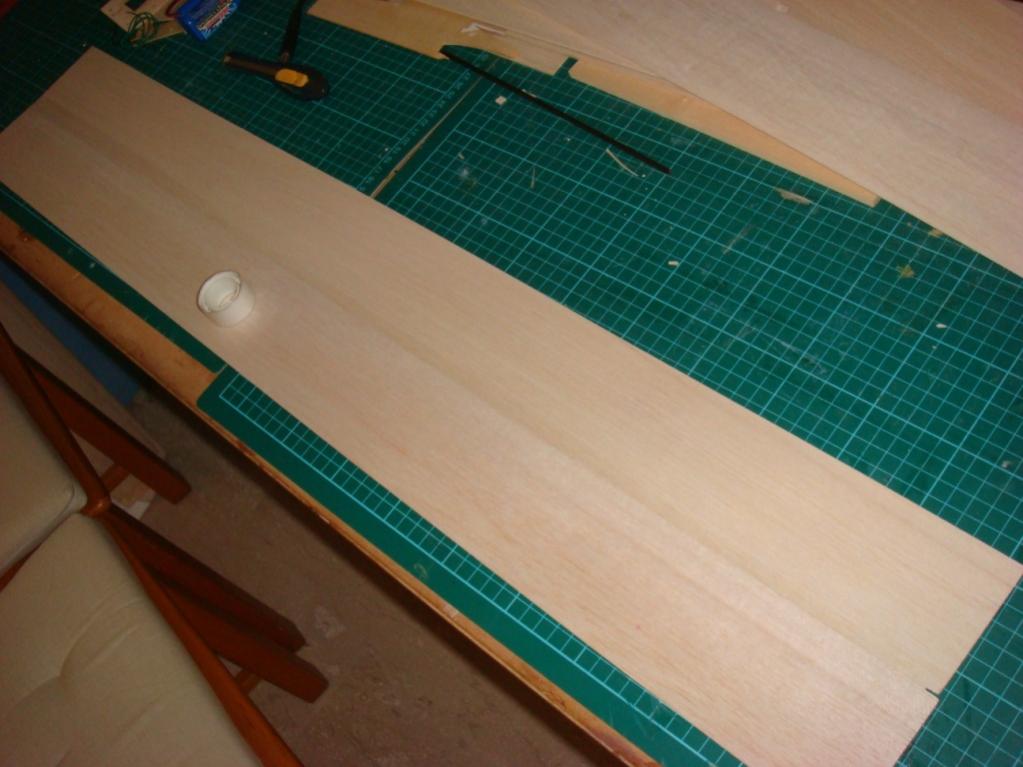
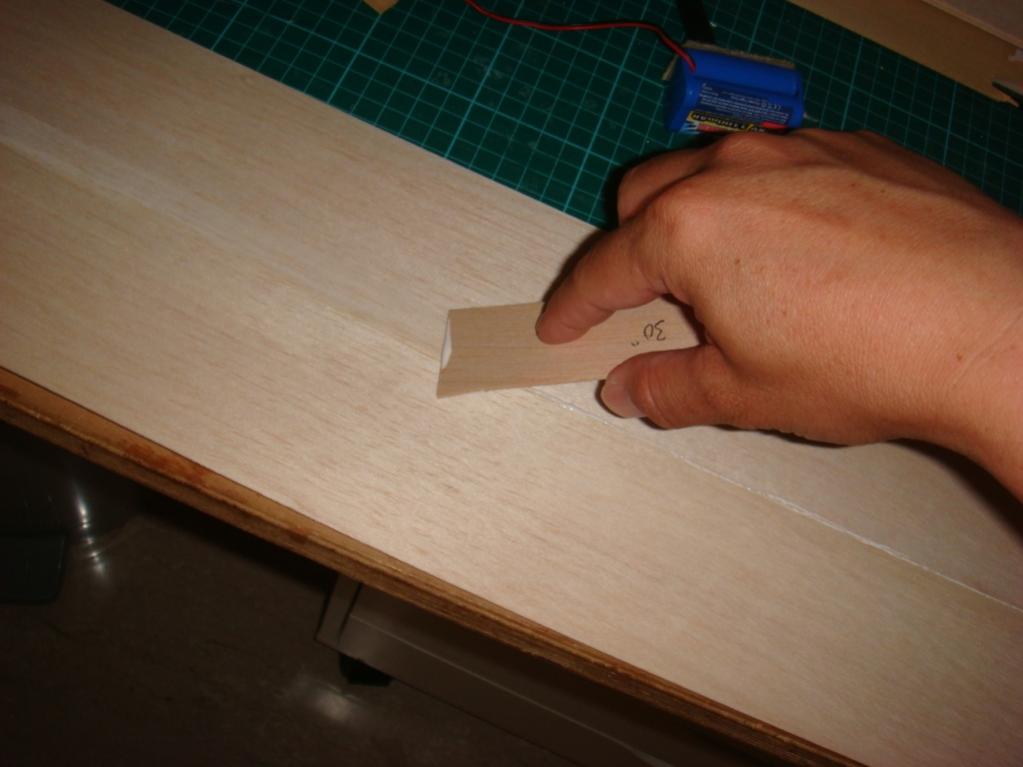
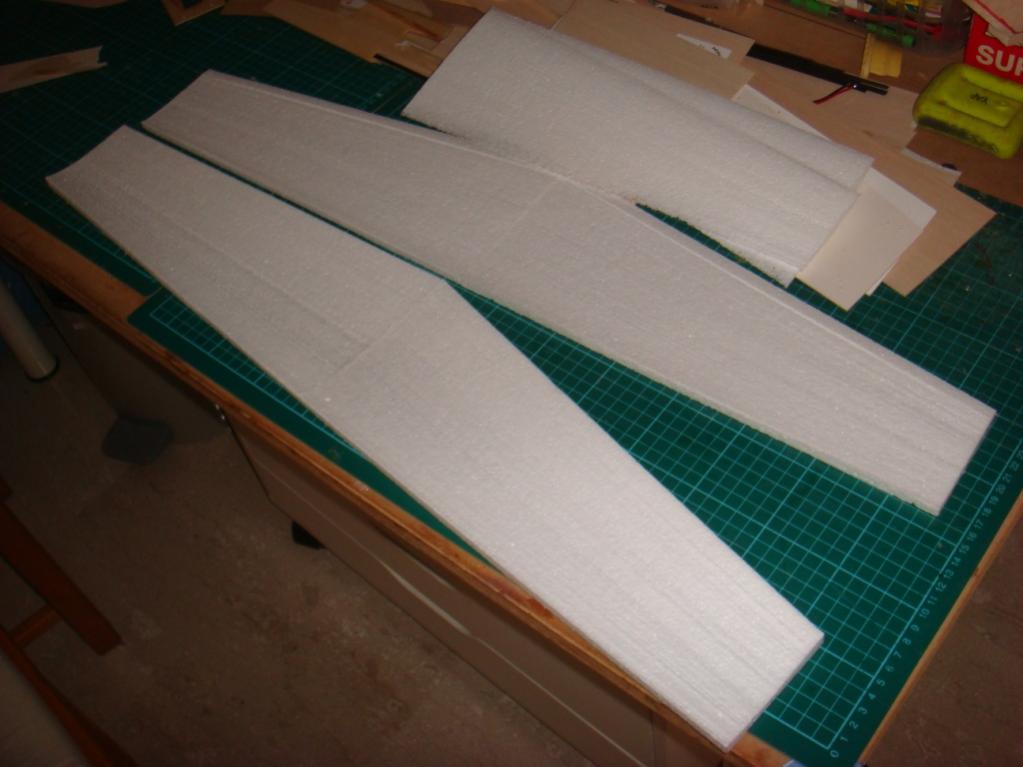
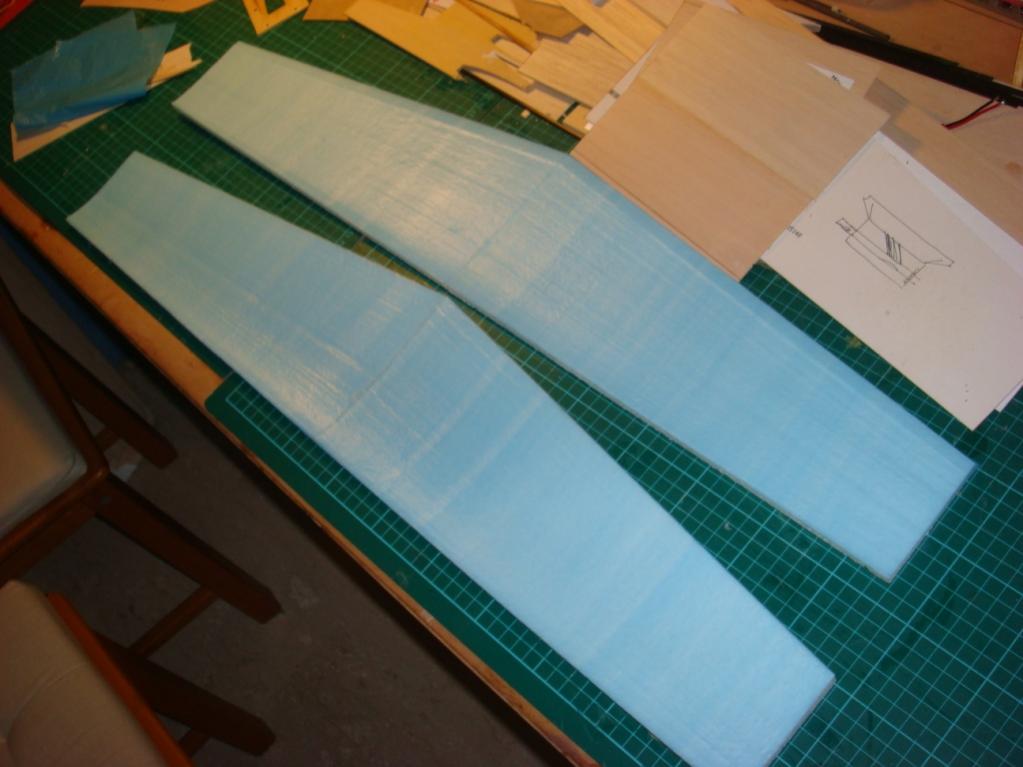
    Folks who are building the Deceiver can still benefit from this thread as the only main difference will just be the the tail design. The most crucial part, which happens to be the wings construction, os the same for both.

    By the way, the original Deceiver was designed for brushed Speed 400 motors with 7-8 cell Nimh or Nicd batteries. Thier input power is around 100watts but the average efficiencies of 50% means that only 50watt of output power is being yield.

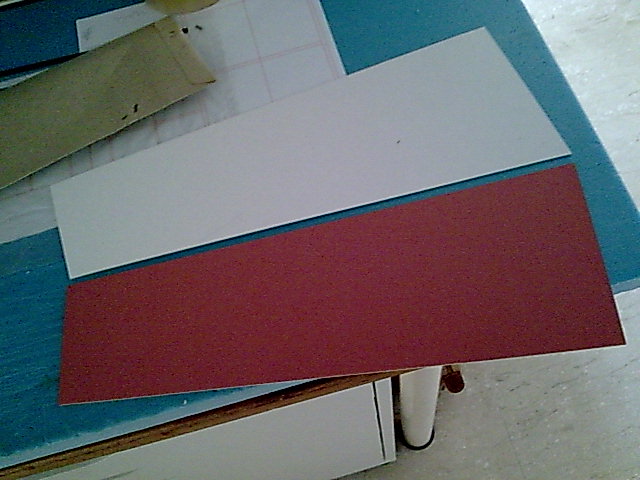
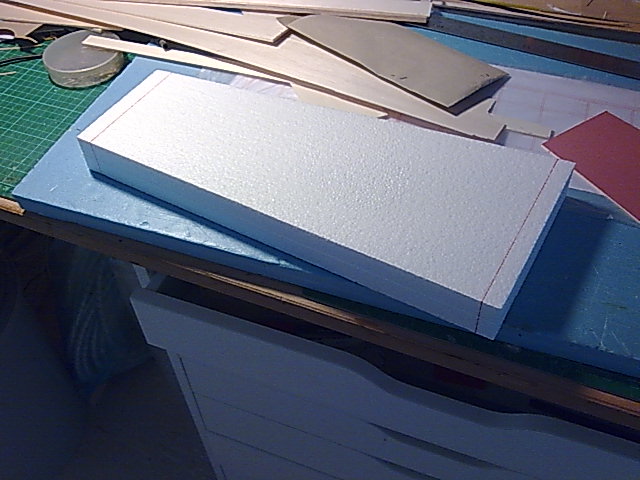
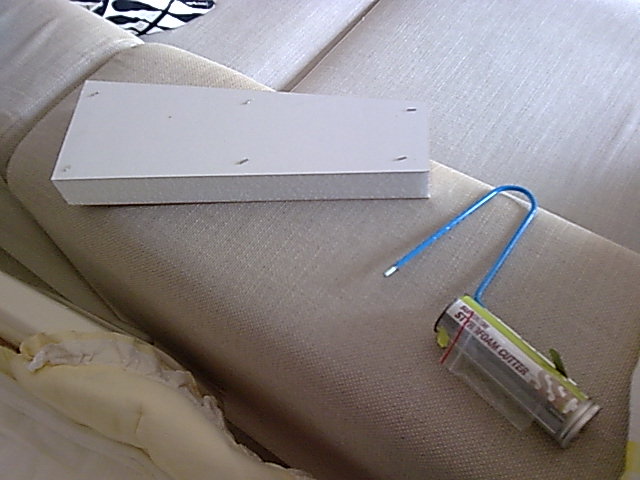
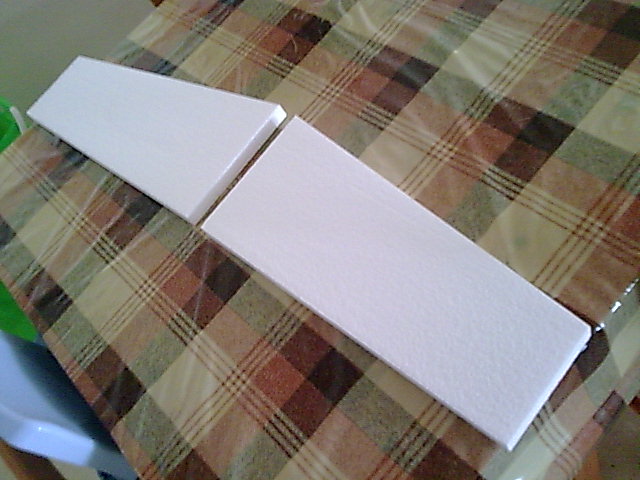
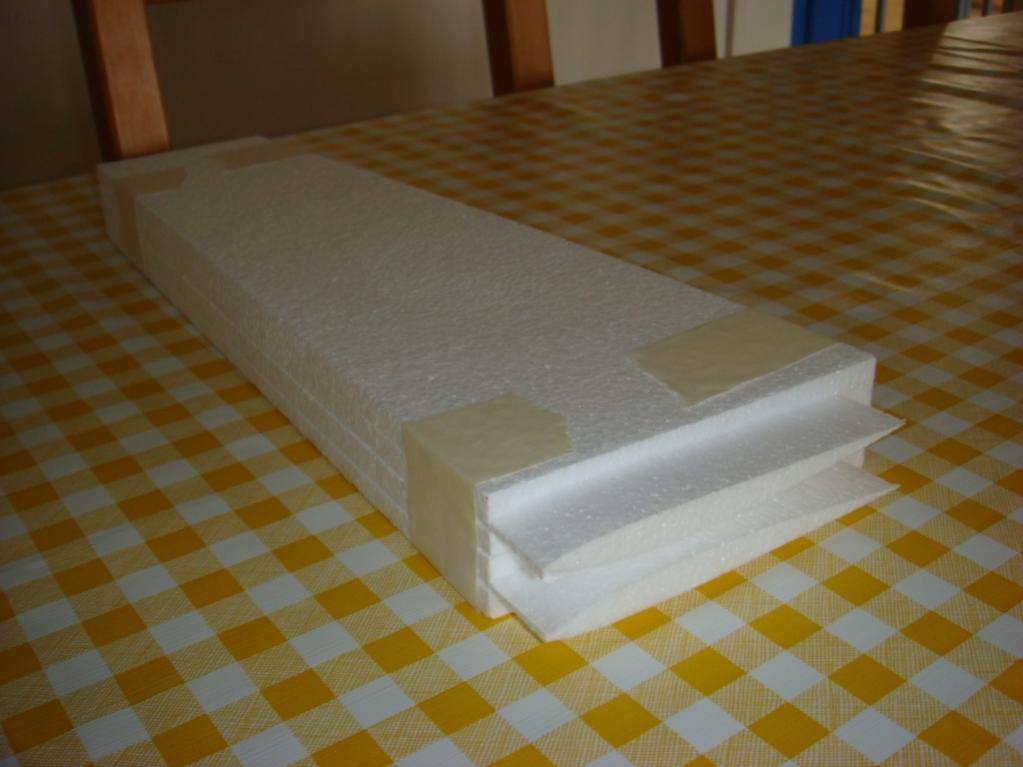
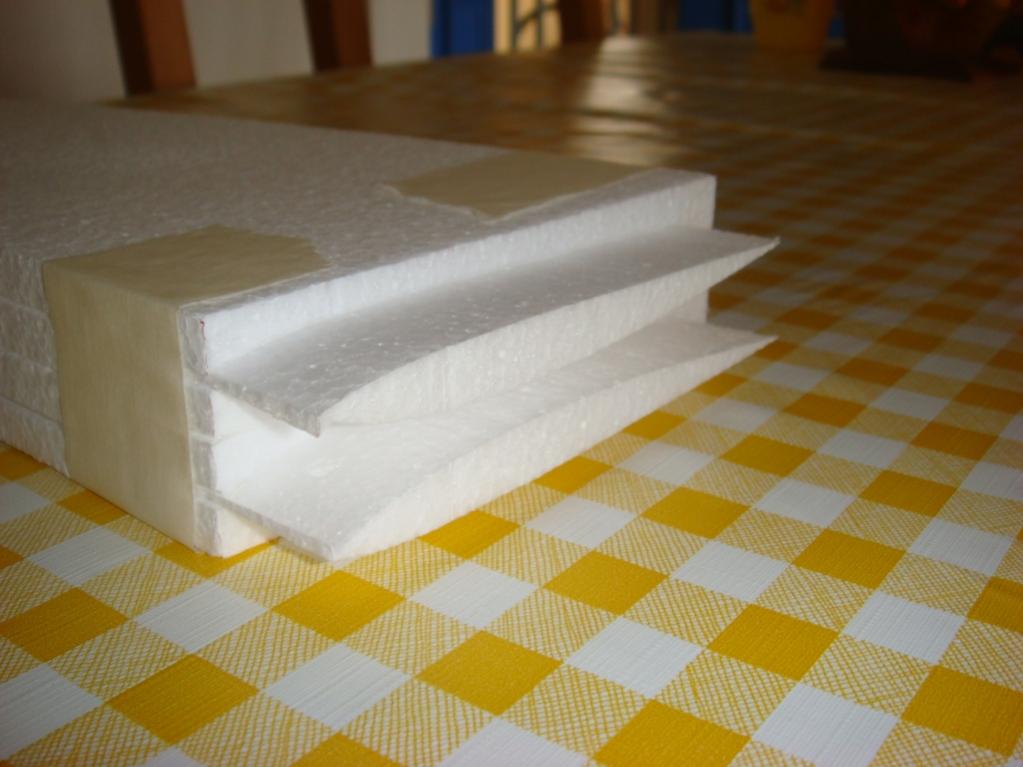
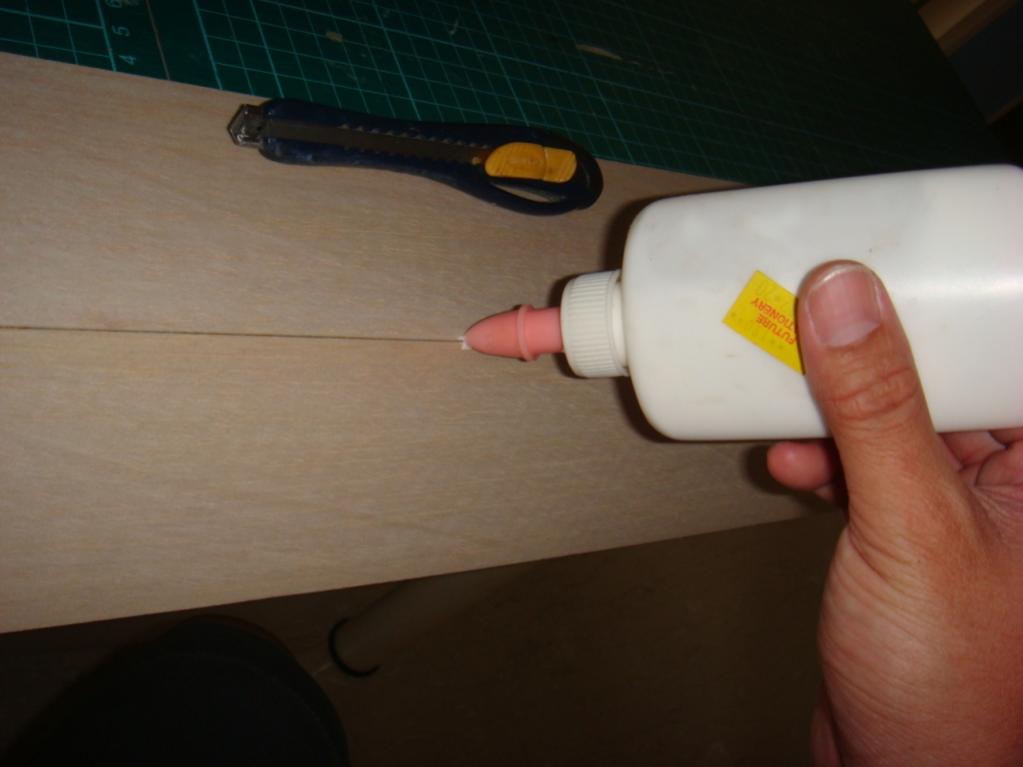
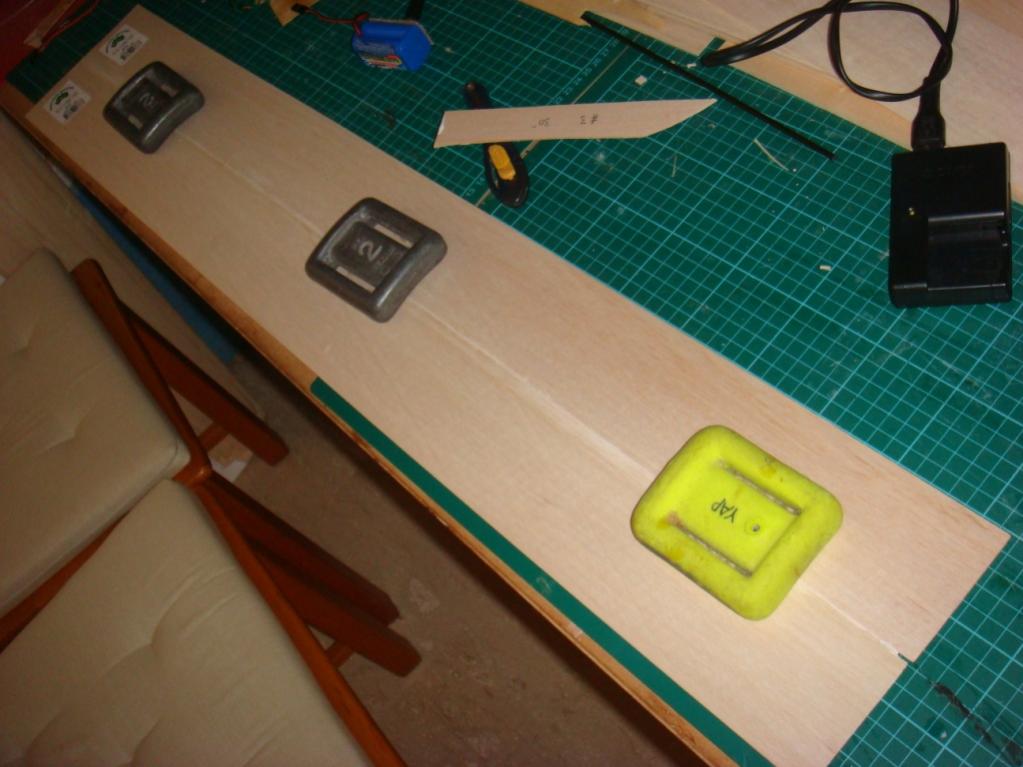
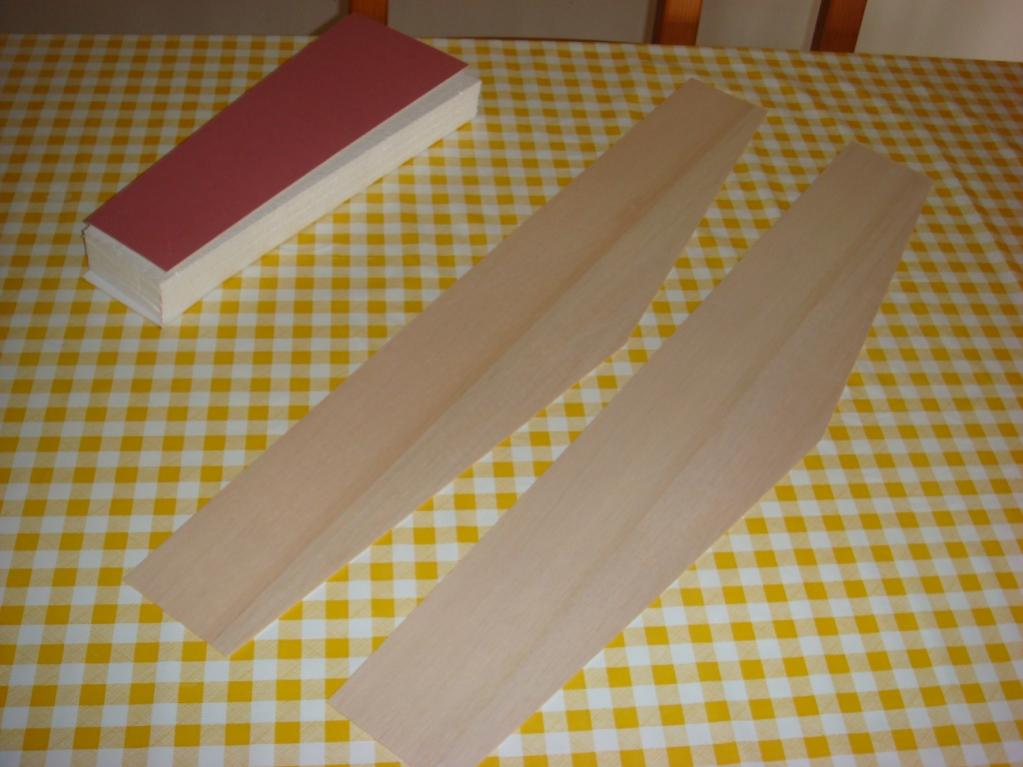
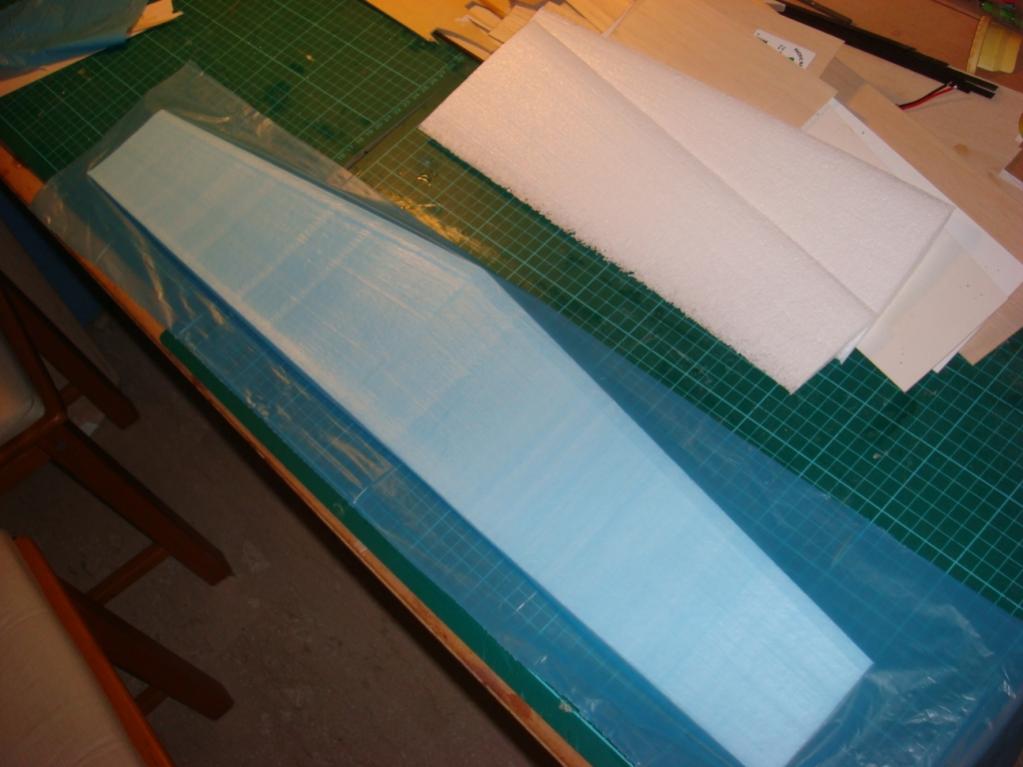
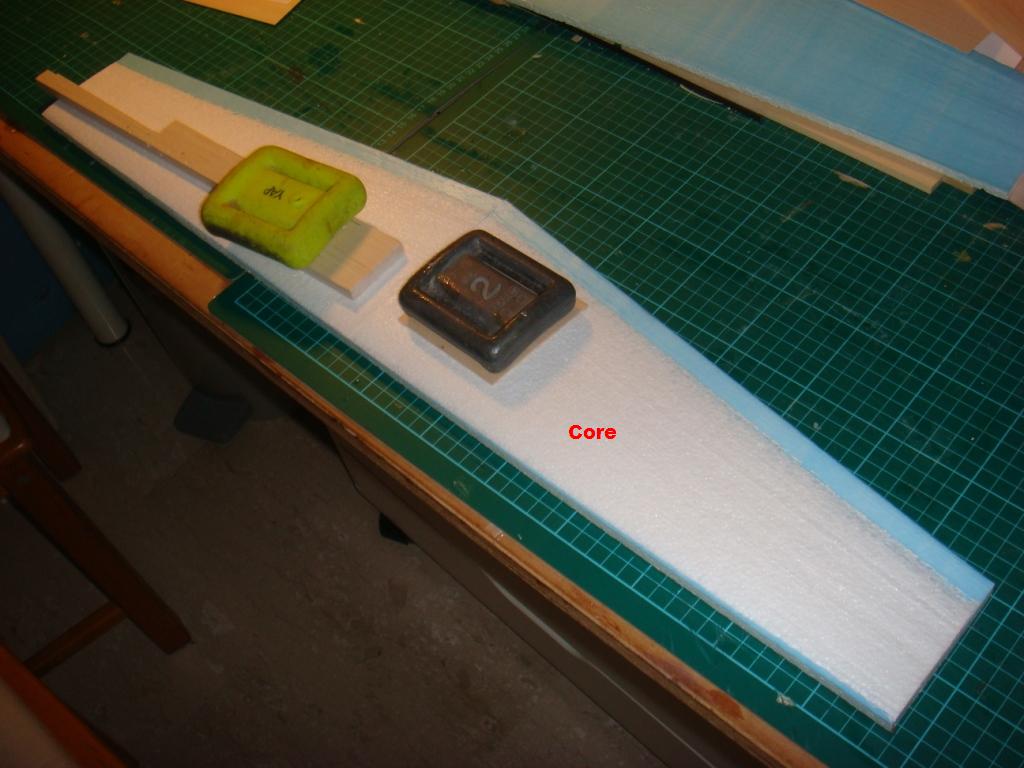
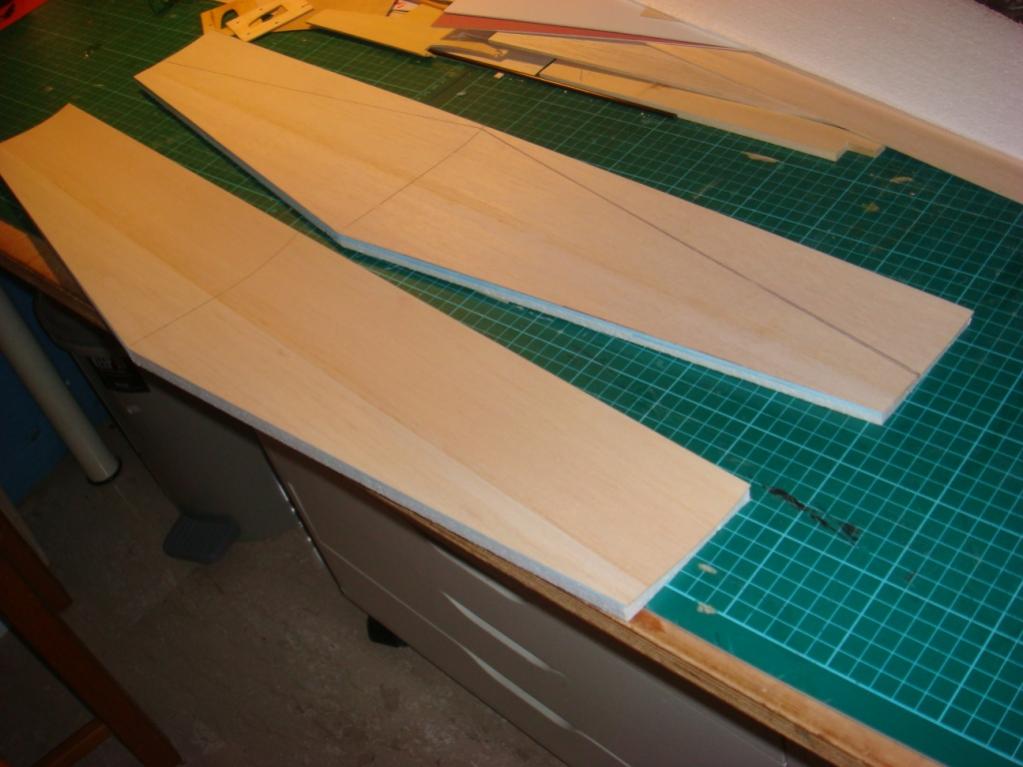
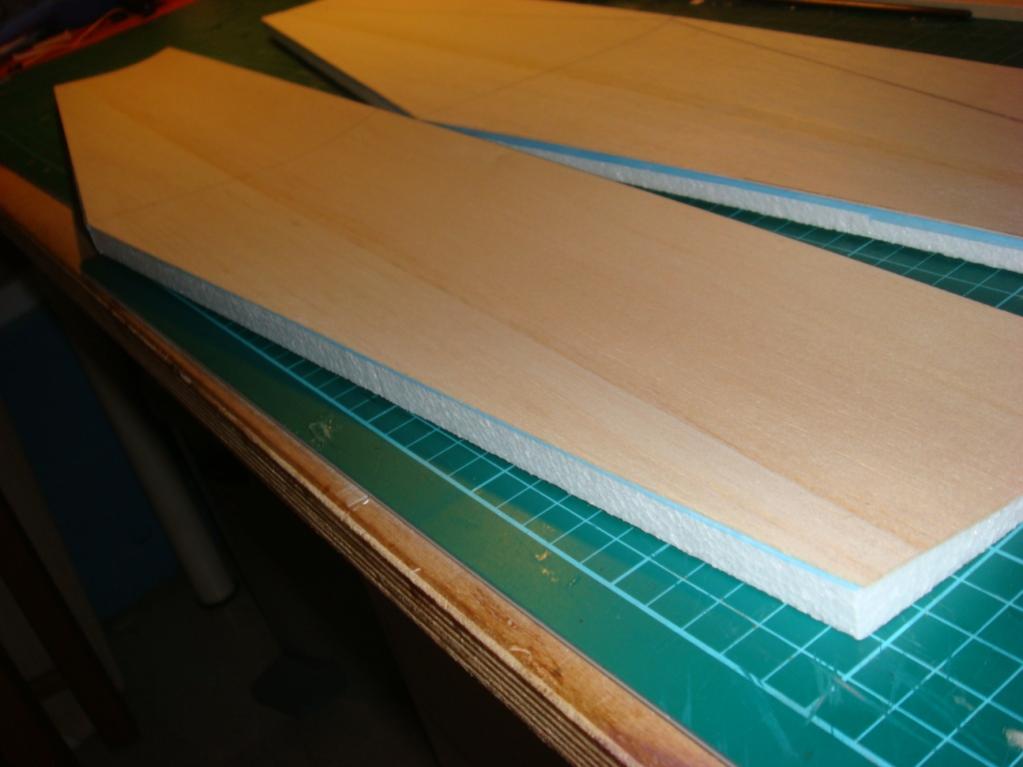
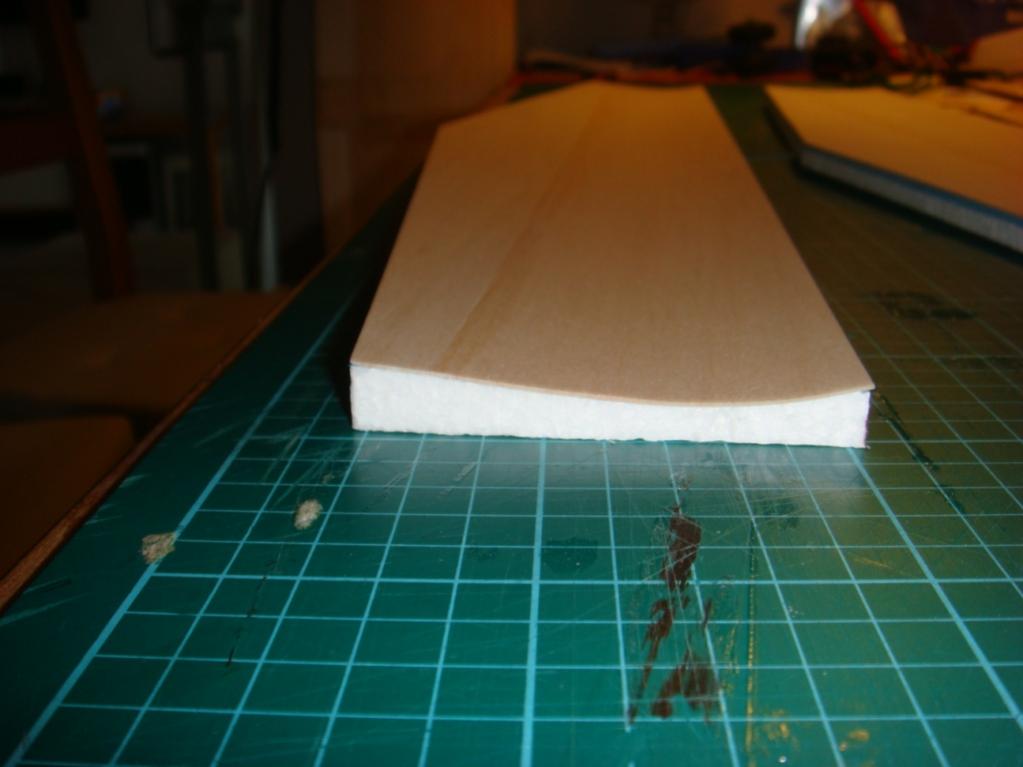
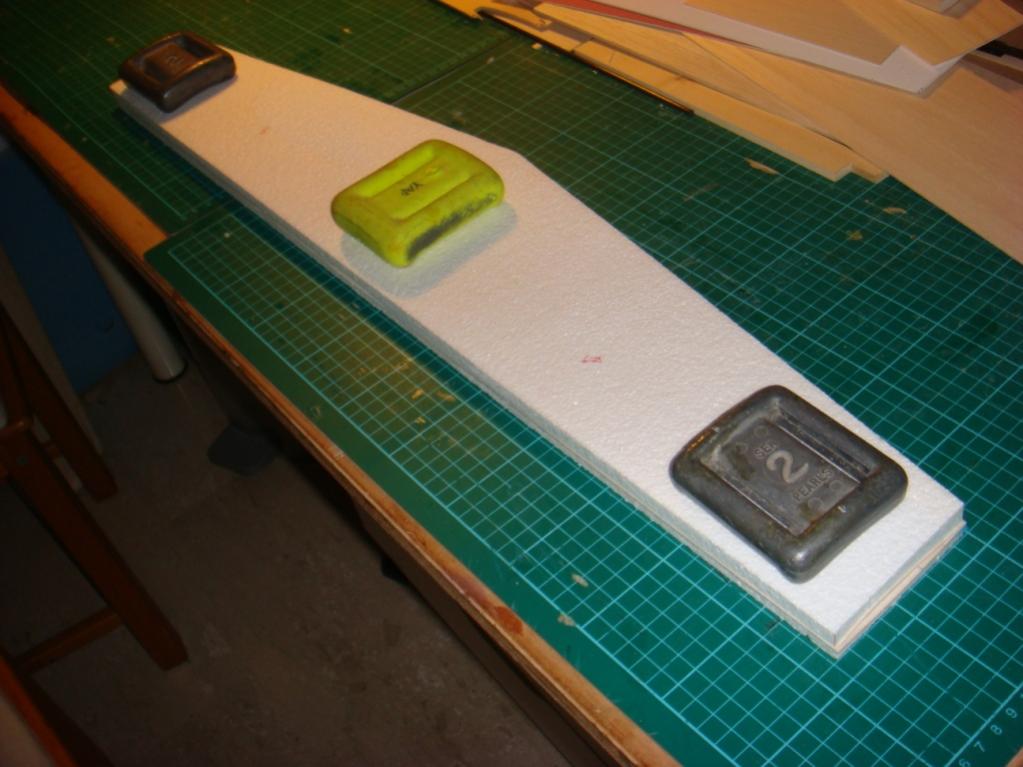
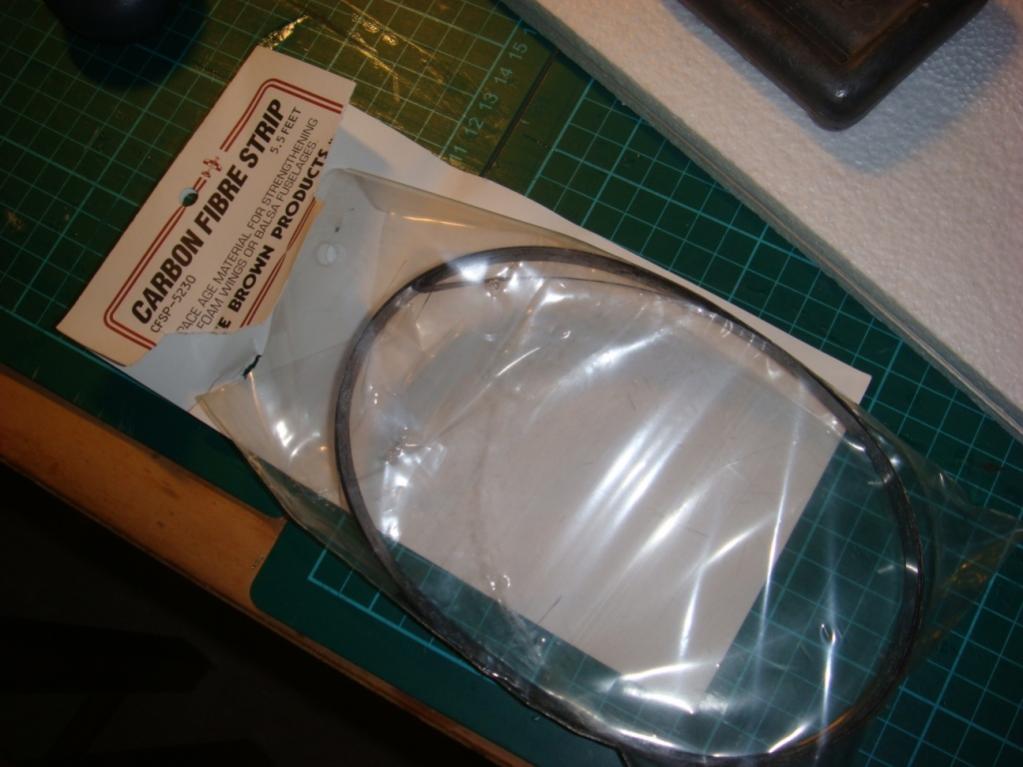
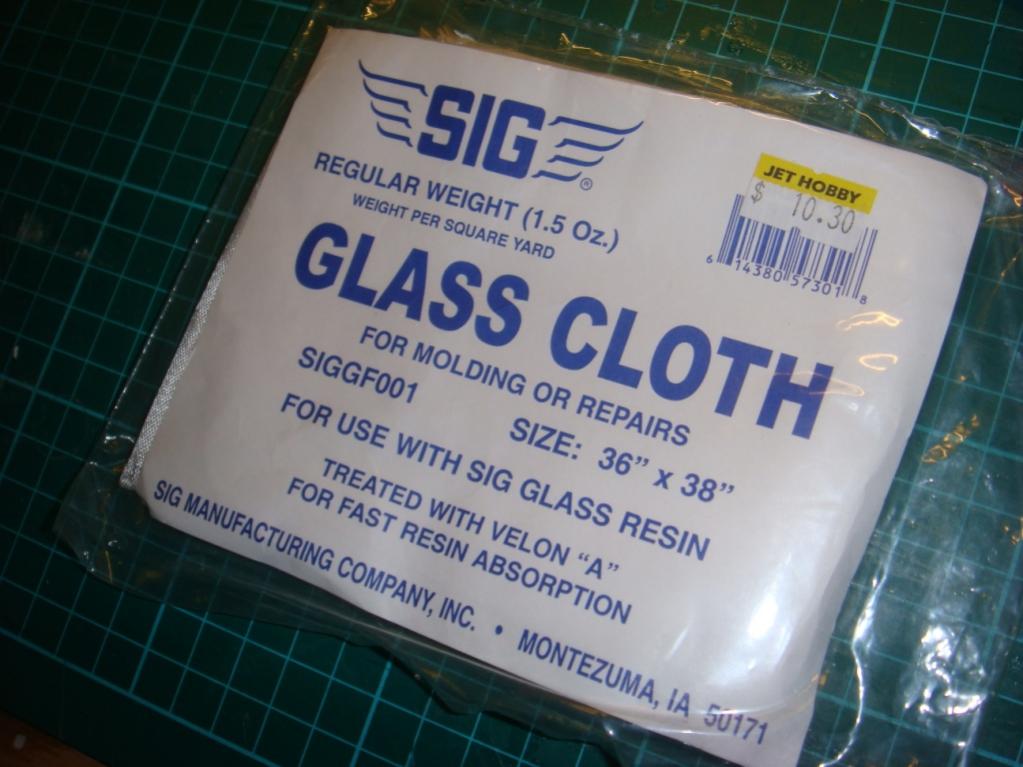
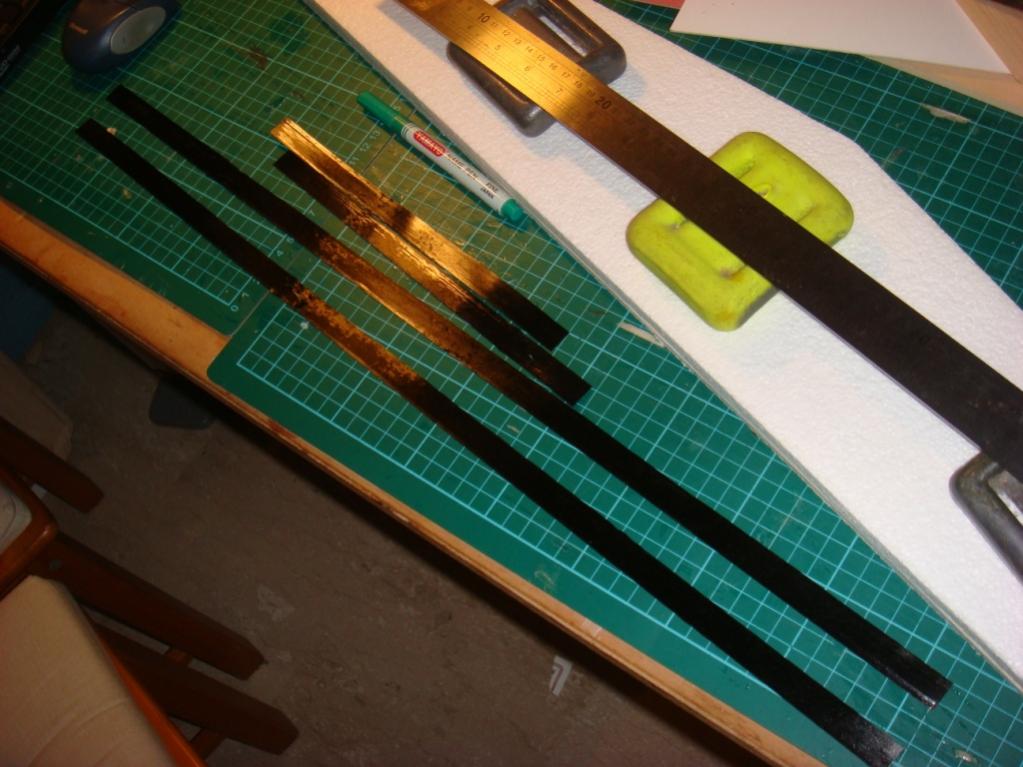
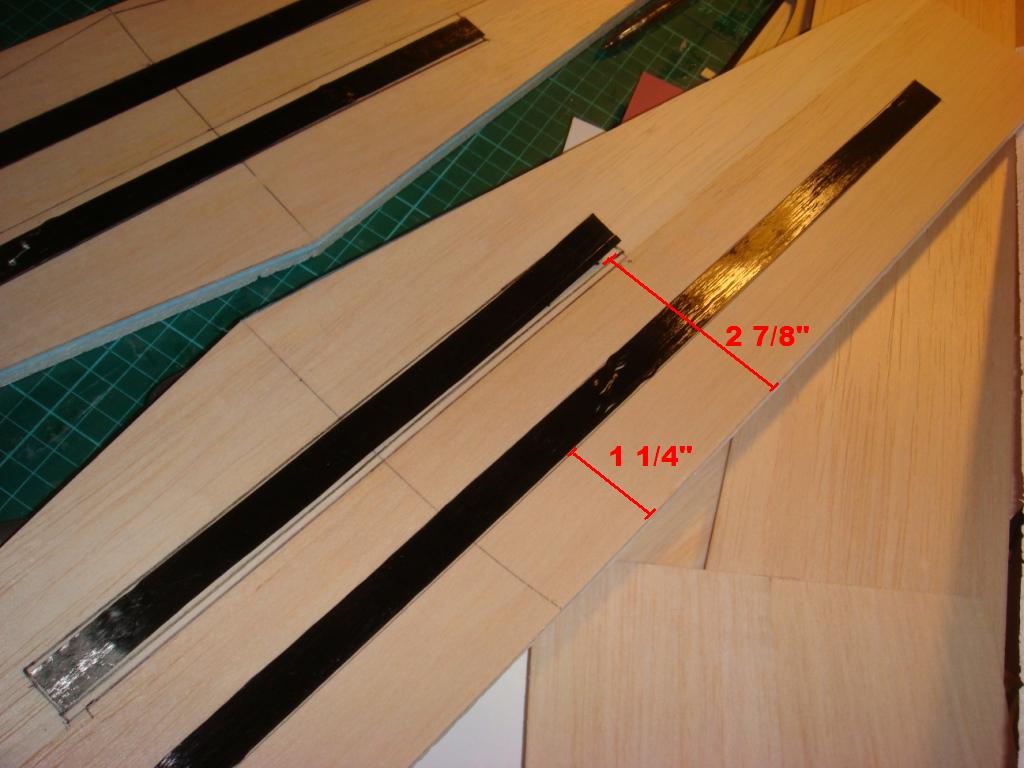
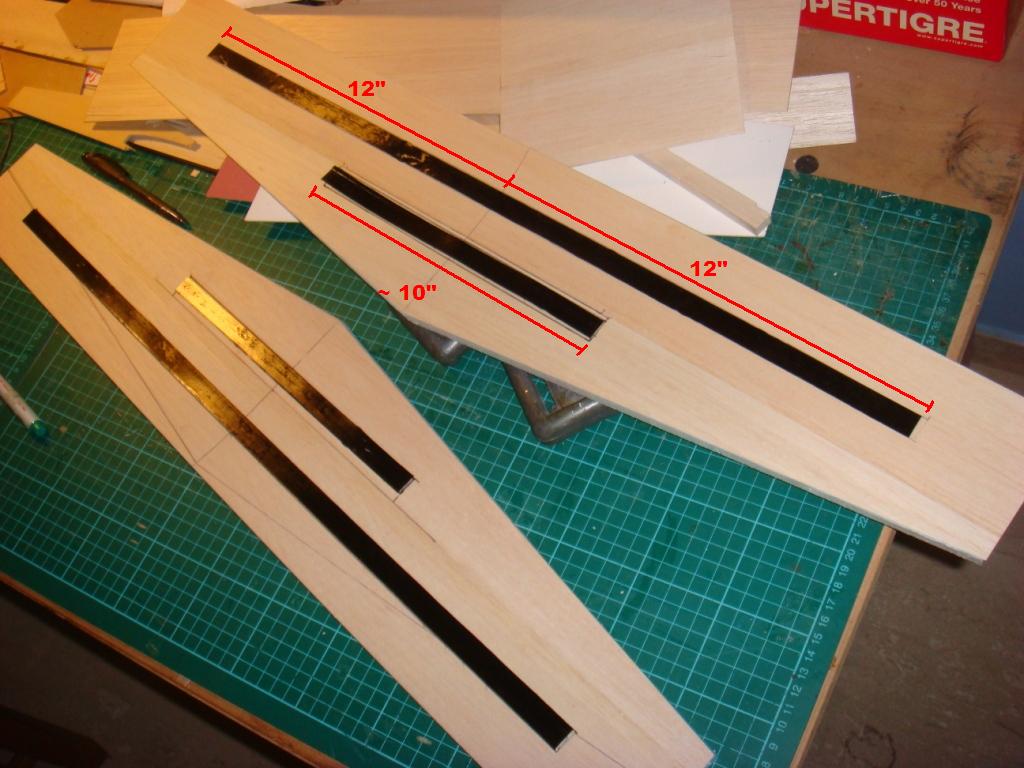
    As the modern brushless motors have around 75% efficiencies, plus the input power can easily doubled or tripled, the airframe design needs significant beefing up. I even managed to fold the wings of the first model on brushed motor, and so needless to say, a lot more attention has to be paid during the wing construction.
    Last edited by joe yap; 19-07-2010, 06:40 PM. Reason: Additional info

    #2
    Firstly, we need to shop for the wing core material. Usual white styrofoam will do, but I managed to get some higher density styrofoam from Art Friends sometime back. The strength of the foam is not so much of the concern, but those with lower density tends to absorb a lot of epoxy, due to higher porosities. So,the weight saved by using low density foam may ended up being offset by the weight gained from the excess epoxy. Blue or pink foam will work as well, if you can manage the warpages during the hot wire cutting process.

    We'll need to make templates for the wing core as well. I use hard cardboard to make them.

    Comment


      #3
      Rough cut 2 blocks of foam enough for the wing panels. Using a T-square, mark out some reference lines on the blocks.

      Align the templates on each foam block, using the reference lines marked out earlier. Pin the templates on top and bottom of the foam block and hotwire cut the foam block to the actual dimensions.

      Try your best to get the blocks as square and true as possible. Too much of compromise will end up a big mess in the later stage of the build.

      Comment


        #4
        I cut these foam cores quite sometime back and did not take any detailed pictures. However, I am assuming that you are already capable of hotwire cutting you foam cores at this stage and you should get something like this.

        DO NOT discard the foam beds! They are as important as the core itself.

        Comment


          #5
          Next thing to do, is to prepare the wing skins. The skins are medium grade 1/32" balsa sheets. If you use soft grade balsa, the trailing edges will be very weak and soft. If you use hard grade ones, the skins may not form well over the compound curvatures and will not bond well with the cores.

          You'll need 2 sheets of 36" long by 3" wide 1/32" balsa for each wing skin. Pair up 2 sheets which the grains and textures matches as close possible, and check for thier fit. Trim their edges if necessary to get them butt up as neatly as possible, before taping them together.

          Comment


            #6
            Flip the sheets over and expose the edges at the butt joint. Run a bead of PVA or Aliphatic resin along the seam, scrap up the excess glue and let it dry while placing some weights over the joint.

            The water based PVA and Aliphatic resin may cause a little warp around the joint, and that's why you'll need some weights to restrain it.

            Comment


              #7
              Once the PVA glue/Aliphatic resin has cured, use the template, mark the outlines of the wing skin and cut it to the correct dimensions. Do is as accurate as you can get and DO NOT give any allowances to any dimensions. Remember, all markings are to be done on the opposite side of the one being taped.

              Flip the skin over and peel off the tape over the joint. This will be the side facing outside. Sand this side as smooth as you can, as any imperfections will be seen after being covered with film. If you do it well, you won't feel the joint when you run your finger across it.

              Make another skin the same way.

              Comment


                #8
                Put the wing skins aside and move on back to the wing beds. Epoxy only the wing beds together. It'll be easier if you tape the halves together before applying epoxy.

                Comment


                  #9
                  Cut up 2 sheets of plastic film from a trash bag, enough to cover each set of wing bed. Spray a coat of 3M77 adhesive over the curve side of the bed and lay the film over, as smoothly as you can. Trim off the overhangs.

                  Comment


                    #10
                    Only now, place the 2 foam cores together over the wing bed and epoxy them together.

                    Comment


                      #11
                      Now between the 2 sheets of wing skins, you have to pick the most flexible one for the upper surface. The stiffer one will be used for the bottom.

                      Spray a light coat of 3M77 over the wing beds and place the wing skins over them, using the TE as the reference. Do spray too much 3M77 or later you'll have a hard time removing the wings from the beds. Just enough to keep the skins from moving from the beds. \

                      A little short or overhang of the skins at the leading edges is fine, as they'll be trimmed off and replaced by a basswood/ spruce LE anyway. However, keep the TE aligned at all time.

                      Comment


                        #12
                        And by now, like me, when you are tired of either reading this thread or the building itself, place the wing cores in between the beds and skins, under some weights and put it aside while you take a nice break. C U later...........

                        Comment


                          #13
                          Thanks!

                          Subscribed!
                          Stop looking for a gyro in my plane, they are all in the head.

                          Comment


                            #14
                            Thanks Joe for the guide.

                            Hope to get the deceiver / swindler / trickster or whatnot up and flying soon.
                            "Always fly with a responsible attitude. You may think that flying low over other people’s heads is proof of your piloting skill; others know better. The real expert does not need to prove himself in such childish ways..." - the Multiplex Build Manual

                            Comment


                              #15
                              Next comes the composite materials.

                              You'll need CF tow and fibreglass cloth. I use Dave Brown Products Carbon Fibre Strip (CFSP-5230). It comes in 5.5 feet total and is paper thin and around 0.5" wide. Although very expensive, it is much easier to use than cheap CF sticks. You still can use cheaper CF sticks though, but you have to sand a recess on each side of the foam core to accomodate the thickness.

                              I used lightweight glasscloth on my previous models, but if you are planning to shoehorn a 300watt outfit into this little airplane, switch to medium or SIG regular glass cloth.

                              Cut 2 pieces of 24" long CF strips. These are for the main 'spar'. The balance of the CF strip material is then divided into another 2. Mine ended up a little less than 10" long. Mark the position of the CF strips on the inner side of the wing skins as shown in the last 2 pictures.

                              Comment

                              Working...
                              X