Announcement

Collapse
No announcement yet.

RCRCM Strega - F3F slope racer

Collapse

Zenm Tech Pte Ltd

Collapse

Visit Zenmtech at rc.zenmtech.com

X
 
  • Filter
  • Time
  • Show
Clear All
new posts

    RCRCM Strega - F3F slope racer

    Hi all,

    After owning many scale and sport slope gliders, being ARFs, balsa kits or scratchbuilts, I finally decided to own one of the latest fully moulded composite competition glider to further expand my knowledge and experiences with vaious kinds of models.

    Decades ago, when fibreglass moulded scale and sport gliders reign the higher end of the market, they are often dubbed as "Glass slippers". The arrival of carbon fibre moulded ships have since taken the top end range of models in the recent years, which I personally prefer to dubbed them as " Charcoal".

    Thanks to Pang, the founder of Soaring Composite, http://www.soaringcomposites.com/, mouldies like this suddenly become so much more accessible and affordable that what we had in the yesteryears. The qualities of these kits are also far better than what we had. Seeing many of these birds soaring from our local slope already make one dream of owning one. I certainly think that at least once in my lifetime, I should experience it for myself.

    While browsing through websites, I found that international competitions like F3F race are evolving very fast, very much like fashion industry, and competitors and designers are consantly seeking for the new winning formular to top the competitions. The evidences are very obvious as you can easily distinguish the design differences between 2 designs just merely a year apart. Although the older design may have another few useful seasons worthy to stay competitive, it make sense to seek for the lastest design, if the cost remains affordable, as such that it'll stay competitive for longer period. Reading the descriptions and the design philosophy of the Strega got me into making my final decision, as many other models are simply provided with too little informations for one to understand the "winning edge" of each individual design.

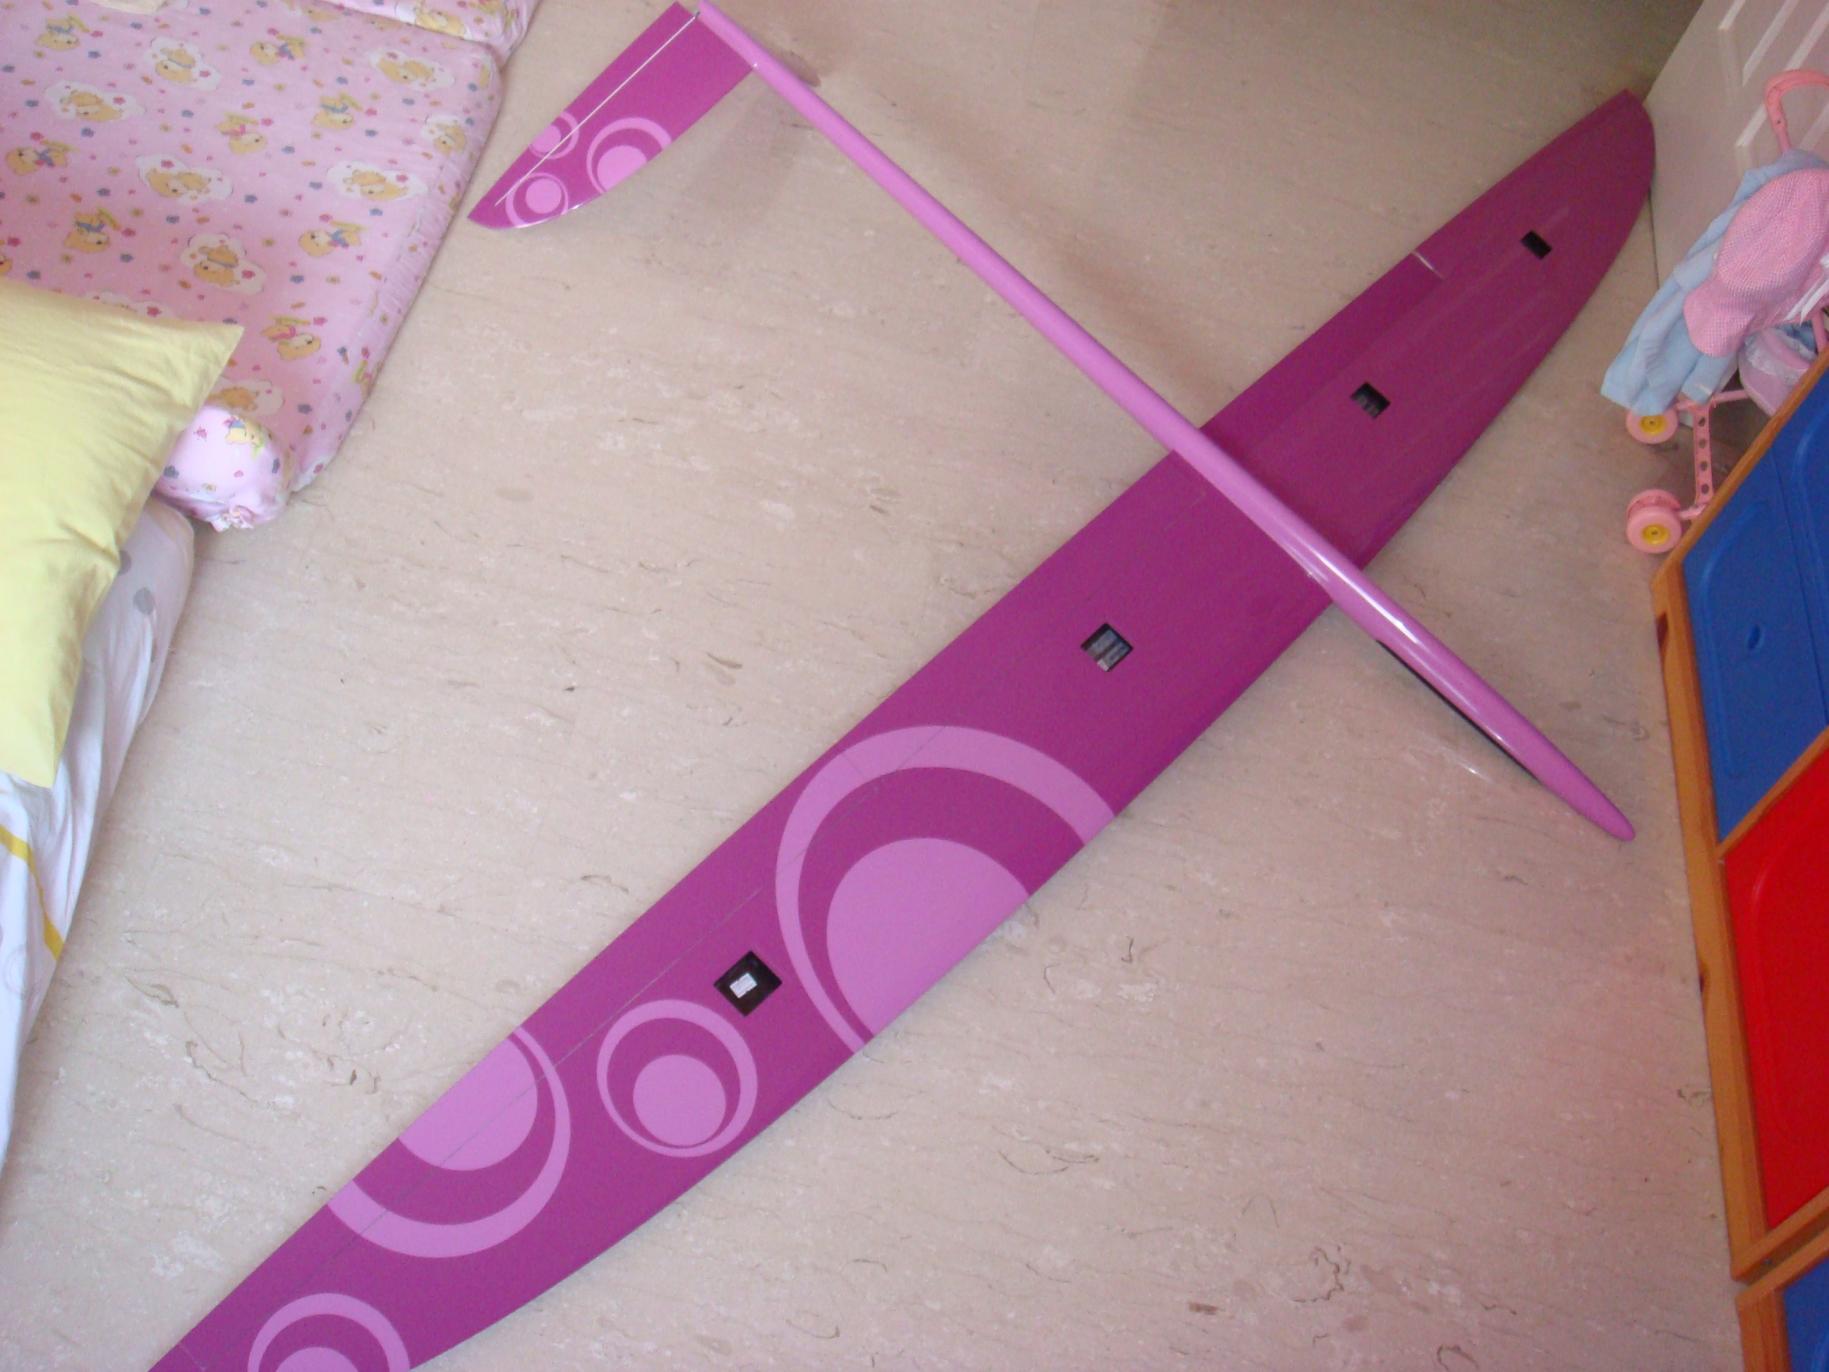
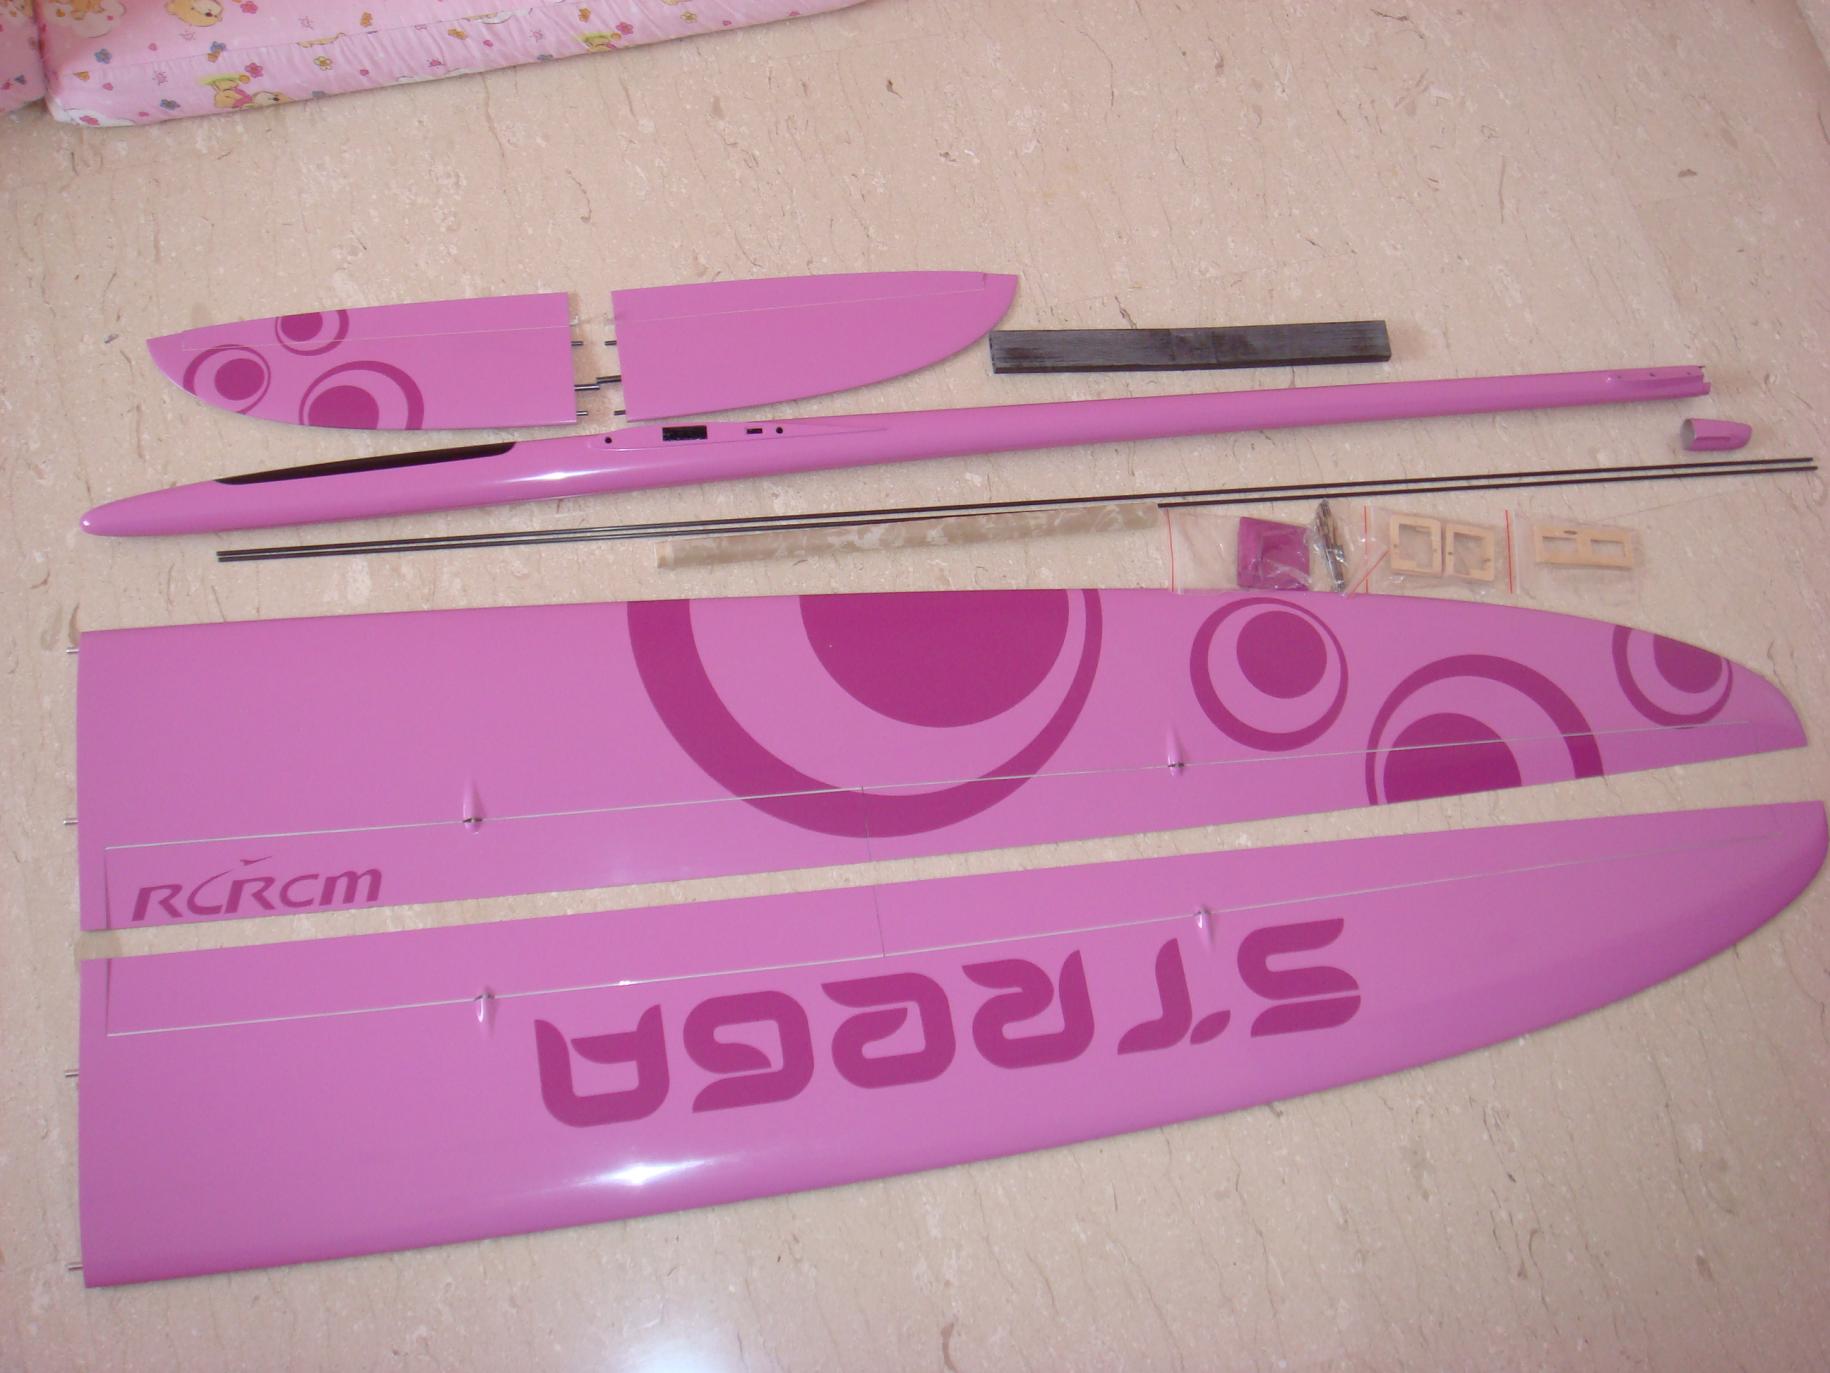
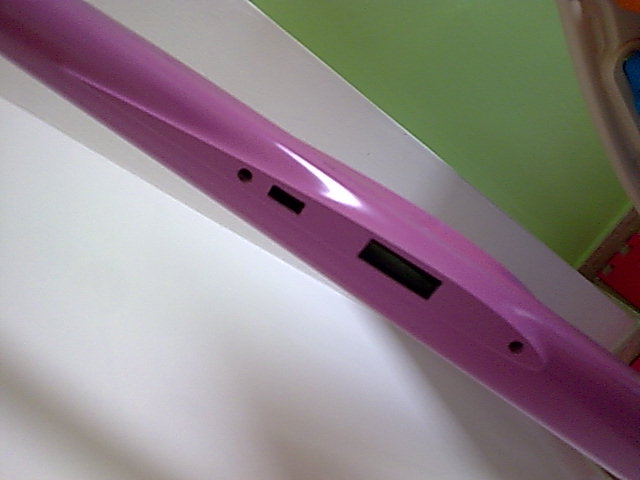
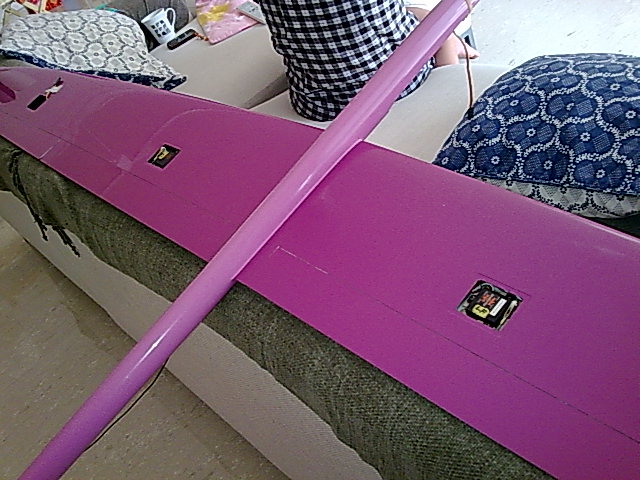
    Having talking so much c*ck, well, this is my lastest Purple and Violet, NOT pink, STREGA, AKA "Purple charcoal".
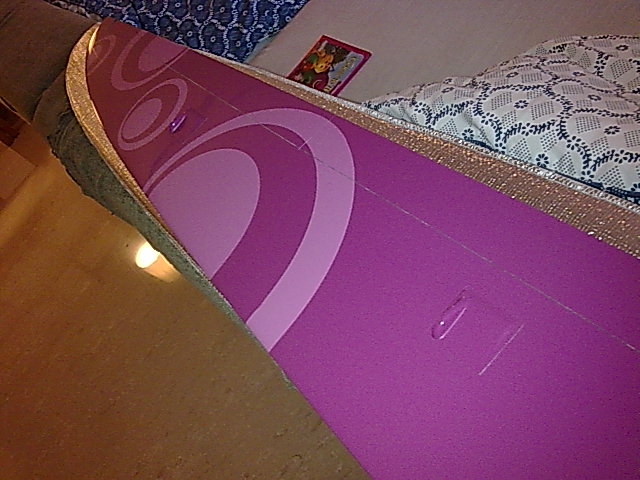

    #2
    Subscribing to read.
    Stop looking for a gyro in my plane, they are all in the head.

    Comment


      #3
      Now, I'm in the midst of assembly. Being a "Newbie" in competition sailplane, I faced a lot of difficulties, being jumping into the lastest F3F model with such thin fuselage and wings, without prior experience of other more roomy charcoals. Luckily, Pang already maidened his own Yellow and black Strega and he guided me along the way.

      Seeing the super narrow fuselage cavity, the servo and flight control looks like a very daunting task itself. As such, I play safe by starting off preparing the ruddervator pushpull rods. I epoxied the provided threaded rods to one end of each stock carbon rod and threaded a clevis on each of them.

      I though of installing the servo tray but I was reminded that it will be better to pre-determine the ballast tube position beforehand. Again, Pang came to the rescue. The provided ballast tube is good up to 10 Slugs, and each Slug is supposed to be 36mm. So the ballast tube needs to have at least 360mm of internal space, plus another 40mm or so extra in front for the inlet. Assuming all slugs are having the same weight, the mid point of the ballast tube should more or less coincide with the model's CG, in order to minimise CG shifting during ballasting. After determining the ballast tube location, I put it aside and fabricate a new servo tray.

      Pang, again reminded me that the ruddervator push-pull rods need to be positioned rather well below the wing joiner, in order to prevent mechanical interferences. On his model, he had to bend the rod's offset to achieve that. I opted to adopt canted moutings for the servo. I discarded the stock servo tray and made my own using a 1/16" plywood, laminated with a ~0.5mm fibreglass sheet, I made last time. To avoid stress risers, my servo tray has 'forks' extend well in front and behind the servos to spread the load and also provide access for ballast and receiver. To tilt the servos, I glued basswood wedges under the servos mounting lug.

      I tacked the tray in place with CA and trial fitted the servos, before permanently gluing it down with epoxy and fibreglass cloth.

      Comment


        #4
        OK let's all agree that it's purple now.

        All you need are some teddy bear/ hello kitty stickers to complete the look.

        Hehe, jokes aside. Seeing Pang flying his Strega is a joy. It stays afloat effortlessly and dives very fast. I think you're gonna enjoy your Strega too.

        Cheers,
        Adnan
        Take what you've got and fly with it - Jim Henson
        ... no plane will allow a pilot to recover from stupid. You still have to do those piloty things... - Joe Wurts
        Electric things run on smoke. Let the smoke out and they won't work.


        sigpic

        Comment


          #5
          Once happy with the servo tray, I glued a piece of hardwood under the front end of the ballast tube. This is to allow a screw to be installed later to secure the ballast slugs in place. The tube is then epoxied into the fuselage.

          Next, I mounted the servos into the tray. Pure sailplanes are not subjected to vibrations and I did not use any rubber grommets for mounting them. Rather, with very short control and servo horns, you will really want the servos to stay firmly attached. After that, I inserted the pushpull rods from the back and connected the clevises into the ruddervator control horns. I kept the ruddervators flush by clamping them down to the stab TE. I marked the carbon rods before pulling them out again to chop off the excess. I use ball links installed under the servo horns to connect the threaded rod to the carbon rod.

          After centering the servos and neutralising the ruddervators, I epoxied the threaded rods to thier respective carbon push-pull rods.

          Comment


            #6
            This is the fuselage's main area of concern. If you see the ruddervator push-pull rods running across the wing joiner holes, you'll be in trouble.

            To prevent that, my servos are canted sideways with ball link joints to offset. I have sufficient ruddervator throws before the ball links interfer with the servos.

            Comment


              #7
              Nice colour...

              Kinda reminds me of at 1st sight...


              Haiizzz.... no $ to buy can only drool watching. These days all flying composites on the slope.
              sigpic
              FASSTGot Quard?

              Comment


                #8
                That can only means that your eyes are playing tricks with you.

                Anyway, back to the construction. I sped down to get the servo wires and Eneloop batteries this afternoon. Back home, I spent about 2 full hours soldering the servo harnesses. The wing harnesses are made of twisted pair wires. But due to the very limited space in the fuselage, the harnesses are made from straight ribbon type wires. Before running the harnesses into thier respective wings and fuselage, I did a functional check to make sure that all connections are correct.

                The fuselage harnesses are packed neatly into every space available in the skinny fuselage. With the MPX male connectors epoxied into the wing root, the harnesses run criss-cross to the opposite sides and neatly tuck into the cavities beside the ballast tube and the servo tray before exiting ahead of it. This has to be done this way to minimise the possibility of the push-pull rods rubbing against the wires during operation.

                Comment


                  #9
                  Originally posted by randomtask View Post
                  OK let's all agree that it's purple now.
                  So its a very nice Purpink color ?


                  Yup, jokes aside, I saw Pang's Strega in action at the slope yesterday and got really impressed ! ...it was accelerating horizontally without having to dive Heard from Pang later it was something to do with keeping it in the 'lift band' or something

                  Joe, You're certainly gonna have a great time with your Strega ! Pink or whatever color !!! ...just hurry and maiden it this season !!!
                  Seriously running out of ...Storage space !

                  Comment


                    #10
                    The MPX connectors or epoxied in thier respective cavities. Took quite some time and effort to get them right. Although 4 pins are enough for 2 channels on each side, I used up all 6 pins fro redundancy.

                    Comment


                      #11
                      The stock push-pull rods for the wing flight controls are way too long for good. I ended up using SIG 2-56 fully threaded rods with Sullivan gold-n-Clevises. The threaded rods for the flaps are cut to 35mm long and the rods for ailerons are 40mm.

                      Each clevises to be attached to the servo horns are partially grounded for creating a recess. This will allow the servo horns to travel further without binding.

                      Comment


                        #12
                        I normally just epoxy the wing servos in place permanently on my scale models. However, damages on the structures and servos are often incurred during bad landings for these hard flying F3F models, and it makes perfect sense to use a mount that facilitate servo changes, in order to stay in competitions.

                        The stock wing servo mounts are made for Hitec wing servos. I've chosen Hyperion Digital wing servos instead, and I have to make my own mounts.

                        The mounts are made from 2 laminations of 1/64" plywood and 1/4"x1/8" thick spruce blocks. The servos sit nicely in place before being fastened with 3 screws each.

                        Comment


                          #13
                          The flap servos are rigged at neutral with the horn canted forward. I epoxied the servo mount in the cavity, before connecting up the push-pull rods. This setup allows the flaps to be lowered to around 70-80n degrees, and more than enough upward deflections. I limit the servo throws using my computer radio.

                          Comment


                            #14
                            The ailerons servos are rigged with horns canted backwards at neutral, as it'll allow more upward deflections than down. The mounts are epoxied in place just like the flap servos.

                            Once all riggings and functional checks are done, I trimmed the servo covers and glued them down with regular UHU glue. Make sure that the servo horns and the linkage do not foul with the covers before doing this though.

                            Comment


                              #15
                              Wah....swee swee plane JOe!

                              Ur the Man!
                              Punggol Field Walk - Precision Landing Required!

                              Comment

                              Working...
                              X