Announcement

Collapse
No announcement yet.

Boeing777 scratchbuild twin edf

Collapse

Zenm Tech Pte Ltd

Collapse

Visit Zenmtech at rc.zenmtech.com

X
 
  • Filter
  • Time
  • Show
Clear All
new posts

    Boeing777 scratchbuild twin edf

    This is the plane that i always dream to have..., the plane that somewhat got me started in scratch building. It was also my 2nd scratch-built plane i posted in daddyhobby 1year 6months ago and this time i'll reattempt to give it a shot.

    "Previous boeing 777 tread http://www.daddyhobby.com/forum/show...ght=boeing+777 " (yes, i know its a crappy plane when i see it today )

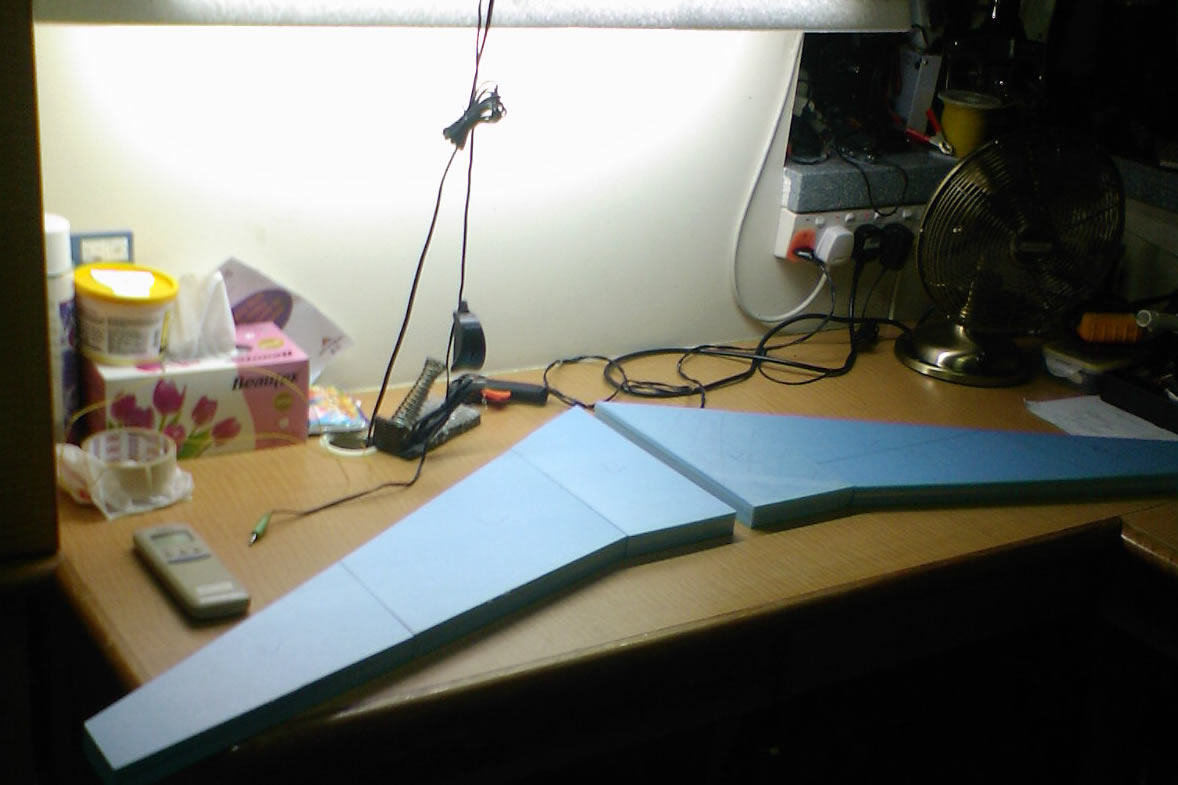
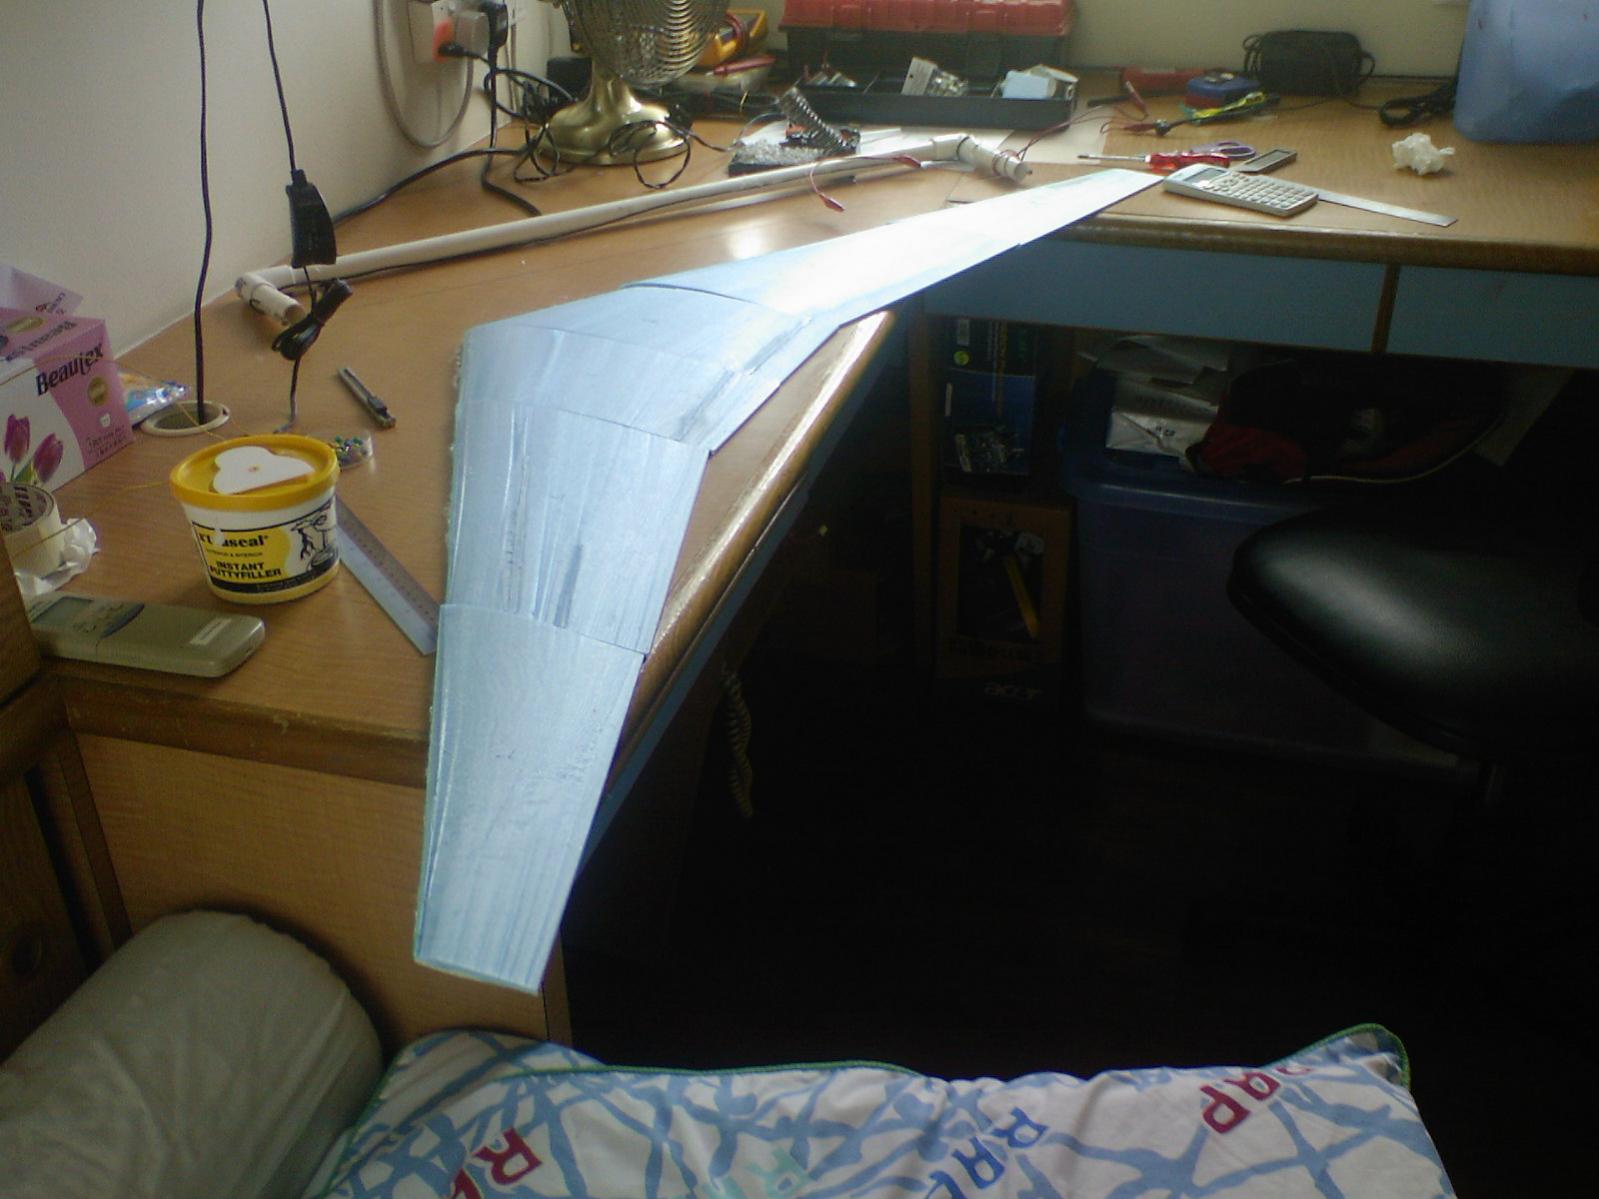
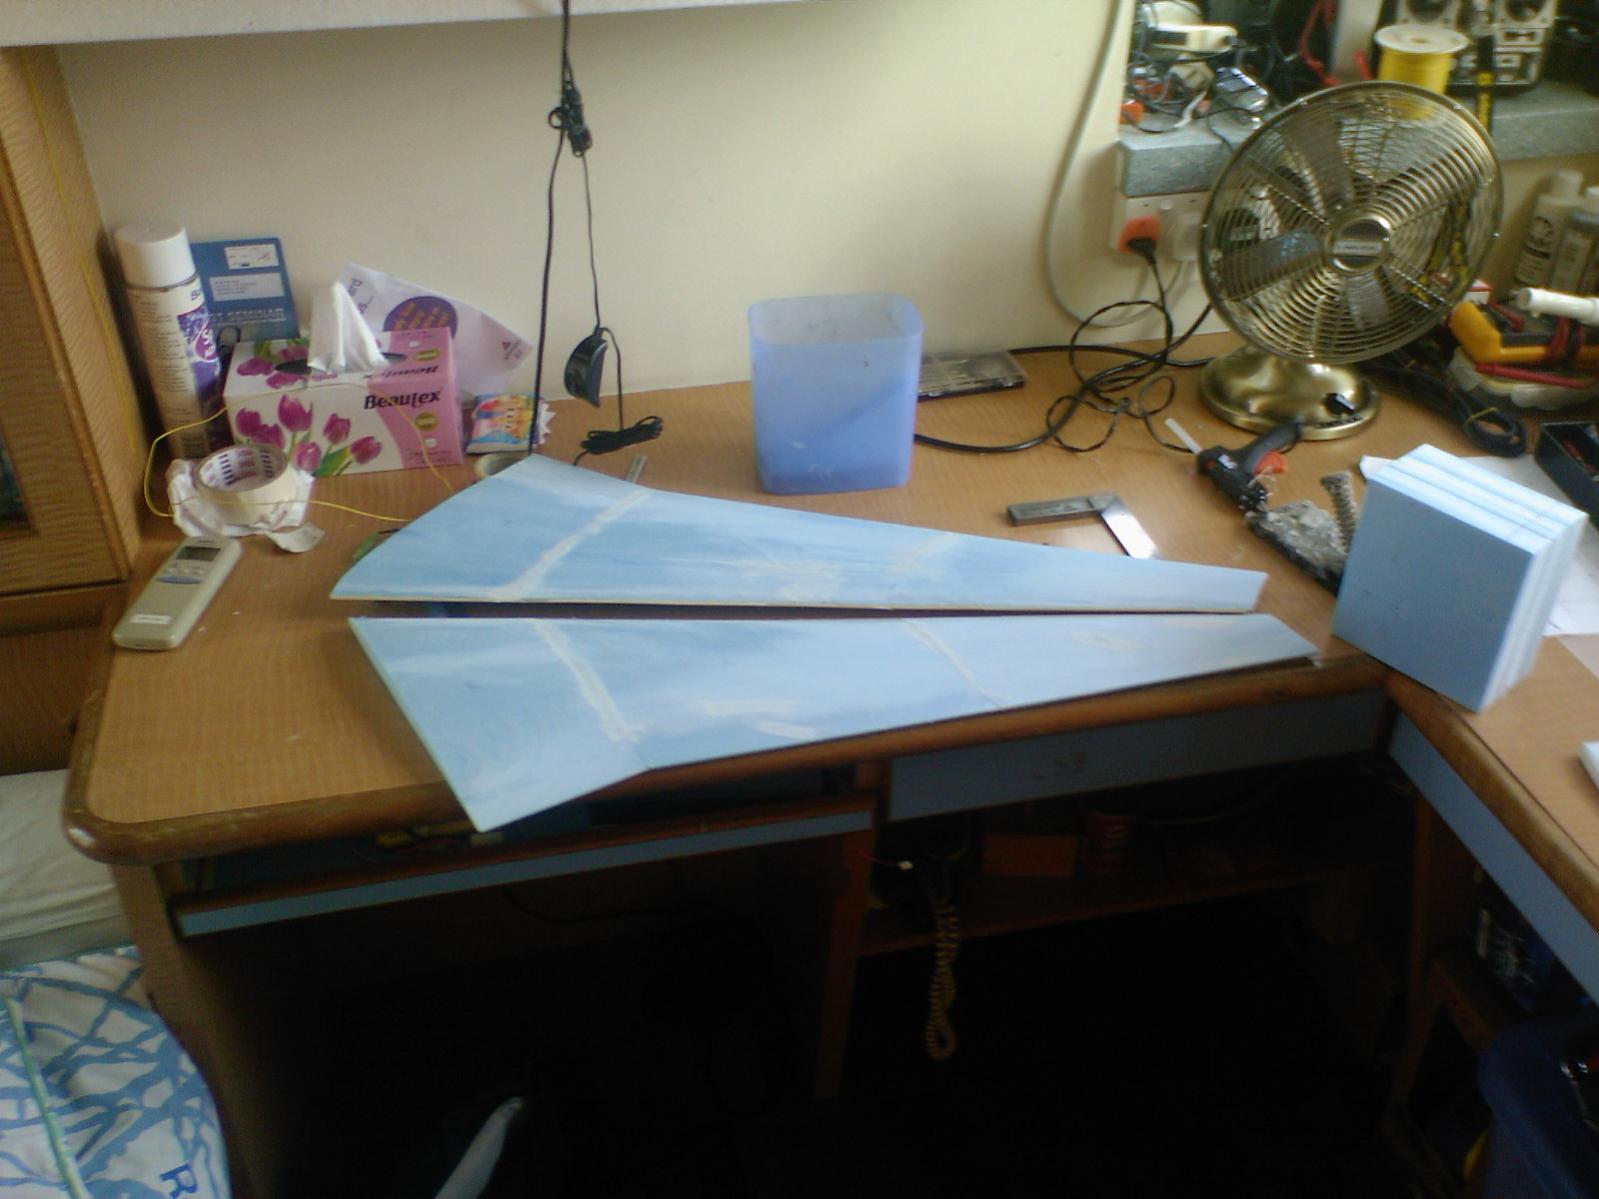
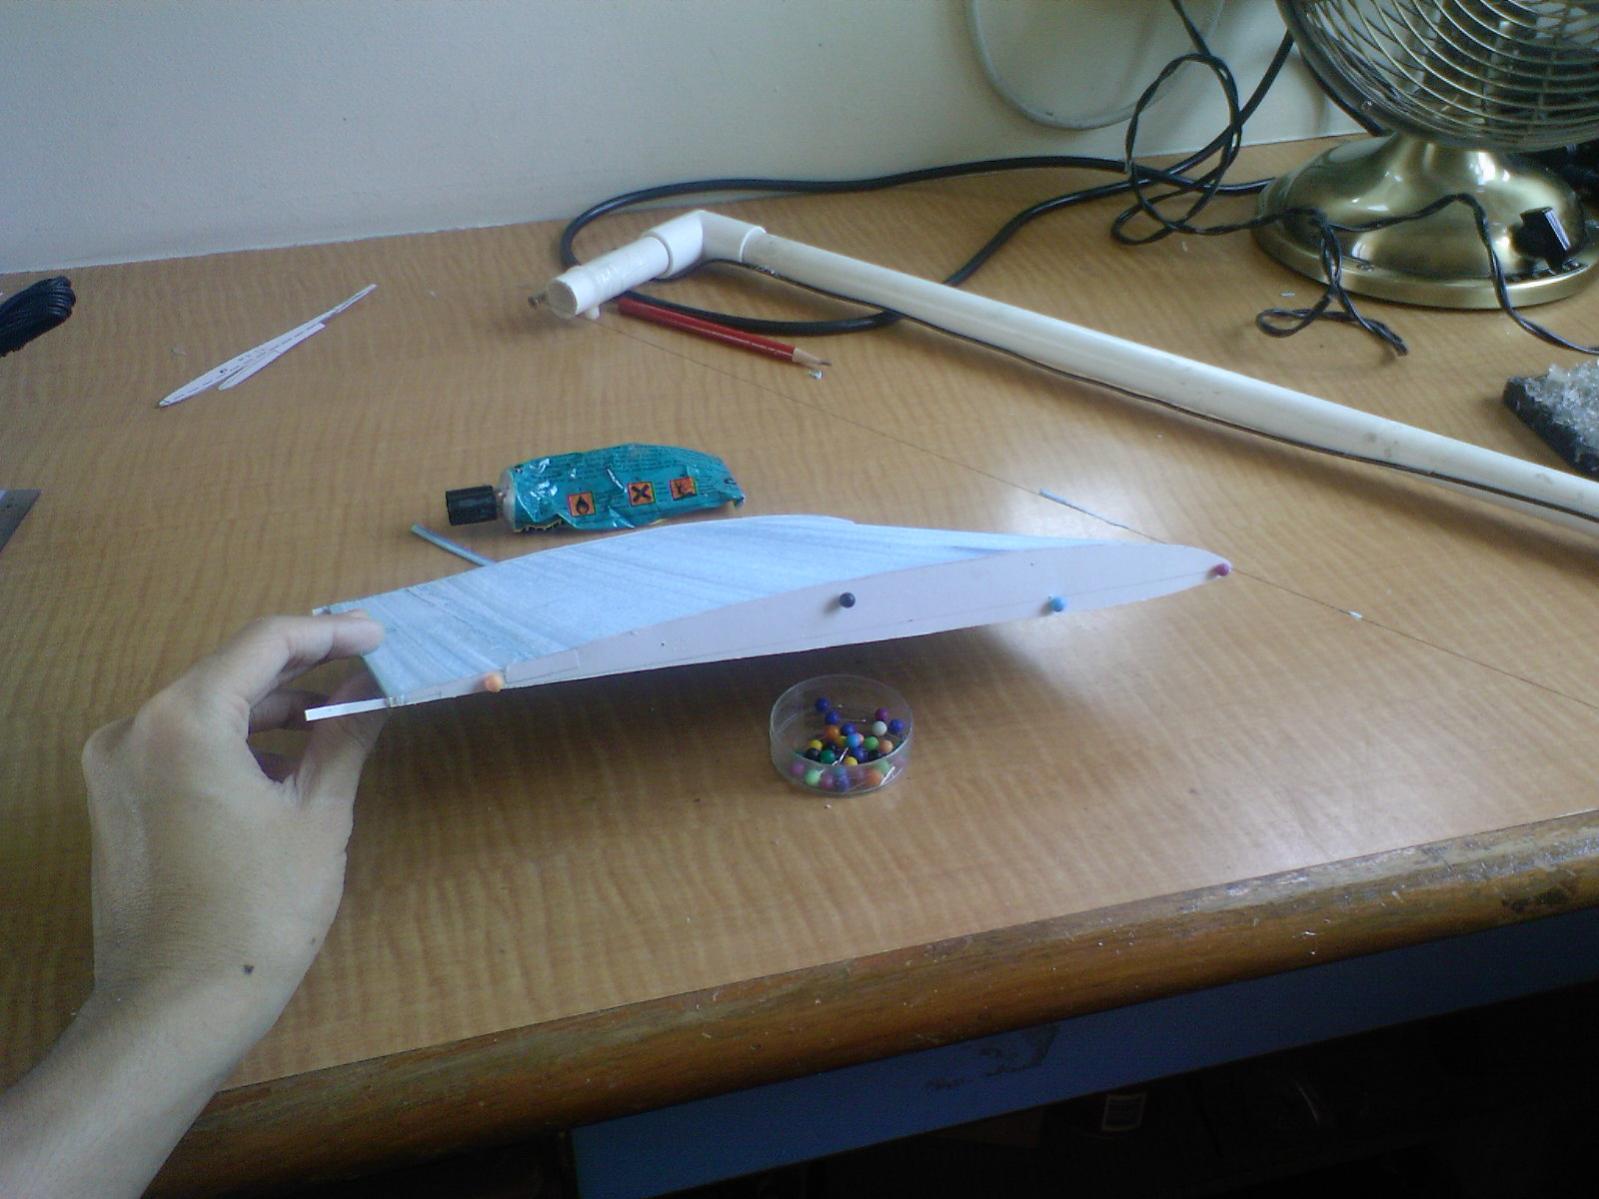
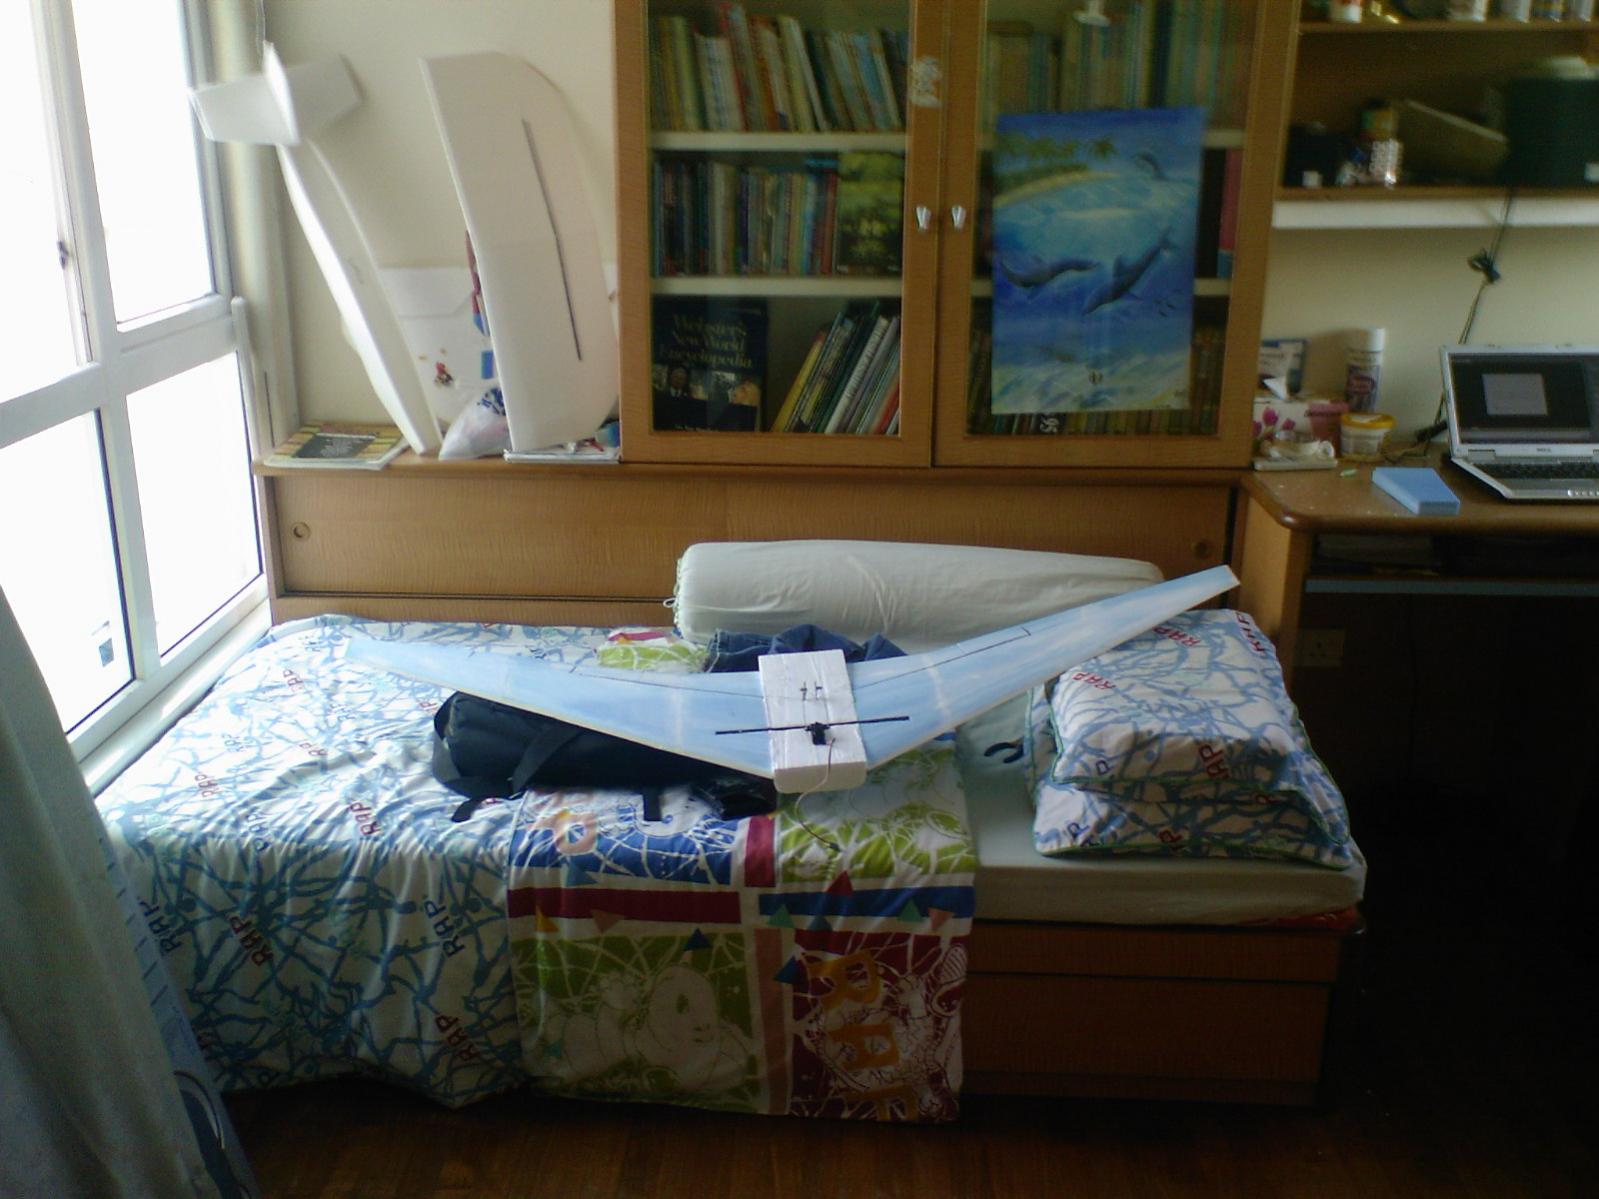
    I won't mod it into a twin ducted for several reasons, firstly it will cost me 2months of school money savings to get 2 ducted fans and 2 escs , Secondly i want to try out slope soaring as i didn't done that before (its risky to fly the 777 first so i'll build another simple flying wing to practise on )


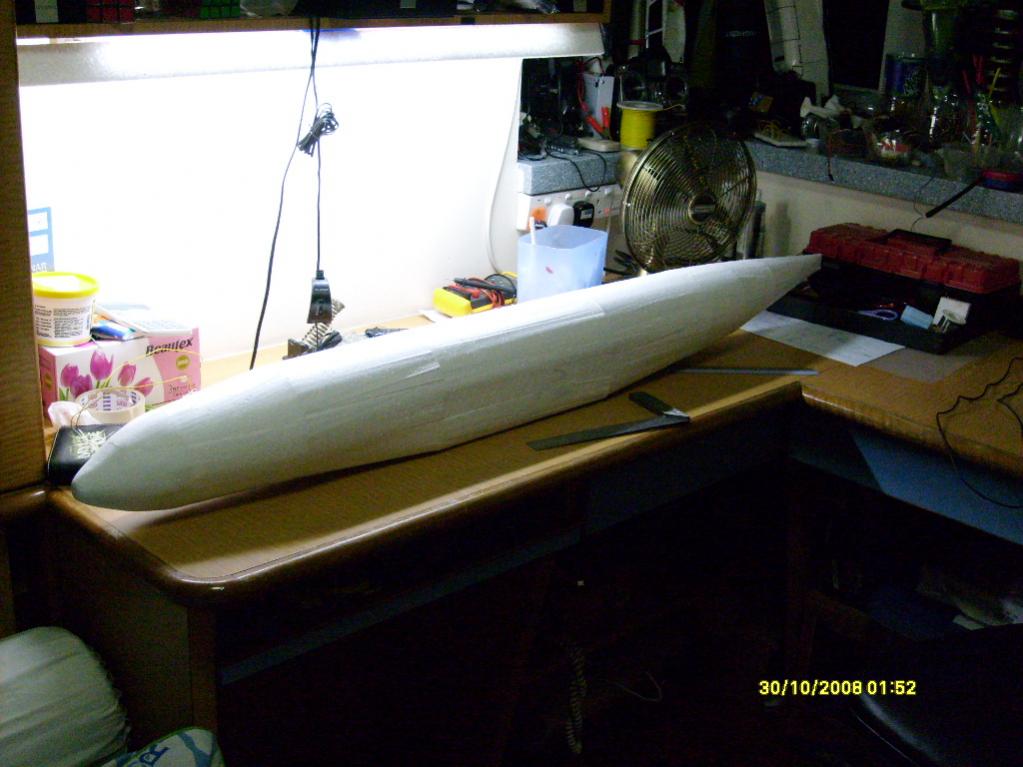
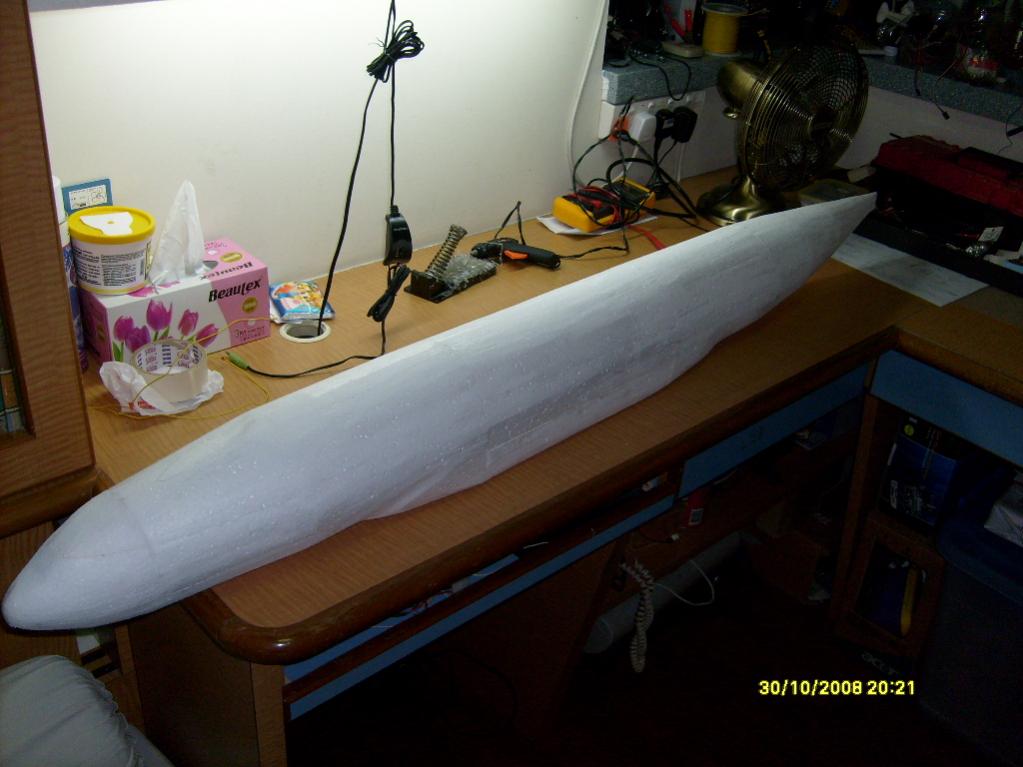
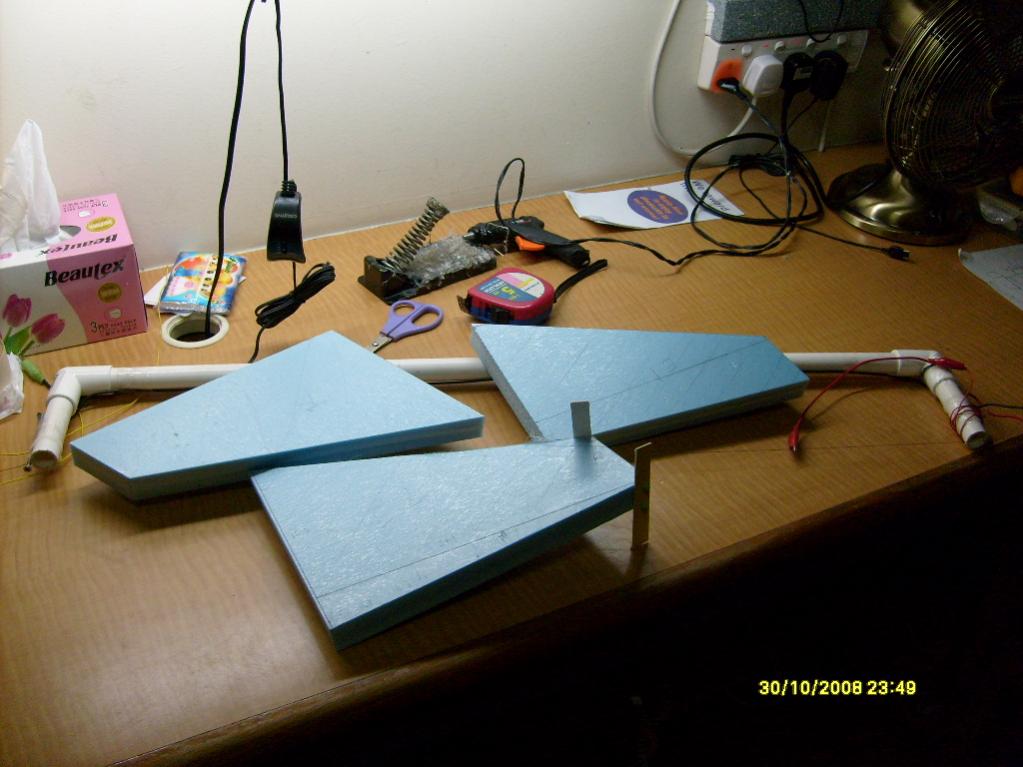
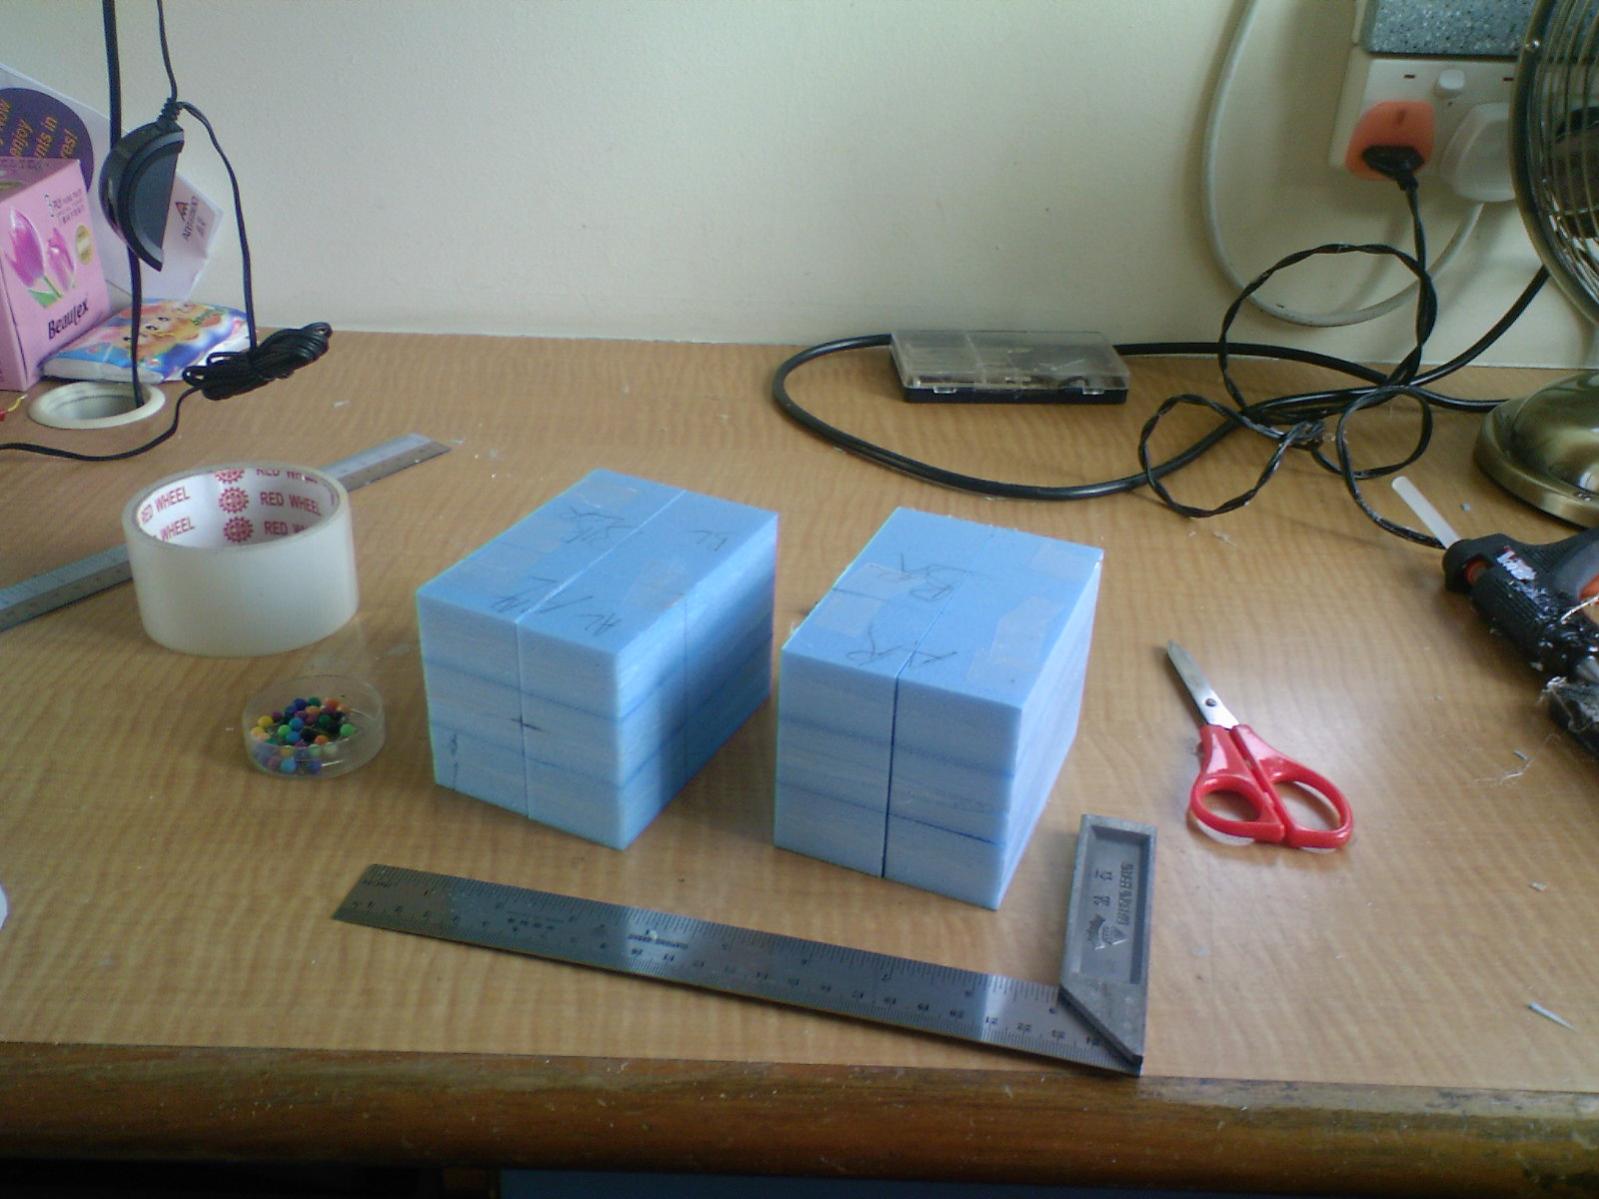
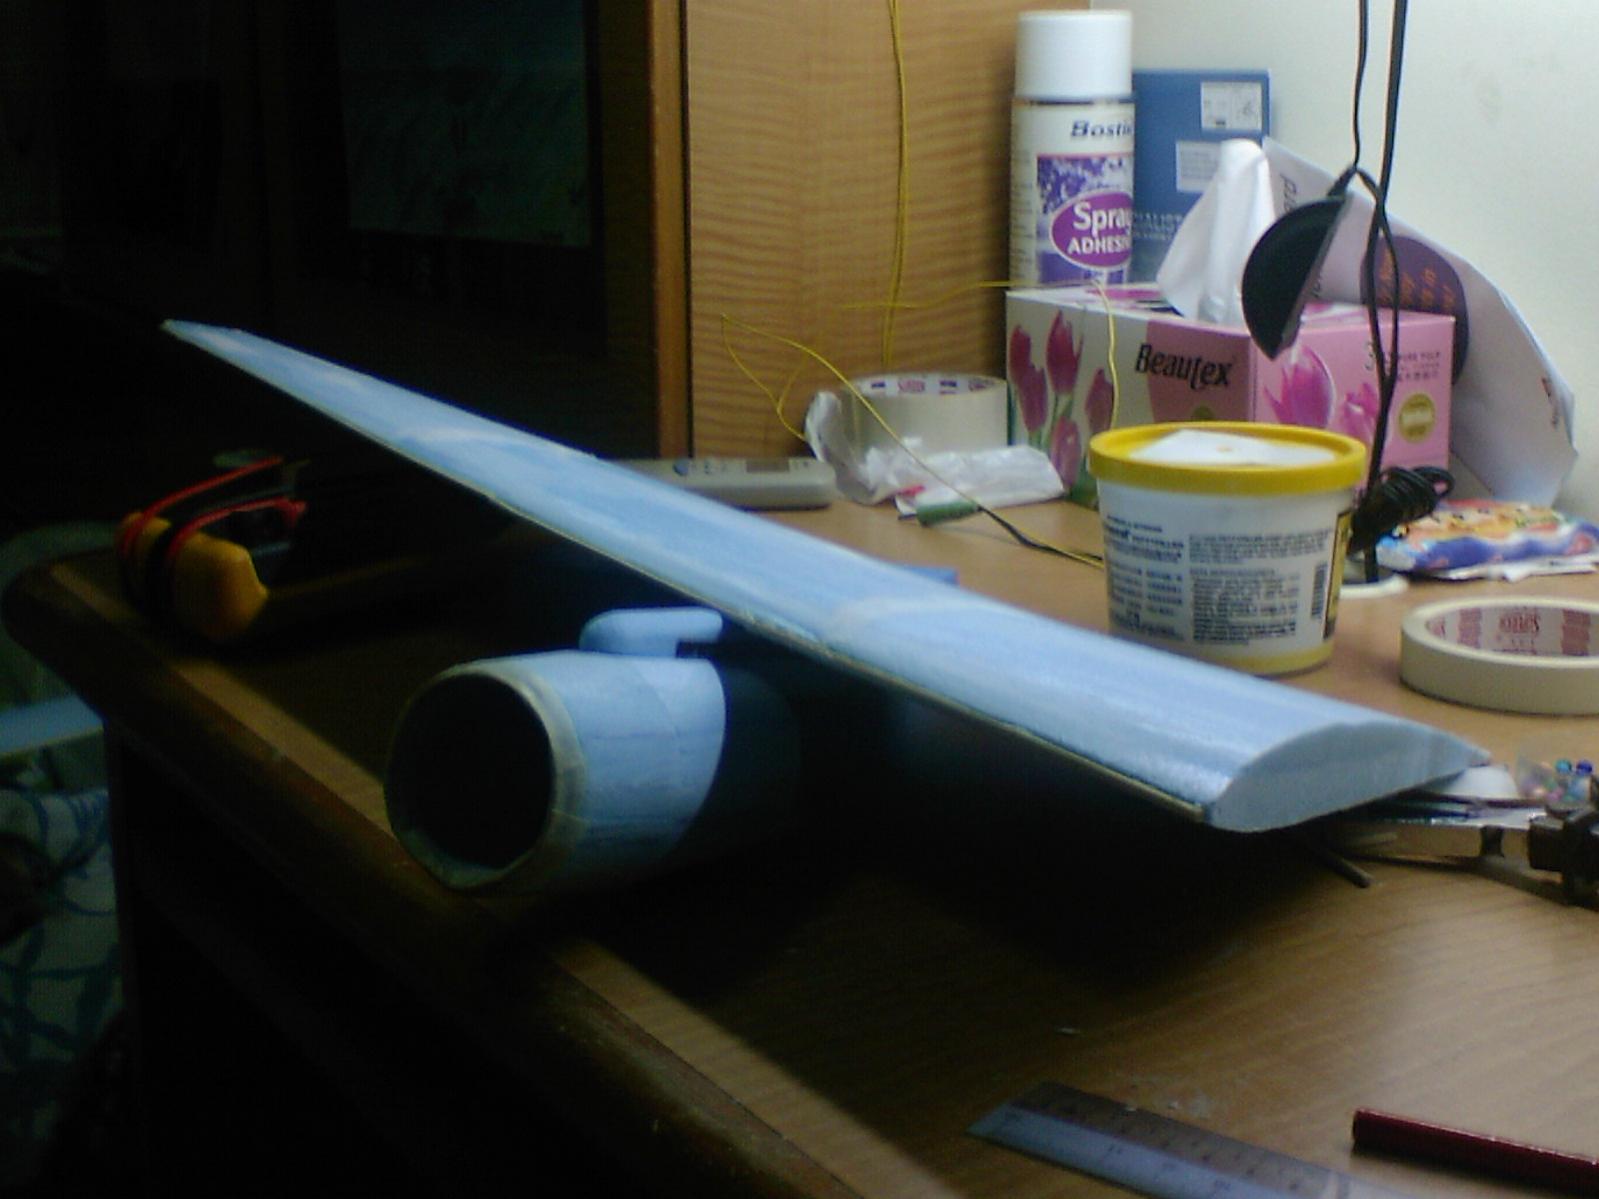
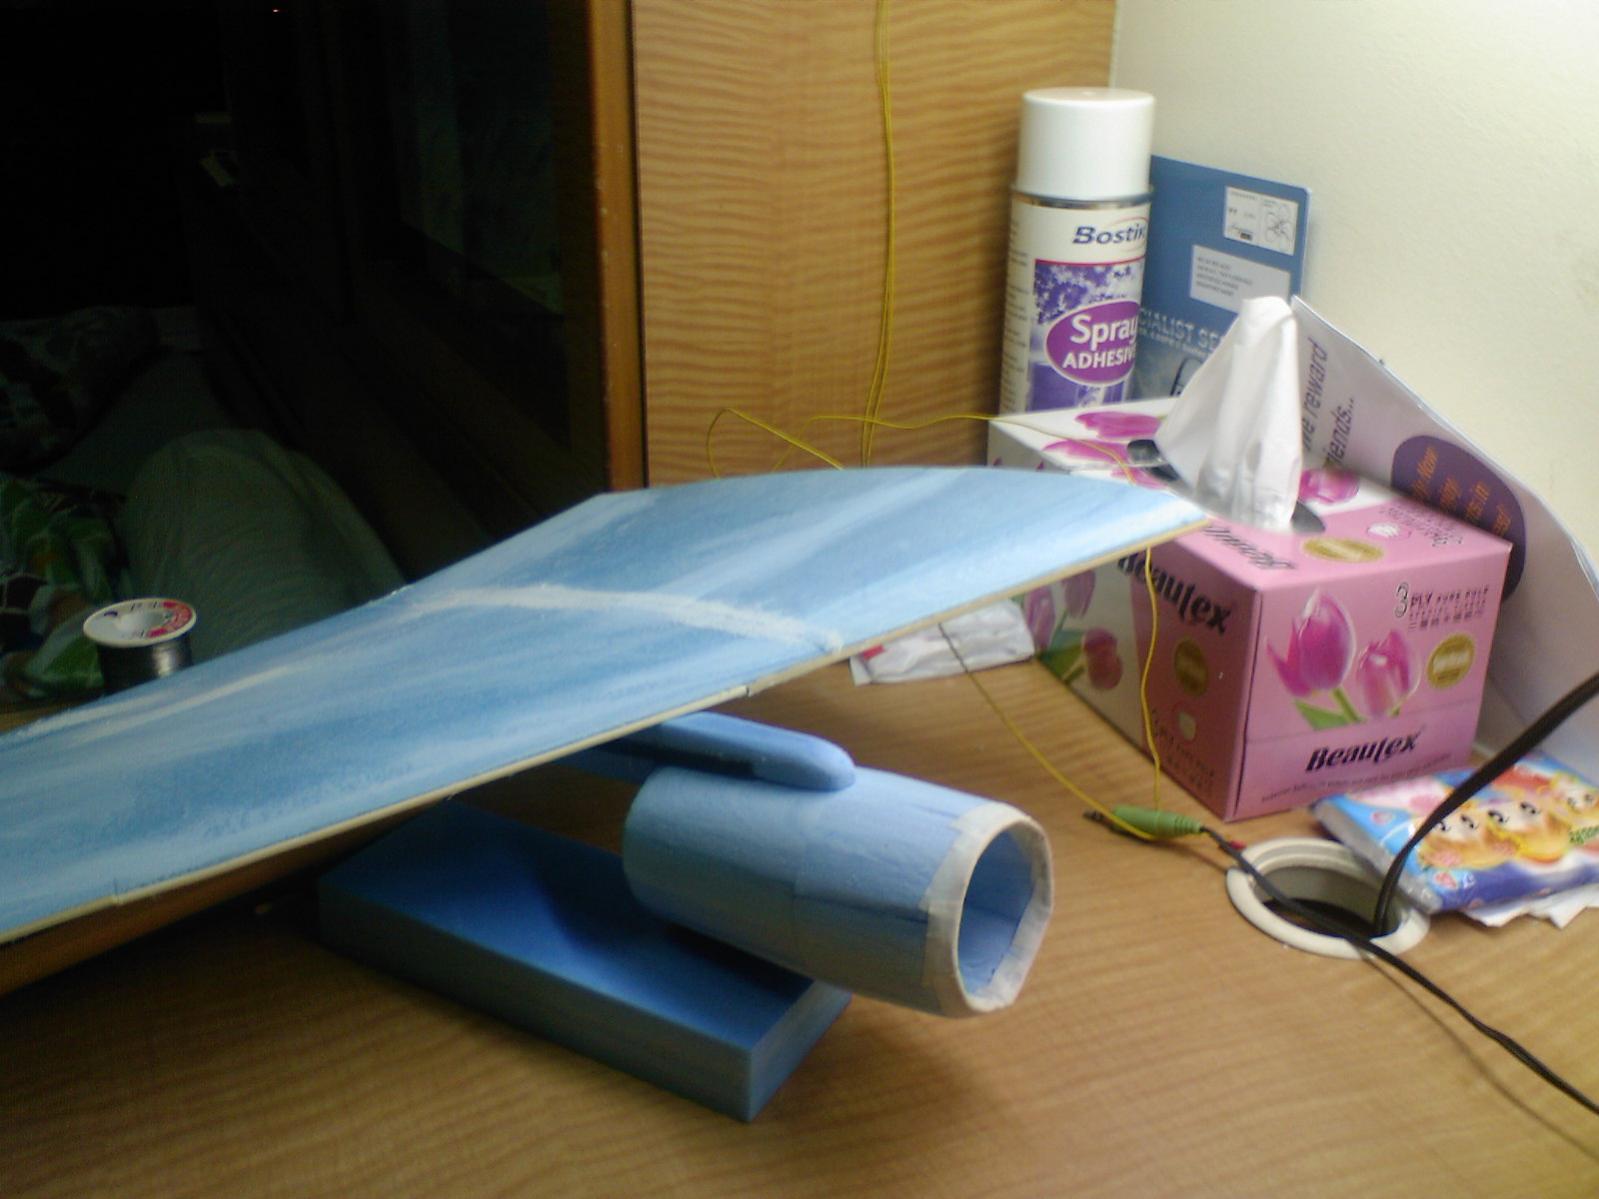
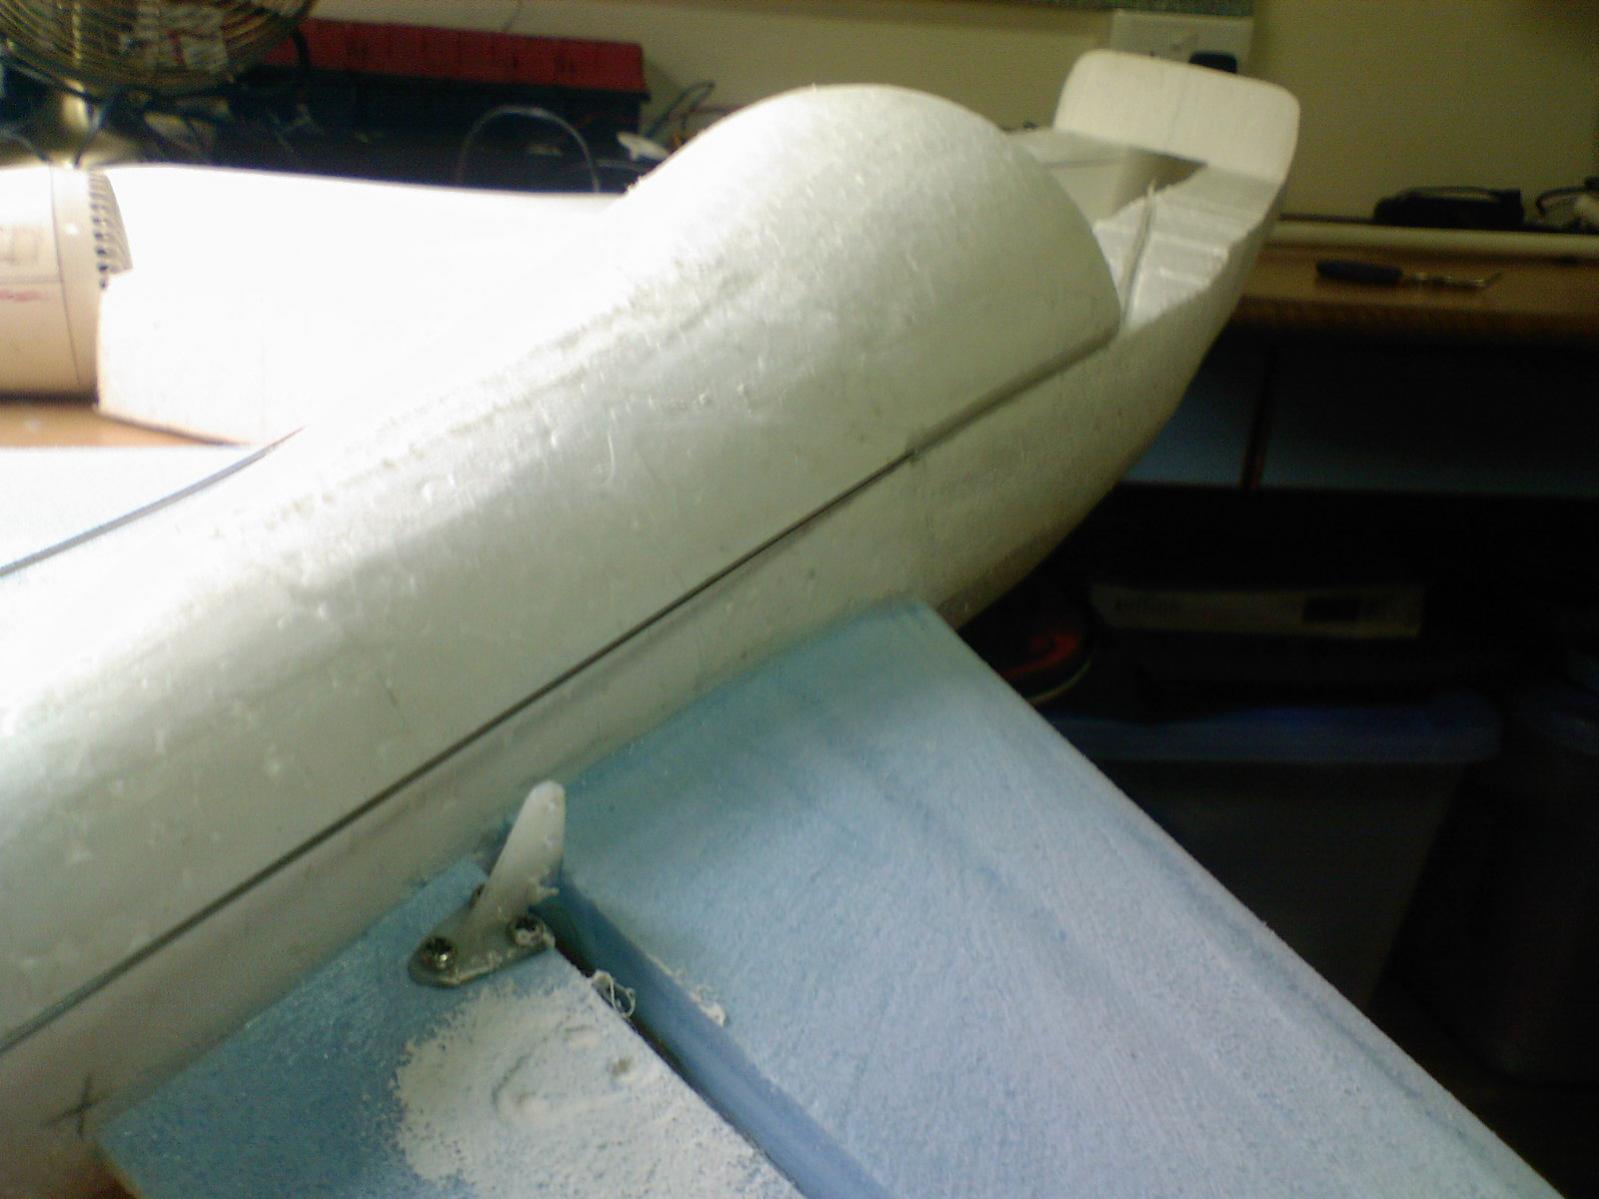
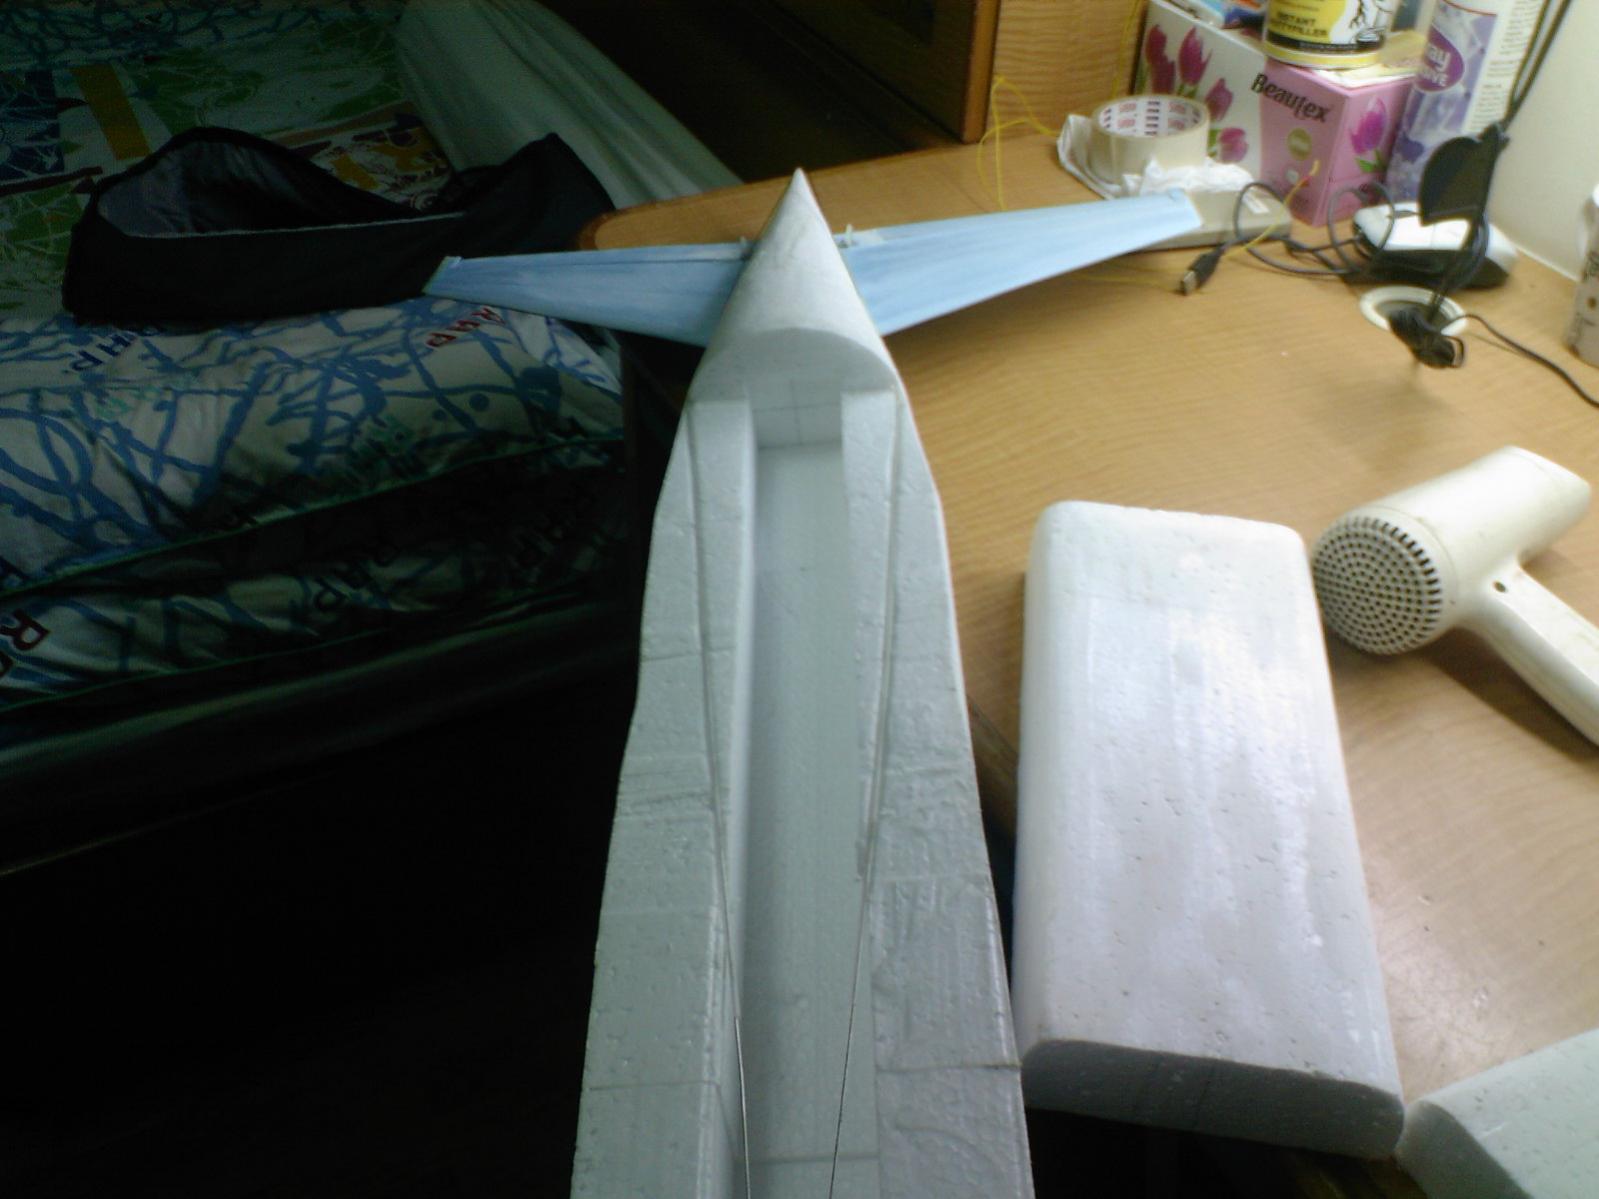
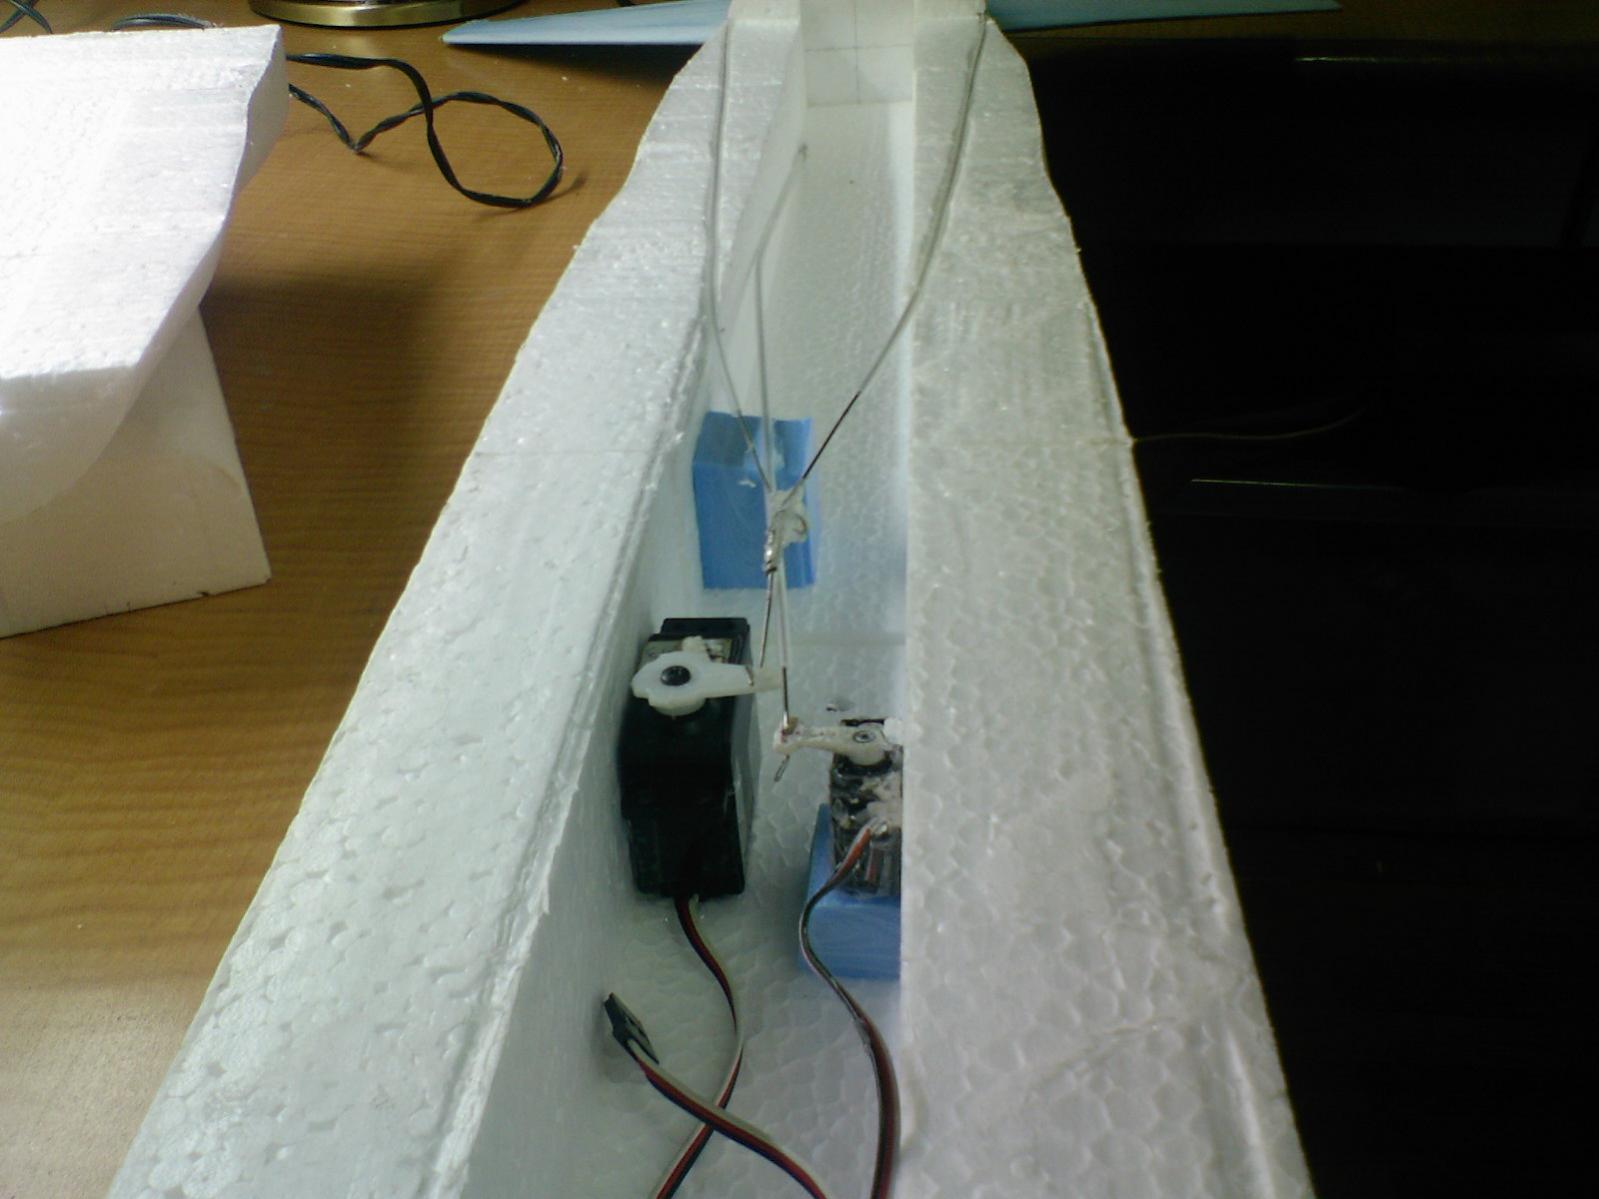
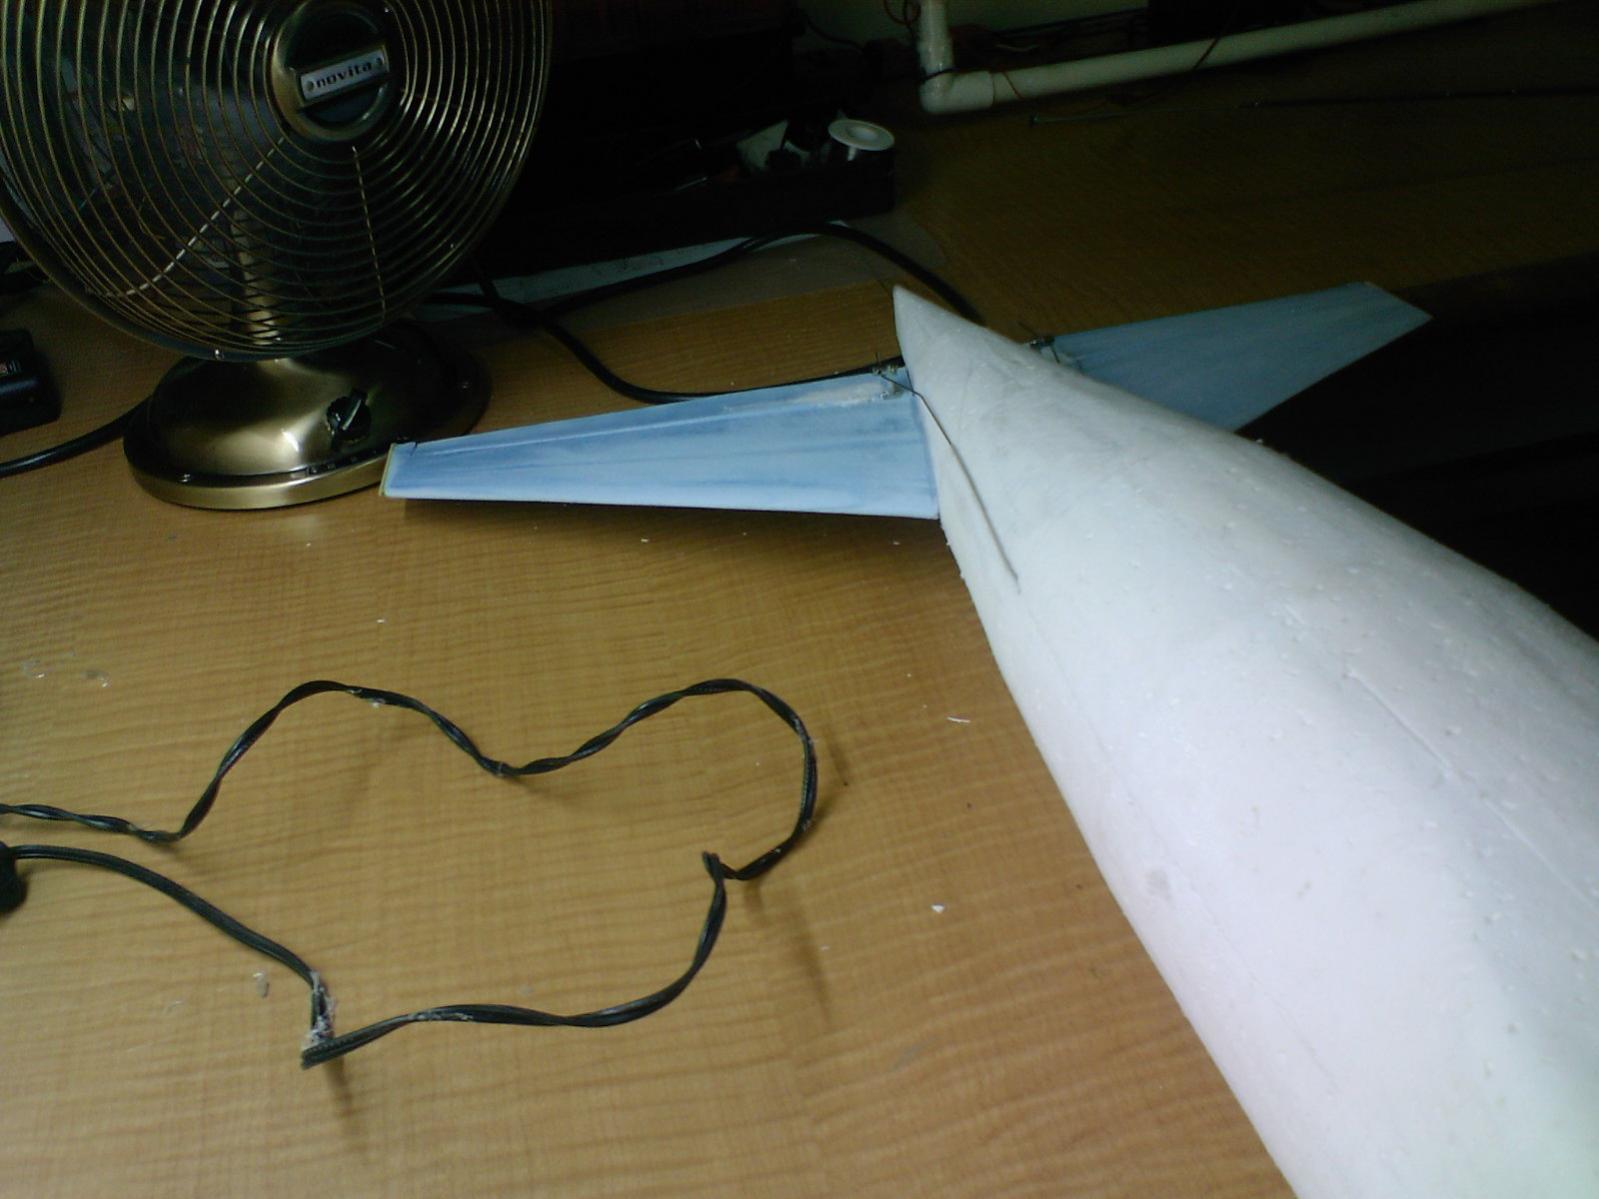
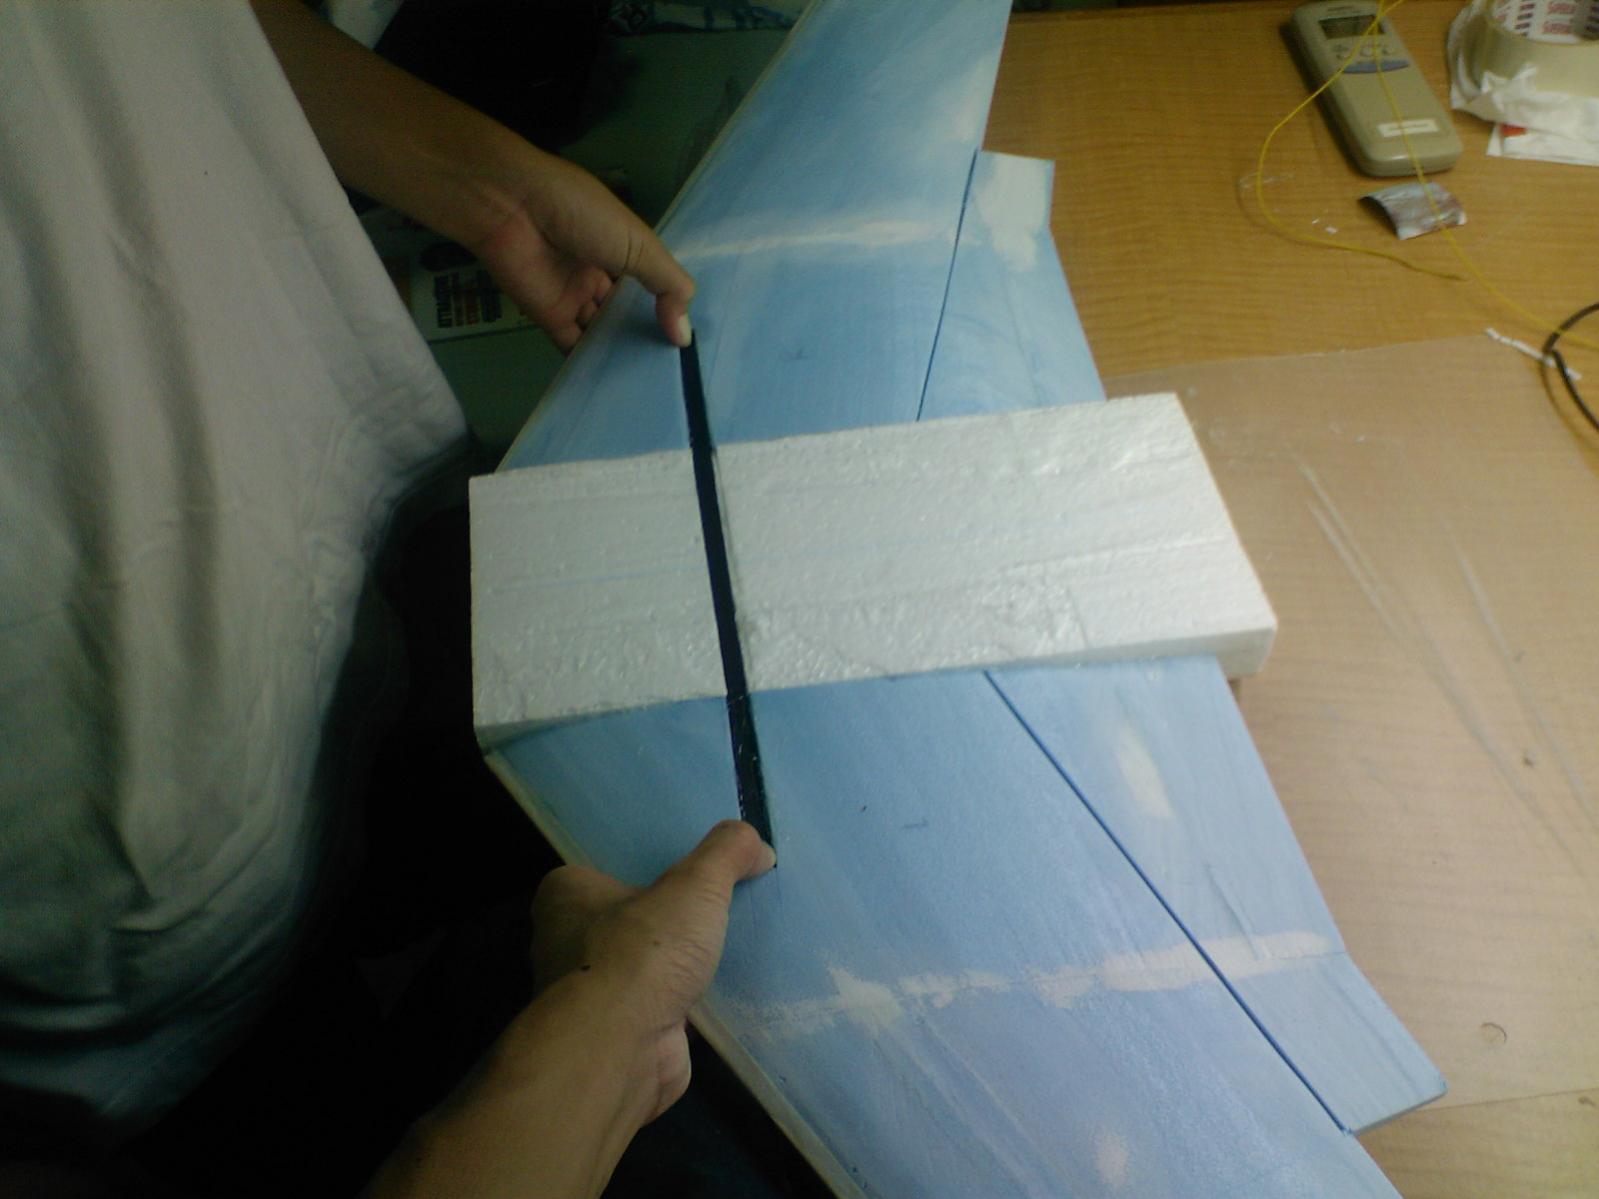
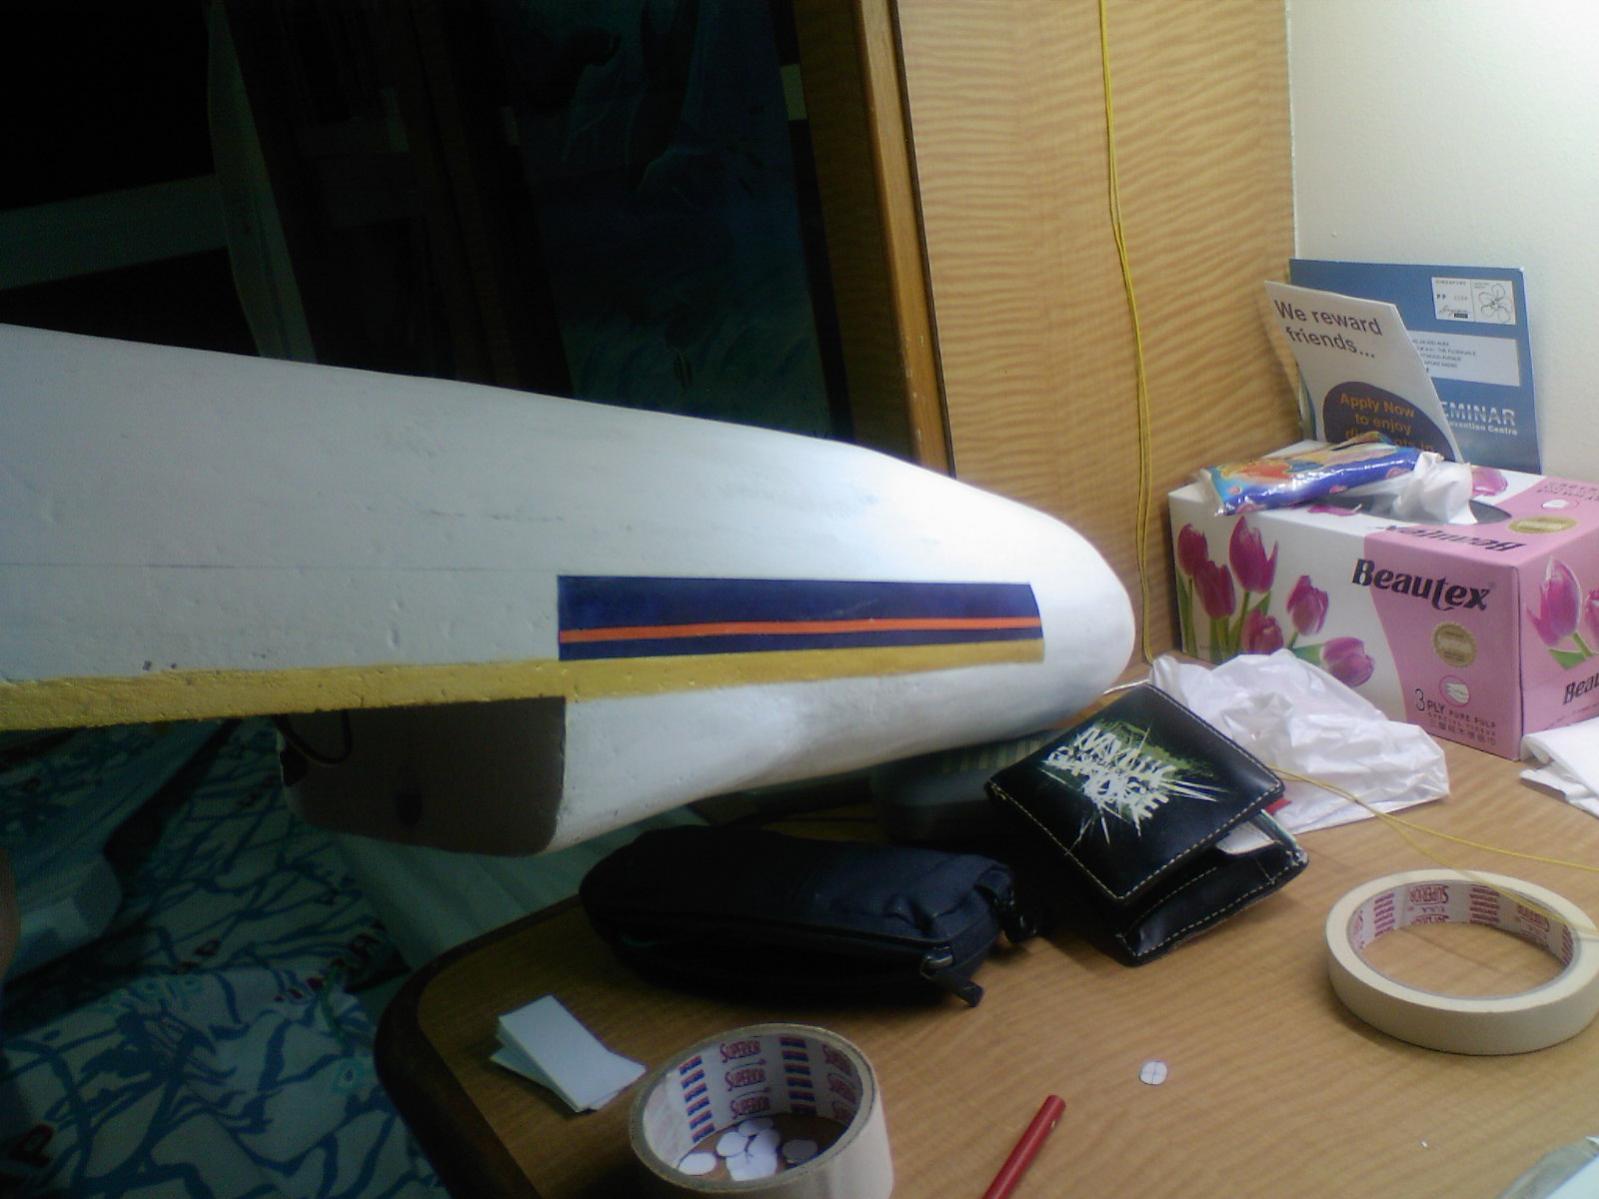
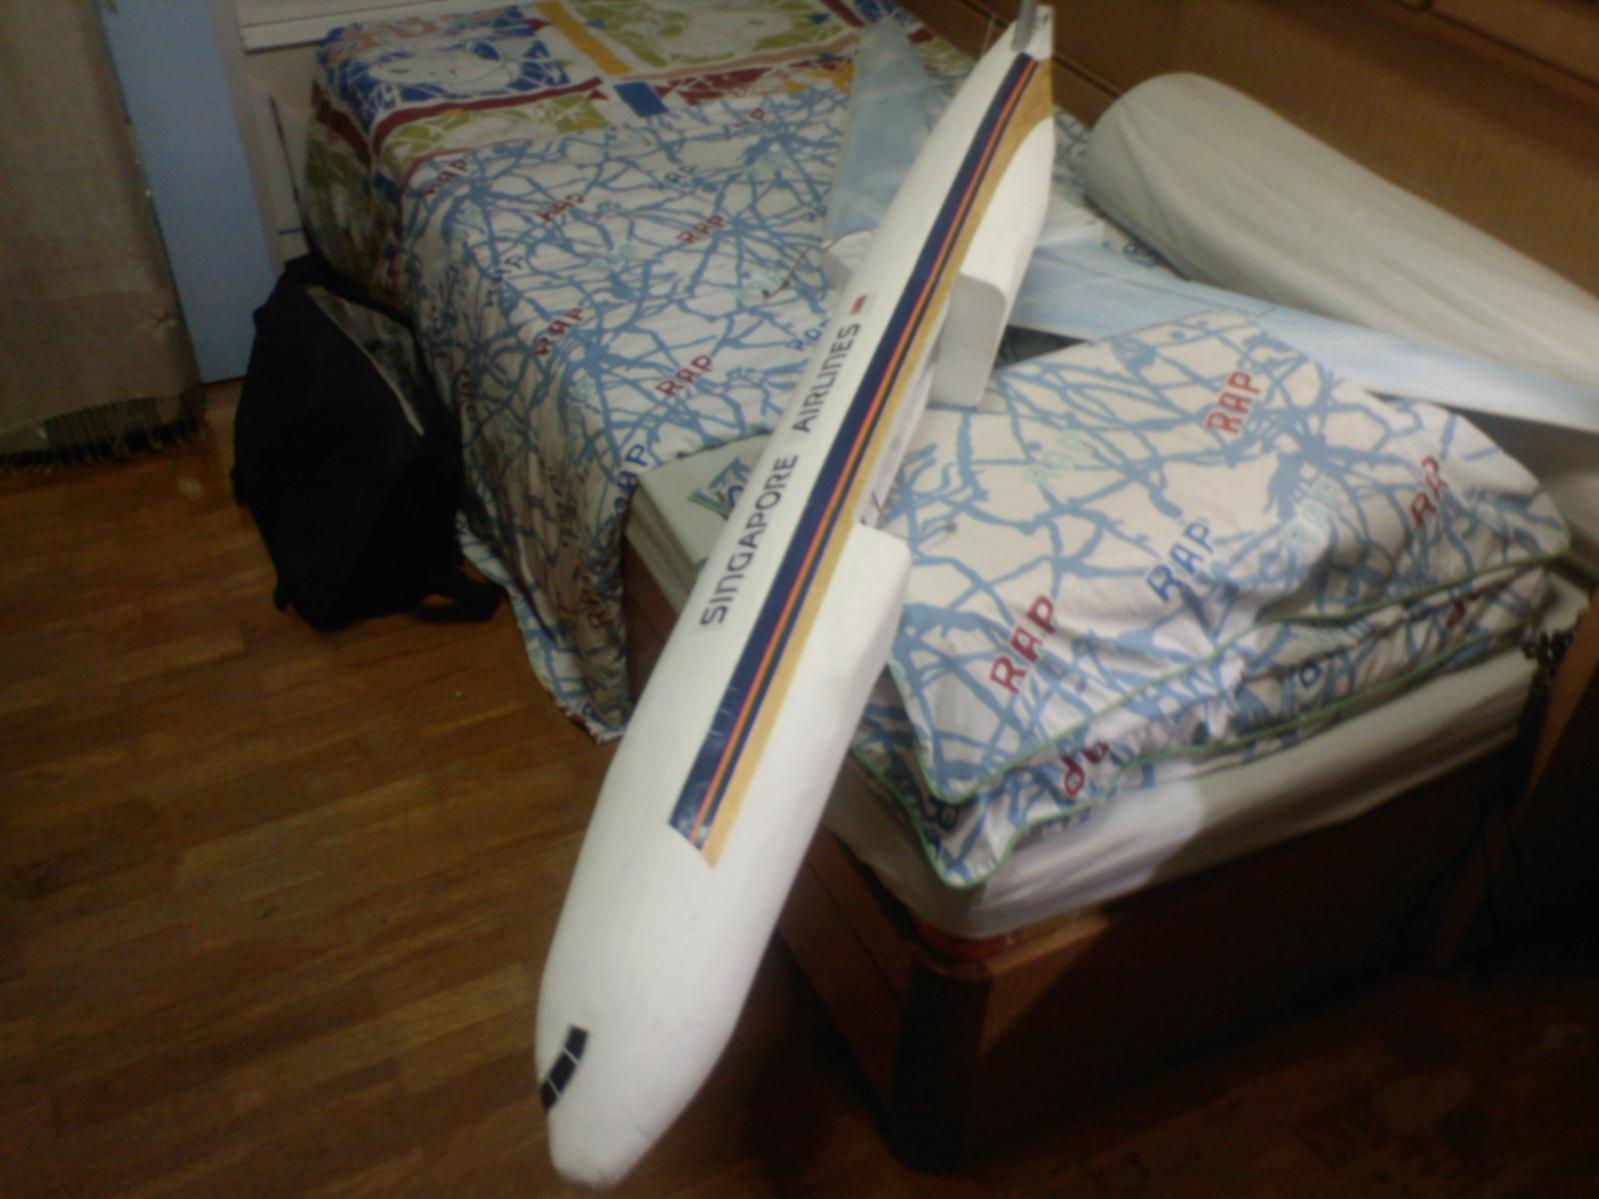
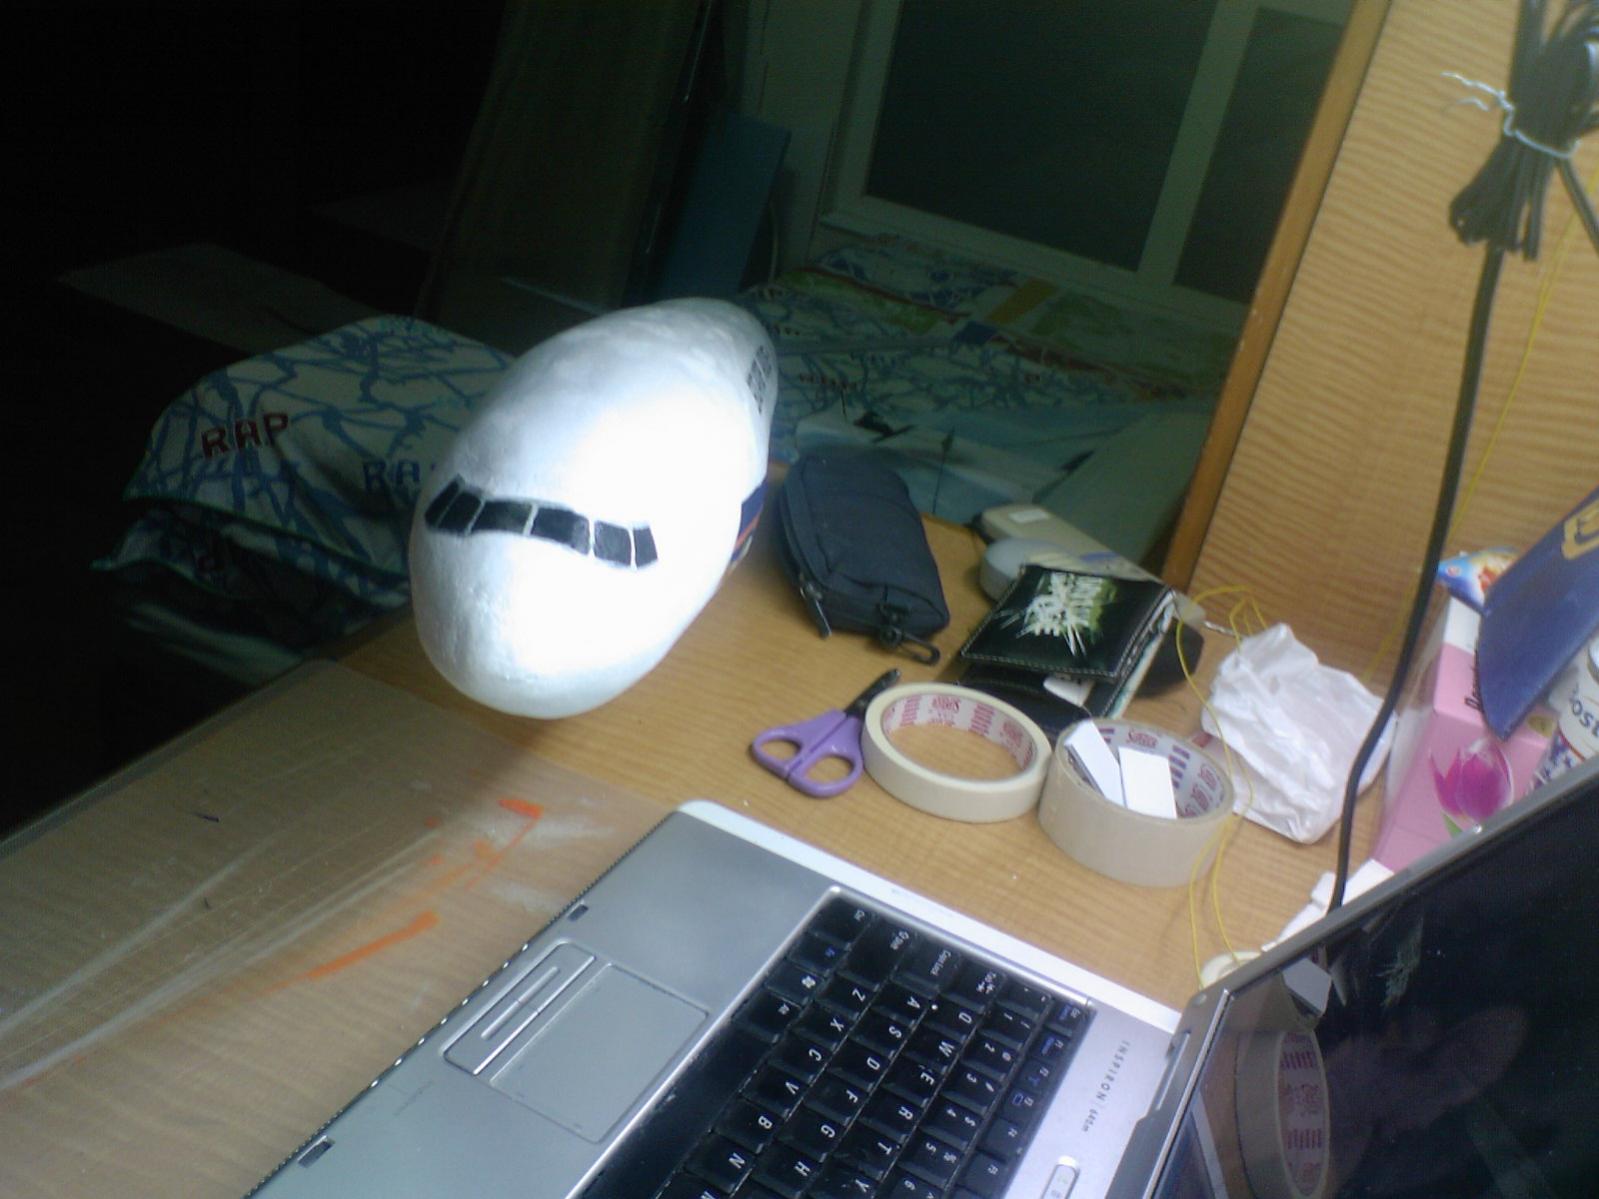
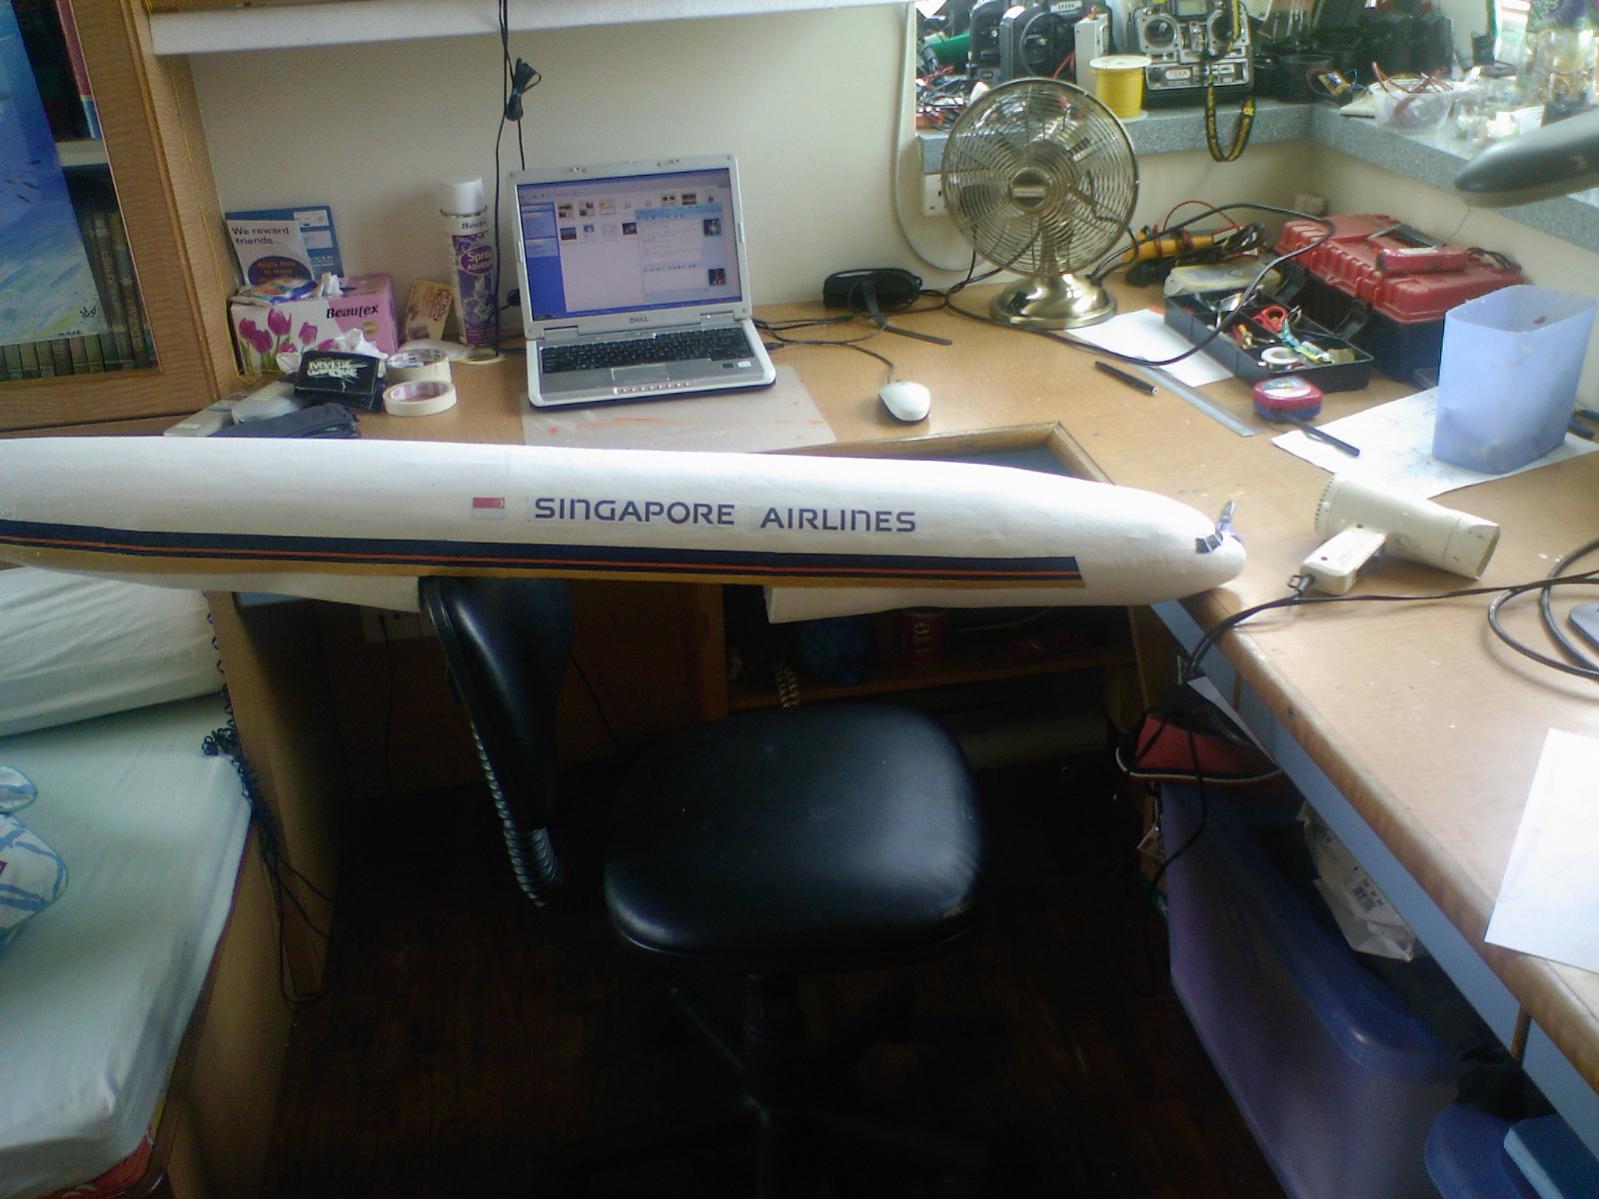
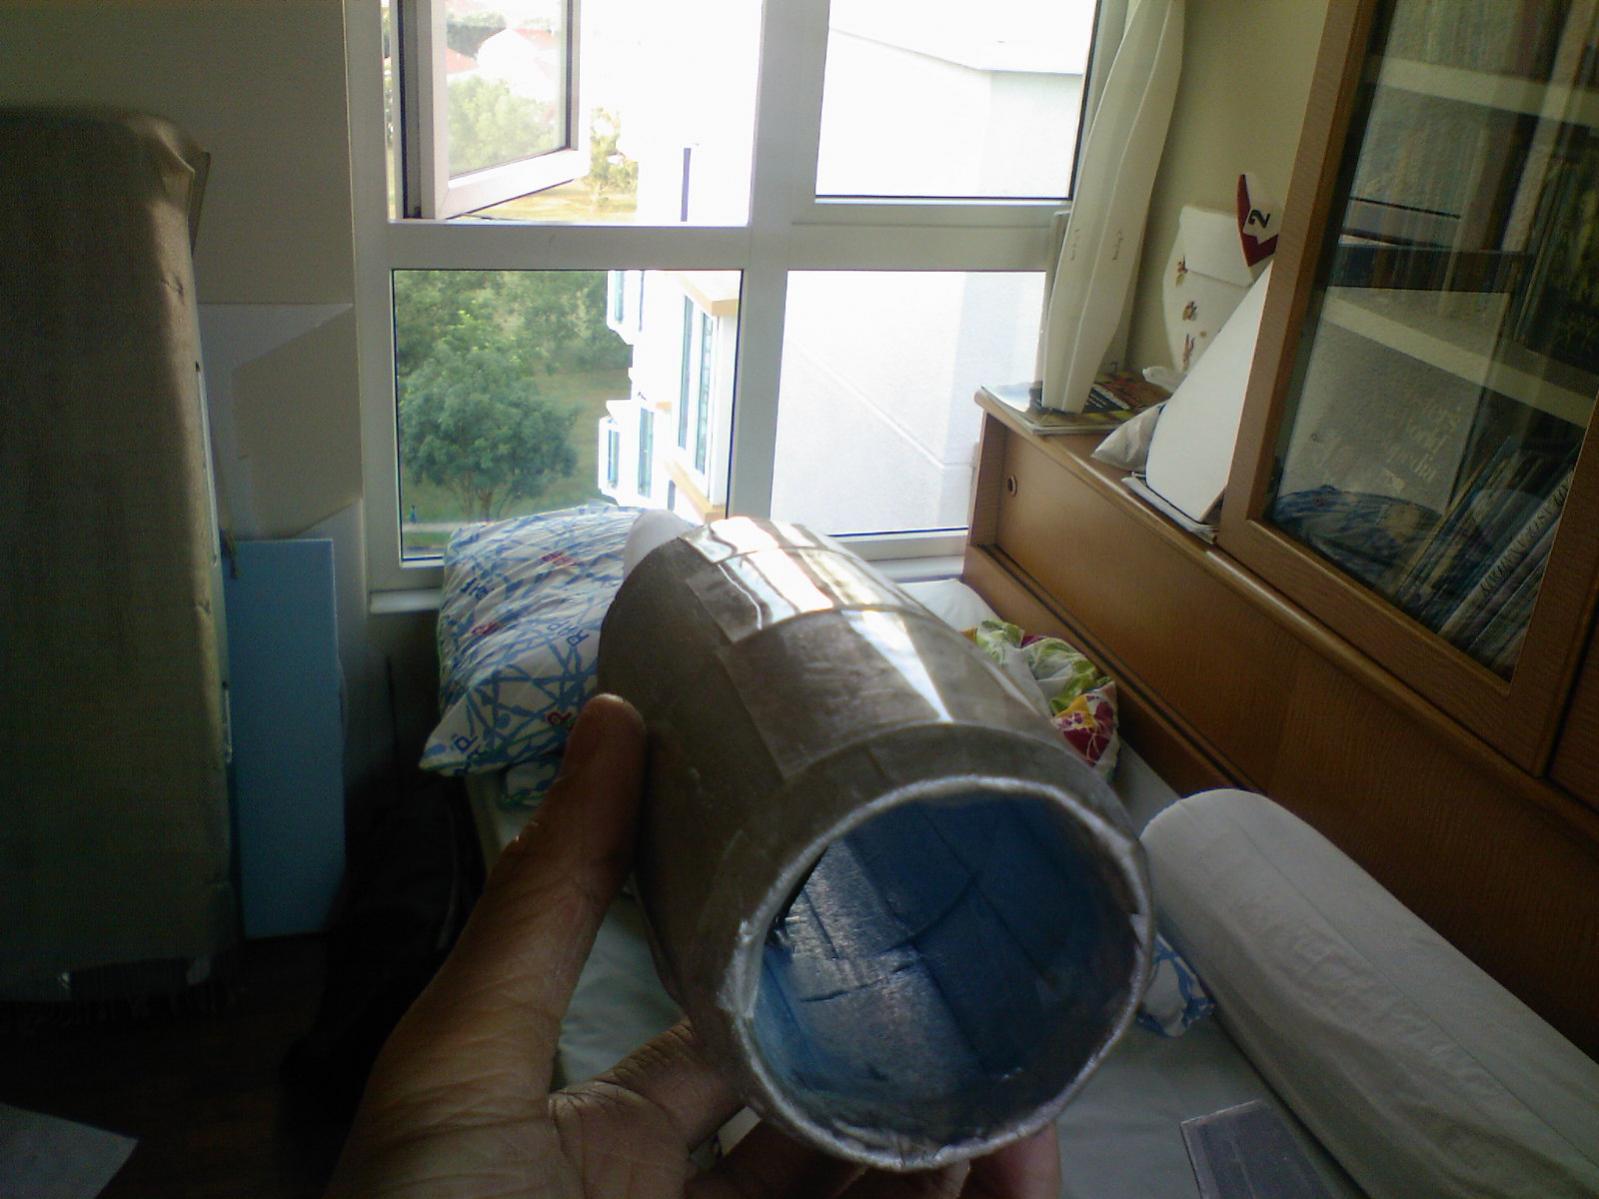
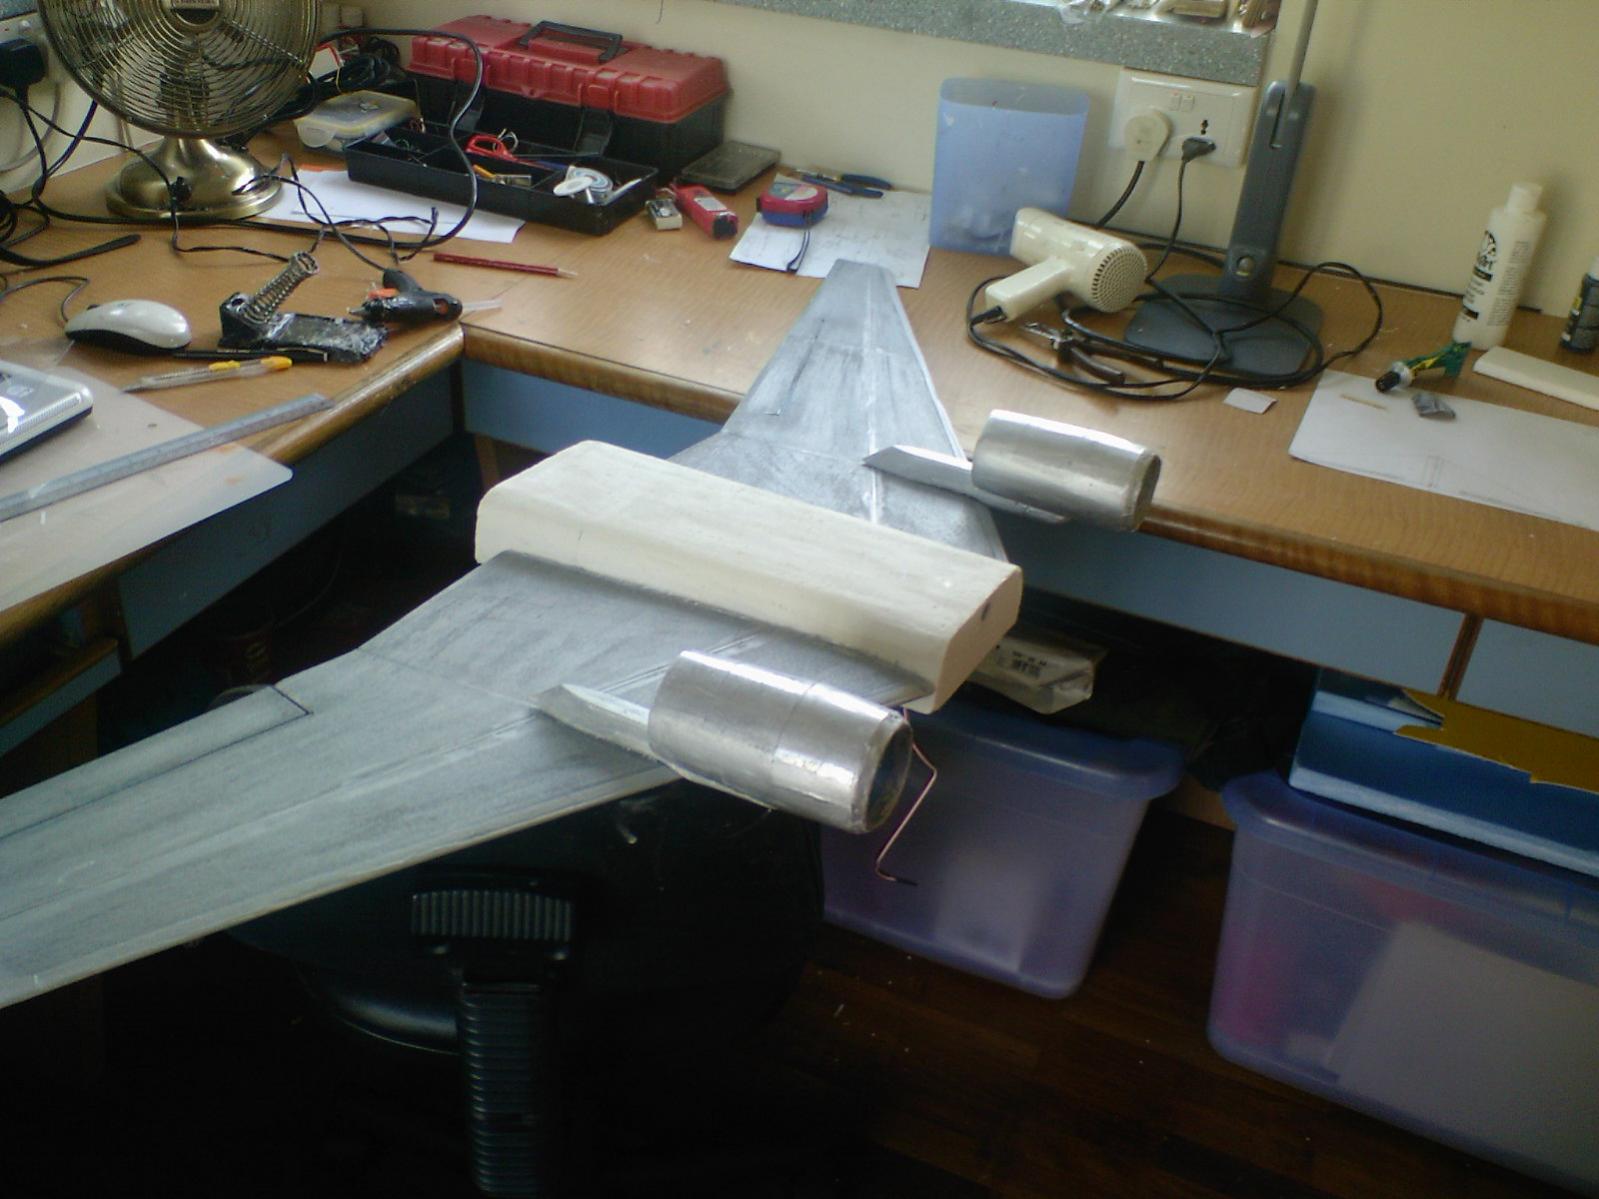
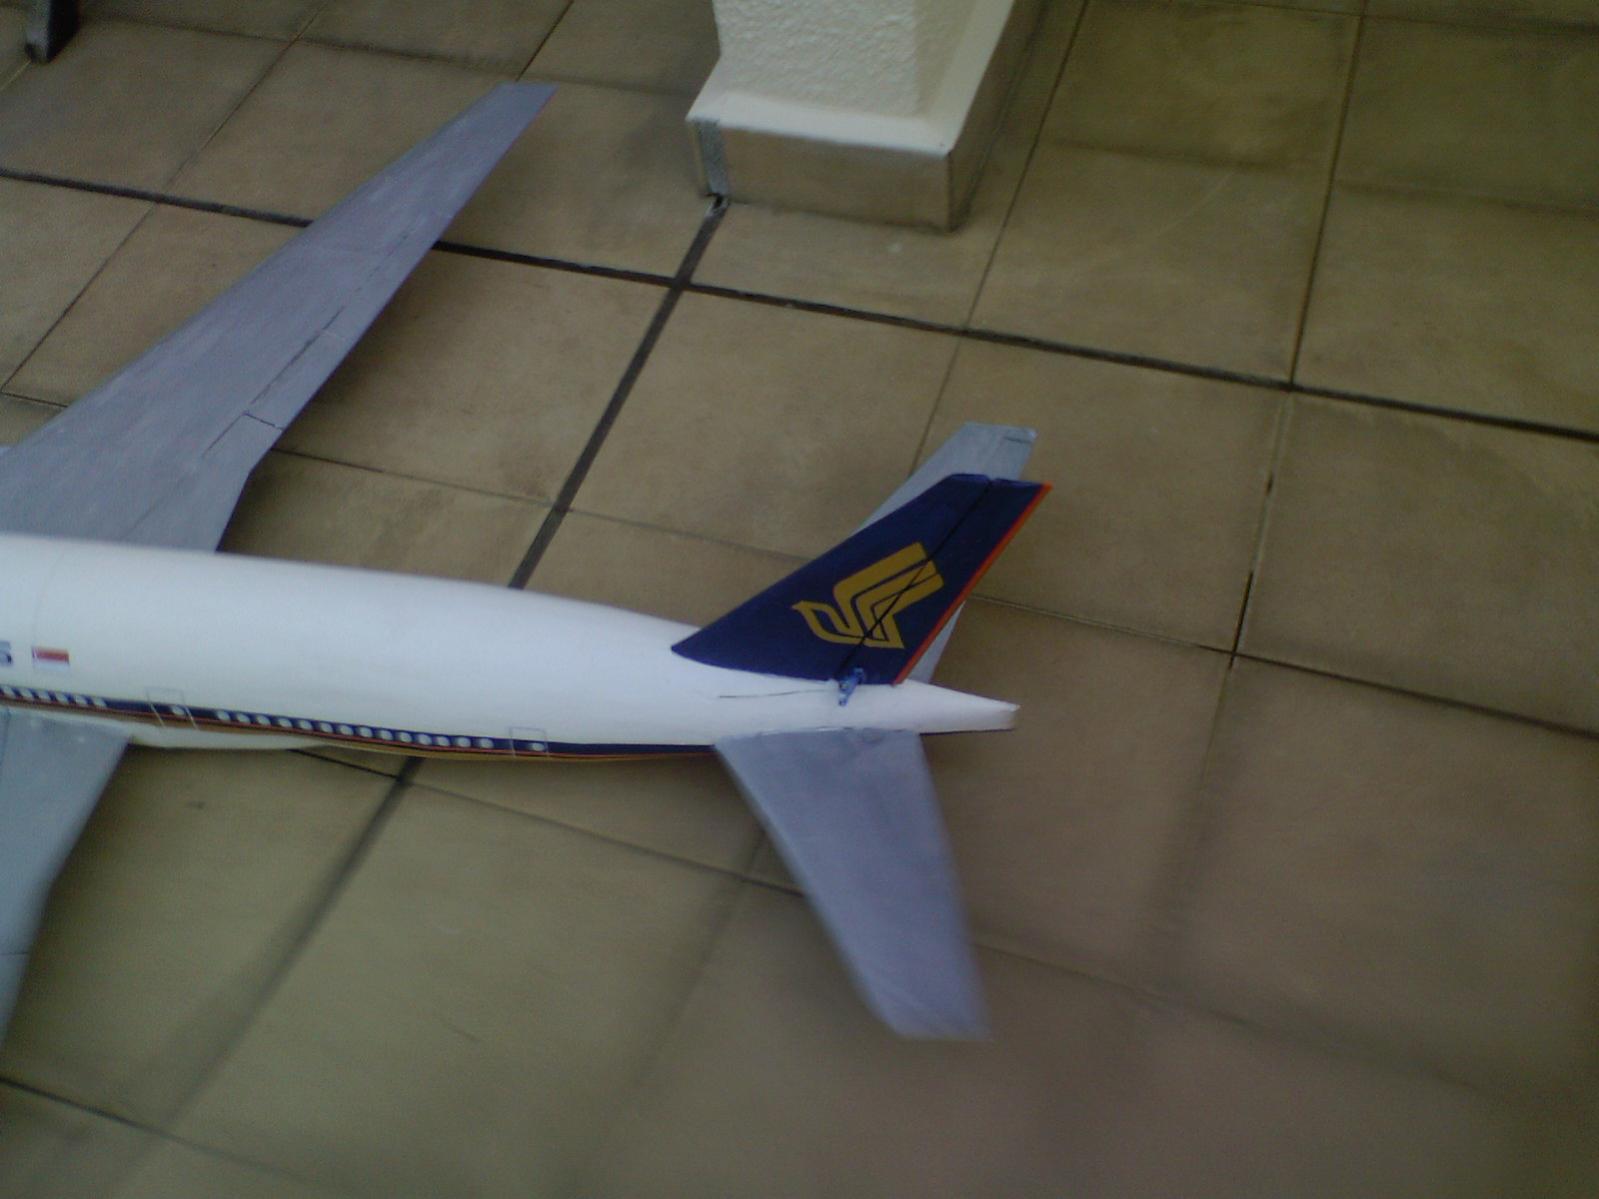
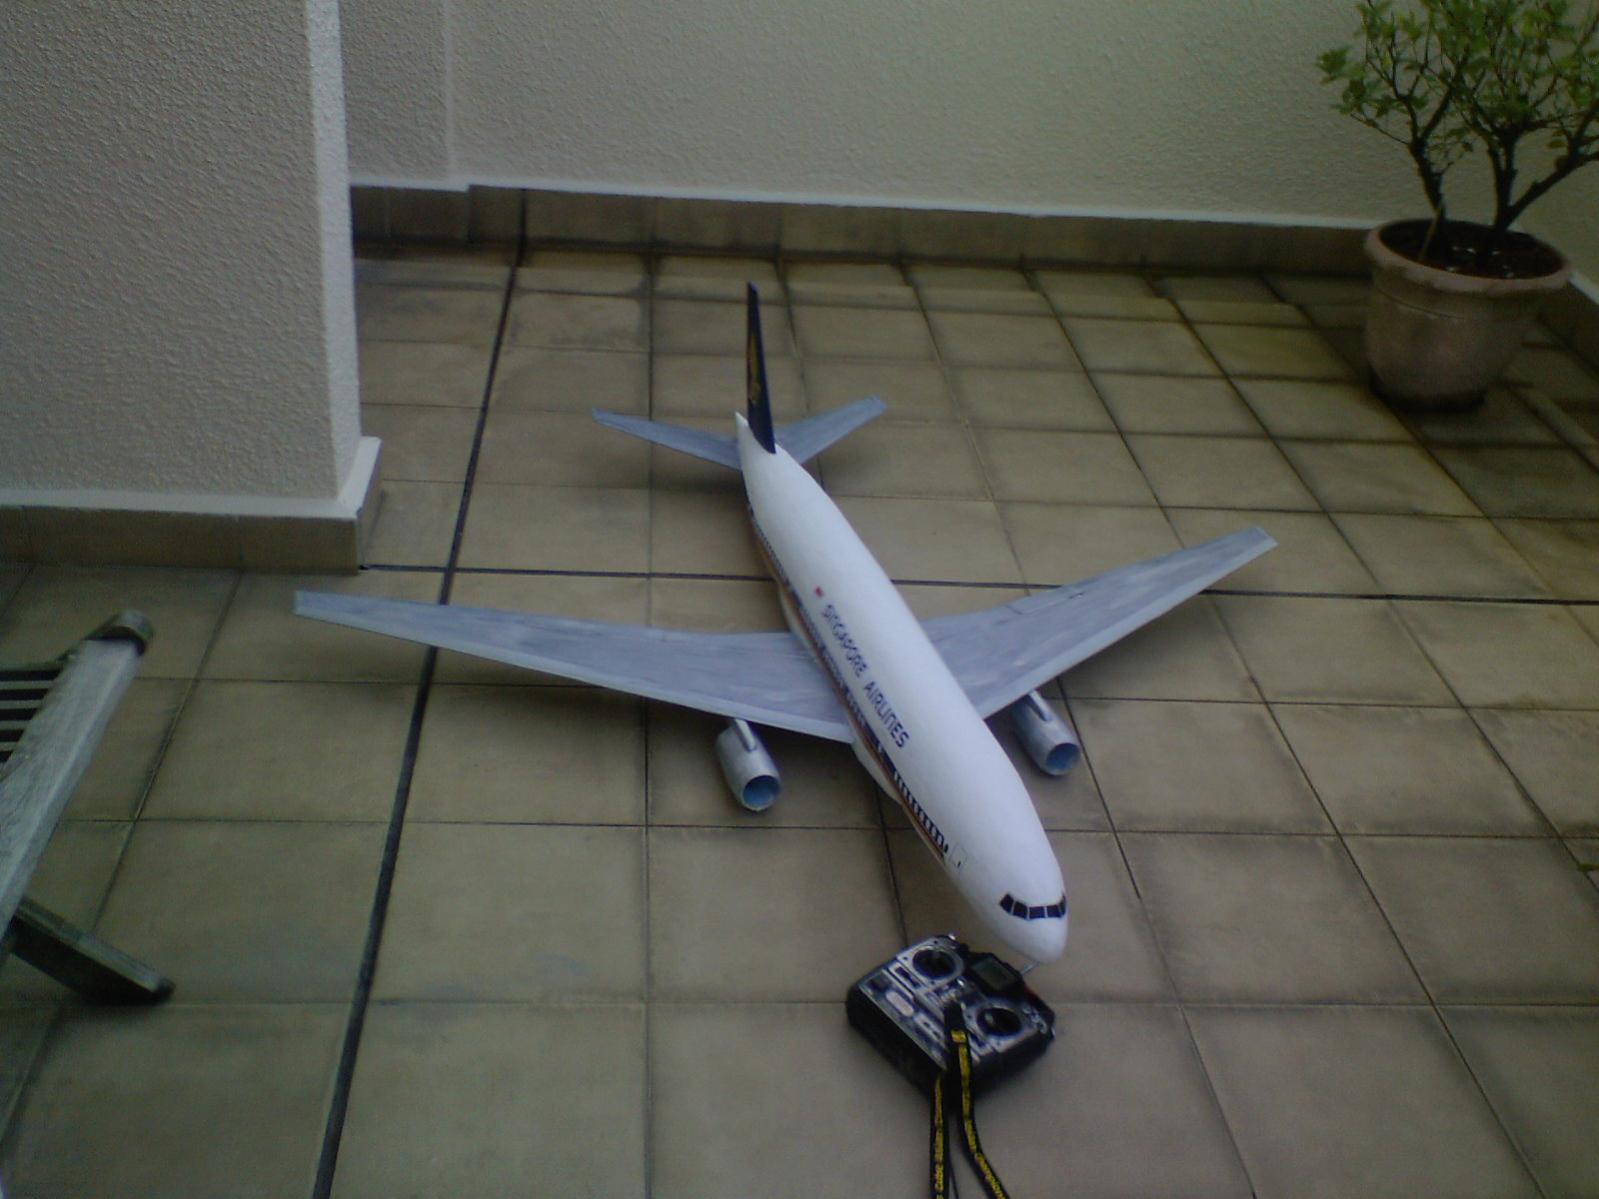
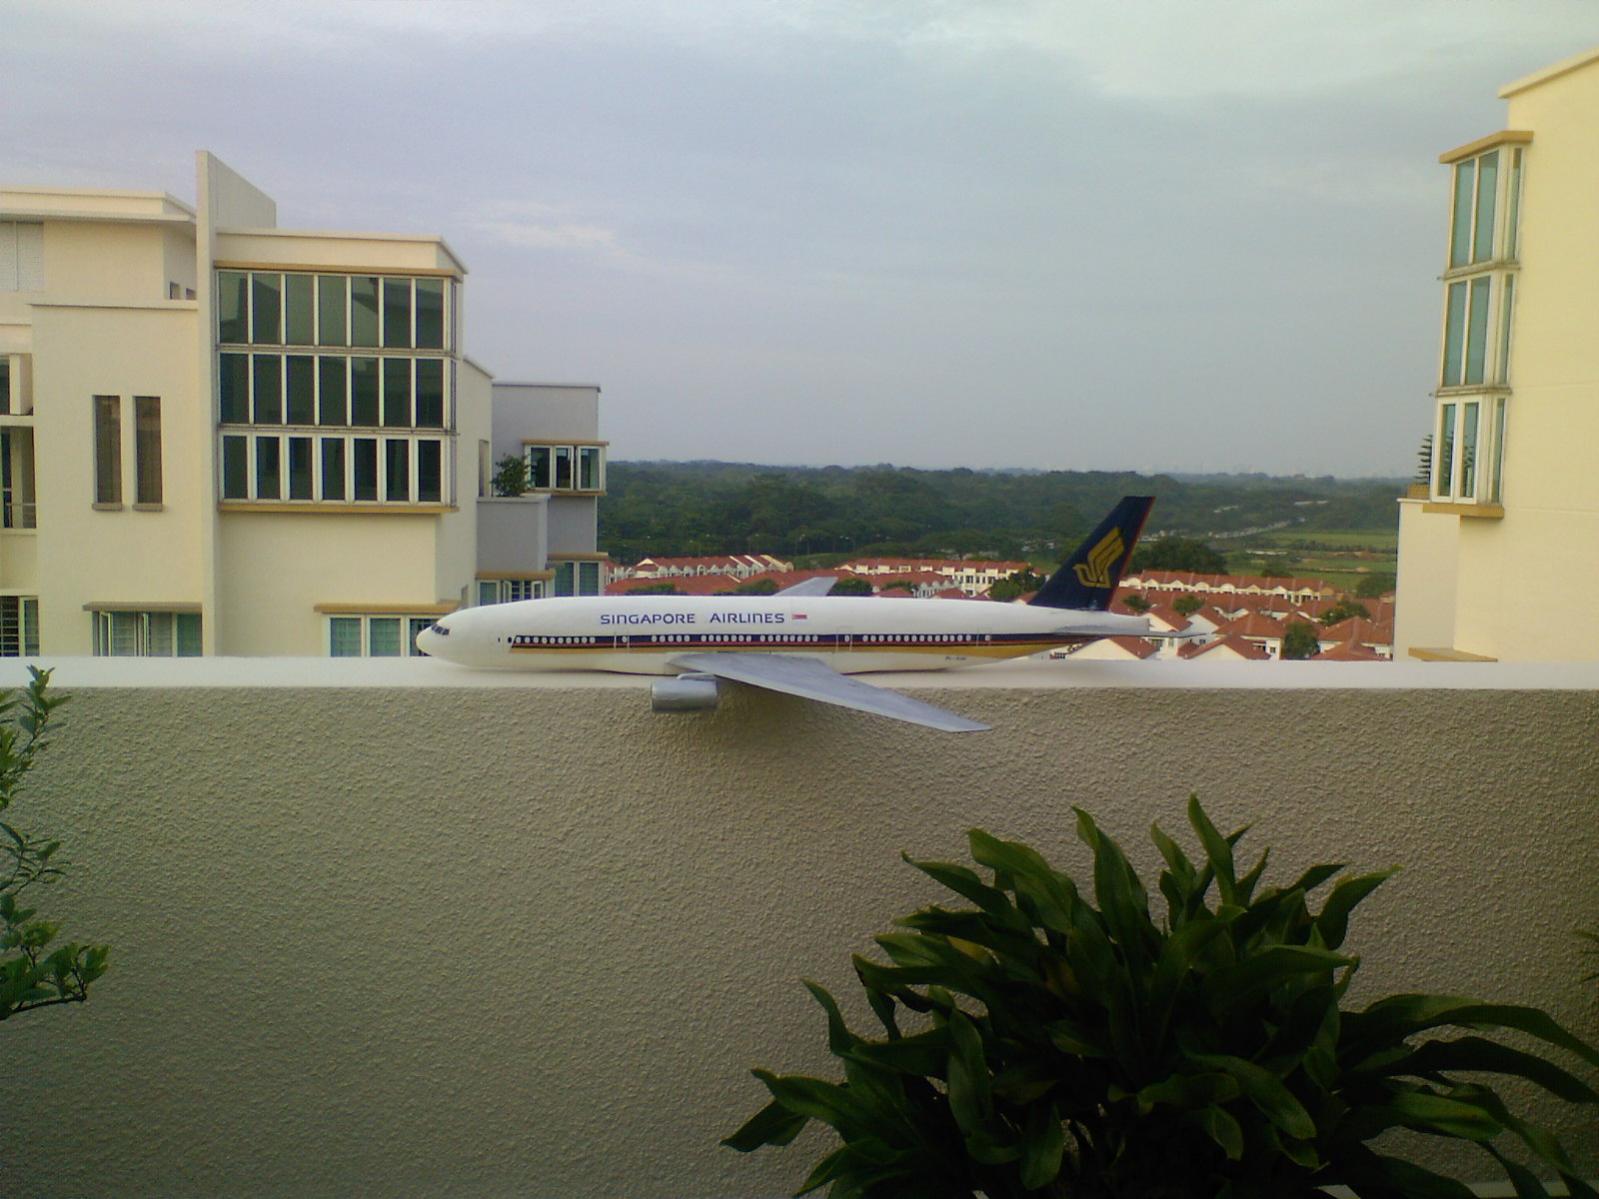
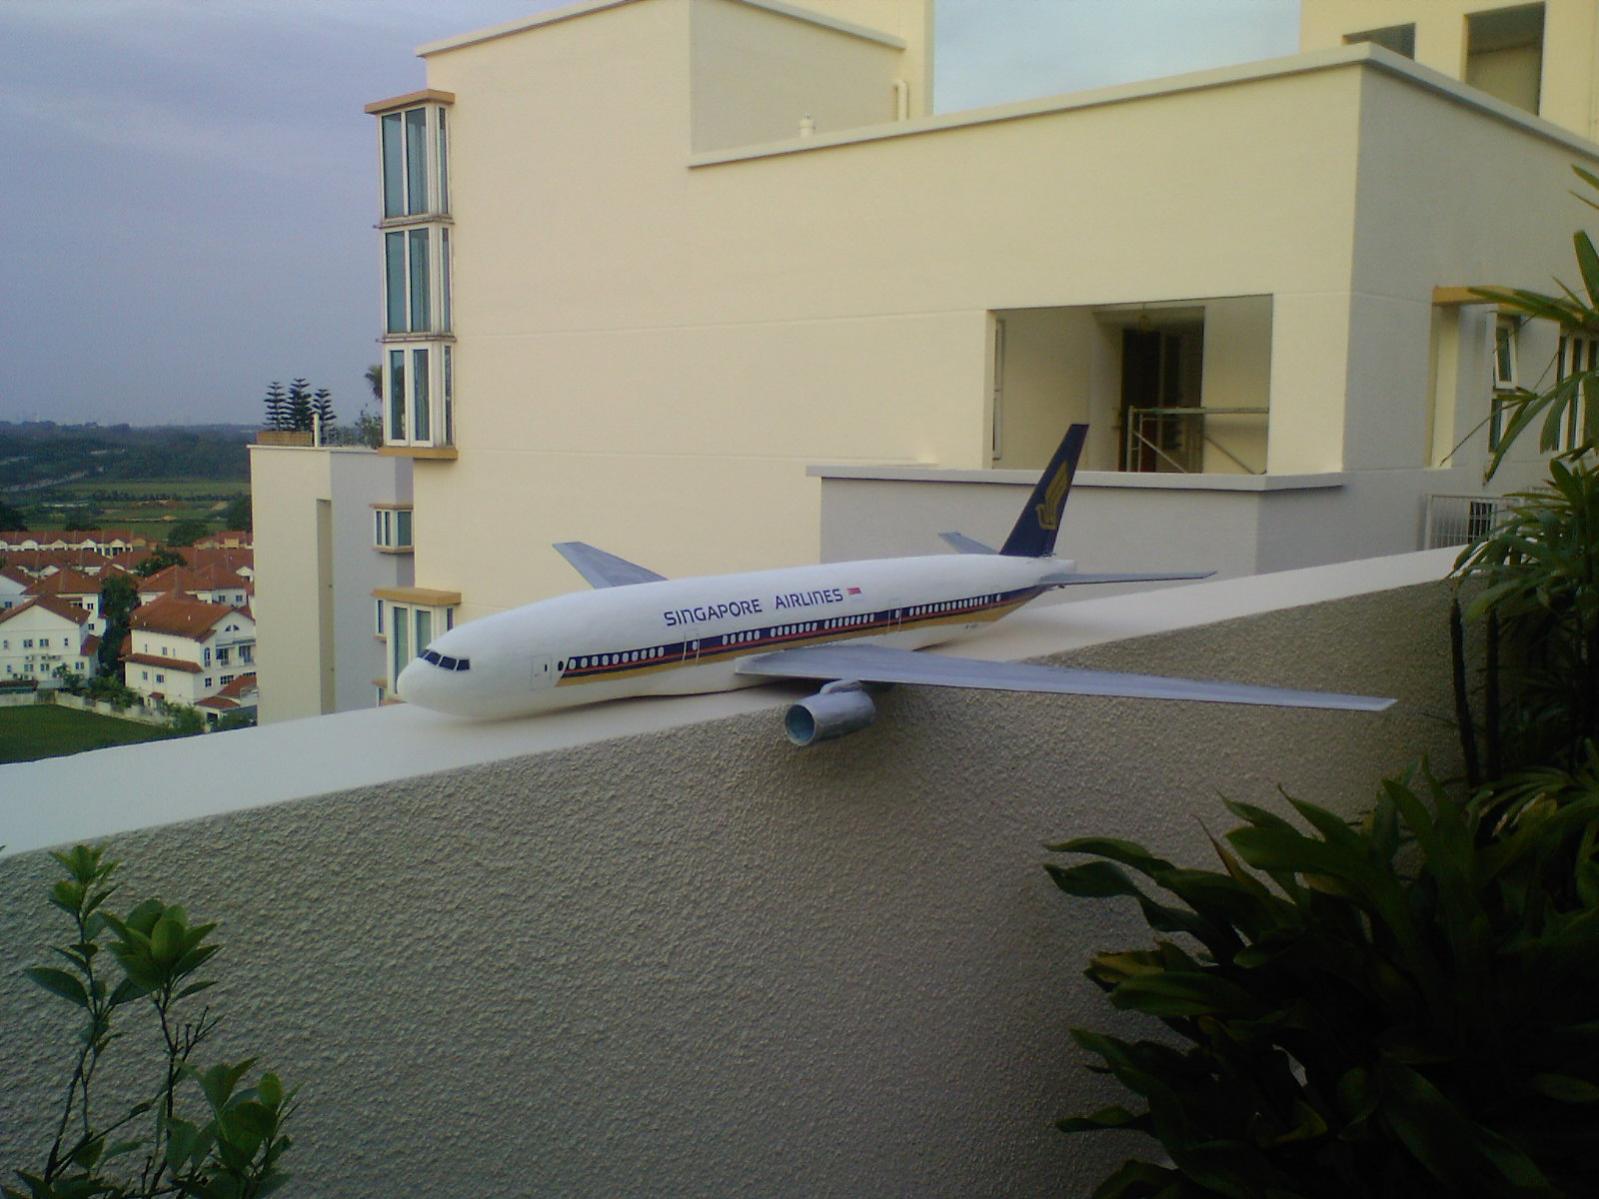
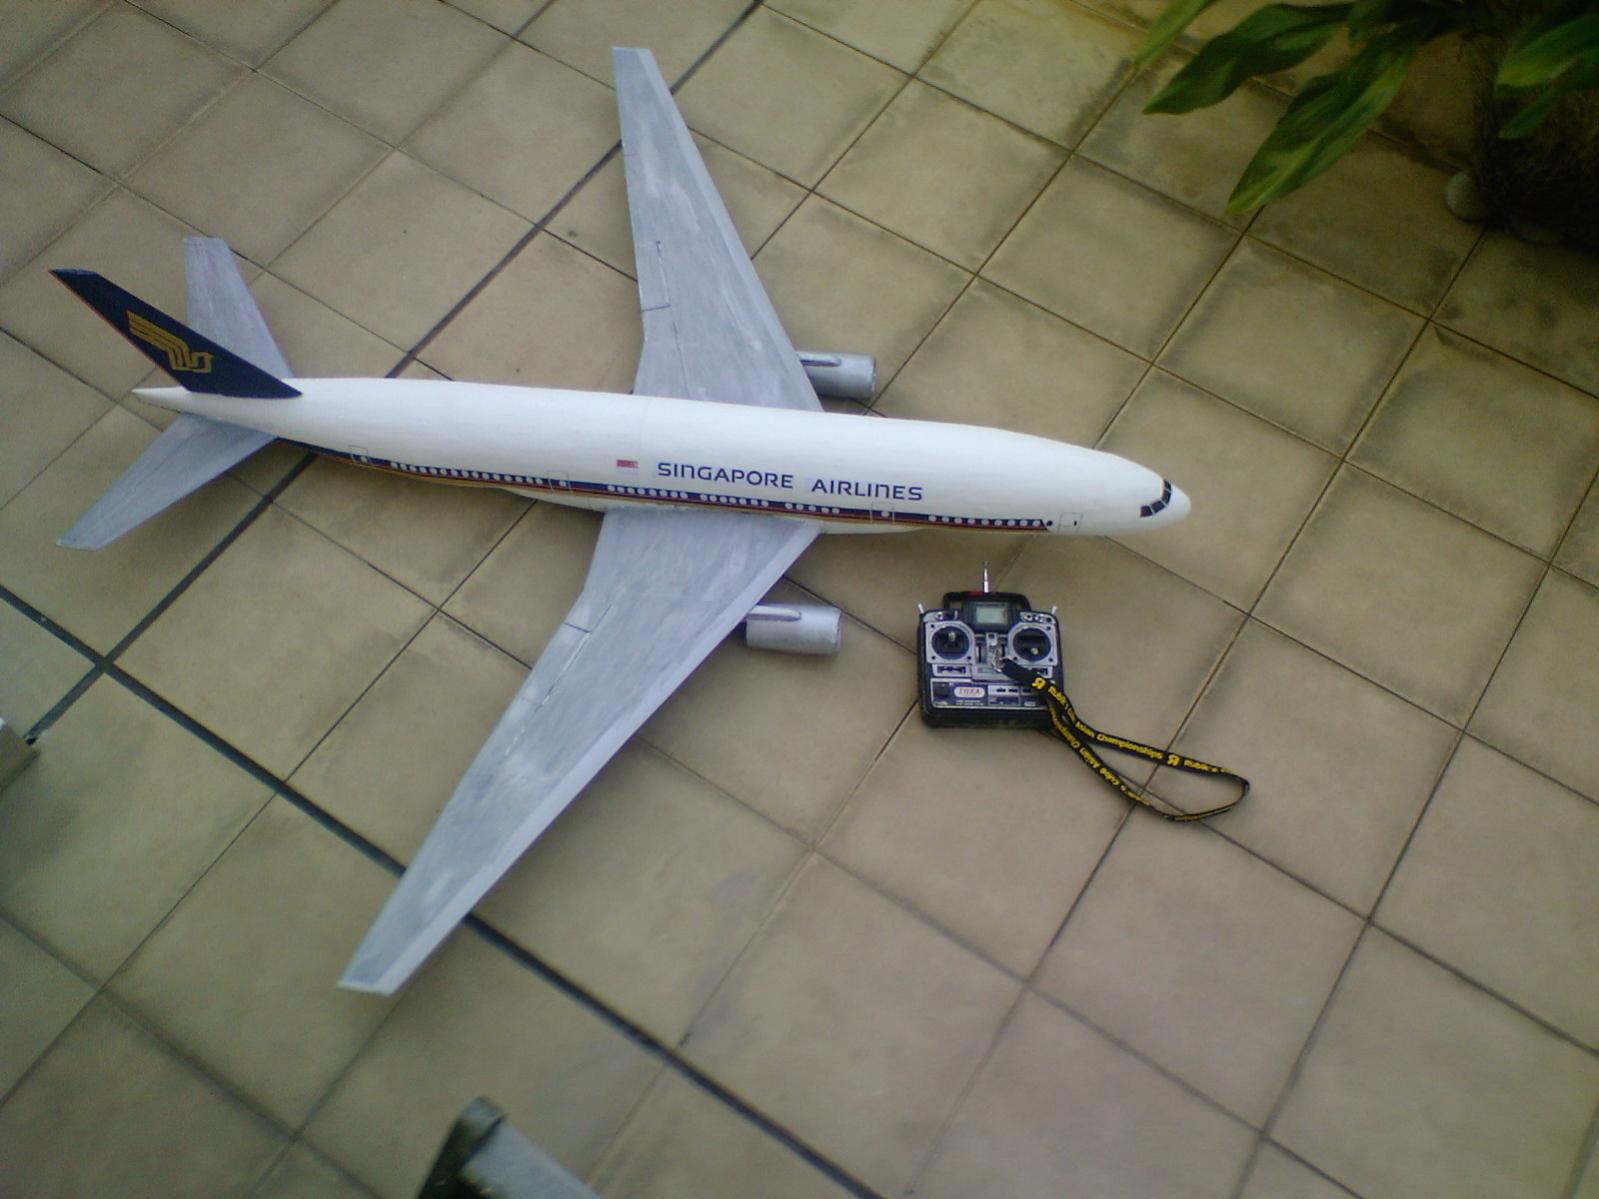
    This project was planned and started 2weeks before i made this post. I followed joeyap's boeing 777 autocad plan and scale it to 147cm length and 152cm wingspan. Fuselage diameter is 14cm (lots of space inside to house the electronics)

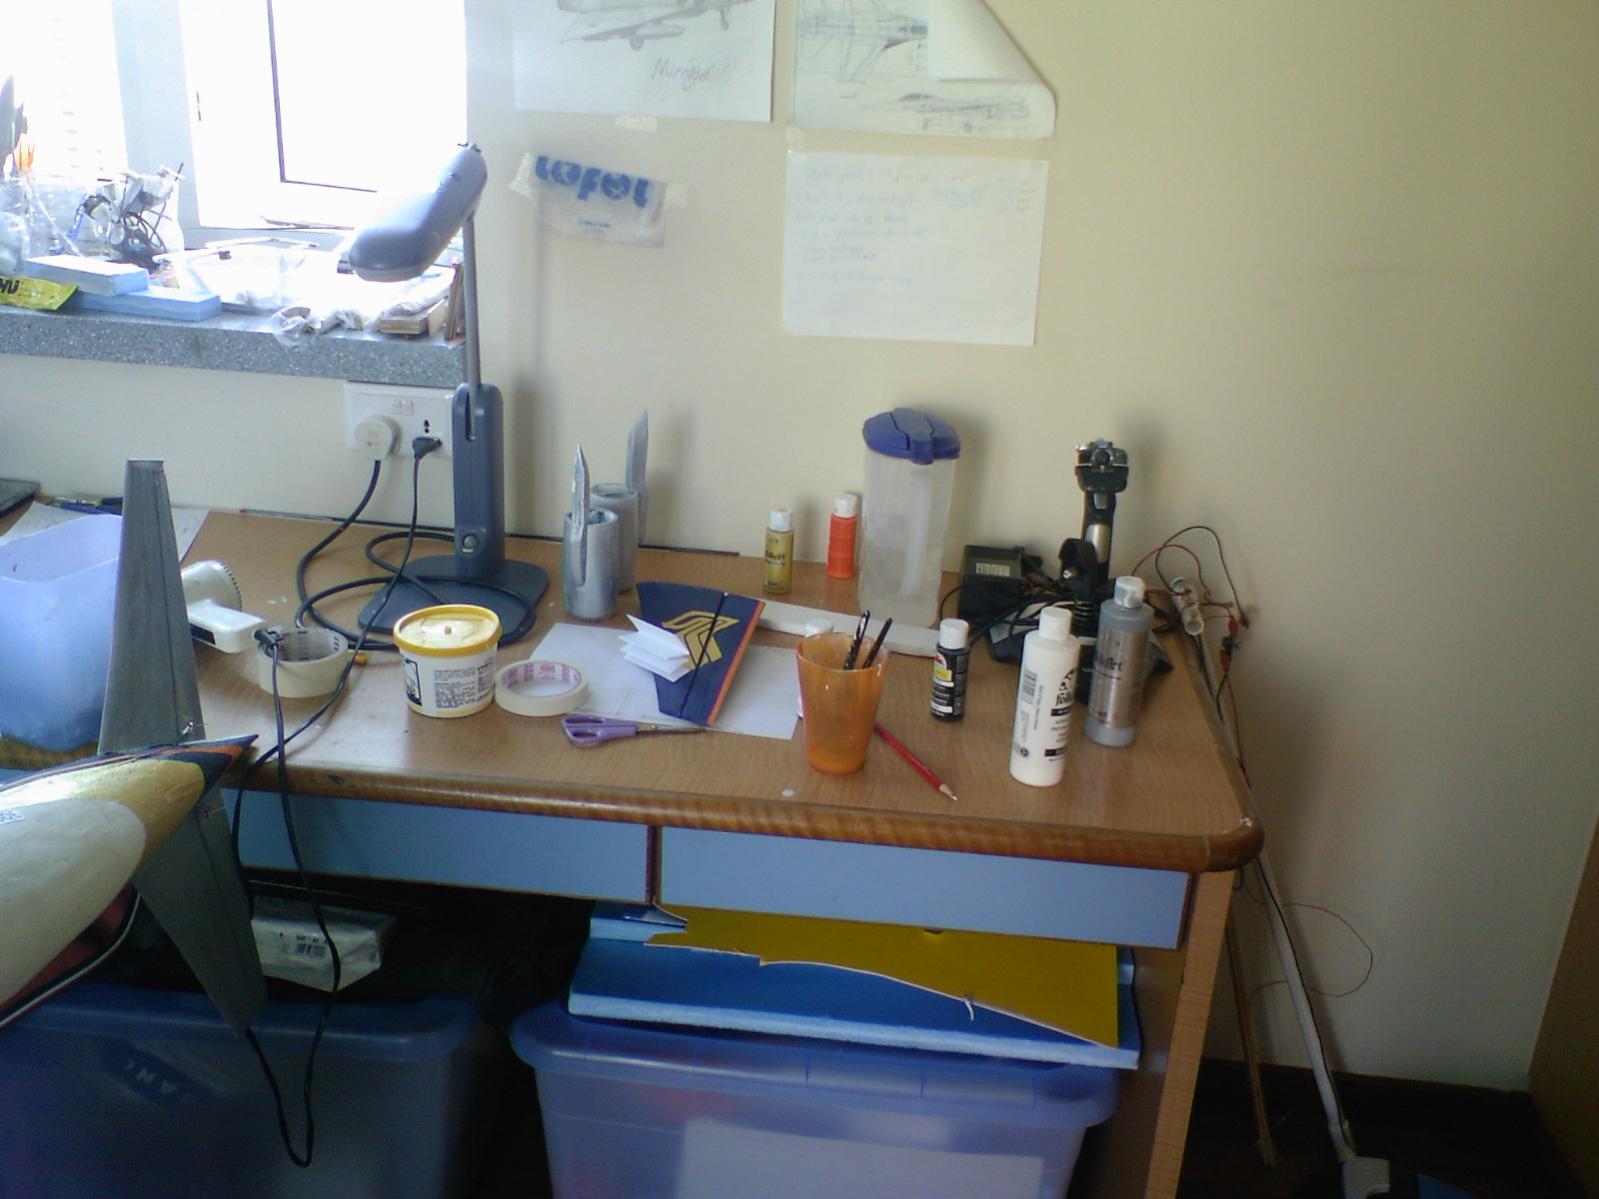
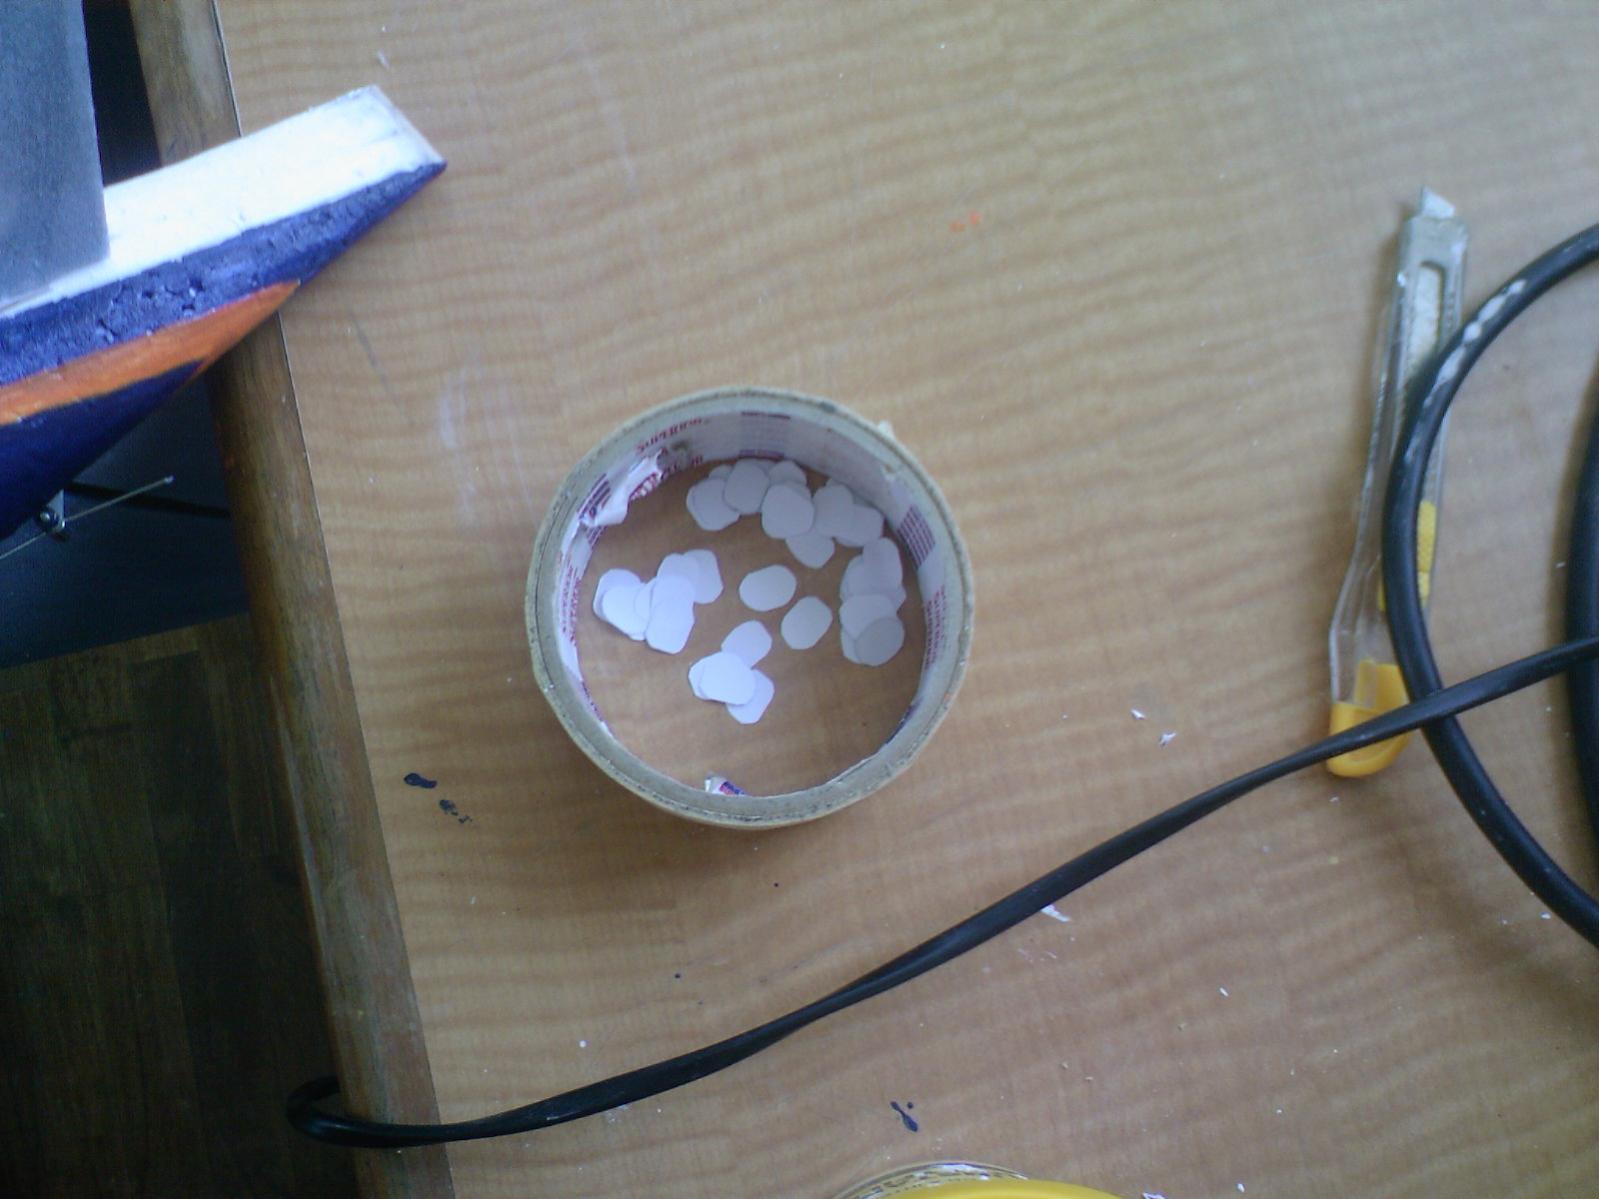
    Ok, I'll get started posting pictures and pictures from sqaure one to the finish.

    First some pictures of the real boeing 777

    Build it
    Fly it
    Crash it
    Fix it

    #2
    I bought the 2ft x 3ft x 2inch whitefoam from Artfriend for $6, intotal i need 2 of em, so it'll be $12. Glued the foam into a long foam block with whiteglue, 24hours to dry and start cutting the next day.

    I start off with hot wiring out the fuselage first using the cross-sectional templates to guide the hotwire.

    Quite simple to cut but takes a very long time to get it done. The material used for the fuselage is just normal white foam. Nothing much to say here, just lots and lots of hot wiring.

    Once done, i use a 500gritt sandpaper to sand out the cut lines on the plane

    Build it
    Fly it
    Crash it
    Fix it

    Comment


      #3
      Next its the horizontal , vertical stabs and the wings.

      The stabalizers uses symmetrical airfoils while the wing uses the MH-32 airfoil , i chose that because ...well, i've seen quite a number of people uses that airfoil in rcgroups for gliding and slope so i give it a try.

      Draw, Cut, Hotwire , Sand .... and after 4hours the parts are done.

      Build it
      Fly it
      Crash it
      Fix it

      Comment


        #4
        After the fuselage and wings ,what else to cut?

        The engine pod of course! Same thing... Draw, Cut, Hotwire , Sand , after another 1hour. I get the 2 engines done.

        One thing different is i heavily strengthen the engines pod because those 2 are going to impact the ground first during landings. Carbon fibre rods are embedded into the foam vertically and horizontally to redistrubute the load evenly across the enginepod and into the wings (hopefully) so it dosen't break at one spot.

        I can't resist but to put the engine pod beneath the wing to see how it turns out, and i love it.

        Build it
        Fly it
        Crash it
        Fix it

        Comment


          #5
          Next is installation of the pushrods. All servos are hidden inside the plane so it'll look clean on the outside.

          One headache part for me is trying to think how to move the 2 elevators, both on each side , snice they are not connected at the middle. Its either 2 servos to control each or 1 bigger servo connected to a Y pushrod. I decided to go on with the Y pushrod.

          Once pushrods are installed, i glued back the bottom and i think it looks pretty neat.

          Build it
          Fly it
          Crash it
          Fix it

          Comment


            #6
            OMG ur damm good!
            i'm thinkin of getting the jethobby airliner andfly it with twin EDF. scratch build is tough and time consuming for me.
            all the best for ur build!!
            -Ehawk 2000 Pro
            -Mouton 1600 EV
            -AMD micro chili
            -HK Kinetic800
            -SF Learjet45

            Comment


              #7
              Your building skills have improved tremendously. Great work!

              Comment


                #8
                Now its time to join both wings together, with a calculated dihedral of 5 degrees.

                A square 8mm carbonfirbre tube is placed in the middle to hold the 2 wings together. Seems pretty strong after joining. Didn't flex much as i held the wing by it's wingtip.

                Next is to decide whether to go with flaps, ailerons or both. I'll go for alierons instead to keep it simple. Less troublesome too.

                I quickly then cut out the alierons and attach rods to it, 1 servo for right and left ailerons.

                Build it
                Fly it
                Crash it
                Fix it

                Comment


                  #9
                  boeing 777

                  -Ehawk 2000 Pro
                  -Mouton 1600 EV
                  -AMD micro chili
                  -HK Kinetic800
                  -SF Learjet45

                  Comment


                    #10
                    Alright, No more cutting for me.. very tiring!!!

                    Its time to paint! I start off with the vertical stabs. The Logo was drawn on paper, cut out and stick on plane. (my printer don't print shiny glossy gold ink ) haha....

                    The blue and orange stripes are not painted directly on the body, it will be messy if i do so. Instead i paint on a piece of A4 paper then i cut out and stick on the body... Just like a sticker.

                    Build it
                    Fly it
                    Crash it
                    Fix it

                    Comment


                      #11
                      Part 2 of painting:

                      more drawing,colouring and pasting (like a pri sch art class except more precise) , the cockpit is hand painted on.. , Wings are given 3 layers of silver paint both on each side and left out to dry before each coat is applied.

                      Build it
                      Fly it
                      Crash it
                      Fix it

                      Comment


                        #12
                        Part 3 of painting:

                        Check out my messy room early on a sunday afternoon

                        The windows is simply cut-out circles from a A4 paper. But i have to cut about 80 windows out and pasting them one by one on the plane. White glue is applied , just one layer will do ,once its tacky , i stick the windows on it.

                        .... once again its very very tedious job but turns out great in the end.

                        Build it
                        Fly it
                        Crash it
                        Fix it

                        Comment


                          #13
                          Part 4 of painting:

                          Now its the engine pod turn to get painted!

                          Base coat of white is added ,sand with 500gritt sandpaper then silver paint. This way the silver paint actually looks more shiny and glossy because its painted on a smooth surface. Plastic is added to the bottom of the engine pod to protect from scratches.

                          Once done, the engine pods are carefully glued onto the wings (really properly) because this 2 pods are gona be one of the impacting points when it lands.

                          Build it
                          Fly it
                          Crash it
                          Fix it

                          Comment


                            #14
                            Thats all for painting , once again, all i can say is tiring ,but fun!!.

                            Now time to enjoy some pictures.... i'm trying to get artistic with my camera phone. haha.

                            I place my tx beside the plane for size comparision

                            Build it
                            Fly it
                            Crash it
                            Fix it

                            Comment


                              #15
                              Very nice work.
                              As mentioned, i admire your hardwork and patience, something certainly i lack of.

                              Thanx!
                              SLOPE SOARING NOT A CRIME

                              The irresistible desire, for the irresistibly desired

                              Multiplex Royal Evo 12 user, and Proud of it.

                              Comment

                              Working...
                              X