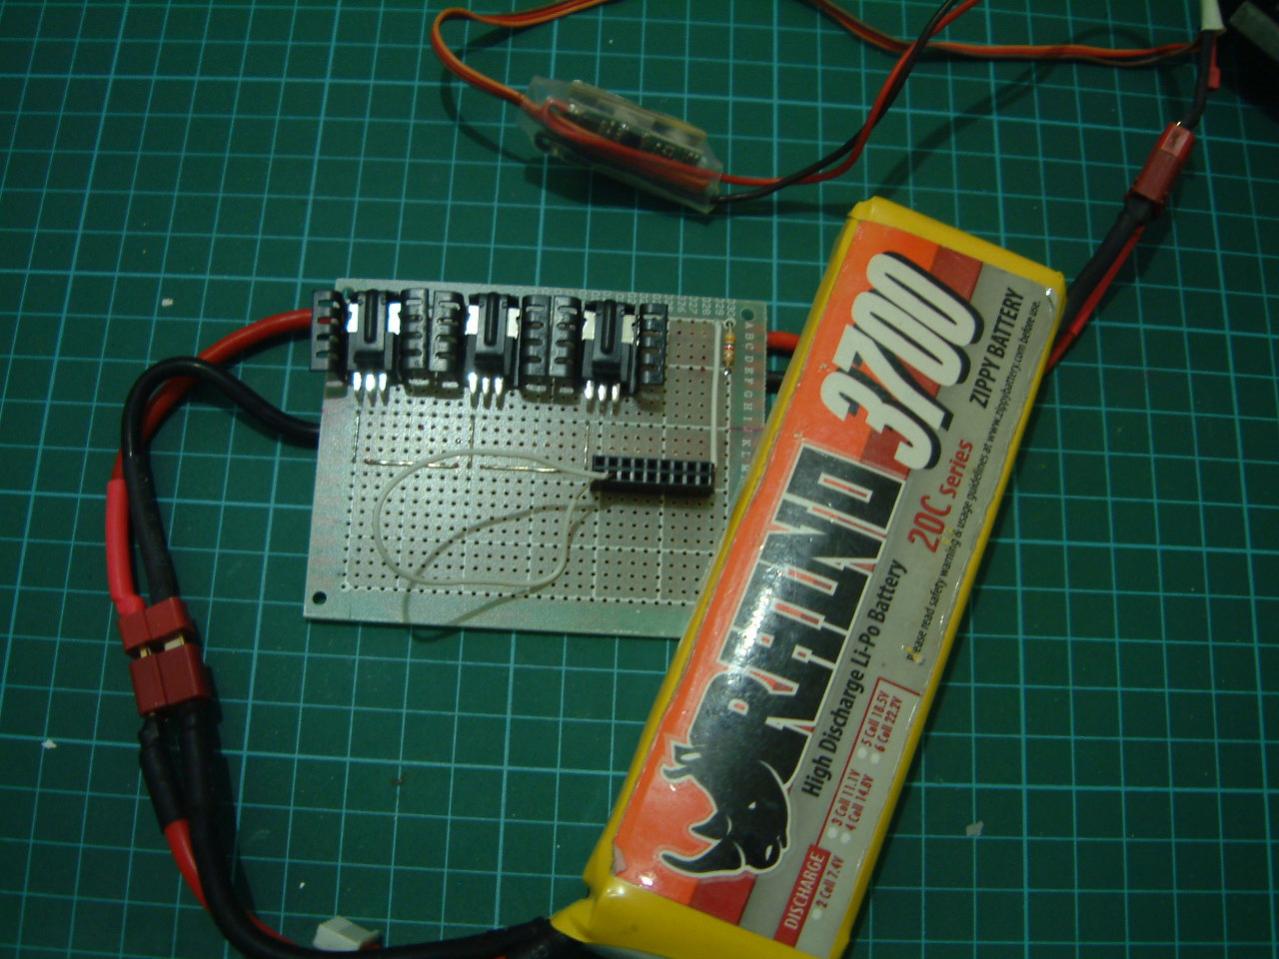
May I suggest a good high amp switch ?
I think Mosfet circuits are a bit on the BMW car building way - engineering overkill
With the switch open, connecting battery will not see a spark since it is open circuit.
Once ready, flick switch to close, there you have it.
To surge protect, a Capacitor in parallel to the switch can do the job too.


Comment