Thanks for the advice guys. Yes, I've checked out several forums and there seems to be a general caution not to run a YS on the bench. In any case, I haven't had a test bench for a long long long time.
-
To win........one must not lose.
Confucius -
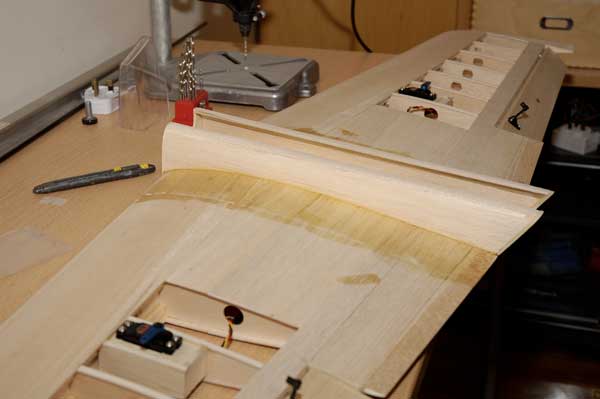
Installing the wing servos and trimming the fit of the huge ailerons to fit on the wing was the last bit needed to get the wing ready for covering.
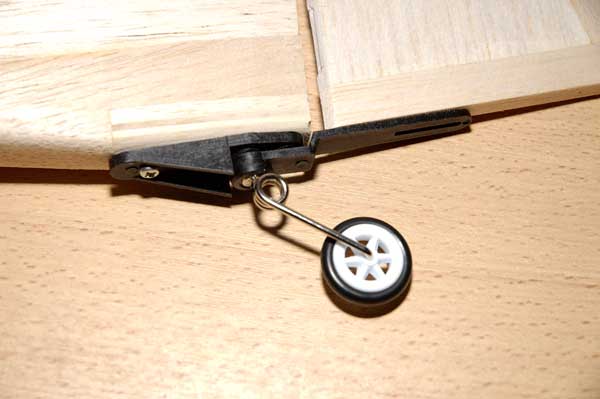
Installed the MK tail wheel. Pretty neat device but is not cheap. Note that MK kits come without any hardware. So even basic things like the tailwheel, under carraige, engine mount, etc are extra. They provided a wing bolt and screw and that was it as far as hardware goes for this kit.
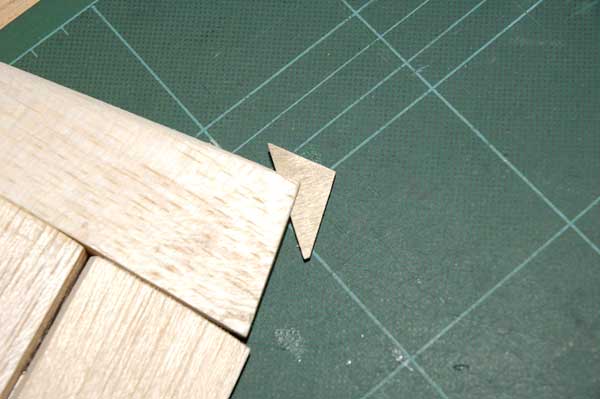
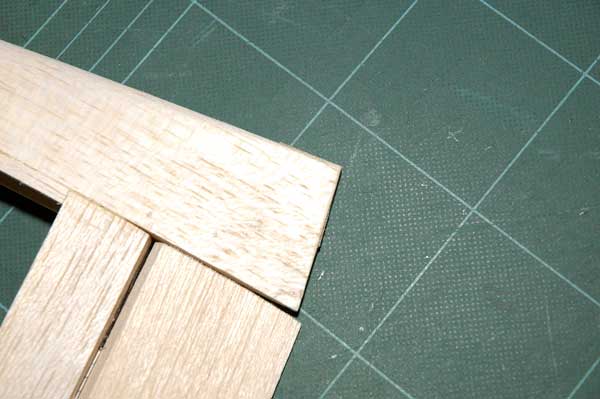
Can't help myself. Just had to do a little more fiddling with the wing before committing it to covering. With protruding tips on the tailplane and wing, it won't be long before I break, dent, or chip it when moving it from house to car and vice versa. One very easy trick to solve this problem is to cut a slot with a Xacto saw and then glue a 1mm ply piece into the slot. With a little sanding, you won't even see that its there but it will save you from having broken tip the next time you are ina hurry and you jam the tip into closing lift door. A nice benefit of this little trick is that you can sand the wing tip to a pretty fine point without fear that the balsa will be too weak.
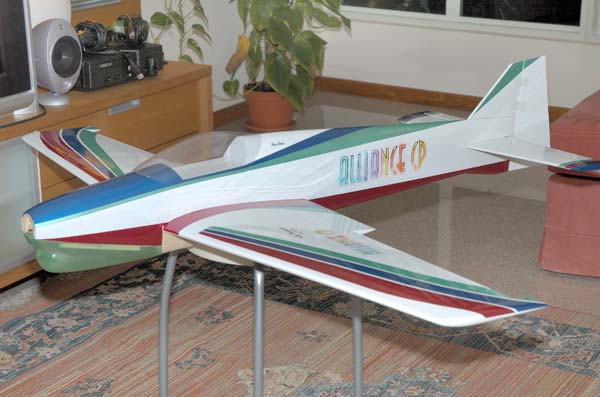
And now, on to the best bit - the covering. This bird will be covered and trimmed with Monokote. The fibreglass cowling will be painted and fuel proofed.
 To win........one must not lose.
ConfuciusComment
-
Nice trick, my way of doing it is to harden it with thin CA...With protruding tips on the tailplane and wing, it won't be long before I break, dent, or chip it when moving it from house to car and vice versa. One very easy trick to solve this problem is to cut a slot with a Xacto saw and then glue a 1mm ply piece into the slot. With a little sanding, you won't even see that its there but it will save you from having broken tip the next time you are ina hurry and you jam the tip into closing lift door. A nice benefit of this little trick is that you can sand the wing tip to a pretty fine point without fear that the balsa will be too weak.
For Sale
CSM ICG400 Heading Lock Gyro+ ($160)
(Comment
-
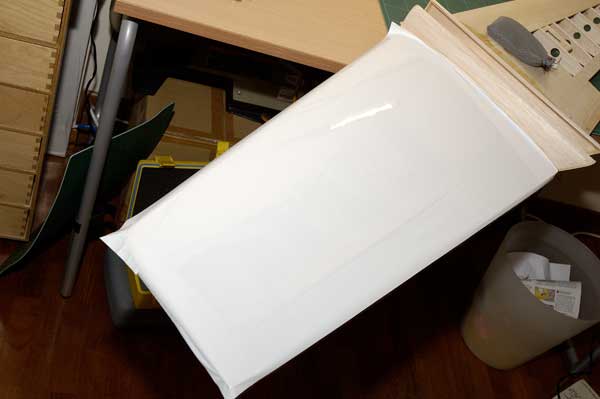
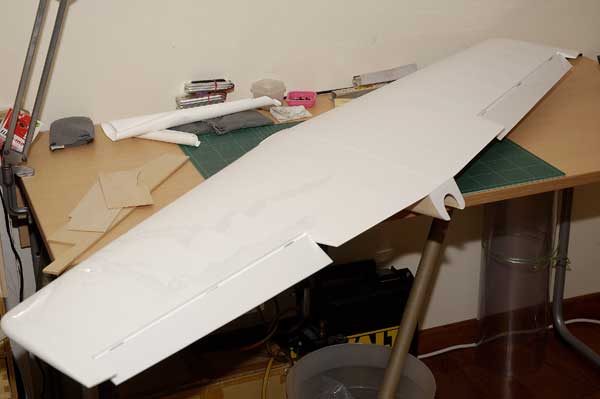
Not much time for building this week, so progress has been dead slow. Completed covering the wing and tail pieces only. Fuselage covering will have to wait till end of the week again. Will have to work out a trim scheme soon for this bird.
 To win........one must not lose.
ConfuciusComment
-
Thanks for the caution, I was advocating bench run for setting, not breaking-in.Originally posted by oceandeepComment
-
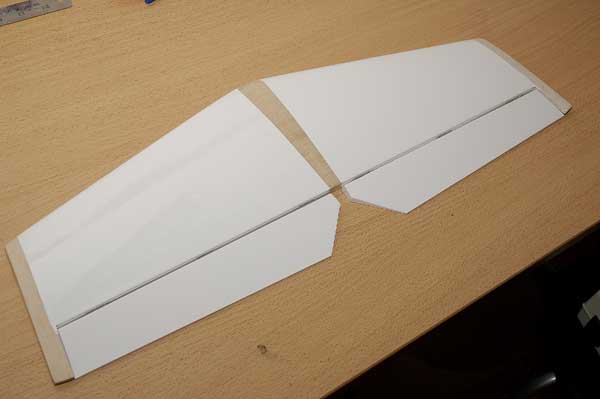
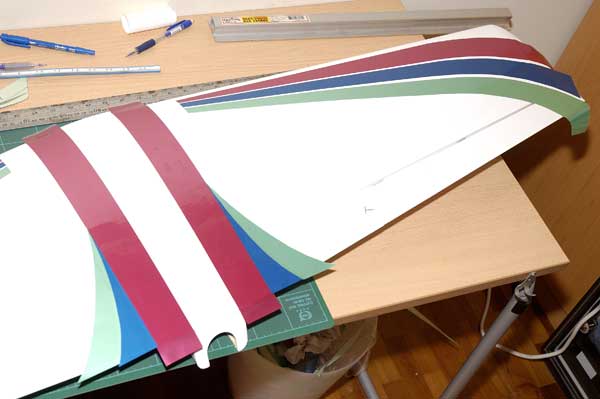
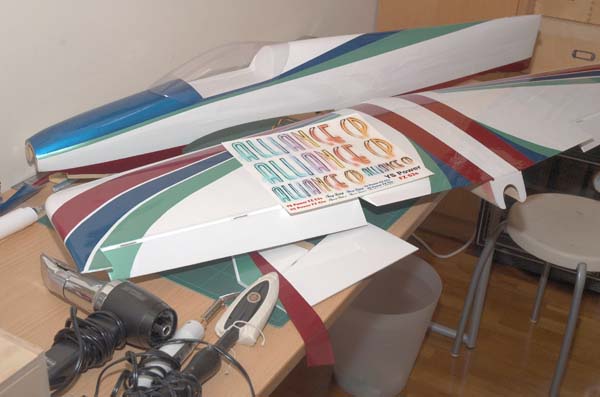
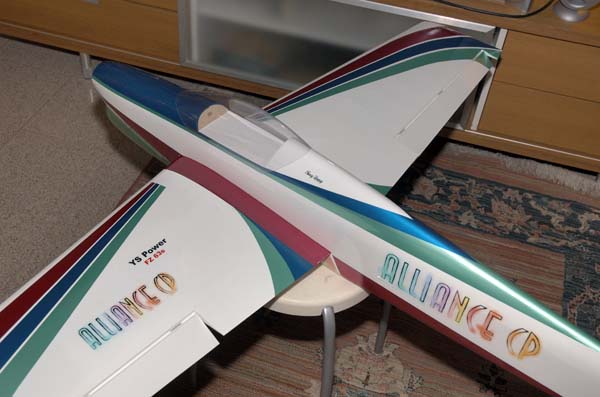
Only time this week to trim the upper half of the wing. Decided to trim with Pearl Blue, Red and Green.
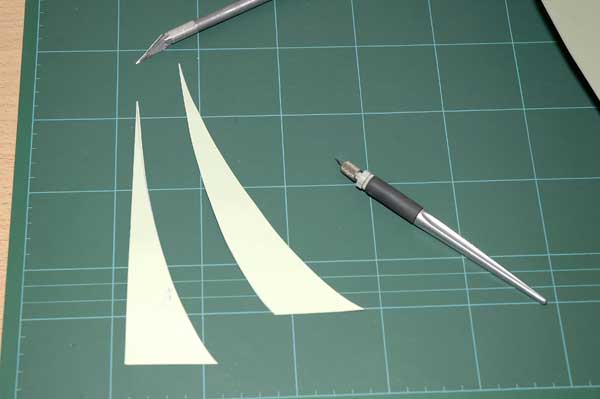
Tracing templates.
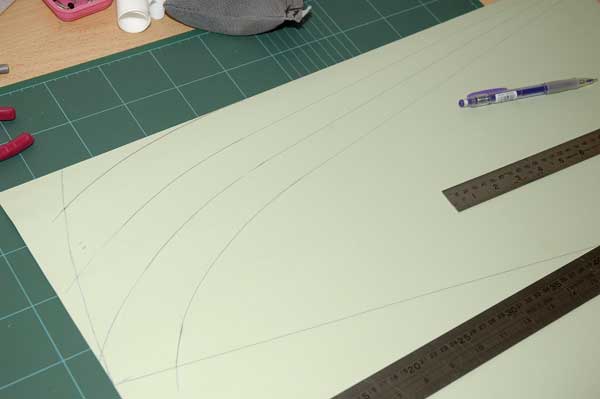
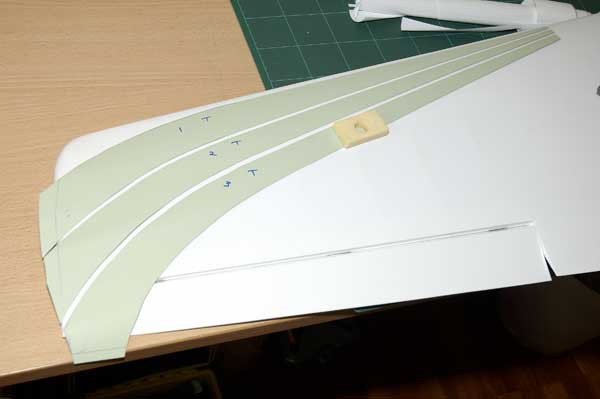

Templates again.
Finished. Waiting for the trim to dry out completely before final sealing of edges with a trim sealing iron.
 To win........one must not lose.
ConfuciusComment
-
trim scheme for the big bro synergy!
Comment
-
Its been very slow going these last few weeks. Only had time to do some covering.
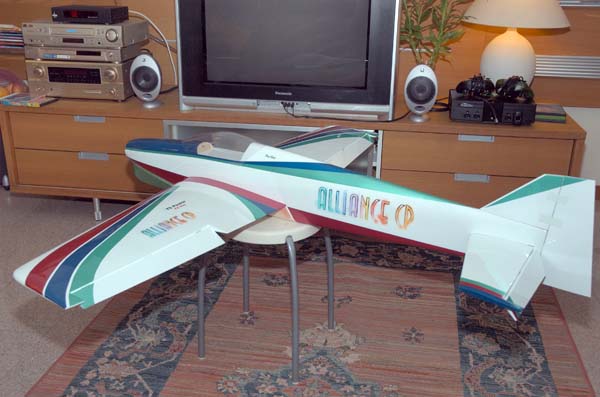
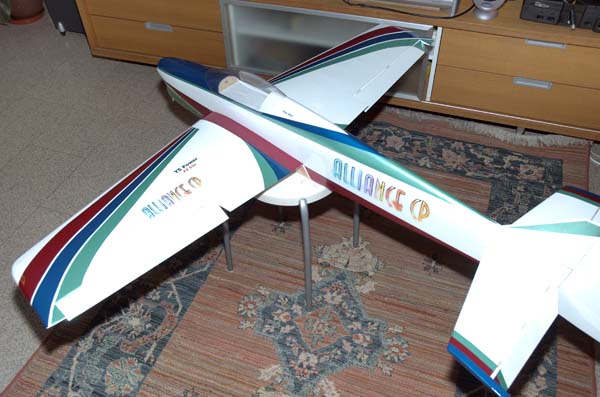
Made a sheet of decals to complete the plane with. Its Bel decal paper, printed using an injet printer and sealed with Krylon and waterbased polyurethane clear to fuel proof it.
Fibreglass cowling is still unpainted and I've still got the fuselage under the wing to cover. After that, its time to connect the servos (drats! - my most unfavourite activity).
 To win........one must not lose.
ConfuciusComment
-
Wow...trimming is very nicely cut man, great job ...I like the colors too... 
For Sale
CSM ICG400 Heading Lock Gyro+ ($160)
(Comment
-
Oh my god, this thing looks sweet
MikeComment
-
Tony,
That looks amazing! I aspire to build like you one day.
I need some tips- where did you get the decal paper from?Comment
-
Csisfun,
To be honest, the quality of kits these days makes it relatively easy to successfully build a plane that will fly straight.
The decal paper is from Bel Decal.
Bel Decal
They come in laser or ink jet print versions. I use the latter. Needs a couple coats of Krylon Acylic clear to water proof before you can stick it into a bowl of water to separate the decal from the backing. The lazer version doesn't need it but you'll need access to a colour lazer printer.
For slimers, you'll need to coat it with a couple of thinned coats of polyurethane clear after you have transferred it to the model, to protect it from the fuel residue.To win........one must not lose.
ConfuciusComment
-
Sorry folks, not much progress with the plane for a while. Will get on with it once I have a little bit of time to spare and I am able to sum up the energy to do the servo mounting/linkages (my most and only unfavourite part of airplane building)
To win........one must not lose.
ConfuciusComment
-
I have to say this a superb job of building a balsa model, well done.Comment
-
Cool job! I think you need to have lots patience building this kit...I think I would appreciate ARF kit more......Great Job...hope I will be motivated one day going to read this thread from page 1 soon
JCho
Comment
Comment