Announcement

Collapse
No announcement yet.

Glider for Intermediate Pilots - Vladimir Models Mini Graphite

Collapse

Zenm Tech Pte Ltd

Collapse

Visit Zenmtech at rc.zenmtech.com

X
 
  • Filter
  • Time
  • Show
Clear All
new posts

    #31
    Show bottom must pay money
    Do you feel the RUSH....!!!!

    Comment


      #32
      Originally posted by Hawkeye View Post
      Show bottom must pay money
      Aiyo we are all old generation already including me, now a days young people show for free on Facebook....:-)

      Ps: I should charge also for the new design for my Backfire , only one other person know so must share share ....:-)

      Comment


        #33
        Originally posted by Hawkeye View Post
        Show bottom must pay money
        the bottom wing is na.. na.. "naked"?
        Irony = displaying enough parking coupons on your dashboard but getting fined for littering when you throw the stubs on the floor

        Comment


          #34
          Setup

          Originally posted by Hawkeye View Post
          Yes. I showed him a design by sending him a file. He did it exactly.
          So... this new "girlfriend"'s setup, what's it going to be like?

          Comment


            #35
            Originally posted by JYHELI View Post
            Aiyo we are all old generation already including me, now a days young people show for free on Facebook....:-)

            Ps: I should charge also for the new design for my Backfire , only one other person know so must share share ....:-)
            Bro you will love this plane
            Beastx installed and flying ...

            [SIGPIC][/SIGPIC]

            Comment


              #36
              Bottom is simple dark blue with white stripes...

              What ever the design, top and bottom must look different to differentiate orientation of plane. Bottom always dark, top always bright. Extremities(wingtips, tail and nose) must have good contrast against the blue and grey skies we have here.

              Not good enough to look chio....must be practical too. So far Neon colors are the best. But depends on who does the paintjob as Neon colors fade fast with too much sun.

              As for power setups, still considering. I want it to be a hot dogger aerobat. Not so much for speed. The plane not designed for it.
              Do you feel the RUSH....!!!!

              Comment


                #37
                Camping for your setup details.

                Comment


                  #38
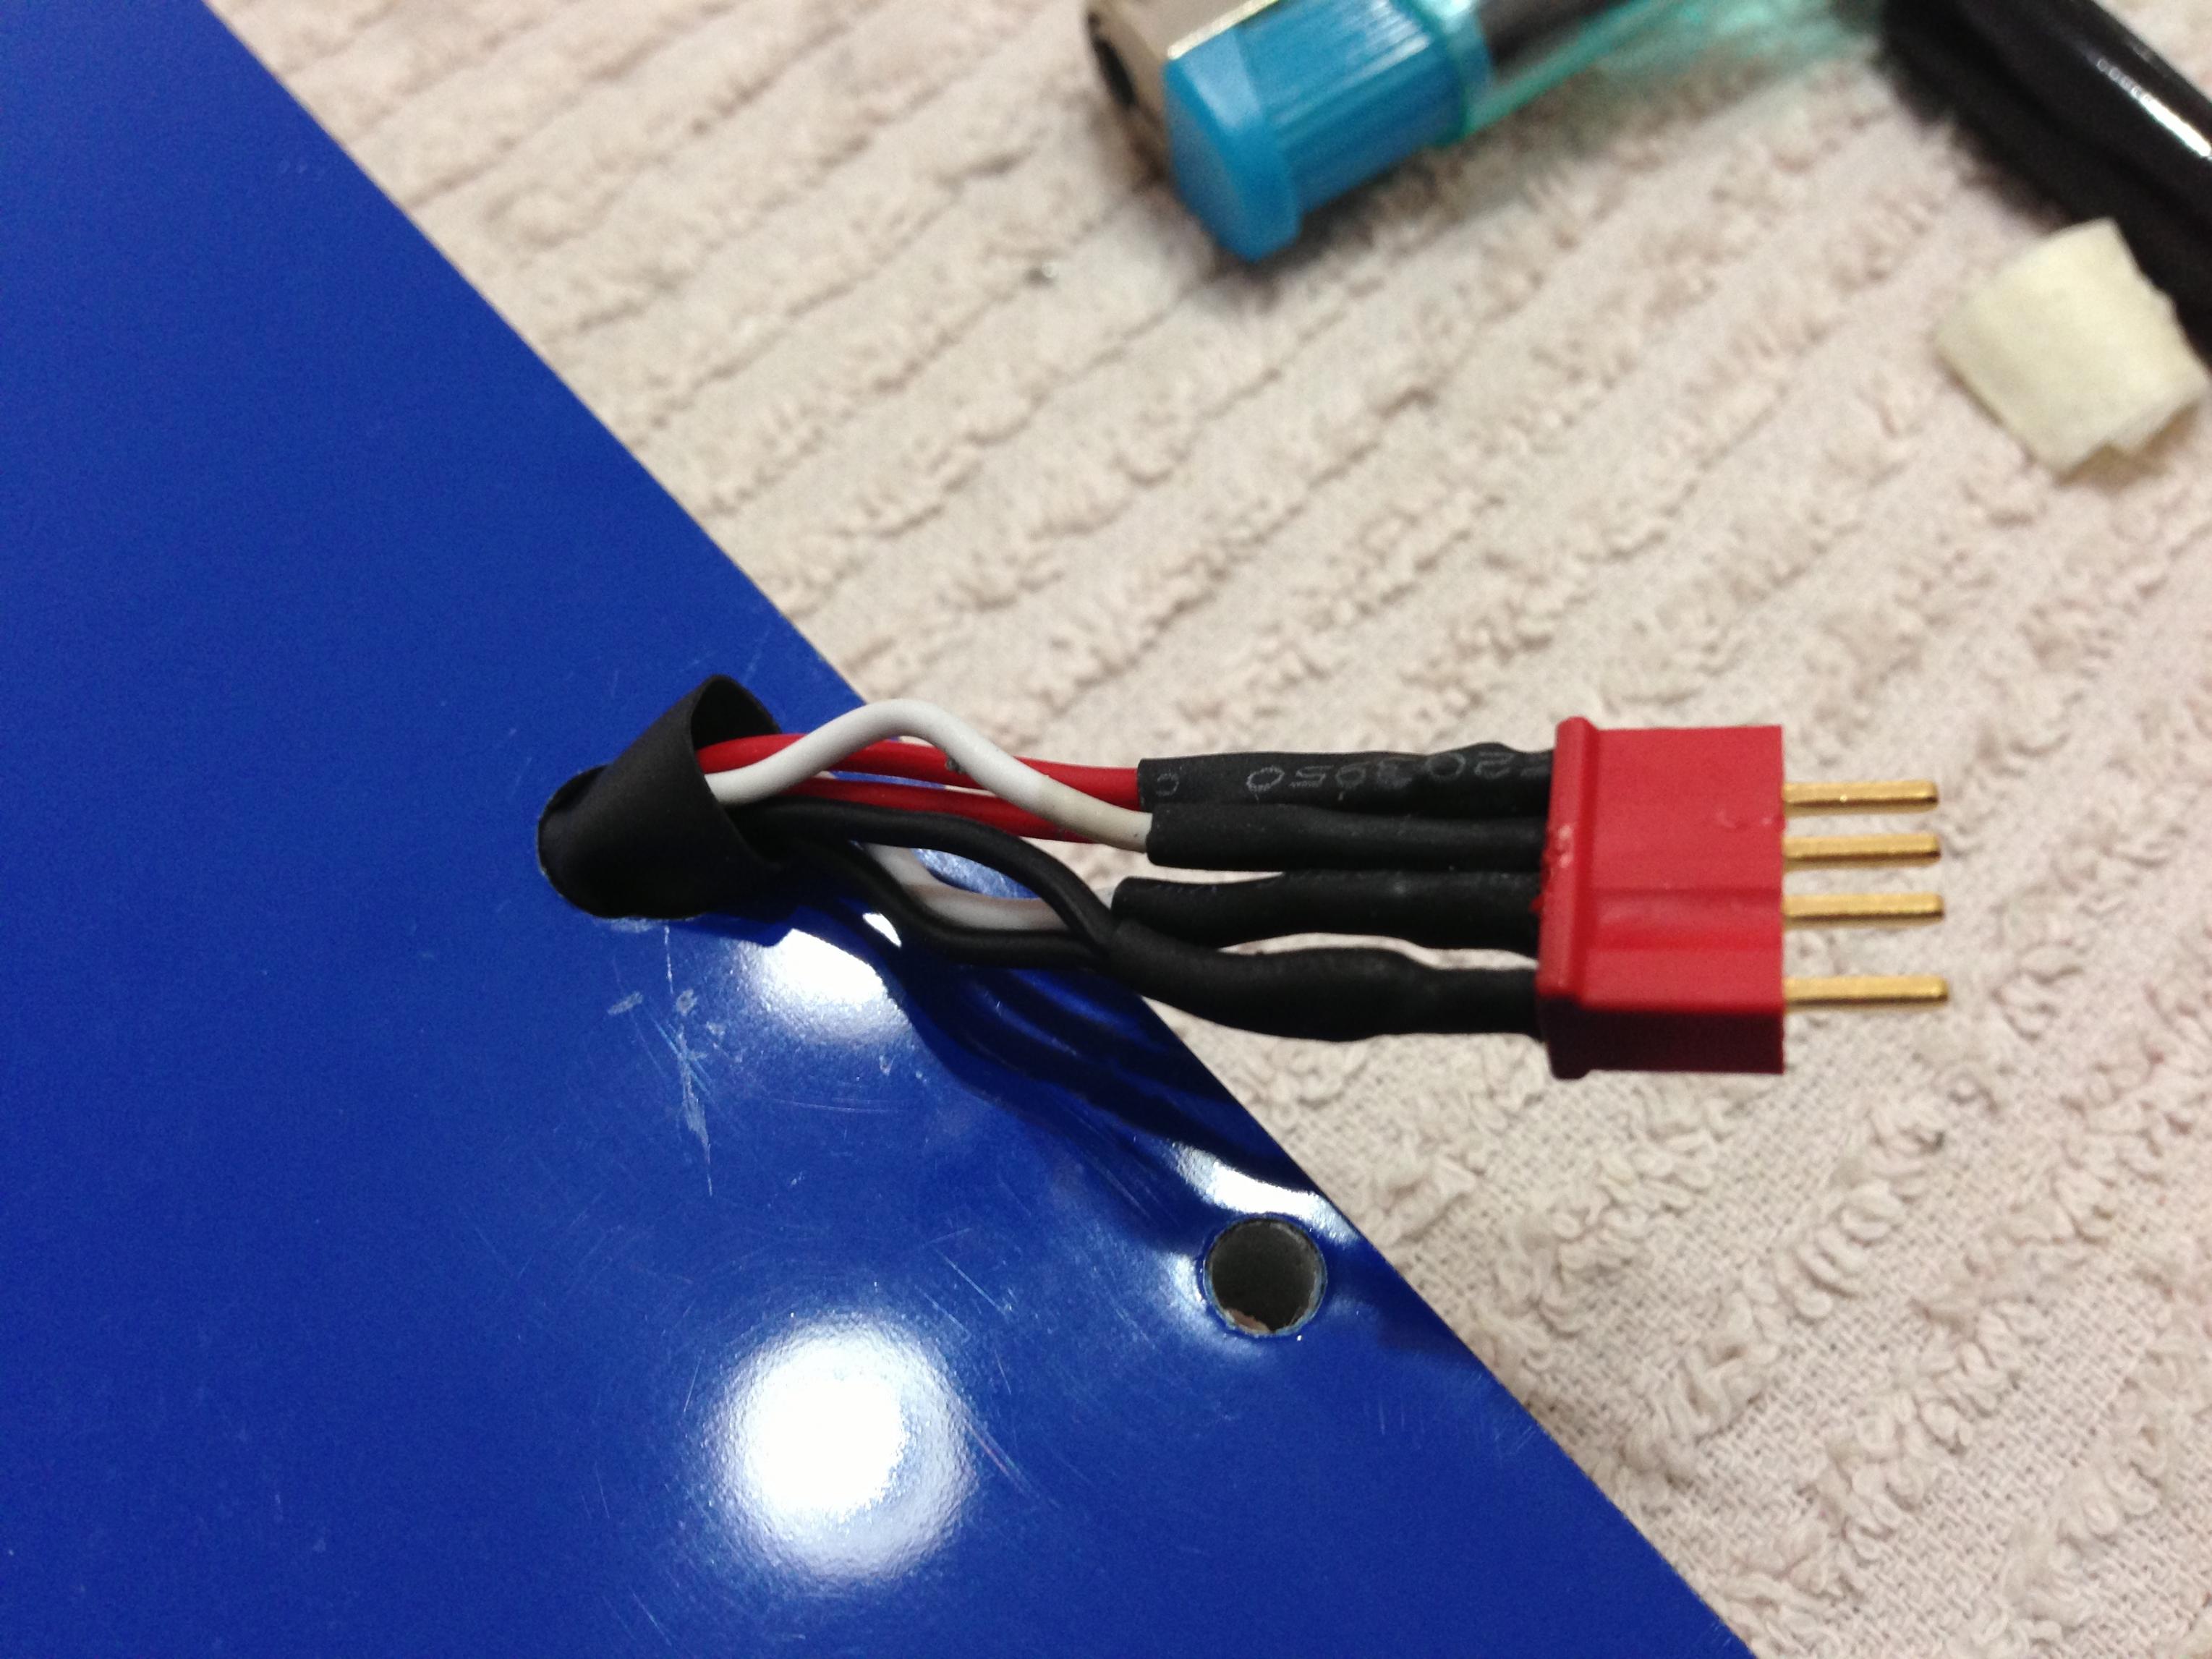
                  I started the build by setting up all the wiring harnesses to the servos. I planned to make the tail removable so I used deans 4 pin as the main interface.
                  Like wise for the wing halfs, each side got a 6mm hole drilled 130mm back from the leading edge and 10mm inboard. Wires threaded and terminated with deans 4 pin. Click image for larger version

Name:	image.jpg
Views:	1
Size:	544.4 KB
ID:	972614
                  Click image for larger version

Name:	image.jpg
Views:	1
Size:	554.5 KB
ID:	972615
                  Click image for larger version

Name:	image.jpg
Views:	1
Size:	557.6 KB
ID:	972616
                  Click image for larger version

Name:	image.jpg
Views:	1
Size:	394.0 KB
ID:	972617

                  Do you feel the RUSH....!!!!

                  Comment


                    #39
                    I spent 5 hours on the tail today. The servo covers were cut to determine the push rod location. The slot for the horns are than cut. The horns were sanded down so that the hole is 6 mm from the control surface.

                    Click image for larger version

Name:	image.jpg
Views:	1
Size:	538.0 KB
ID:	972625
                    Click image for larger version

Name:	image.jpg
Views:	1
Size:	576.9 KB
ID:	972626

                    Attached Files
                    Do you feel the RUSH....!!!!

                    Comment


                      #40
                      The tip of a needle file was used to make cross hatches for better grip with te medium CA. Push rods were bent to length when servo are sub trimmed 90 deg and control surface are leveled. Servos are than glued ino position while powered and servos covers finally CAed into place.

                      Click image for larger version

Name:	image.jpg
Views:	1
Size:	569.5 KB
ID:	972628
                      Click image for larger version

Name:	image.jpg
Views:	1
Size:	564.1 KB
ID:	972629

                      Do you feel the RUSH....!!!!

                      Comment


                        #41
                        Last nite I started on the flap servo installation. I'm using MkS mini with the frames. The plywood frames are soaked with CA to toughen and stiffen the frames. Than everything is dry fit and also to determine the length of the pushrods and the position of the servos. The clevises are loctite to the rods to ensure no slop. The sub spar had to be grounded down to make sure the push rods did not get interfered with throughout the full motion of the servos.

                        Attached Files
                        Do you feel the RUSH....!!!!

                        Comment


                          #42
                          Wing is all done. The motor arrived and now waiting for the spinner and prop. Looks like another 6 hours work to complete the plane. Only left the motor mount, cooling holes,rX power module and switches, wire the motor and esc and program the the TX.

                          Attached Files
                          Do you feel the RUSH....!!!!

                          Comment


                            #43
                            Finally the wing servos are installed. Nose cone carbon reinforced. And RX module assembled on carbon tongue. Now left the cooling holes and marrying the esc to motor.

                            Attached Files
                            Do you feel the RUSH....!!!!

                            Comment


                              #44
                              I hate cutting Kevlar. After 3 hours. The holes are cut and shaped. The motor a Neu 1509/1.5d is married to a cC 200 lite.

                              Attached Files
                              Do you feel the RUSH....!!!!

                              Comment


                                #45
                                Congratulation!!
                                and they live happily ever after

                                Comment

                                Working...
                                X