Announcement

Collapse
No announcement yet.

Help: surface finish

Collapse

Zenm Tech Pte Ltd

Collapse

Visit Zenmtech at rc.zenmtech.com

X
 
  • Filter
  • Time
  • Show
Clear All
new posts

    Help: surface finish

    Hi all,
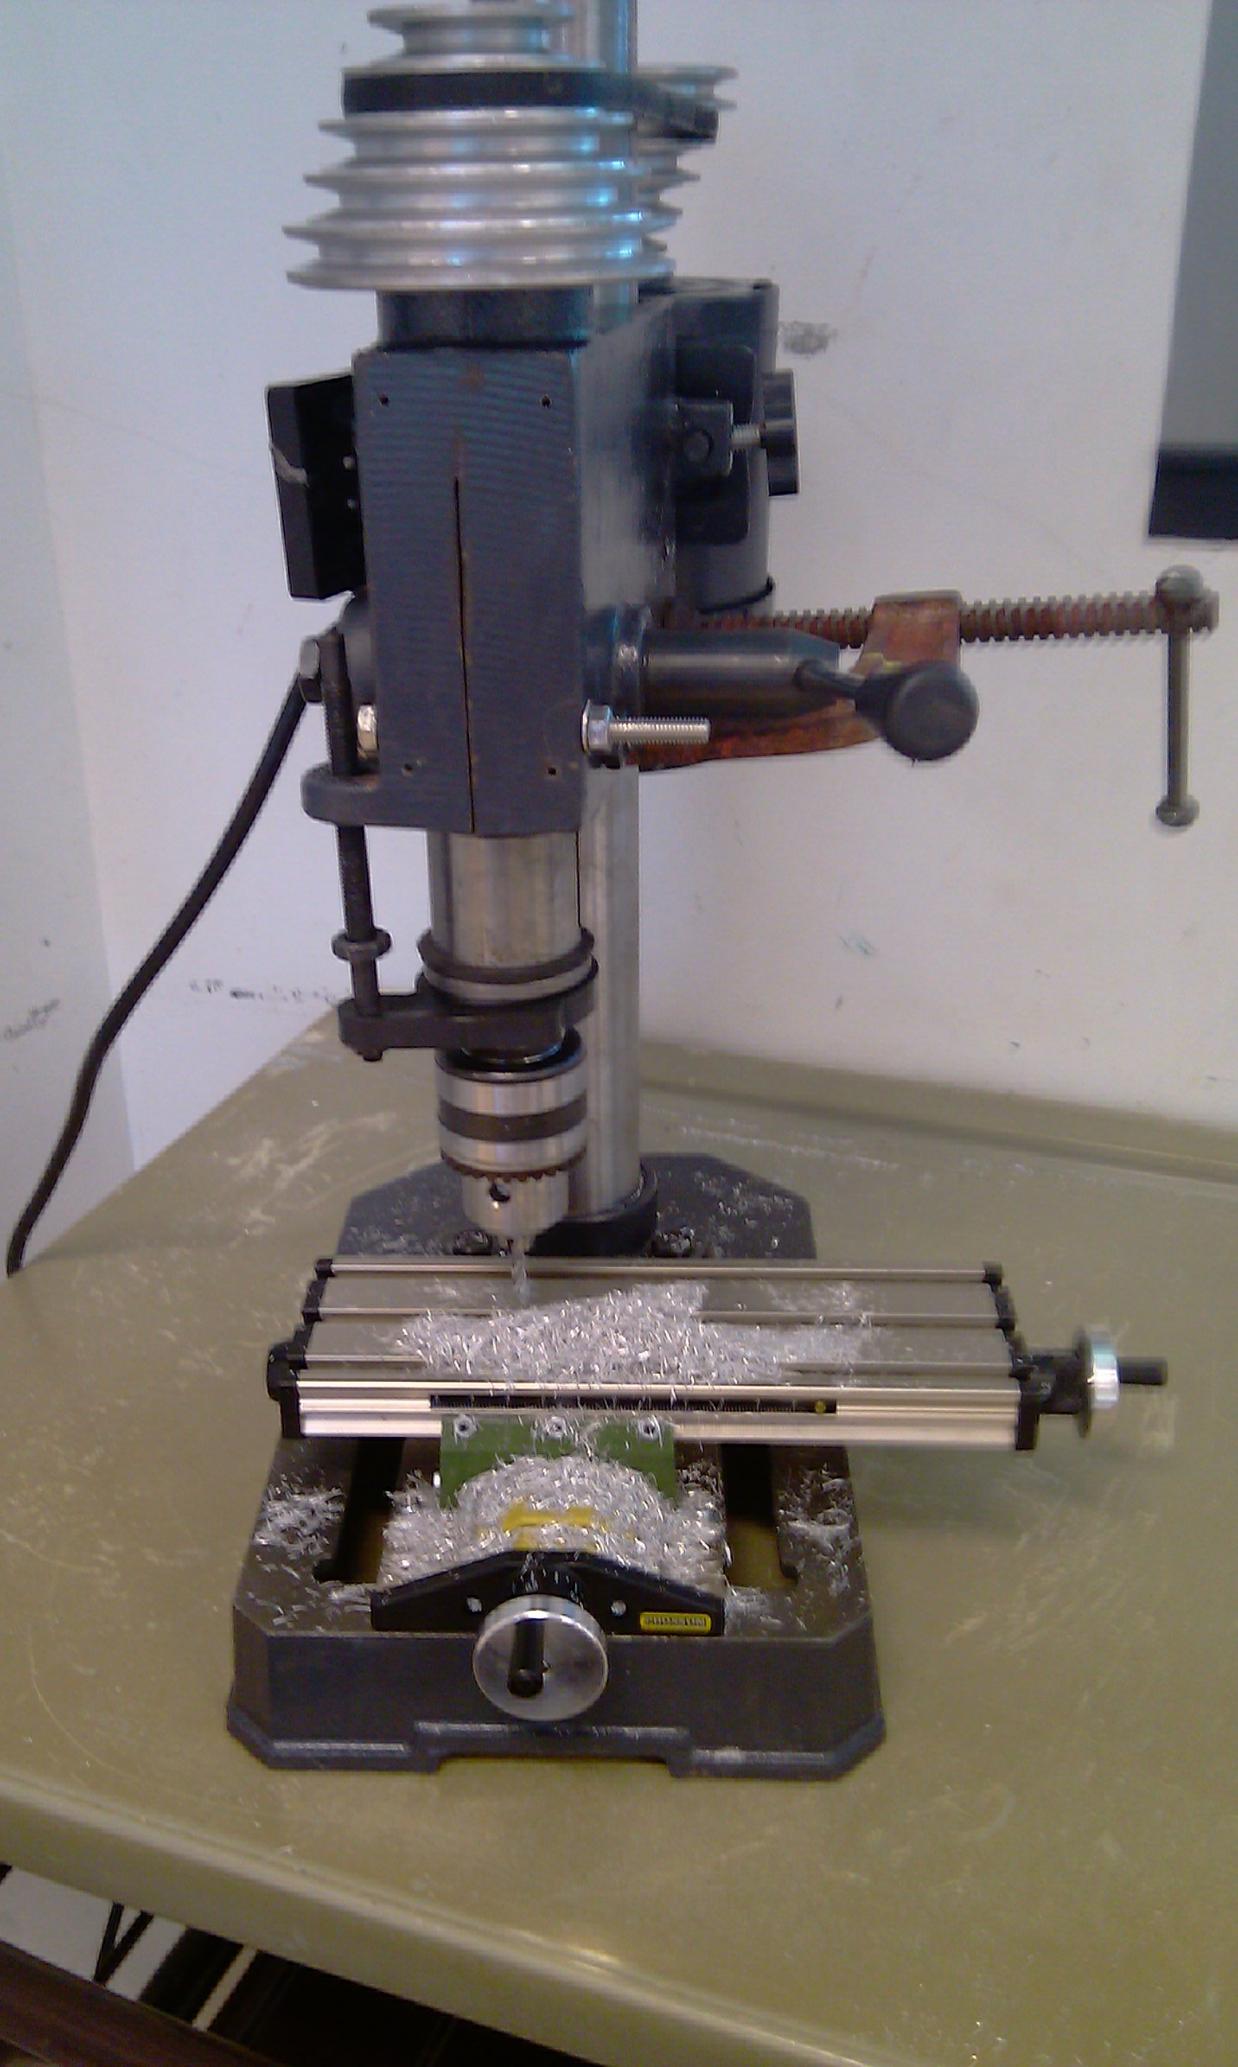
    When side milling aluminium using a modified drill press, I got this surface finish. The depth of cut was around 7mm, but only 0.03mm was milled on each pass. I used a 4 flute solid carbide 4mm end mill.
    Is the poor finish a result of the rigidity of the drill press, too great a depth of cut, a 4 flute instead of 2 flute end mill, etc?
    Overall I'm satisfied enough with my drill press conversion as I was not expecting much from the set up, but I would like to improve on the surface finish obtained.
    Thanks in advance for the help!
    (In the photo, the aluminium block is on it's side, the top surface was the side) <br> <br>

    #2
    will follow

    wow I will follow your topics :0

    Comment


      #3
      Its a combination of what you wrote.
      Why not flip item on its side and end mill i/o side mill ?

      Comment


        #4
        That's interesting. What kind of drill press did you use for the mod? how did you slide the stock?

        The lines could have been cause by tool chattering. I think you can remove them by doing a finishing past at higher speed..

        2 flute should be the right tool to use, for 4 flute, you just have to run much faster or lower your spindle rpm.

        Comment


          #5
          Thanks for the help! For those who are interested, the "mill" is just a normal school bench drill, which I converted. Basically, I slit the front and back of the head casting to allow the quill and column to be clamped down. Here's where I got the idea from, however I haven't done the spindle modification, as I have no lathe. http://www.flyelectric.ukgateway.net/mill.htm

          So far, I've only machined a flycutter, a boring bar, and a replacement shock tower for my friend's rc buggy. <br> <br>

          Comment


            #6
            Those marks look familiar to me... when I feed too fast, I get them. They're not chatter marks. Try slowing down your feed or increase your speed like what tucfaz said. Spring passes with climb cutting should be able to remove them. If the part is not too tall, you can try flycutting.

            Comment


              #7
              Thanks for the help, I've many of your blog posts After getting a dial indicator, I found that the run out of the drill chuck is around 0.12mm! The run out of the spindle is only 0.01-0.02mm. Guess this is also part of the problem

              Comment


                #8
                Paiseh, didn't realize you were using drill chuck. Are you able to use collets or endmill holder?

                Comment


                  #9
                  Actually the result is very good for the kind of setup. Not sure if you can bump up the drill speed. If you can, do a conventional mill at quick past with the spindle at high speed, then try the same but with climb mill and compare the result.

                  Comment


                    #10
                    Sorry.. Quick shallow past to smooth out the lines..

                    Comment


                      #11
                      Managed to improve the surface finish to the point where the ridges can only be seen from certain angles, realized that when I mill, the quill flexes quite a bit (it's a drill press after all), so the depth of cut is actually more than what I thought, so I worked around it by making extra passes with no depth of cut, ie letting the quill straighten.
                      Just finished a crude version of a screwless vise modeled after this http://www.deansphotographica.com/ma...vise/vise.html . The previous image was actually the base. Will post a picture soon.
                      Thanks for the help again, it really helped!

                      Comment


                        #12
                        I'm not able to use collets or an endmill holder as the drill press has a b16 taper. I'm condidering the risky option of grinding the chuck jaws with a grinding bit held in a vise. Id it too risky? I read somewhere that people managed to get their drill chuck within 0.01mm using this method

                        Comment


                          #13
                          Those are spring passes (without going deeper into the part). I like to do that with climb milling to improve the surface finish.

                          Comment


                            #14
                            Originally posted by F-WWOW View Post
                            I'm not able to use collets or an endmill holder as the drill press has a b16 taper. I'm condidering the risky option of grinding the chuck jaws with a grinding bit held in a vise. Id it too risky? I read somewhere that people managed to get their drill chuck within 0.01mm using this method
                            What I also learnt is that a drill chuck are not designed to take side load. I've not seen any harmful effect but being "guai", I follow the instruction. There is a guy on youtube that started with using drill chuck on his sherline till he bought an endmill holder.

                            Maybe time to get a 5410 Sherline mill from Mike?

                            Comment


                              #15
                              I never realised that spring passes refered to what i had been experiencing..
                              The only reason I did this conversion was the cost, as being a student, I don't have money to spare. This setup is only 1/7 of the price of a sherline, so i was fully aware that it wouldn't come close to a proper mill.

                              Comment

                              Working...
                              X