Announcement

Collapse
No announcement yet.

F-16 scratchbuild 68mm EDF styrofoam

Collapse

Zenm Tech Pte Ltd

Collapse

Visit Zenmtech at rc.zenmtech.com

X
 
  • Filter
  • Time
  • Show
Clear All
new posts

    F-16 scratchbuild 68mm EDF styrofoam

    Yep, you aren't seeing double,you read the title correctly, its my 3rd f-16 scratchbuild , and this time making it even lighter, faster and well,sexier.

    Everything and all the steps down here are very similar to my previous f-16 build thread. So i won't be elabourating on the steps. Yes, i'm going to do a blackknights paintjob on this f-16 again and i'll do a better finishing this time round.

    Reason for choosing whitefoam , thats right,the lousy breakable cheapo but very light foam that found in almost all hardware/popular/ bookstores in singapore. Its because i want to experiment whether flying a:

    1) Heavy but tough and strong plane , higher wingloading

    Or

    2) Light but breakable plane , lighter wingloading

    would actually last longer under my handling before it ends up in the rubbish bin. So far my bluefoam f-16 edf lasted me 1month,with about 15flights 4minutes each before breaking into pieces. Lets see how this plane will do

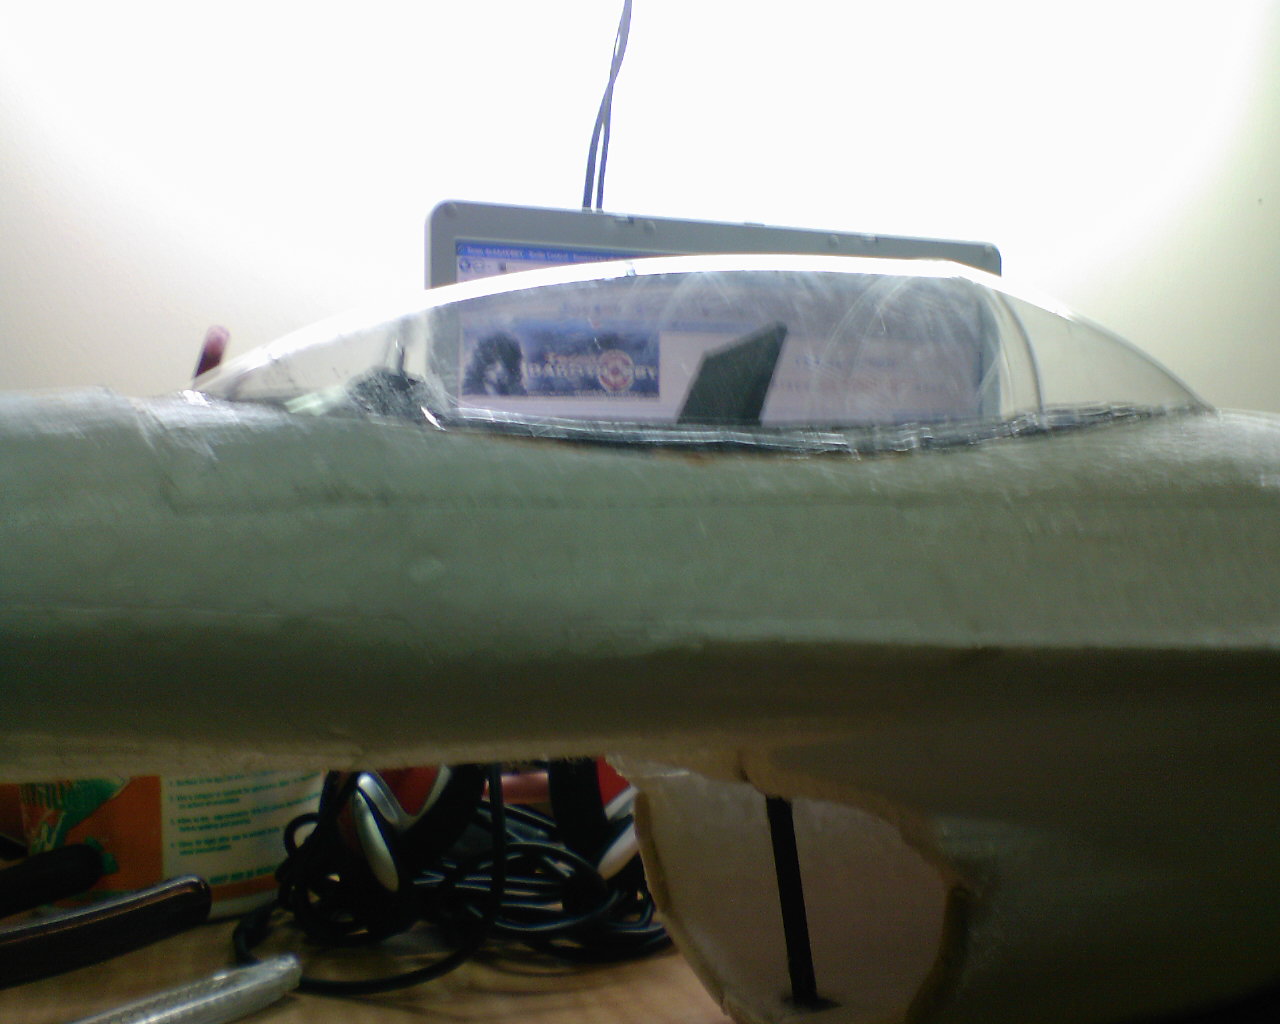
    Some other changes i made in the plan is the FSA area, from previous of 120% intake 93%exhuast, i downsized to 100% intake and 80%exhuast. Which will give me a higher top-speed.

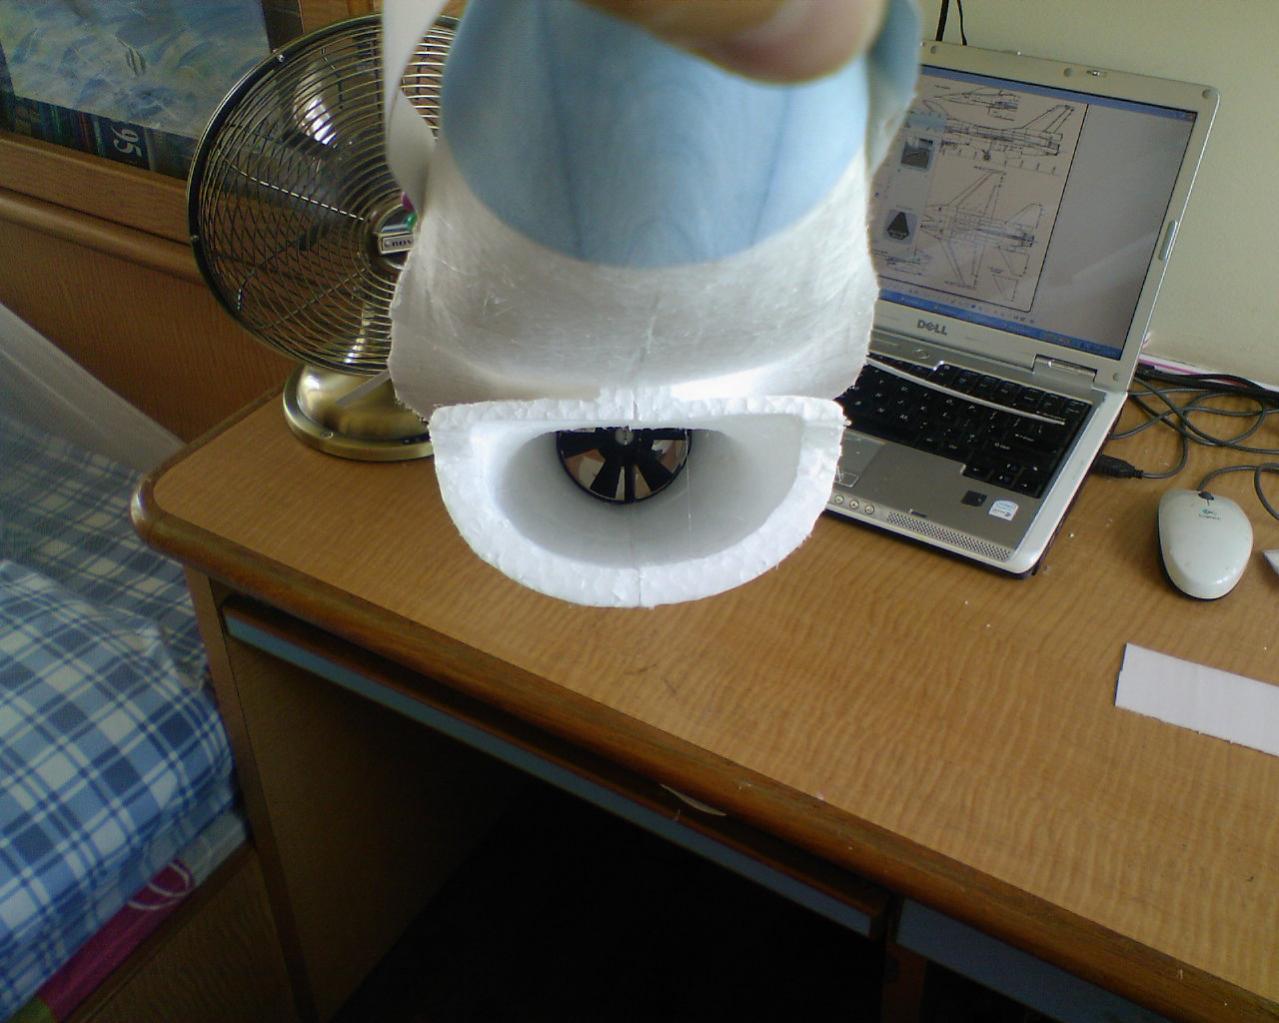
    Alright,i'll start off by posting pictures, i started this 1week ago , 6hours each day and i'm almost done with my plane today.


    I started by transfering all the plans onto a hard cardboard sheet, going to be use for hotwiring later on. Then i join up the pieces of foam to form a large block, 1m x 20cm x 20cm. Divided them and ready to cut pieces by pieces.

    Build it
    Fly it
    Crash it
    Fix it

    #2
    Next i hotwired the wings out, using my home-made airfoils. 7% thickness at 30% rootchord with no chamber. I added satay stick at the leading edge then sand them inplace, my wing is now virtually un-dentable from the leading edge. Yes, i try banging my wing agaist the sharp coner of my table, no dents at all

    Afterwards i cut out the other following parts such as the vertical stab and elevons.

    Build it
    Fly it
    Crash it
    Fix it

    Comment


      #3
      Next the nose... , and guess what, i can actually achieve a good smooth surface after hotwiring on the white foam as well as on bluefoam, just that last time i didn't have the proper technique and white foam seems to be very bumby and going to breakapart anytime.


      Took me so far 5hours to get 50% of the fuselage done.

      Build it
      Fly it
      Crash it
      Fix it

      Comment


        #4
        Phew, and finally after like 10hours stuck inside my room fixing up my plane without eating or drinking , i'm done joining up the fuselage pieces.
        Time to fix in the EDF, and ploop! it stuck on just nicely as planned.
        I don't actually screw or glue on my EDF,because its actually removable for maintainace and sometimes soil and grass always get stuck inside the thrust tube. So i have a underbelly magnetic hatch.

        Lastly , i added a plastic thrust tube at the back for a smoother inner surface to minimise duct losses.

        Build it
        Fly it
        Crash it
        Fix it

        Comment


          #5
          Ok, somewhat this is my favourite part of building is doing a simple canopy for the F-16.

          I mark out the shape that is going to be on the top, places the guiding tempates at the side and pin them down, and hotwire the canopy out. I place a mini HUD and a chair inside to increase realism. And finally close them up with another 100 plus bottle i bought from the supermarket.

          Build it
          Fly it
          Crash it
          Fix it

          Comment


            #6
            And right now ,this is so far what i've done, Will be completing the paintjob most likely by tomorrow night, Set aside another day for setting up electronics and can't wait to fly!

            Build it
            Fly it
            Crash it
            Fix it

            Comment


              #7
              Finally, after spending another 16hours working on my plane, i am quite satisfied this time round, feeling exhuasted..nevertheless it's way better then my previous f-16.

              Steps i did for my paintjob:
              1) sand surface
              2) apply thin layer of wall putty
              3) sand surface with finer sandpaper
              4) apply white primer
              5) sand white primer with finer sandpaper
              6) masking
              7) spray red/white/black paint
              8) haven done yet, coating with polyurethane varnish to increase the glossyness


              I started off painting my elevons and vertical stab then the rest of the body.
              The masking was the most time consuming step of all that took me 2hours. The painting took me a quick 15minutes to spray and finally under that masking is a sweet looking f-16

              Build it
              Fly it
              Crash it
              Fix it

              Comment


                #8
                Ok, here are some new features in my new F-16.

                1) Magnetic canopy, quick and easy to remove and place back. I'm not using vulcro anymore.

                2) Removable hatch so i can access the motor, and once again, its held on by magnets, use to be tape.

                3) i mentioned before on my previous post, i place a plastic thrust tube inside to minimize duct losses.

                4) I spent around 40minutes to balance my edf blades, right now its running so smoothly at full throttle. There isn't any scratch on the inner side of the edf wall. No more unbalanced noisy blades!

                5) The whole plane now weighs very light, i hadn't weigh it yet, but i would guess easily 150-200grams lighter.

                Build it
                Fly it
                Crash it
                Fix it

                Comment


                  #9
                  Alright, i came to the end of the building. Enjoy the pictures!

                  Total time taken : >50hours excluding sleeping time over a span of 10days.

                  I'll post pictures of it flying as soon as i get a camera man with me .

                  Now the big question isn't about will the plane fly, rather will it perform better then the previous design!

                  Build it
                  Fly it
                  Crash it
                  Fix it

                  Comment


                    #10
                    Nice job...

                    Better enforce you intake duct this time round.

                    Suggest you grab one of those 1.5L sparkling H2O bottle and glue a piece at the lower part of your intake. It will help your plane to slide on the grass during landing and also prevent the intake from crumpling. White foam is pretty soft you know...

                    Good luck to your maiden.
                    sigpic
                    FASSTGot Quard?

                    Comment


                      #11
                      singapore poly

                      haha going to maiden tomolo? soon will have opposing again.

                      Comment


                        #12
                        Originally posted by Raven View Post
                        Nice job...

                        Better enforce you intake duct this time round.

                        Suggest you grab one of those 1.5L sparkling H2O bottle and glue a piece at the lower part of your intake. It will help your plane to slide on the grass during landing and also prevent the intake from crumpling. White foam is pretty soft you know...

                        Good luck to your maiden.
                        Ah..thanks for that idea. Actually, i already reinforce the ducting before i paint it up. see the picture. I glued in satay sticks...lots of em, and a carbon fibre strip fitted in vertically to keep the "mouth" open. But yep, i might go with the bottle idea too!

                        Build it
                        Fly it
                        Crash it
                        Fix it

                        Comment


                          #13
                          Added something little extra on the plane. I have no idea what is this or what it does (maybe some of you know what it is might care explaining ), but it looks cool and realistic putting it on.

                          Build it
                          Fly it
                          Crash it
                          Fix it

                          Comment


                            #14
                            Originally posted by viper1990 View Post
                            Added something little extra on the plane. I have no idea what is this or what it does (maybe some of you know what it is might care explaining ), but it looks cool and realistic putting it on.
                            HI! Viper1990,

                            The five antennas on the nose of the aircraft is a upgraded which equip call IFF ( Identification Friend or Foe ) this device only been used since year 2002 till now but not all Falcon is install this device some is on the downgoing upgrading by Avionics Modernization Program if I 'm not wrong it's only for those older Falcons......

                            Jameswilliam

                            Comment


                              #15
                              Ah... i see,thanks for explaining!, I have check it up on wikipedia, pretty neat gadget. It helps to reduce the rate of friendly fire by identifying allies in the battlefield. I first saw the IFF on the f-16 nose at the airforce open house. If it was painted red i wouldn't have noticed.
                              Build it
                              Fly it
                              Crash it
                              Fix it

                              Comment

                              Working...
                              X