Announcement

Collapse
No announcement yet.

Building the Micro Bug HLG

Collapse

Zenm Tech Pte Ltd

Collapse

Visit Zenmtech at rc.zenmtech.com

X
 
  • Filter
  • Time
  • Show
Clear All
new posts

    Building the Micro Bug HLG

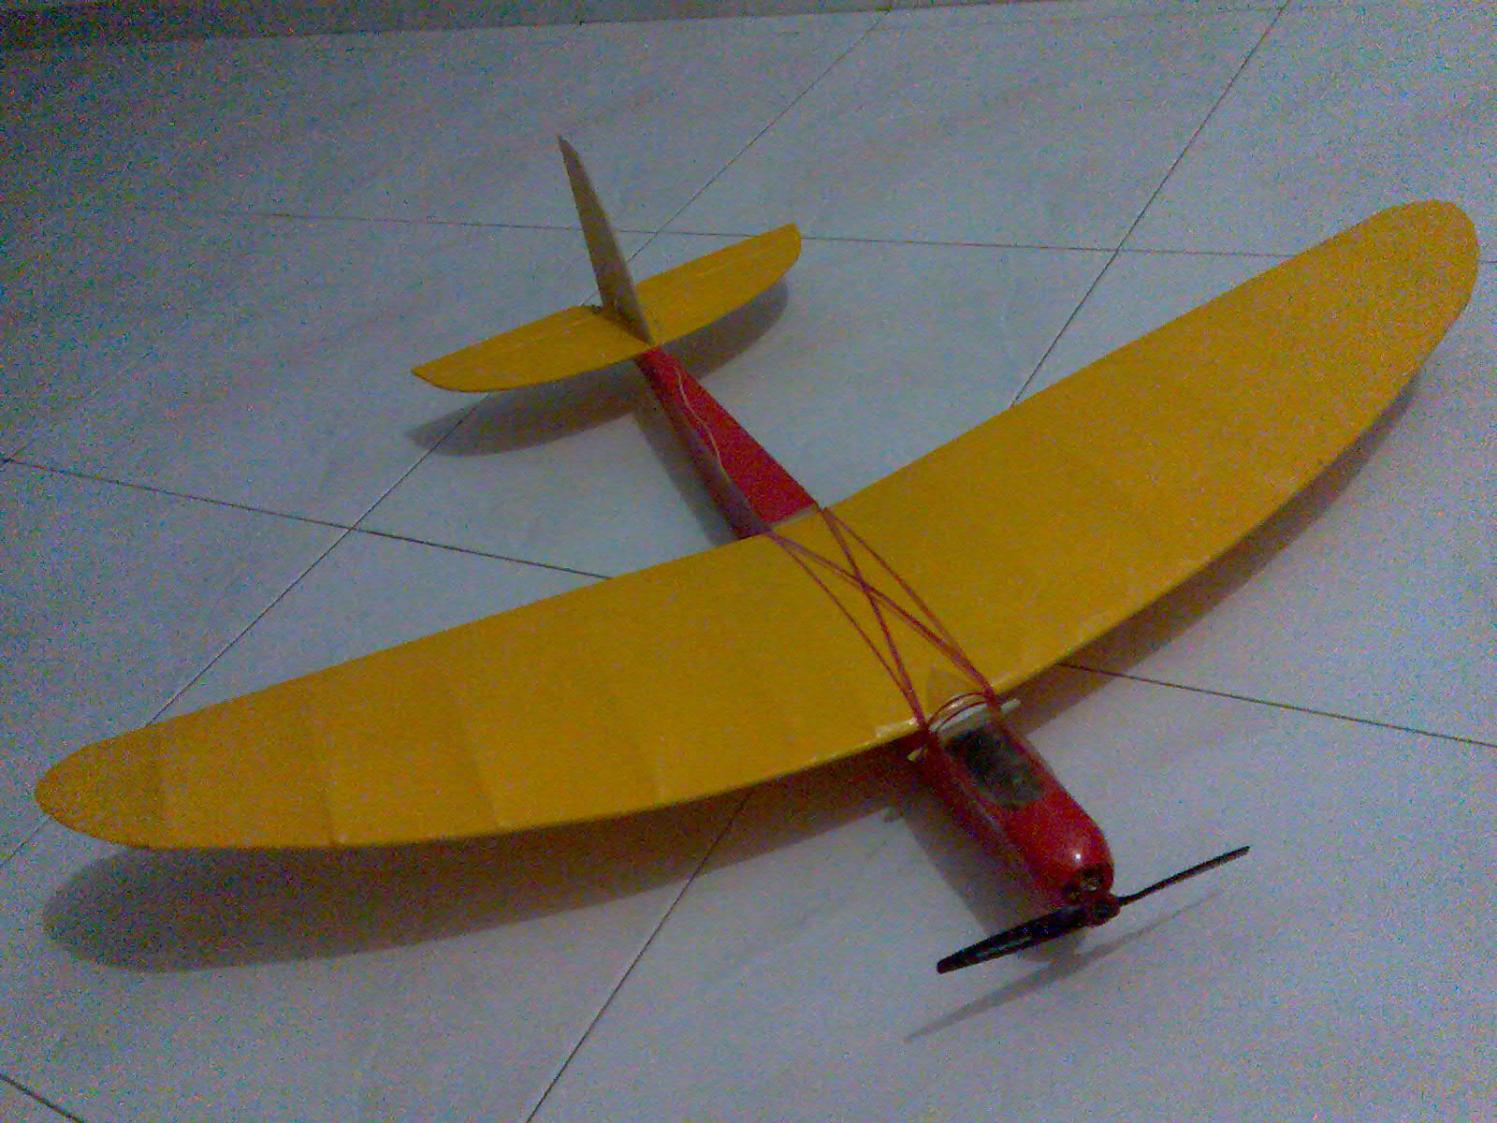
    Once upon a time, Joe Yap build a few of these Bugs and wrote a comprehensive build thread. I have made some minor modifications and would like to share my build here. As in previous builds, this would be slow as I can only spare as much time to the amount of lost sleep that I can take.

    Since discovering the small slope at TBP, I would think that this small glider will be able to fly well there. The plans are available here:


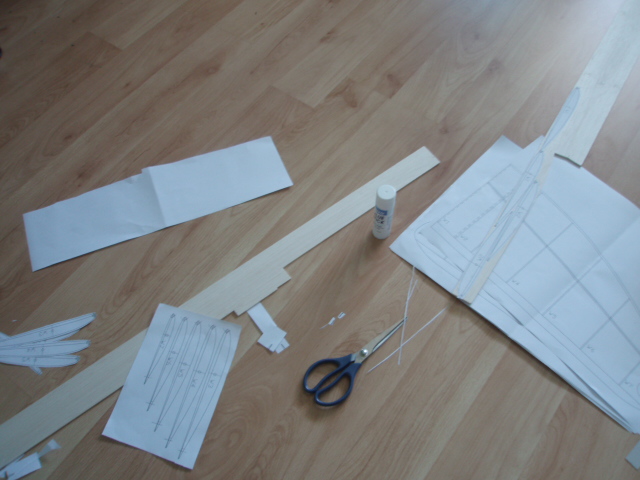
    I used the .dwg files instead of the .pdf and printed out the various parts in A3 paper. The reason I used the .dwg files is that I am expanding the size of the Bug by about 3 inches.

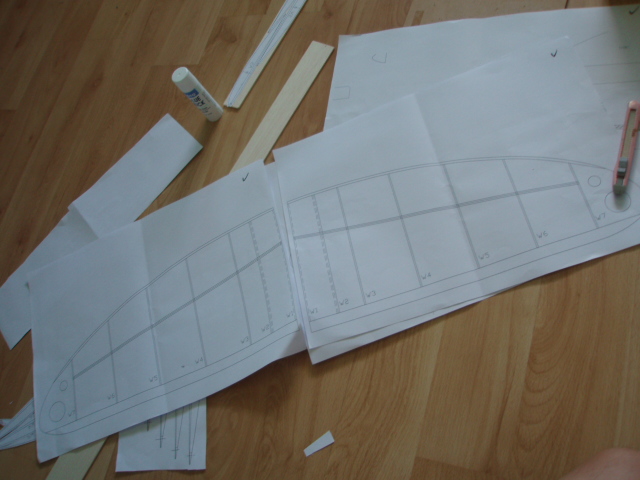
    I go for the wings first, as I think this would take more time, compared to the pod, that consist of only 3 formers, some balsa sheeting and a CF rod, which I think would be easier.

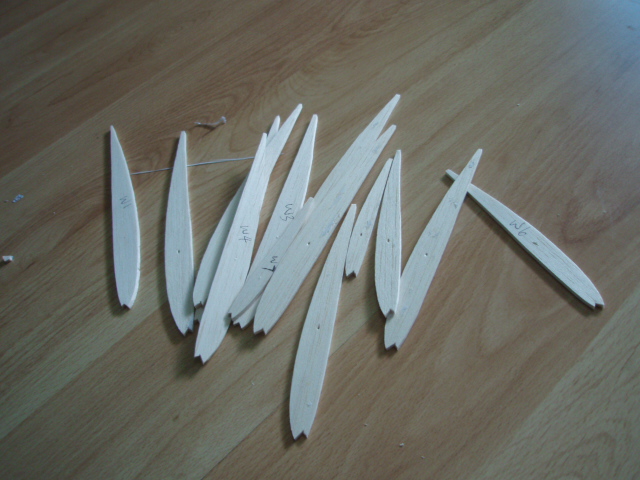
    Since the wing is longer than the original plan, I used 1/8 for the 2 root ribs and 3/32 for the rest of the ribs. Cut out the paper ribs and paste onto the balsa. I intend to use a 3/16x1/8 balsa strip for the LE, that is why I had cut the triangular slot at the LE of the ribs.
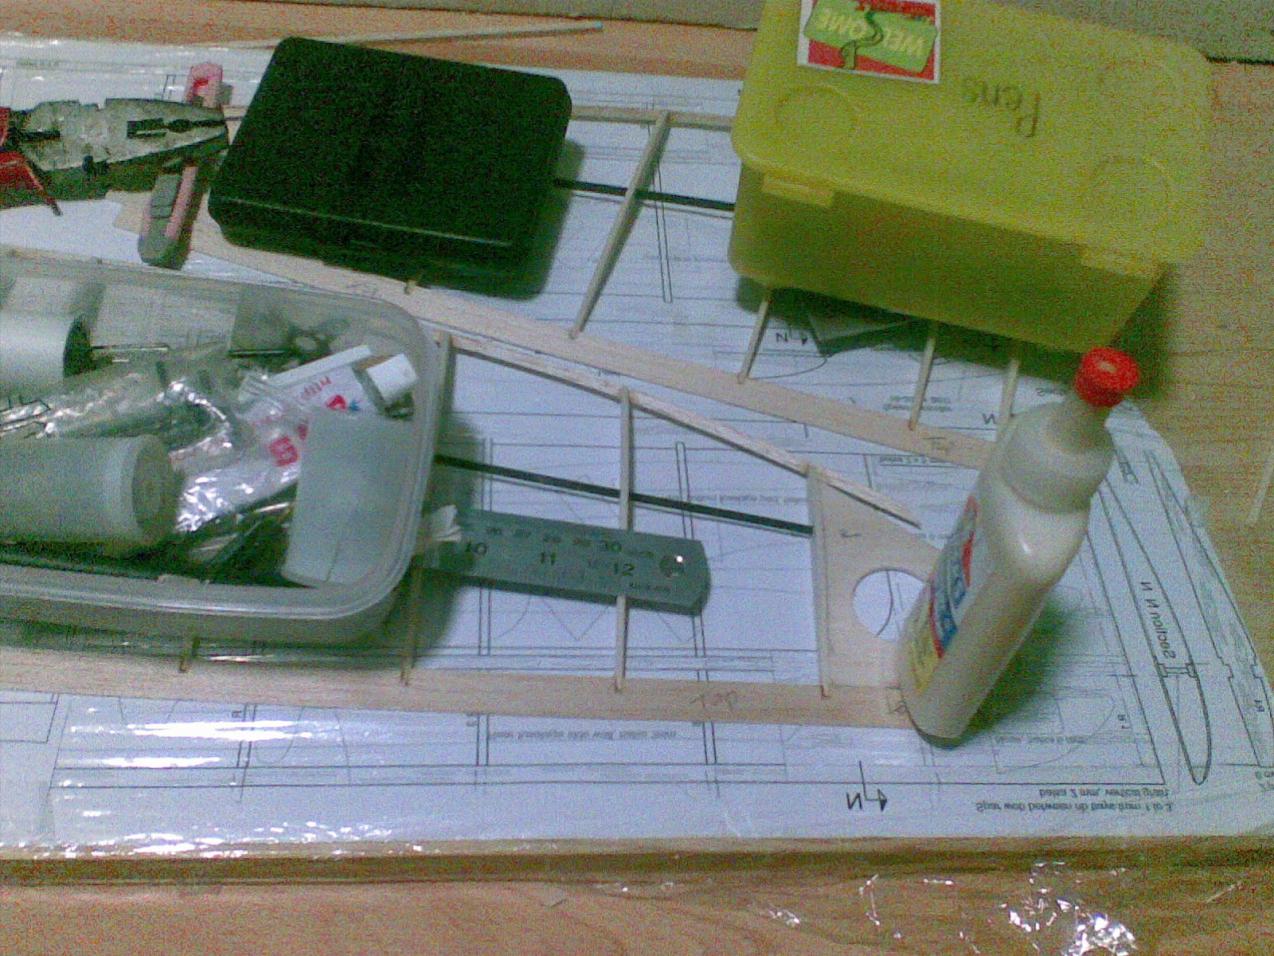
    All ribs completed.

    MS


    #2
    Bugs is a good flyer. I modified the V-tail to the version show below:

    Comment


      #3
      Kah Marn,

      since you will need to get as much altitude at launch as possible, consider building one with a crucifix tail so u can SAL it... add some balsa at the wing tips,glued to the cf spar so your fingers got something to grip on.

      Comment


        #4
        Even with the original V-tail, SAL is not much of a problem.

        Comment


          #5
          Hi Guys, thanks for the advice. I thought I would just chuck it like a chuck glider. I will be trying hard to keep the weight down, plus with the slight increase in overall size, the aim is to have a very low wing loading.

          One more thing, errrr.....what is SAL?

          Comment


            #6
            Originally posted by msc View Post
            Hi Guys, thanks for the advice. I thought I would just chuck it like a chuck glider. I will be trying hard to keep the weight down, plus with the slight increase in overall size, the aim is to have a very low wing loading.

            One more thing, errrr.....what is SAL?
            Side arm launch.

            BTW, the original model is already very light. By increasing the wing area, it is also better to increase the tail area by the same percentage to minimise the stability changes. If you only increase the wing area alone, the theoretical CG should move forward.

            Comment


              #7
              The overall size of the glider was increased, not only the wings. I did this by printing the plans out from the .dwg files and used the zoom function.

              The build progress was slow, even though the pieces to be cut and put together was relatively easy. I pieced up wing ribs, LE and trailing edge. The next modification I did was to use 5mm carbon strip for the main spar instead of the 1/8 carbon rod as stated in the plan.
              The 5mm strip was assembled vertically to provide more tensile strength. I think that the 5mm strip would be lighter than the 1/8 rod.

              The wing tips were cut as per plan and I used a volka bottle cap to cut perfect holes in the middle of the wing tip to reduce weight. The discovery of using the bottle cap to cut the hole was purely accidental. Don't ask me how I got the Volka bottle, it's empty anyway.
              As you can see in the picture, the bottle cap was able to give a very straight cut and the round piece of balsa could be popped out of the cap with a penknife.

              The v-tail was cut and the same method of lightening was used. I still need another smaller bottle cap to cut another hole in the tail. I managed to source for a bottle of Blackcurrent drink at NTUC, the cap is about the size of a 50cent, smaller than the one from the Volka bottle.

              That's all for now.

              Comment


                #8
                The wings are almost completed. The vertically assembled 5mm CF strip had served it's purpose in ensuring a stiff wing panel. The advantage of using the strip over the CF rod is its light weight.

                I choose to join the 2 wings halves together before I glue on the 1/32 sheet at the W1 and W2 root ribs. This way, I was able to use cloth peg to clip the middle ribs during gluing.

                I think if I am able to spend a bit more time building, this project should be completed much faster as there are very little parts and the assembly is simple enough

                MS

                Comment


                  #9
                  Have fun. The Bug has quite an impressive glide.

                  I can get 60 - 80 ft test glides from shoulder level. My record is 100 ft!

                  Yours should do better as it probably would have a lighter wing loading, I got quite a heavy bug at almost 4 ounces standard sized.
                  "Always fly with a responsible attitude. You may think that flying low over other people’s heads is proof of your piloting skill; others know better. The real expert does not need to prove himself in such childish ways..." - the Multiplex Build Manual

                  Comment


                    #10
                    My progress of bug

                    Hi I would like to share my progress of building the bug. Fuselage and 1 side of the wing is done, with some careless modification. First time building a balsa plane, some mistakes here and there.

                    Comment


                      #11
                      Originally posted by skyfool View Post
                      Hi I would like to share my progress of building the bug. Fuselage and 1 side of the wing is done, with some careless modification. First time building a balsa plane, some mistakes here and there.
                      Looks good from here Keep us updated on your progress

                      Kah Marn, how's your build going?

                      Comment


                        #12
                        Originally posted by skyfool View Post
                        Hi I would like to share my progress of building the bug. Fuselage and 1 side of the wing is done, with some careless modification. First time building a balsa plane, some mistakes here and there.
                        Hi Skyfool,
                        Welcome to the Bug building club!! Please continue to use this thread to share your progress.
                        You seem to be making very good and fast progress on your build. Regarding the center sheeting section of the wings, you should have run the sheeting with the wood grain length-wise, i.e. in line with the wingspan.
                        The strength provided with the wood grain running length-wise would be much better. Since you have already done the sheeting, you may just want to stick to this and see how it goes.
                        I think I may take another week before I could complete my build.

                        Carry on the good work!

                        Comment


                          #13
                          Originally posted by gEcky View Post
                          Looks good from here Keep us updated on your progress

                          Kah Marn, how's your build going?


                          Well, Johnson, I spend sometime building my fuselage last night. I didn't realize how much more simpler the building of the Bug was until I notice that this fuselage was about 70% complete now.
                          Starting with the front bulkhead, F1 was made with a square piece of hard 1/8" balsa, F2 was a piece of 1mm ply+3/32" balsa, F3 was a piece of 1/8" ply.
                          The bottom and 2 sides of the fuselage are 3/32" balsa.

                          All the pieces were glued together in one operation and with the help of some cloth pegs, this morning, I have a partial fuselage.

                          Will be doing more build tonight.

                          Comment


                            #14
                            Anybody have a spare covered Bug wing laying around?
                            Mine mysteriosuly disappeared.

                            Thanx!
                            SLOPE SOARING NOT A CRIME

                            The irresistible desire, for the irresistibly desired

                            Multiplex Royal Evo 12 user, and Proud of it.

                            Comment


                              #15
                              Originally posted by msc View Post
                              Well, Johnson, I spend sometime building my fuselage last night. I didn't realize how much more simpler the building of the Bug was until I notice that this fuselage was about 70% complete now.
                              Starting with the front bulkhead, F1 was made with a square piece of hard 1/8" balsa, F2 was a piece of 1mm ply+3/32" balsa, F3 was a piece of 1/8" ply.
                              The bottom and 2 sides of the fuselage are 3/32" balsa.

                              All the pieces were glued together in one operation and with the help of some cloth pegs, this morning, I have a partial fuselage.

                              Will be doing more build tonight.
                              Taking shape very fast! U can start preparing a balsa block for the nose while waiting for the glue to dry. I used blue foam for my but it din hold its shape for long

                              The weak link for my bug was the CF boom. As its unidirectional, my started developed a crack/fray after 1 too many hard landings. Din help that i have a crucifix tail and attempted to DL it. Tail group is no longer stable at higher flying speeds. Not sure where we can get those woven booms locally?

                              Comment

                              Working...
                              X